


Board and Batten Accent Wall

I know there are so many board and batten tutorials out there, but after adding it to several rooms in our home we have become very familiar with the process and have simplified the steps significantly. This board and batten accent wall is part of a full bathroom update that I will be sharing next month, so stay tuned for that. My goal was to brighten up our dark and dingy guest bathroom. I wanted to keep everything super simple and low maintenance for ease of cleaning, while also adding some visual interest to the space. I think the board and batten accent wall is the the perfect starting point to my mini bathroom update project, and I am loving the way it’s looking so far.
Best nail gun!
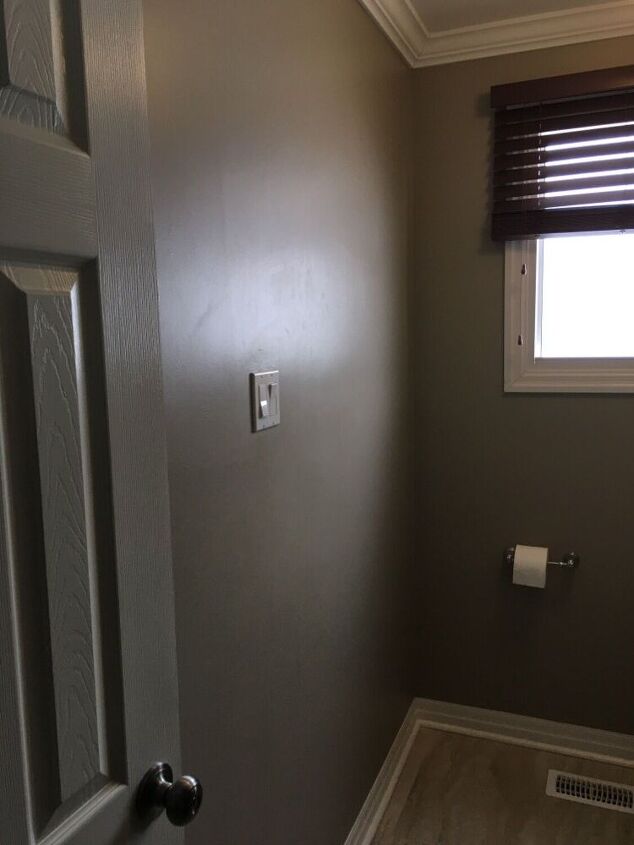
I love a good before and after shot, so here is the wall that we will be transforming. I apologize for the pictures, this bathroom is so narrow it’s hard to get a good shot of the full wall, but you can get an idea of just how dark and dull this space is.
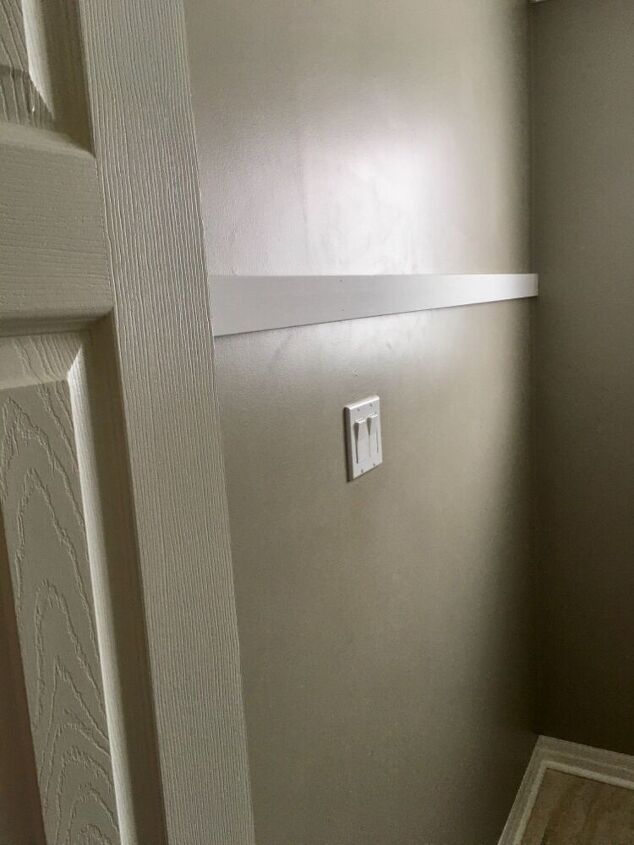
This first thing you want to do is determine how tall you want your board and batten accent wall to be. We knew we wanted to hang a towel rack above the board and batten so we allowed room for that. Once you determine how tall you want it measure the distance from wall to wall and cut your board to size. We are using 1/2” x 2 1/2” primed mdf boards for this project. Use a level to make sure the board is straight and nail it to the wall using a nail gun.

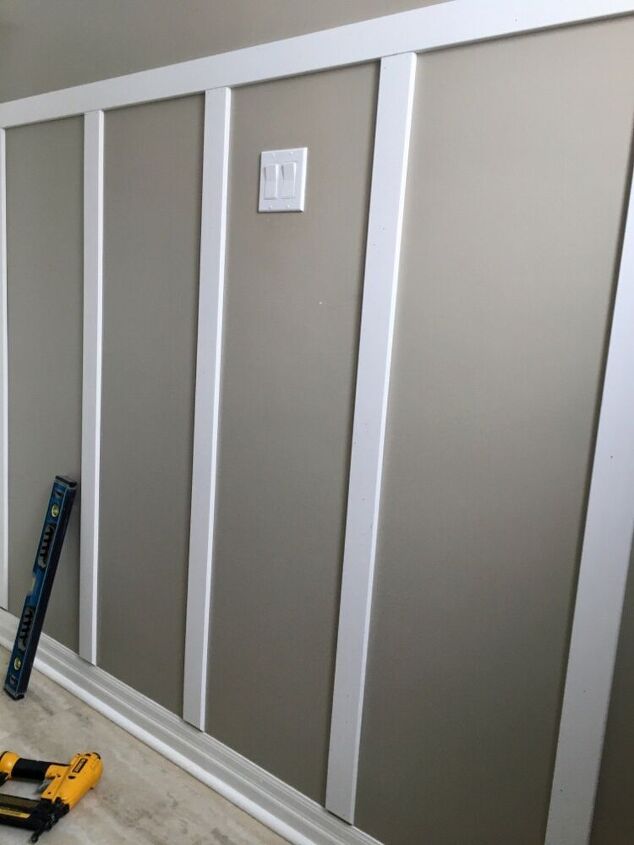
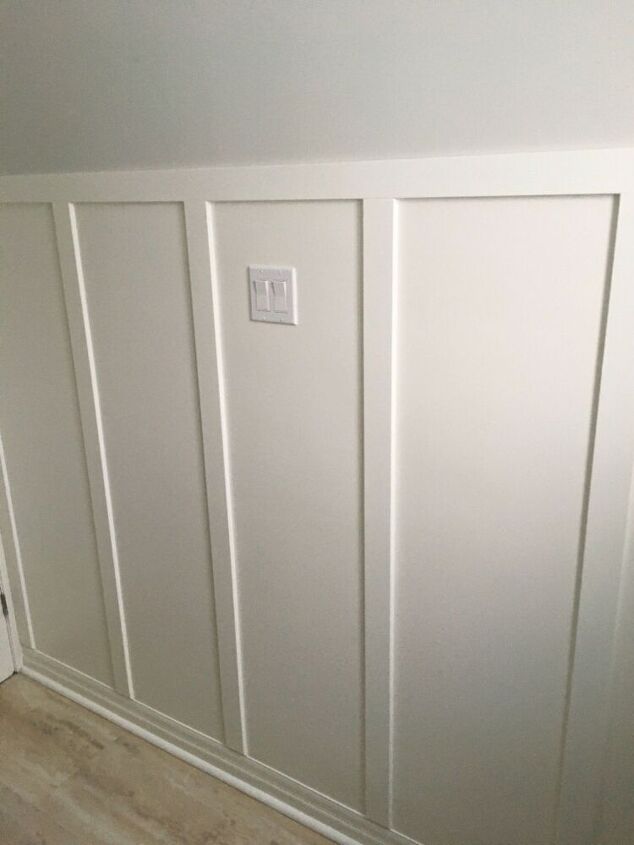
Next it’s time to nail on the vertical boards. We like using a board at each end of the wall to give a nicer finished look at the corners. Once the two end boards are installed measure the distance in between them. Divide that measurement by the number of boards you want to install and then take that number and mark out those measurements on the horizontal board. We installed four vertical boards so we marked out four measurements using a pencil.
Since we live in an older home and not everything is perfectly square we took the time to measure the length of each vertical board separately. Once we had our pieces cut we made a small pencil mark on the center of each board and lined it up to the marks we made on the horizontal board. Then we made sure the board was level and we nailed it in.
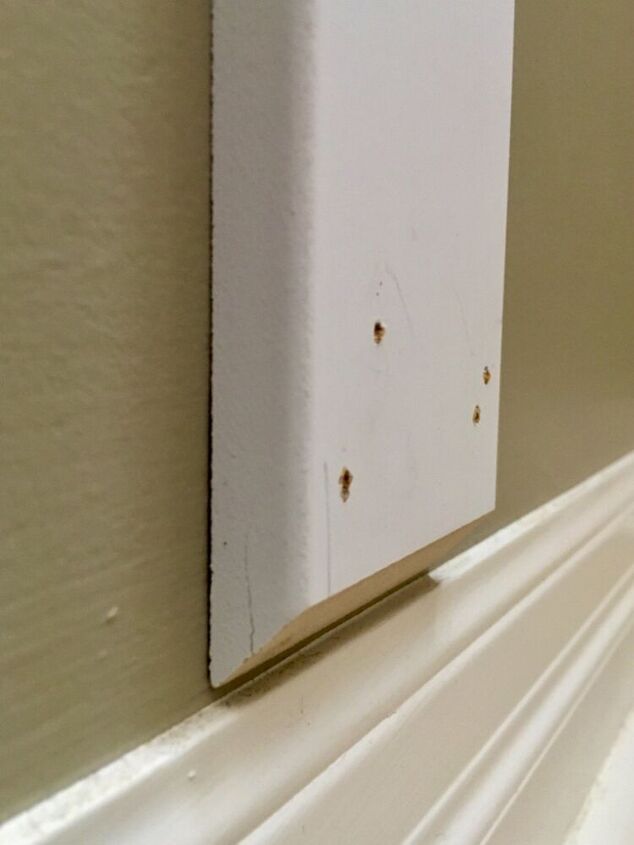
To tie the vertical boards into the baseboard we cut the bottom of the board on a 45 degree angle. Once all the seams are caulked this method makes everything look seamless and like it was always meant to be there.
At this point the hardest part of the whole instal is over! The next step is to fill in all of the nail holes and seal all the gaps and seams with paintable caulking.
Once the caulking was dry. I gave the whole thing a few coats of fresh white paint in a semi gloss finish. The rest of the bathroom was also painted in Benjamin Moore Titanium.
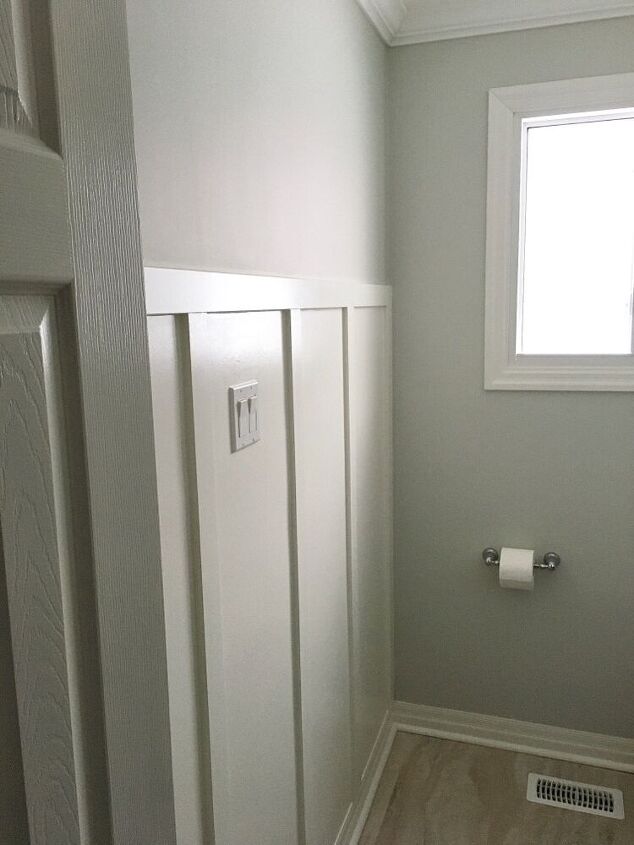
And here is the after of our board and batten accent wall! I absolutely love how this bathroom is turning out and it already feels so much brighter and bigger in here! I hope you will keep your eye out for the full reveal next month!
Resources for this project:
See all materials


Comments
Join the conversation
-
I’m working on my home .Unfortunately we had a flood and got robbed by our public adjusters. We have nothing let but a home praise God . We looking for anything that don’t cost much .. this is a genius way of updating our bathroom
-
contact yourlocal property tax collectors- you might get a break on your property tax payable for the year of the flood, to offset cost of repairs!


Frequently asked questions
Have a question about this project?
How did you figure out the degree of the mitered ends of each board? Thank you
At the bottom: I know you said it's fine and not noticeable. I agree it looks good.
I was wondering, though, would quarter round fit in that space and round out the sharp angle?
my wall is much more textured than yours, would that look weird?