


A Simple Closet Upgrade for Less Than $30

The closet in my room was small, as in the smallest closet in the three bedrooms that we have in our house. I have lived with it for quite some time now, and I finally decided to reconfigure things so that I had double the hanging space. The best part is that this was done on an extreme budget (of course!!). Here is how I did it!
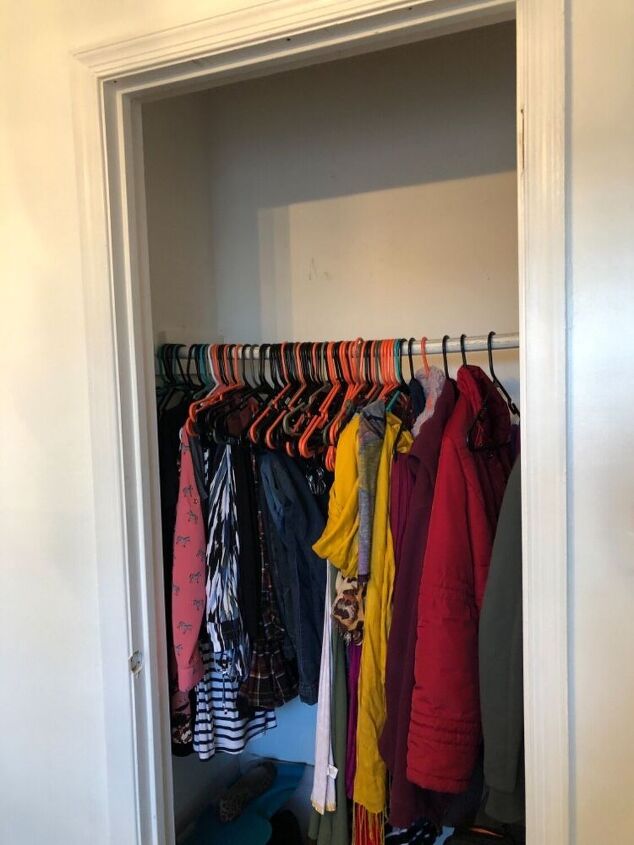
Double your storage space!
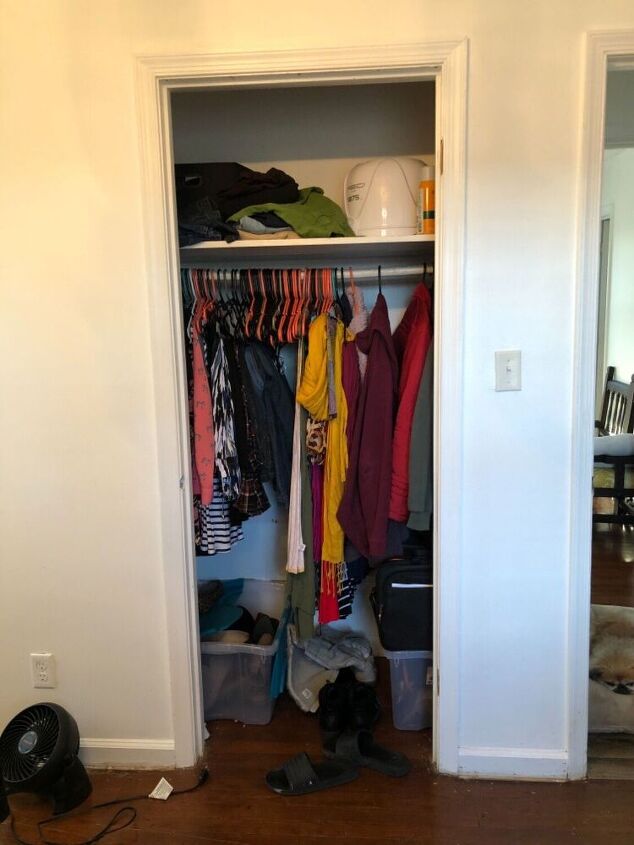
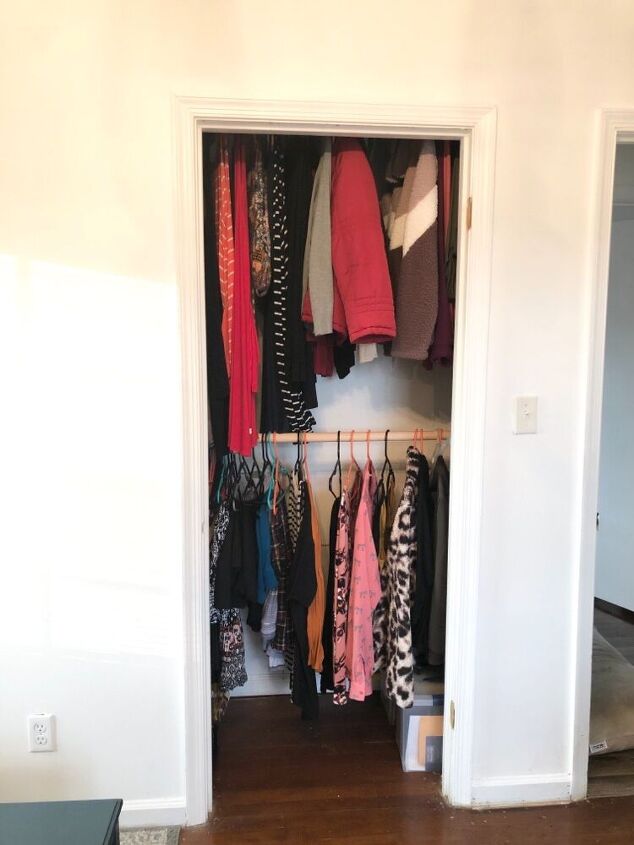
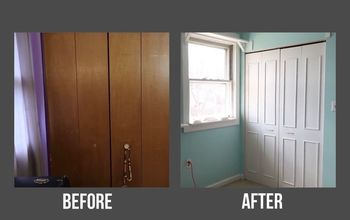
The before... I wouldn’t say that there is anything horribly wrong with this closet. There are many homes that have closets just like this one (48” wide x 24” deep), but in the spirit of maximizing the space I had, I wanted to reconfigure things.
My first step was to remove the shelf. This shelf was unusually deep (23”!) and many times I would have to get the step ladder in order to reach items that had been pushed to the very back. Another issue was that there was at least 3 feet of unused space above this shelf that I wanted to take advantage of!
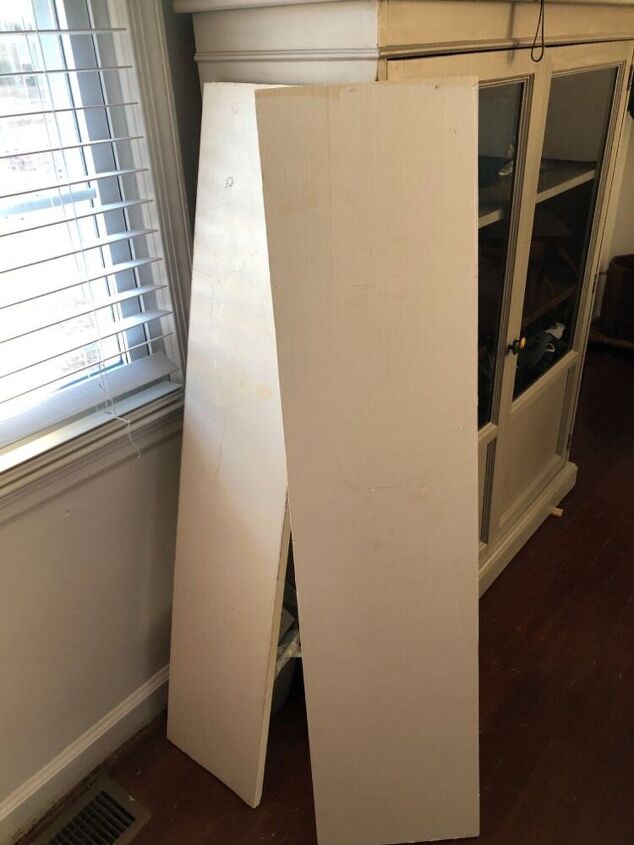
I decided to use one of the shelves to make brackets for my new closet rod.
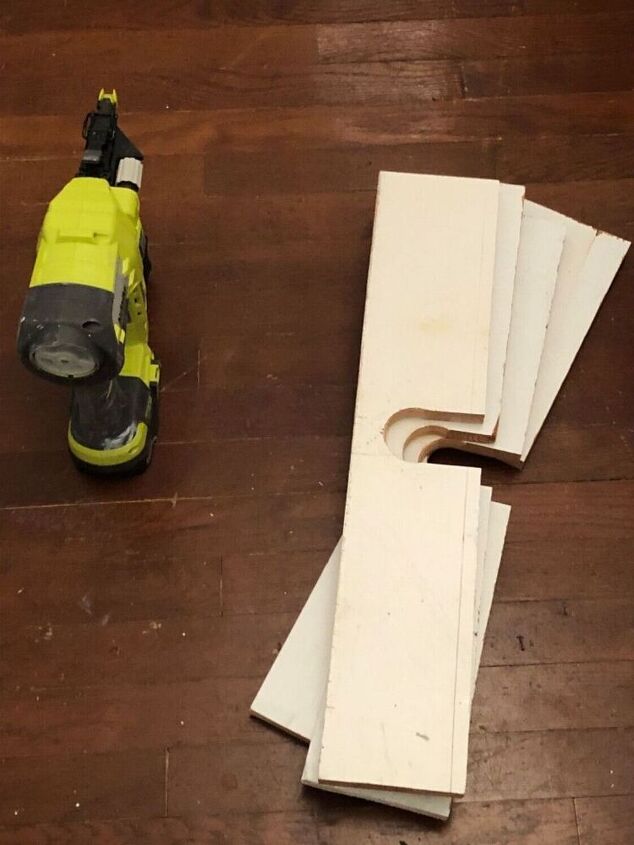
After ripping down the boards on my table saw, I used my hole saw and jig saw to create a channel for the closet rod to fit into. This is identical to what was used as a bracket previously in the closet.
I then placed the brackets in the closet using brad nails to hold it in place until I followed up with screws driven directly into the studs. I used the old closet rod with a torpedo level to ensure that everything was level. In order to have some flexibility with the space, I left the old bracket in place. That way, if I ever want to take the closet back to a single rod, all I have to do is drop the rod into the desired position.
The absolute only expense I had in this project was to purchase a new closet rod. I opted for the 96” solid wood rod that is sold at Lowes for approximately $26. I chose to hang the top rod approximately 8” from the ceiling so that my knee length dresses clear the closet rod below without having to be folded over the hanger. This may be too high for some, but that is the beauty of DIY, you can do what works best for your situation! 🤗
This closet still lacks paint and a door, but for now, I am loving the additional hanging space!!


Comments
Join the conversation
-
I mostly wear long dresses and long skirts. Double racks wouldn't work for most of the things I hang. I fold my tops and other bottoms.
-
I had the same problem and utilized the 2 rods. I have since found there are adjustable and flexible closet kits called Configurations. Much more flexible and usable


Frequently asked questions
Have a question about this project?
Wood shelving is square and flat. Why did you waste the shelf to make the rod bracket when purchasing rod brackets costs about $1 each??? The shelf wood could have been used for another project or a shelf elsewhere.
Brilliant! Love this “redo”
Did you find storage areas for the items you had on that top shelf? I need those areas in my closet as storage space is at a premium at my house but perhaps that's my fault.