


Multi Purpose Kitchen Sign
I was cleaning out my workshop the other day and found this cool panel of wood among my scrap wood. My first thought was a kitchen sign. But to make it a little more Unique, it became a multi-functional kitchen sign.
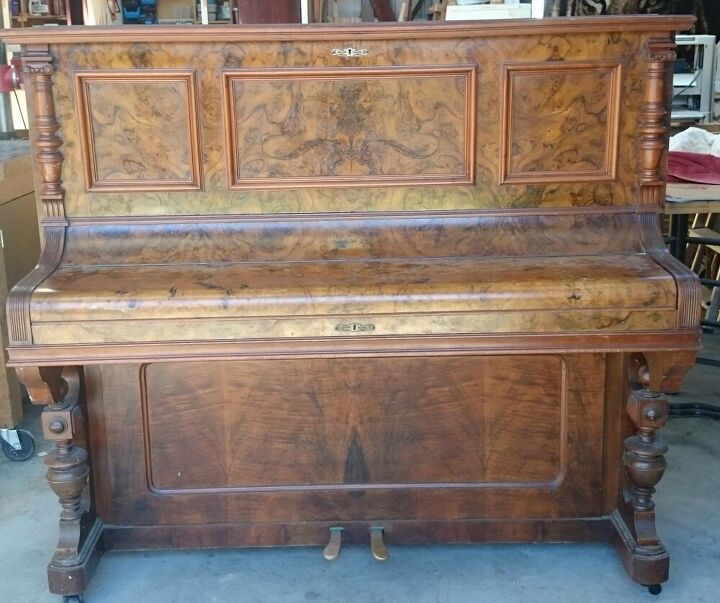
This panel came off a piano I repurposed into a bar a few years ago. It was too pretty to throw away and at the time I had no idea what to do with it. Until now that is, my idea was to have a functional kitchen sign with a built-in clock, a chalkboard to-do list, somewhere to hang some tea towels and of course a key rack.
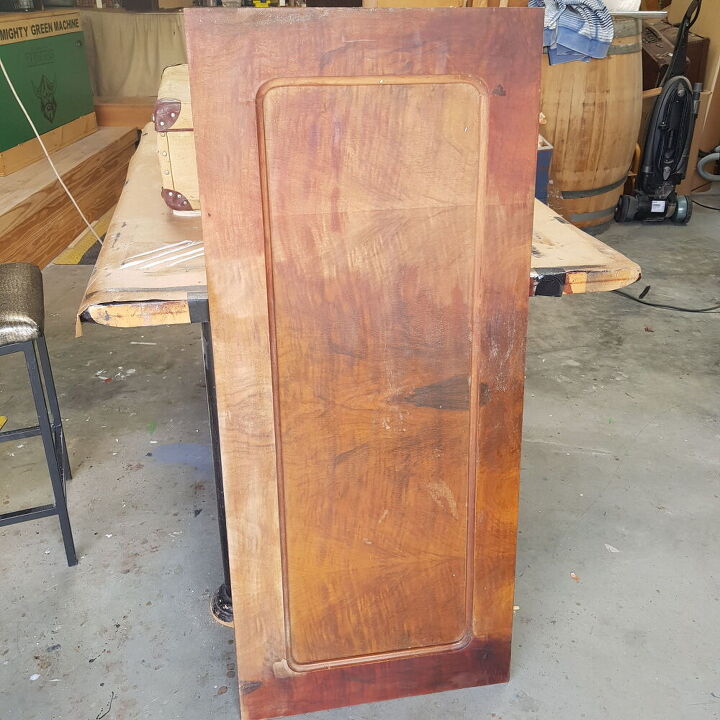
To start, I wanted to change the colour and clean the surface. The old varnish was all cracked and worn in places, so it had to all come off. I tried an orbital sander first, but the sander lifted all the loose veneer around the edges where it was worn.
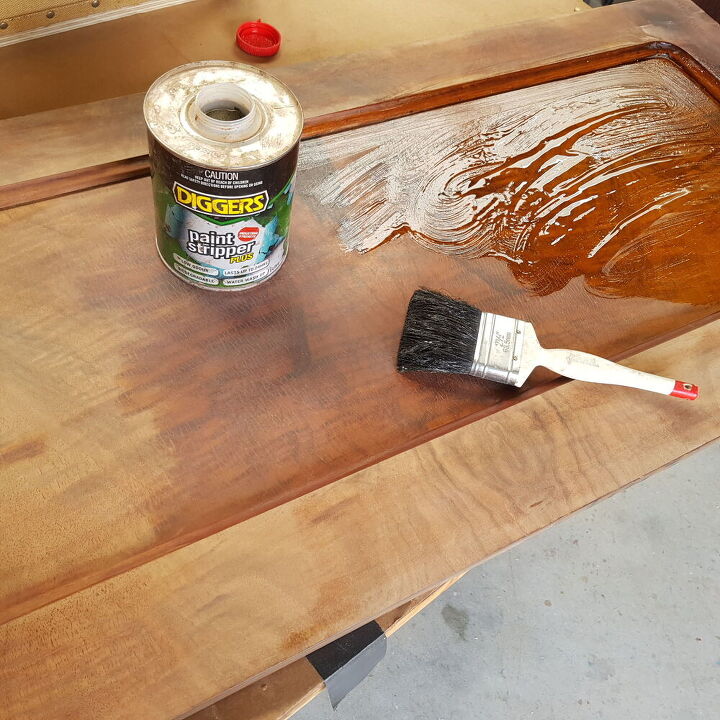
Next, I tried some paint stripper which I added to the surface using a paintbrush. To stop the stripper from drying out, I like to cover the surface with clingfilm. This will keep the paint stripper moist while it works.
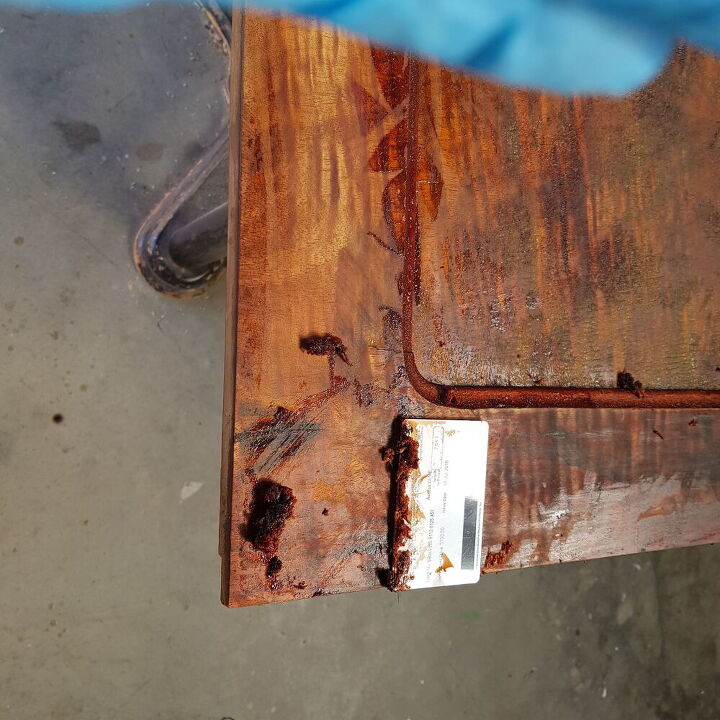
After a few hours, I used a credit card to remove the paint stripper. I cleaned the surface with soapy water and 0000 steelwool. They recommend mineral spirit for the residue, but soapy water worked well for me.
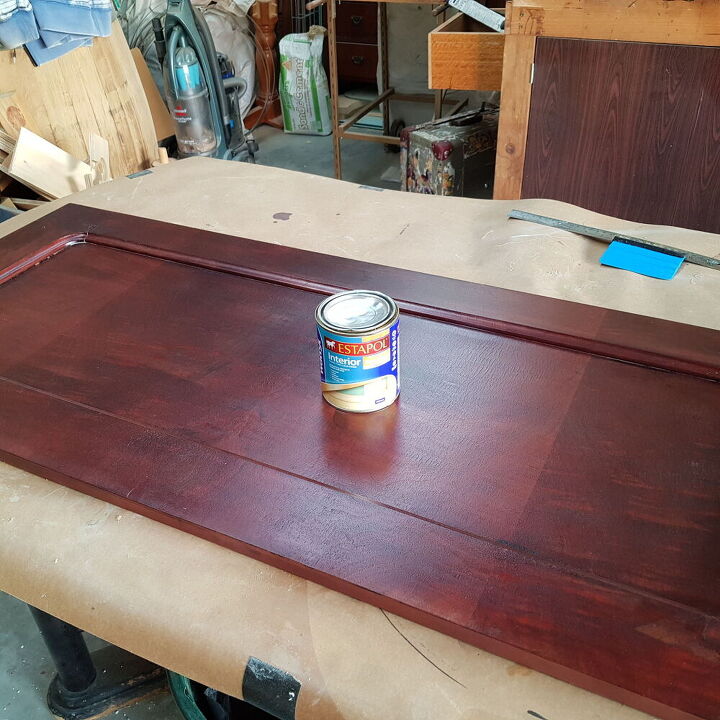
I added some dark mahogany stain and sealed the surface with some water-based polyurethane.

The mandala design was a vinyl decal.
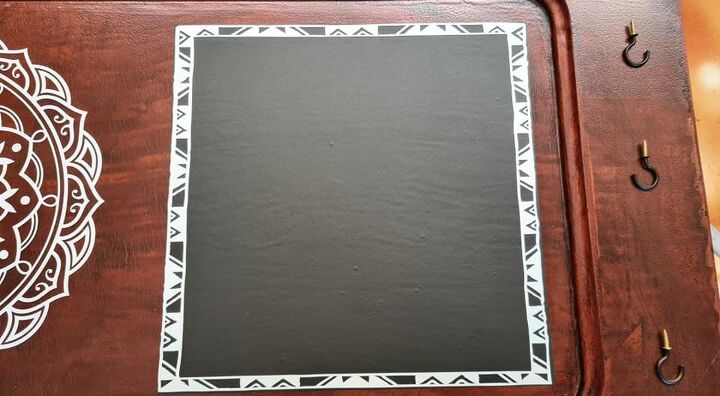
Adding the chalkboard
I was super excited to do this chalkboard because unlike my previous chalkboard projects this was not painted. This was a roll of vinyl film that I bought, similar to the contact paper. It was a simple as cutting it off the roll and sticking it to the wood. It works in the same way as the painted chalkboards without all the mess and the dirty looking board. You wipe it with a damp cloth and it looks like new again. I added a white border to the chalkboard vinyl to give it a nicer look.
Adding hardware
To make this kitchen sign more functional, I added some hooks that can be used for coats, hats or tea towels along the bottom.
The hardware I used was simple to attach, I drilled a hole and countersunk the hole at the back. This will allow the sign to sit flush with the wall once the hooks are fitting and the sign is hung.
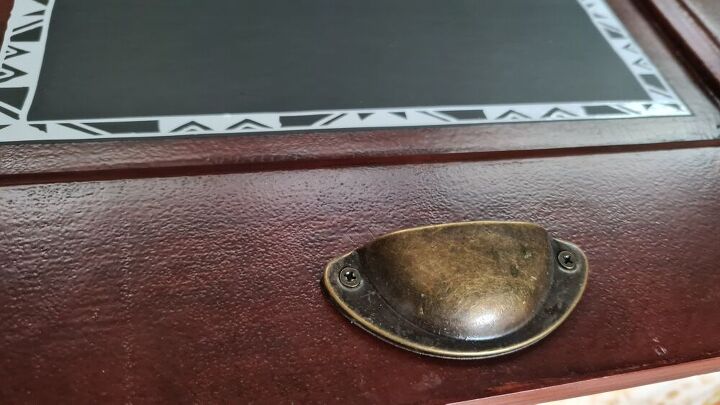
The board needed somewhere to store the chalk so it will be handy when needed. I used an old drawer pull turned upside down and screwed it to the board, the chalk can sit inside the handle.
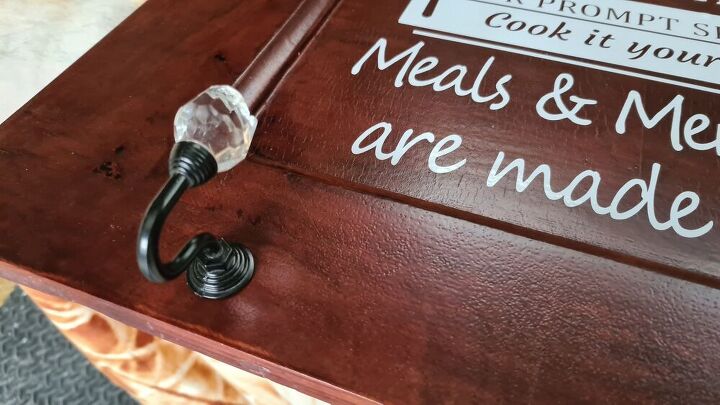
You can add some smaller hooks to the sides that can be used to hang keys, dog leads or hats.
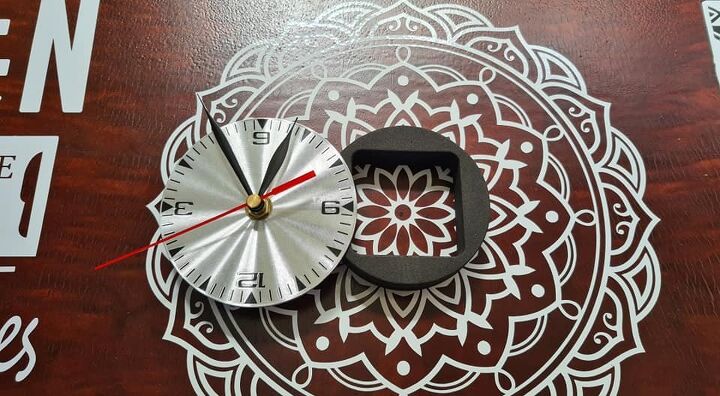
The clock I used for this project, I bought years ago from a budget store. It was a clock that you can add to the wall and use photo frames as the numbers. To hang the clock, you just have to remove the tape and hang it straight onto the board. The clock then pushed into the foam.
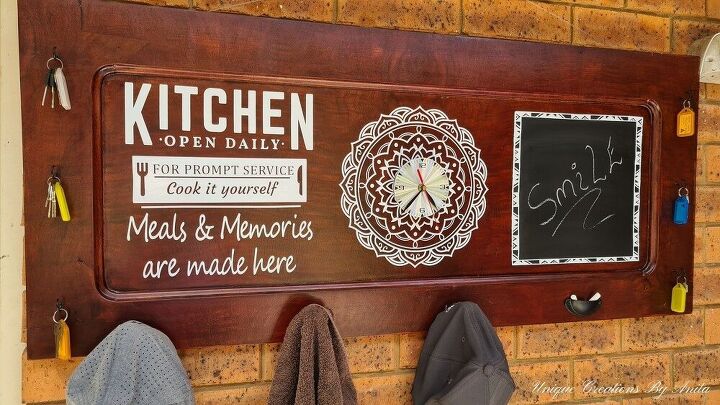
And that was my sign complete. For a more detailed tutorial, you can use the link below.
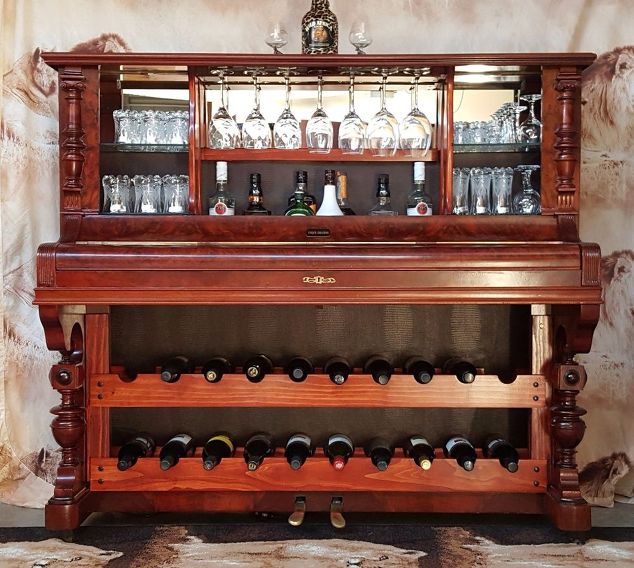
This was the piano after it was restored and repurposed into a bar/drinks cabinet.

Another great project you may like is this really cool African sunset wooden suncatcher.
Resources for this project:
See all materials


Comments
Join the conversation
-
A wonderful Idea ! For this kitchen decor ! And the Barr it's absolutely amazing ! Congratulations on You're beautiful projects
👍❤
-
I absolutely love this! And what a great job you did don the finish. It is such a useful item as well.


Frequently asked questions
Have a question about this project?
Anita I checked the material list but dont see the stain that you used. It shows a Dark Walnut and a Espresso stain which I know isnt what you used since yours is mahagony. Could you please share the exact brand and color you used and where you bought it since you state its hard to find. Yours is exactly the stain Im searching for. I want the true dark redish mahagoney stain color. Yes I know that I have to add on a varnish/polyurethane to seal it and protect it as a final step. Thank you so much. And whats the difference between a gel stain (is gel thicker?) and regular stain? Ive never used a gel stain before but see that its very popular now. I want to sand down my golden oak dining room table and redo it mahagony on top and the base of it with a black (ebony) stain. Thought it would be a nice combination together.