


How to Build a DIY Window Bench

In this tutorial, you'll learn how to build a DIY window bench. The bench could also be used as a corner seating nook, like ours!
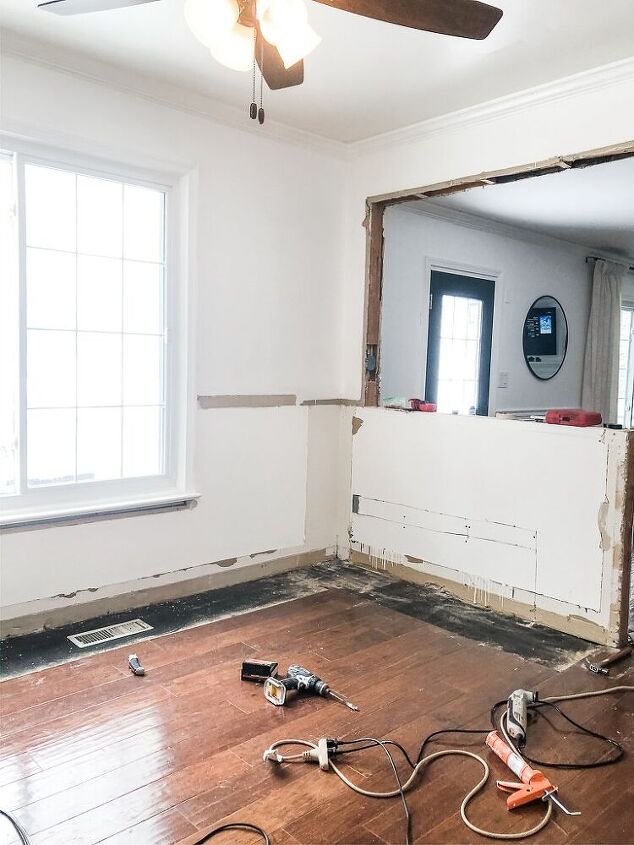
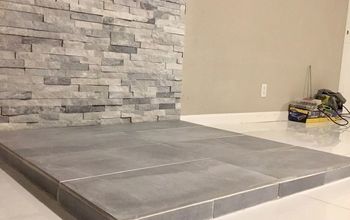
Step 1: Demo, if needed
This is the area that we wanted to create a window bench and seating area in our breakfast nook. We first had to rip out all the old material before getting started.

Step 2: Build foundation with 2x4's
For the depth, we spaced the boards to be about 15.5” from the wall, to achieve the overall end goal of 17.5” seat depth.
We cut the 2x4's to size and secured them using 2'' and 3'' screws. We screwed the 2×4’s to the wall, to the floor, and to each other.
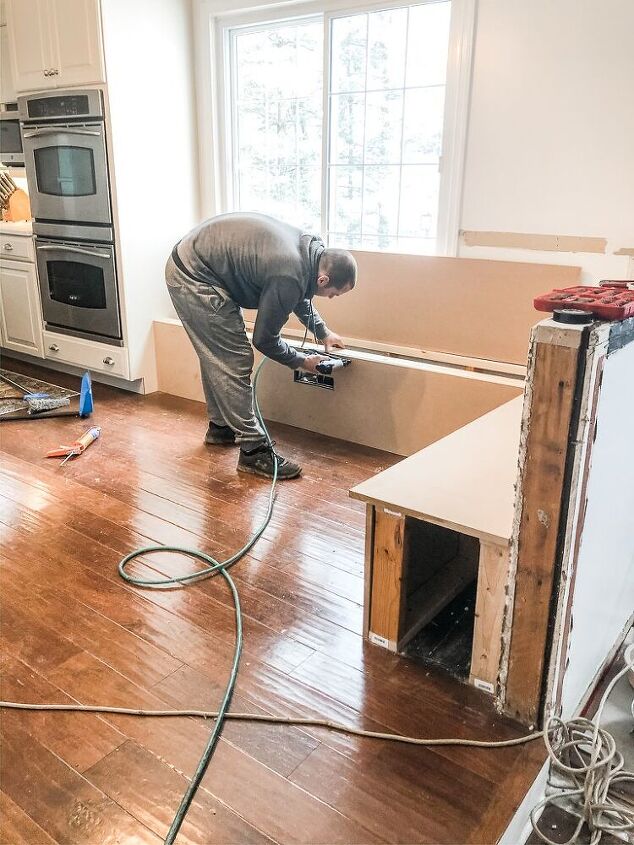
Step 3: Secure MDF Board
We decided to have 17.5” depth seats, with a 1/2” overhang on the bench seat.
We first cut the MDF board to size, glued the MDF to the 2x4's with liquid nail glue and then used a finish nailer air gun to secure it.
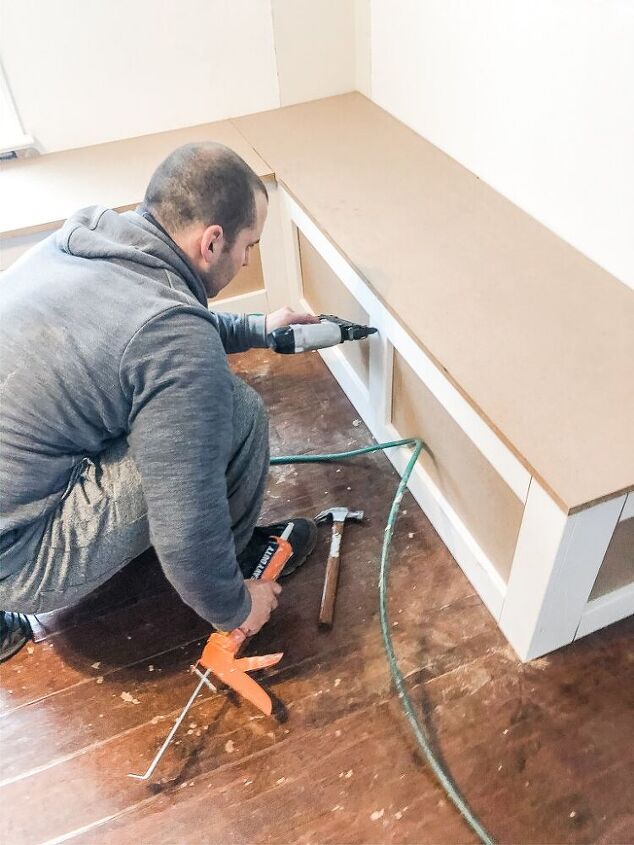
Step 4: Do Board & Batten
We have a running theme around our home of board & batten, so we added this as a finishing touch. We used 1” x 4” MDF boards.
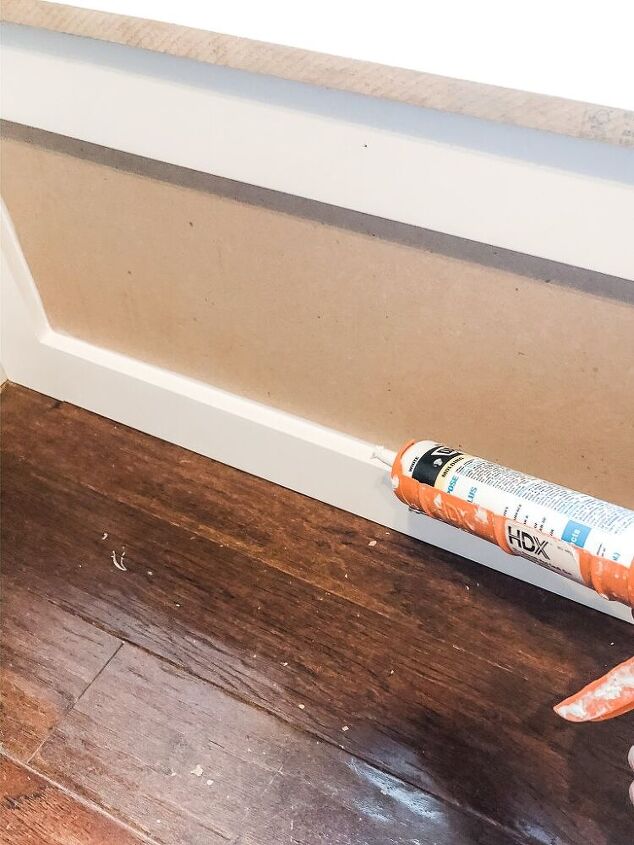
Step 5: Caulk the joints.
Next, we caulked the joints.

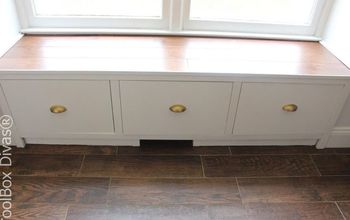
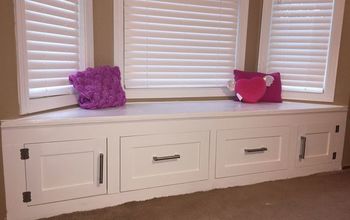
Step 6: Sand & Paint
We sanded the bench using a sanding sponge and then painted it bright white.
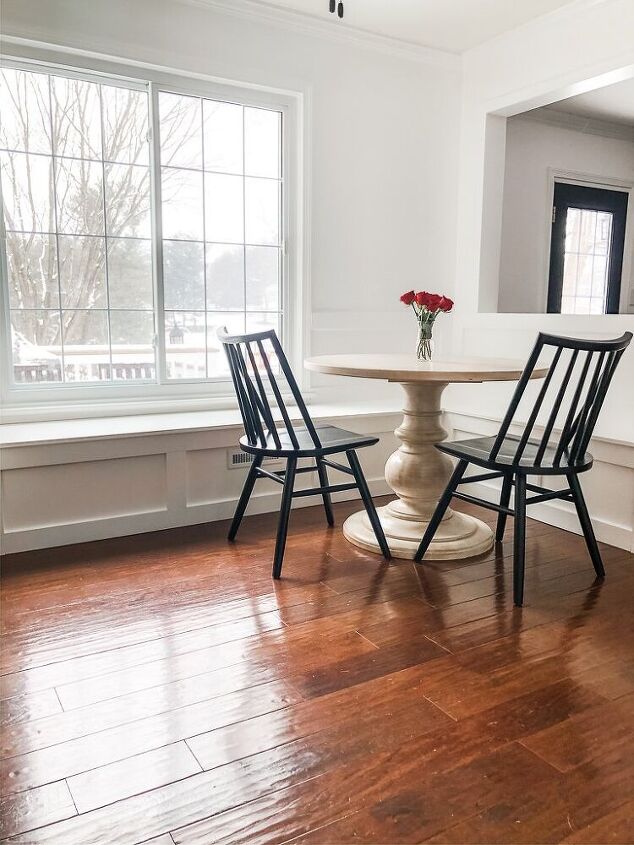
Here's the finished result! For the complete tutorial, read my post: https://marlydice.com/how-to-build-a-kitchen-nook-bench/.

And here's how the space looks now! We added a chandelier and some pillows. I still have a few more finishing touches for this bench and breakfast nook area, so follow along on my blog to more: www.marlydice.com.
Resources for this project:
See all materials


Comments
Join the conversation
-
Congratulations 👏
This is a nice & well-done project 🔨 🔫 🎨 📏
I love it ❤️
Thank you for sharing 👌
-
Absolutely Gorgeous!!! Amazing job!!!!


Frequently asked questions
Have a question about this project?
Did you allow for interior access on the end of the one side? This space could come in handy for storing some seasonal or seldom used items.
you covered a vent?