


DIY Textured Wall Art

Learn how to make this budget-friendly textured wall art that looks way more expensive than it it!
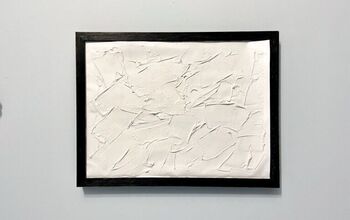
I used a Z Galleria painting called Fresco 2 for inspiration for this art work! It costs over $500, new. My project used all leftover materials so it cost me nothing!
Step 1: Grab an Old Painting or Frame and Create Texture
You'll want to grab an old painting or piece of artwork that's lying around your home. That way, this will be a super budget-friendly project.
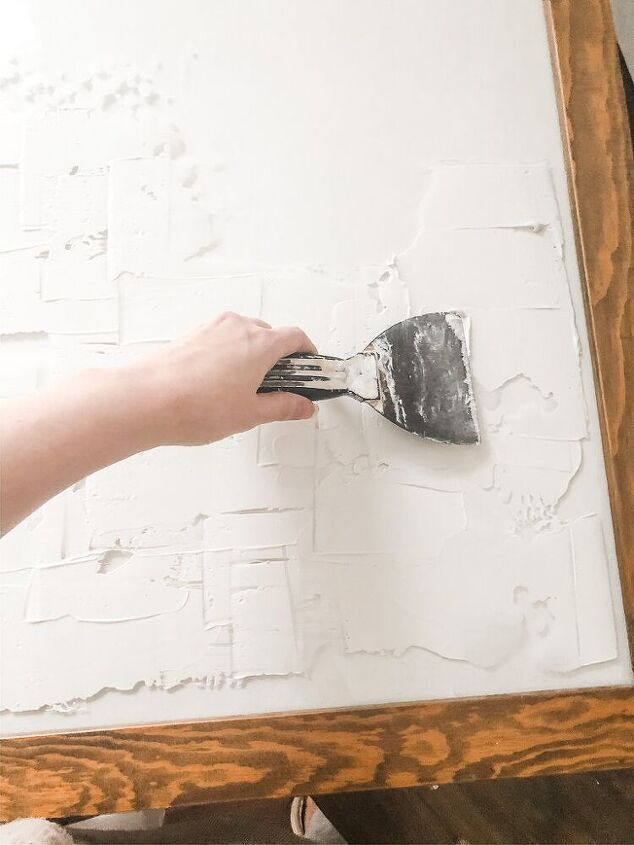
To create texture on your artwork, you can use joint compound.
I used leftover joint compound (which was great because it cost me nothing!) along with a putty knife to apply it.
You could use a paint brush to apply it if you'd like, depending on the type of texture you want to create.
Step 2: Continue creating the texture using until you're happy with it.
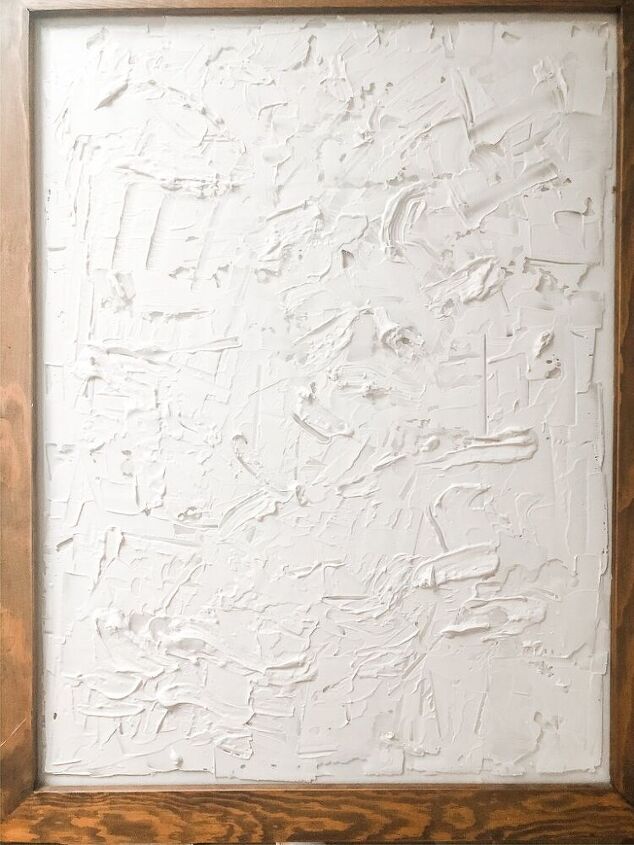
I didn't really have a rhyme or reason with how I applied it. I just made a lot of different strokes with my putty knife and then dropped some clumps of the joint compound on it to give it even more texture.
Once you have it just how you want it, let it dry completely.
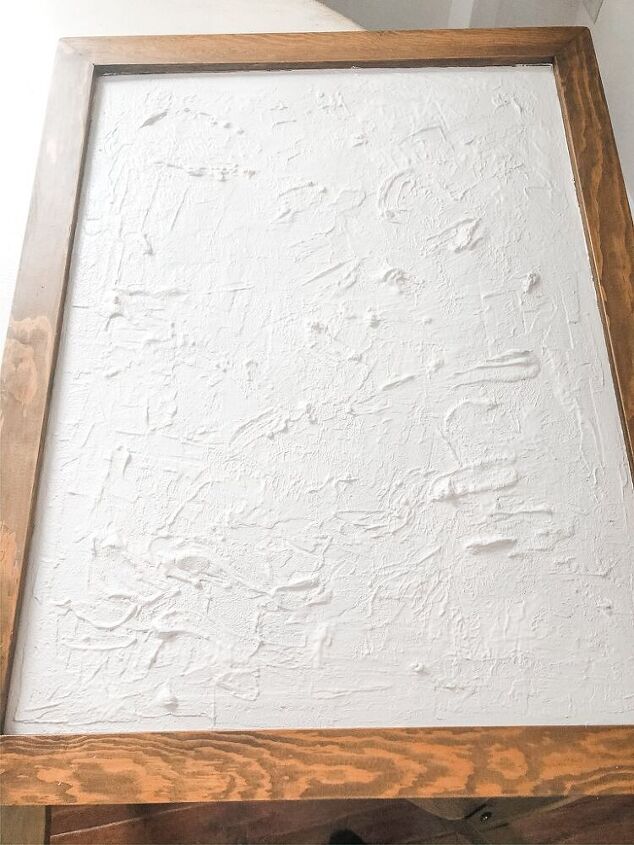
Step 3: Paint It!
Use any color paint you like. I just used some leftover off-white paint I had from old projects.
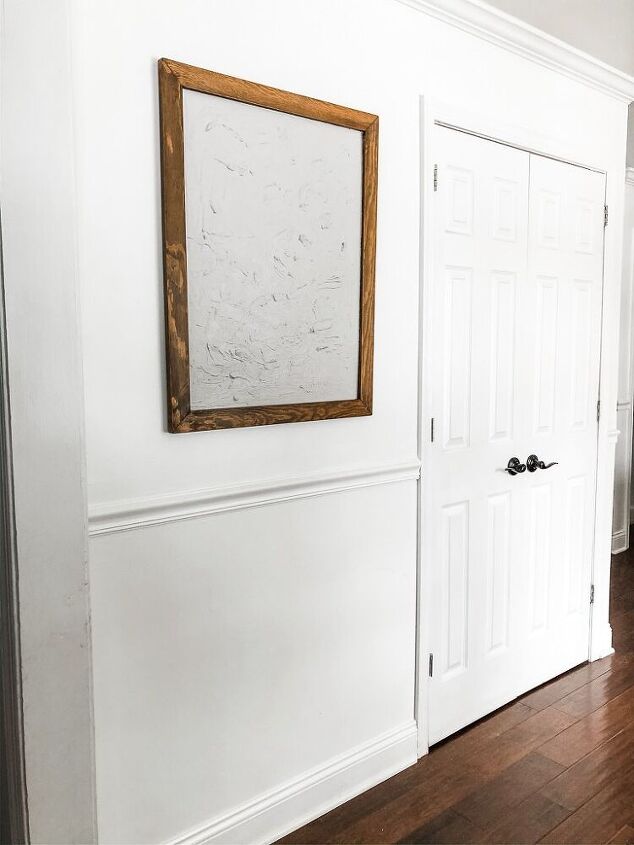
Step 4: Hang it up!
Here's how ours looks next to our pantry.
For more details on this project, head to this blog post: https://marlydice.com/diy-textured-abstract-art-tutorial/.
Comments
Join the conversation
-
This is such a great idea!
-
Very cool. I did similar back in the 80's. Only I would paint With different colors. Some solid and some dry brush. Kind of a fad back than


Frequently asked questions
Have a question about this project?