


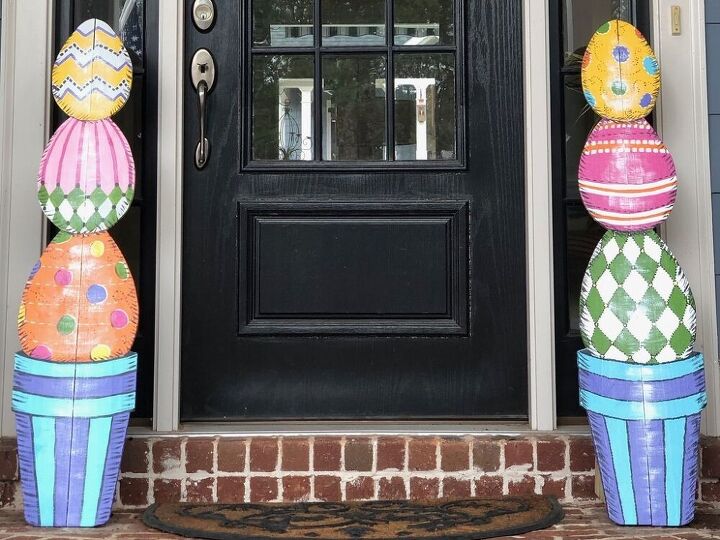
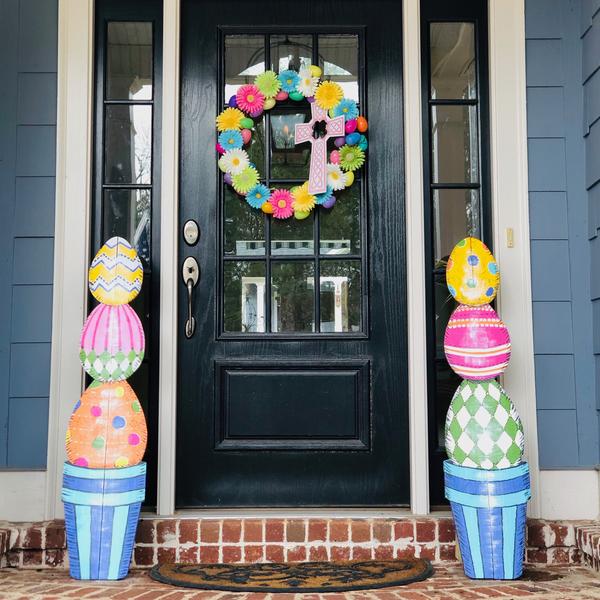
Easter Egg "Topiaries"
A few years ago I copied Christmas topiaries from Grandinroad catalogue. I used styrofoam balls, plaster of Paris, and wood. It was an intense and long process and not one I really wanted to repeat plus it was pricey, though not nearly as much as the original
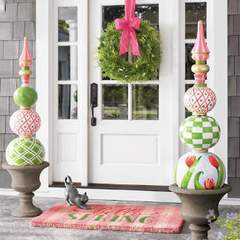
. But they also had a spring version which was so happy and beautiful!
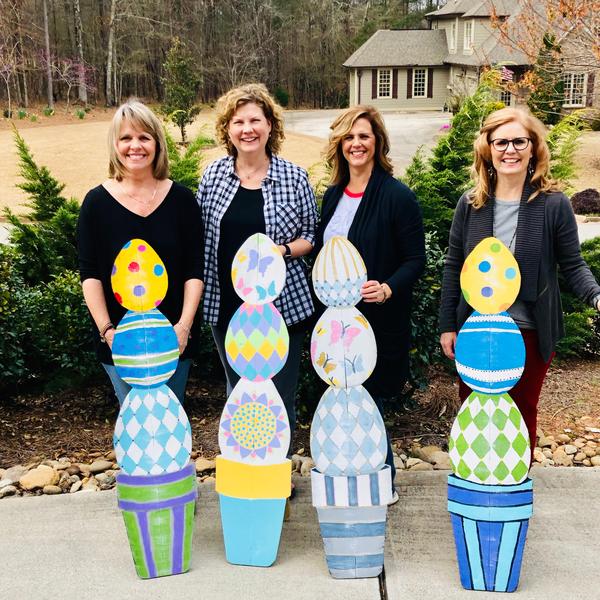
I loved the scale of these topiaries and the springtime designs. I realize that what I am going to show you is not super close to the image to the right, but it was my starting place. The other thing that informed my design was that I already had a supply of six-foot fence pickets I had gotten for free on Craigslist. As a bonus, the idea that these could be stored flat was appealing. Thus the Easter “Topiaries” were born.
Materials:
2- 6’ fence pickets cut to 4’
1 easel back (one of the 2’ offcuts)
3 cleats (from the other offcut)
Nail gun and nails
1 hinge
14” string or wire
staple gun and staples
primer and brush
poster board pattern
design patterns
carbon paper
pencil
paint and brushes
Steps:
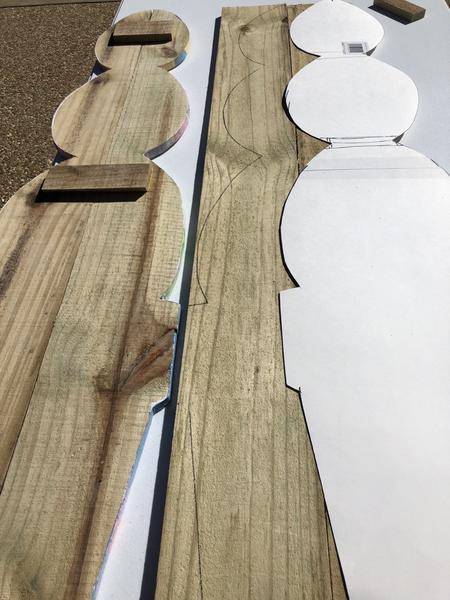
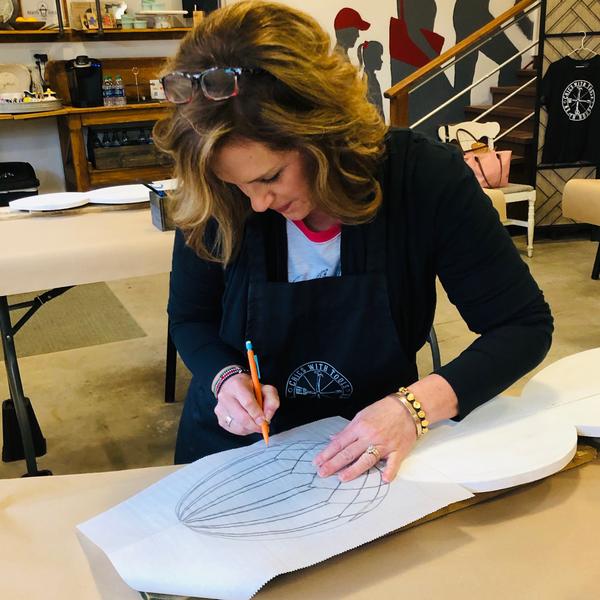
- Create a pattern.
- Trace half of topiary pattern on one picket.
- Cut it out with a jigsaw or bandsaw.
- Flip the pattern and repeat. (The flipping ensures that your topiary will be symmetrical)
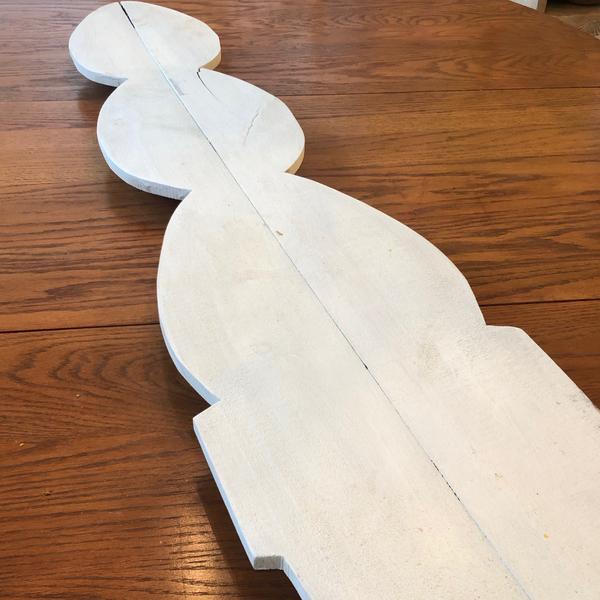
- Using a nail gun or screws, attach the two halves together with the cleats.
- Prime. I used a bonding and stain blocking version of Kilz and it did a great job!
- Attach the easel back to the middle cleat with a hinge.
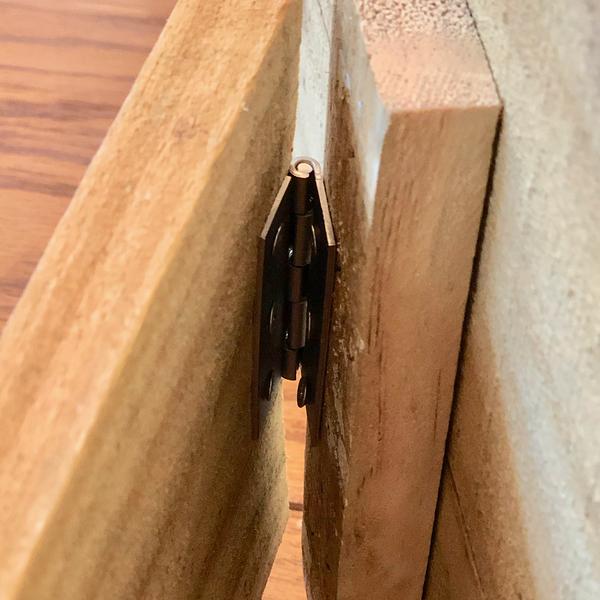
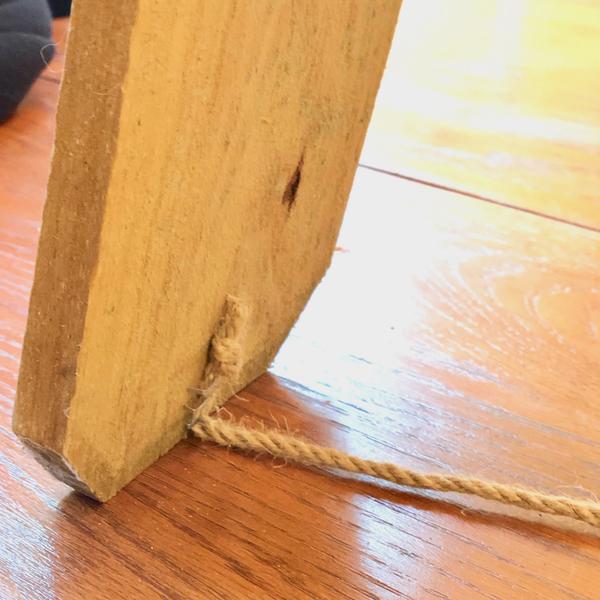
- Use string stapled to the bottom of the easel and the topiary to keep it from sliding open too far.
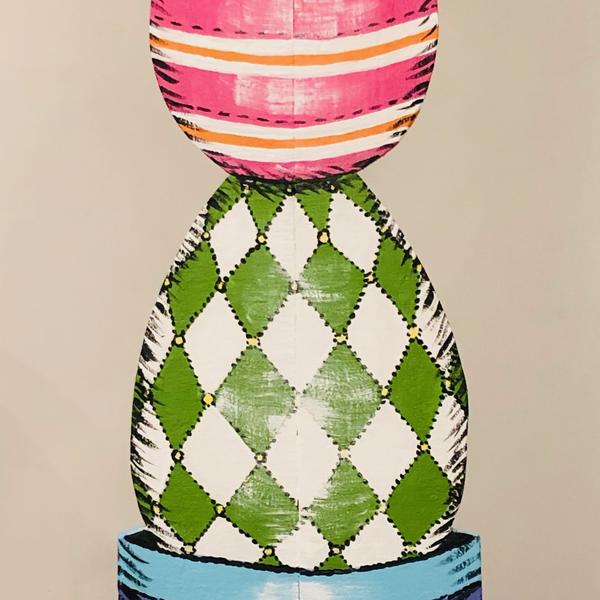
- On white paper, create designs. Make them appear to curve around a surface. I used the Grandinroad catalogue. (No shame!)
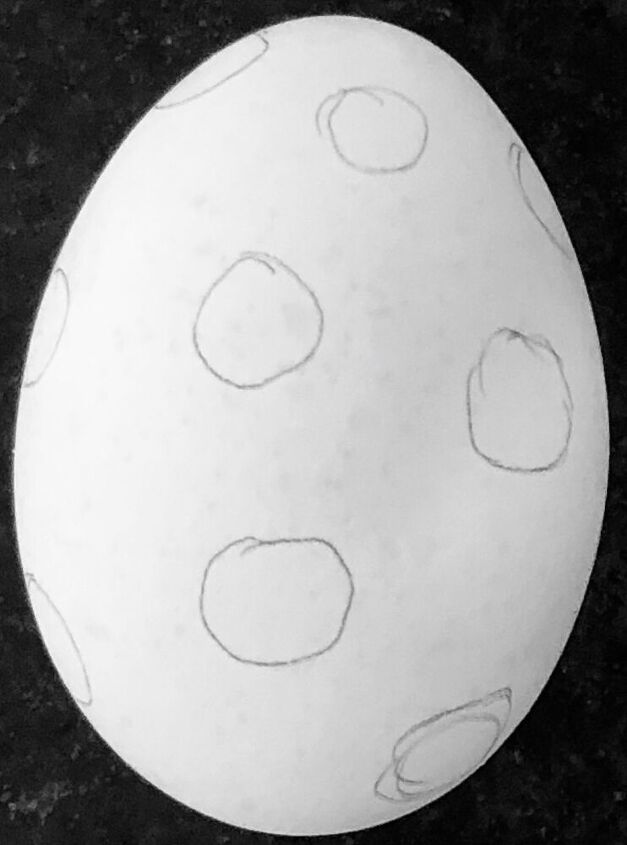
- But I also used an actual egg. I drew polka dots and took a photo. Then I printed it out to match the size of my wooden topiary eggs.
- Using carbon paper, trace your design onto the prepared surface.
- Paint. I used house paint sample pots.
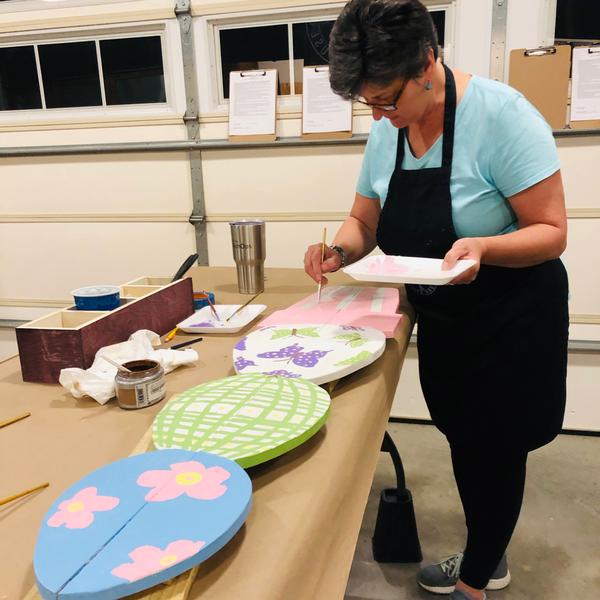
- Add shading using a hatching technique or a dry brush.
- Add white highlights down the center to really make it 3-D.
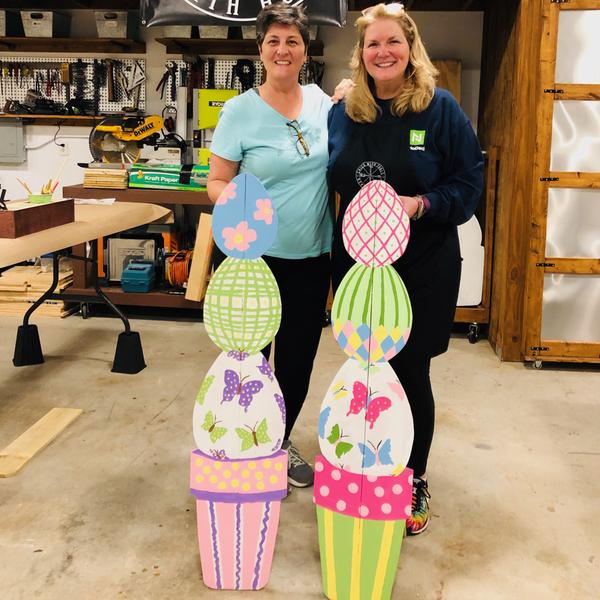
- Finally, show off your work!


Comments
Join the conversation
-
I will be calling my Momma and Daddy for a lot of help. Thank you! Those are absolutely beautiful.
-
Very cheerful. The painting skills are what makes this for me. Hope I can copy well enough to enjoy as much as I enjoy pictures. Thanks for sharing


Frequently asked questions
Have a question about this project?