


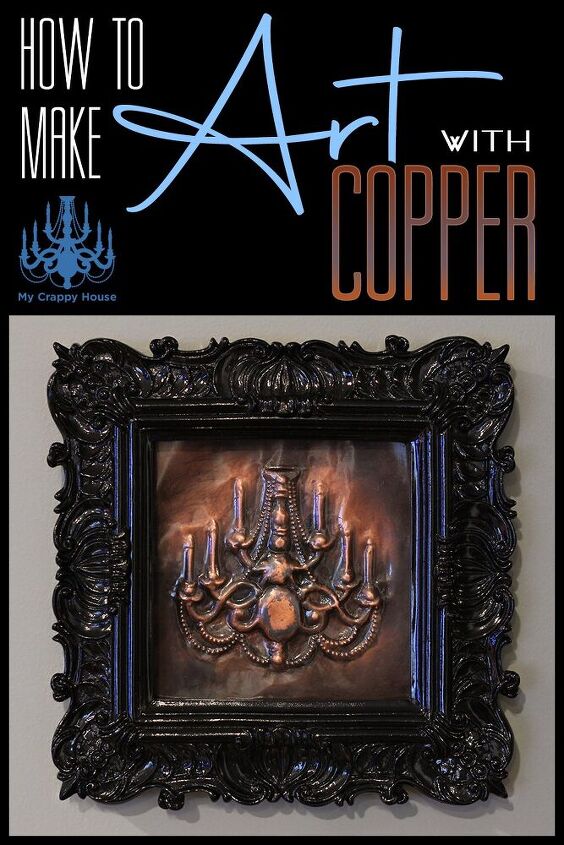
How to Make Art With Copper
It’s Another Really Cool Copper Technique
Looking for a last minute holiday gift? This post won’t help you. I mean, I guess you could do it if you had the time, but, seriously, who has the time? It’s the middle of December! Hanukkah is half over and Christmas is less than two weeks away. Maybe someone you know has a birthday in January. (Or maybe, like… April?) Anyway, timing be damned! In this post, I’m going to show you how to make art with copper and you’re going to love it…

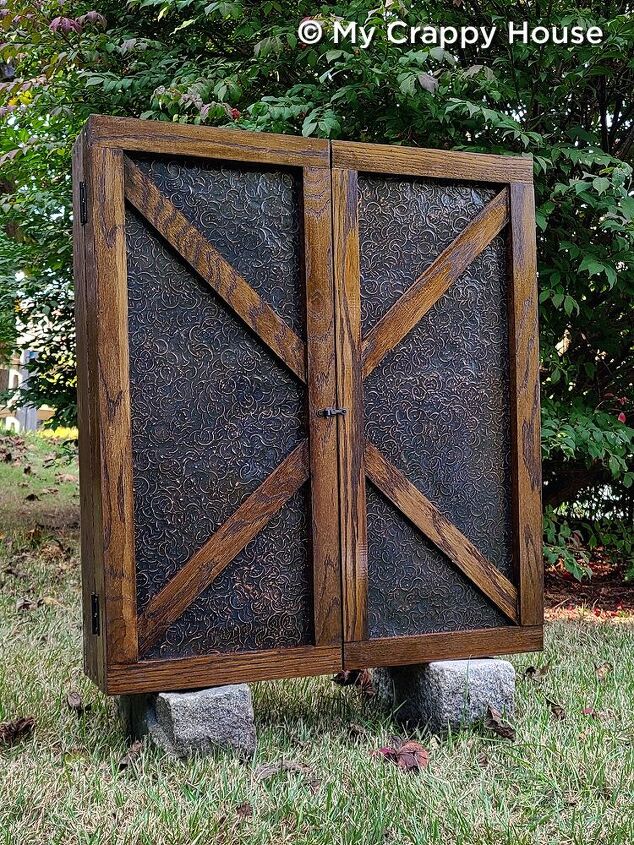
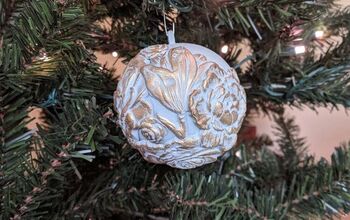
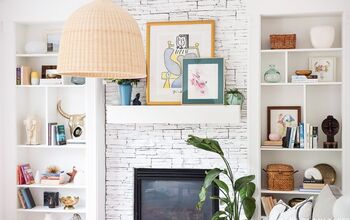
A couple of months ago, I showed you this really cool copper technique that I learned in Mr. Klahn’s junior high shop class. Here are a couple of pictures to refresh your memory…
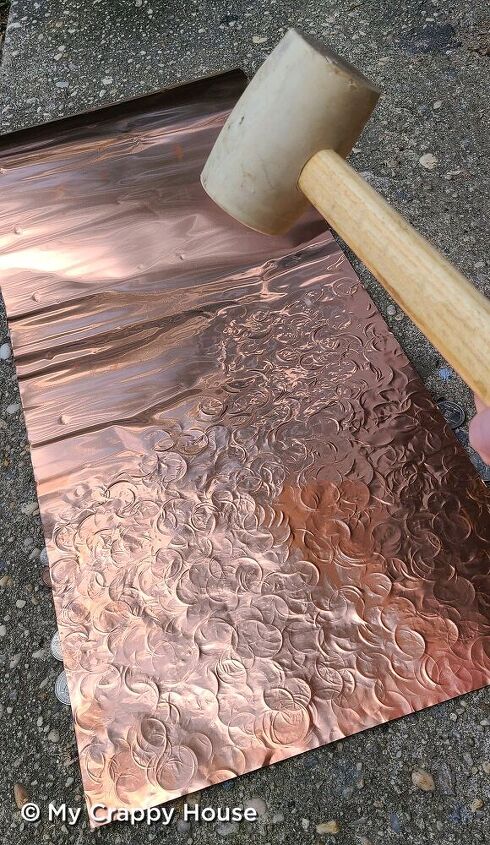
That technique was super easy. It pretty much just involved copper, a hammer, and some pent up aggression. (And, really, who doesn’t have some pent up aggression to spare in freaking 2020?)

But the technique I’m going to show you this week is a little more refined. It requires a bit more finesse and control and a lot less hostility. So, dial it back, have a cocktail, do some yoga, pop on some relaxing Kenny G. Christmas music, and get ready to make something pretty.
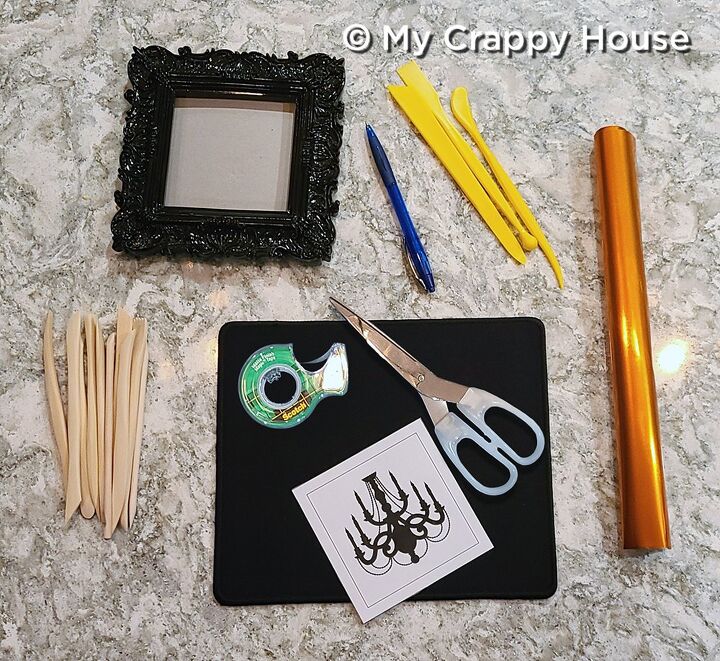
There is absolutely no talent required for this project (Huzzah!), but you will need a few supplies. Here’s the list:
- an image to trace
- small picture frame
- roll of copper (36 gauge)
- tape
- ruler
- ball point pen
- embossing tools
- small mouse pad
- junky scissors
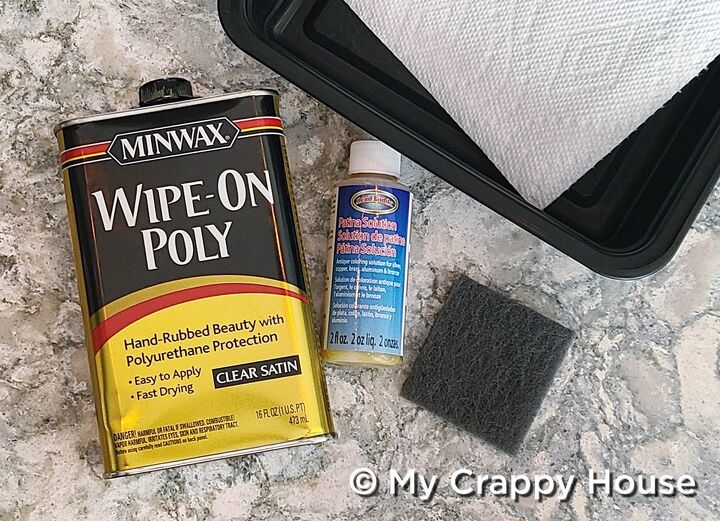
- liver of sulfur
- plastic or glass dish
- scouring pad
- wipe on poly
- paper towels
- Command Picture Hanging Strips
Yeah, I know that’s a lot of supplies, but some of them are only a one time purchase, and others you probably already have in your home.
(I say probably because it’s 2020 and it’s no longer a given that you have paper towels in your home. (Or even toilet paper, for that matter…) If thinking about that has made you angry again, just remember there’s that other copper project I told you about where you can channel that rage…)

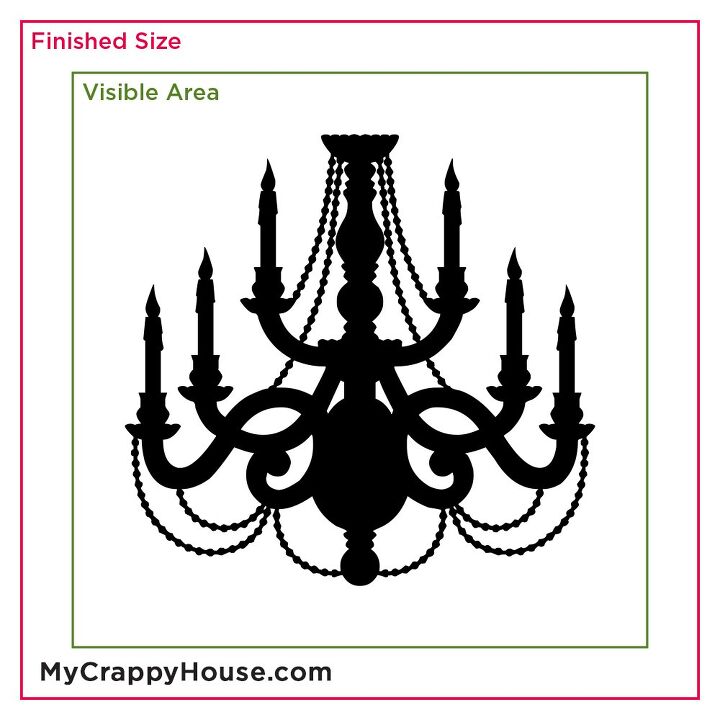
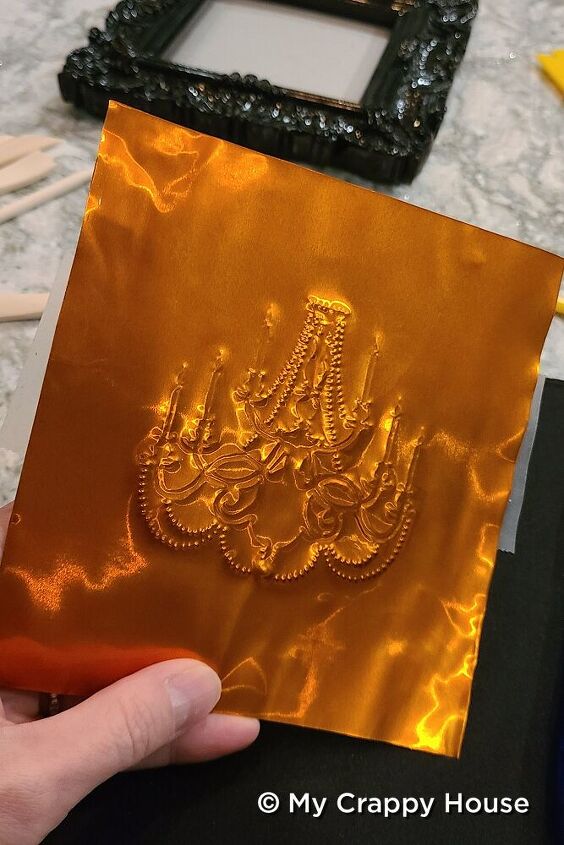
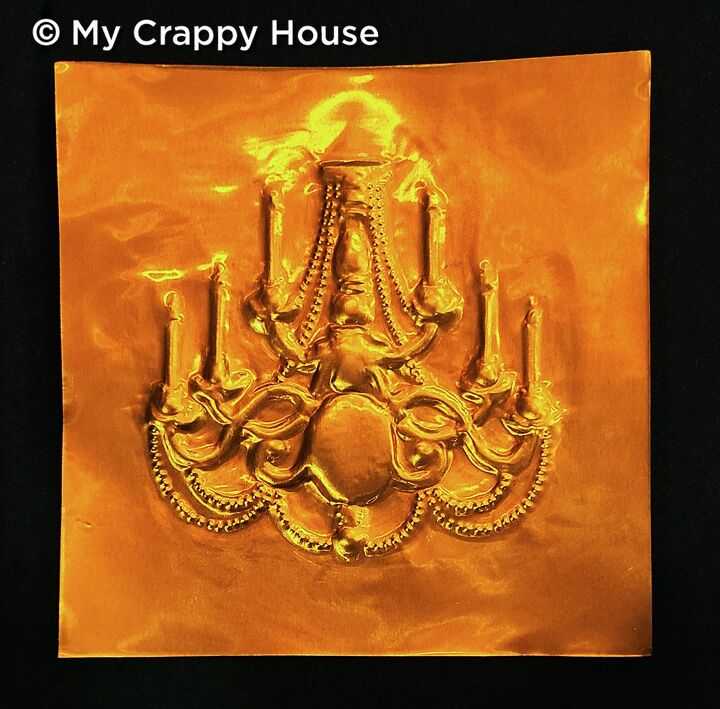
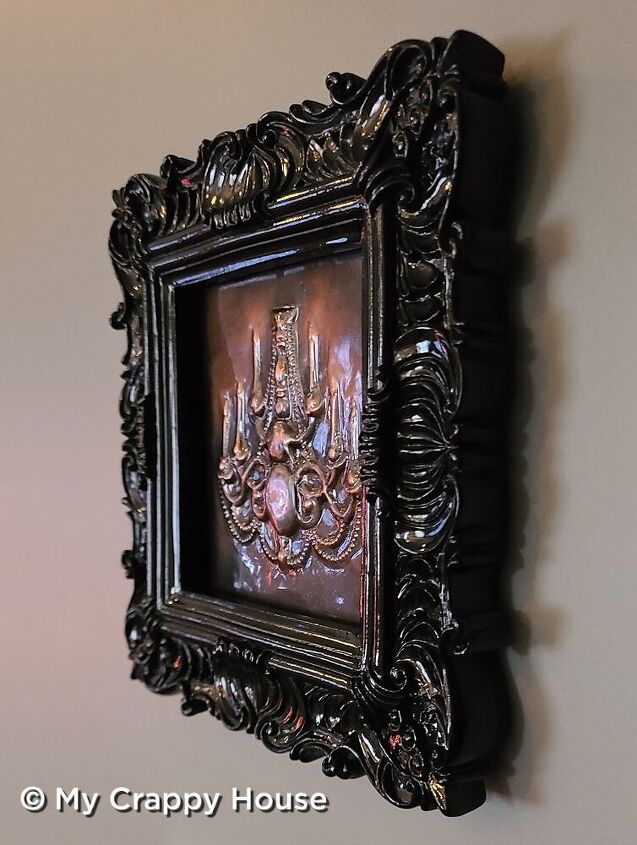
For this copper project, the first thing you’ll need to do is pick an image (or design) to make into art. It can be anything you like, but not too detailed. I used the chandelier from my logo. (Yeah, OK, that’s got a fair amount of detail, but do as I say, not as I do. Even simple designs come out beautifully, so don’t be a hero.)
- If you’re stuck for ideas, try looking at dingbat fonts, which are comprised of images rather than letters. You can find some free ones here. You’re welcome.
You’ll want to size your image, or design, to fit your picture frame. Measure your frame opening from the back to get the overall size of your finished piece, then measure the opening from the front to see how much will be visible. Make sure your design fits in the visible space.
It’s just a little bit of math. Don’t be scared.
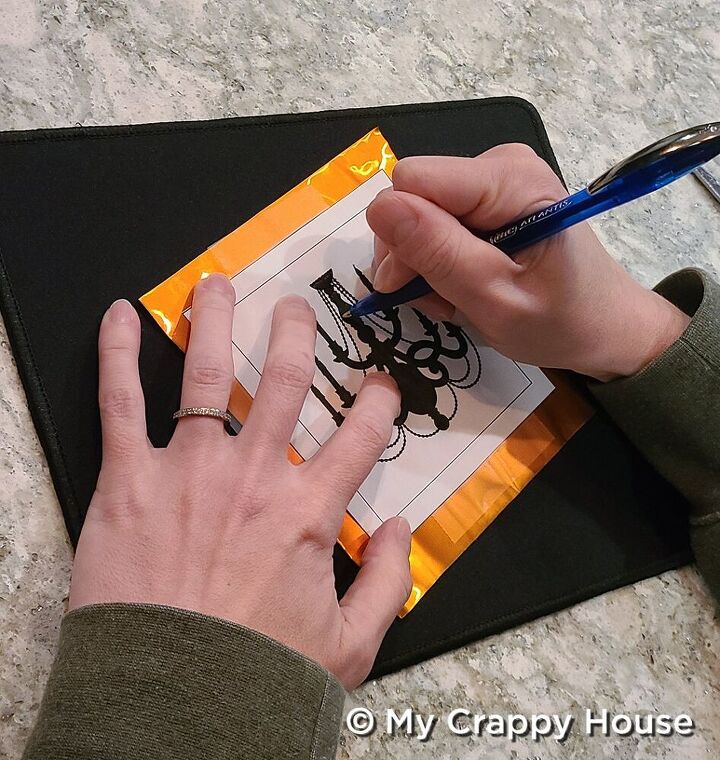
Next, you want cut a piece of copper that’s a little bit bigger than your finished size (Use those junky scissors for this part– Mom will kill you if you ruin her good pair…) and tape your picture to it on all four sides. Any tape will do.
Then, place your copper on your mouse pad, take your ball point pen, and trace over the outline of your design. Press down hard to be sure your design transfers to the copper.
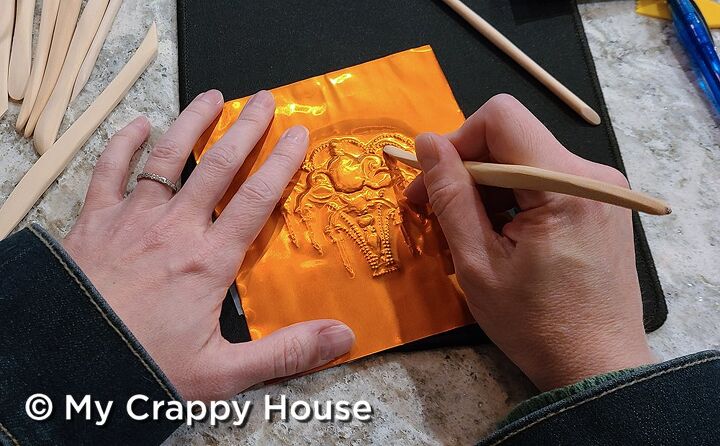
Now you’re going to use your embossing tools to press your design into the copper. I bought both wooden and plastic tools, but I found myself using the wooden ones more.
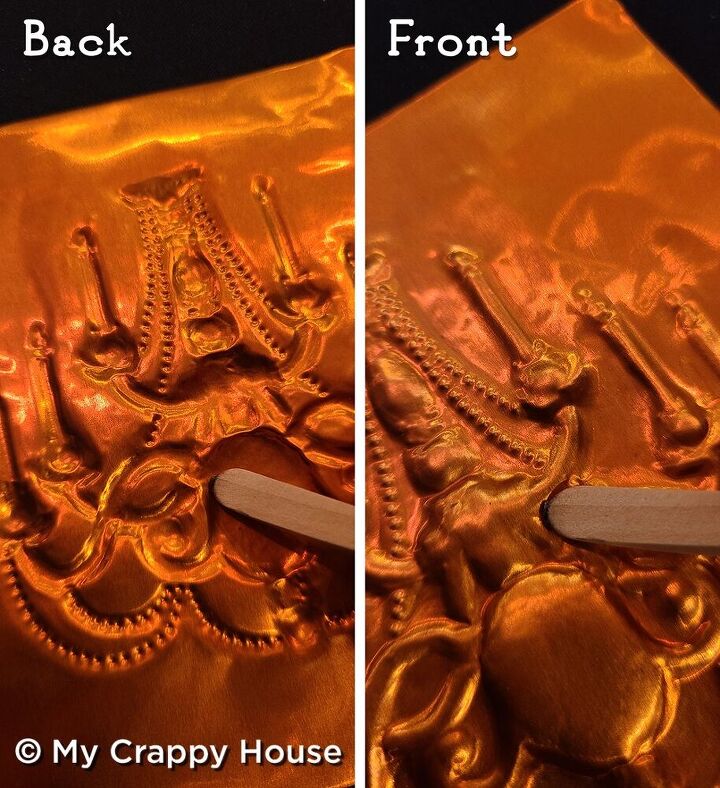
The side the paper is taped on will be the back of your artwork. Following your design, use your tools to rub on that side in the areas you want to pop out on the front of your piece, then flip it over to rub on the parts that you would like to recede. This process is called “copper tooling”, or “repoussé” if you’re fancy. (Or French.)
It’s worth mentioning here that, if you do any words, you’ll need to print them out backwards so they face the right way on the front of your work. You don’t want to spend precious time working on your “LOVE” art only to realize it says ƎVO⅃. That’d totally suck.
Continue embossing both sides of the copper, flipping back and forth so you can see how your design is progressing. If your hands get tired, take a break. (Duh…) I worked on my piece over several days.
Remember, it’s way too late for your Jewish friends to get a pretty copper gift from you this season, and it’s not like I gave you enough time to finish this before Christmas, so there’s really no reason to rush.
When you’re done, it’ll look… well, probably nothing like mine, but I’m sure yours’ll look fabulous in its own way. Good job, you.
Your hands hurt now, don’t they… I know. I’m sorry. I should have warned you. But the hard part is over. Now comes the chemistry.
Take your plastic (or glass) container and put a few drops of liver of sulfur gel in it. If you read my last post about copper, you’ll remember I used liver of sulfur nuggets. Turns out, the nuggets go bad after a while and basically turn into useless rocks. (Ask me how I know.) The gel works better and it’s what I now recommend you use. (You also may remember that I warned you that the nuggets smell like farts. Just so you know, the gel totally does too…)
Add some super hot water and let the gel dissolve, then add your piece. If the smell bothers you, you can do this part outside. (Incidentally, if the smell does not bother you, you might want to have a chat with your doctor. Freaking 2020…)
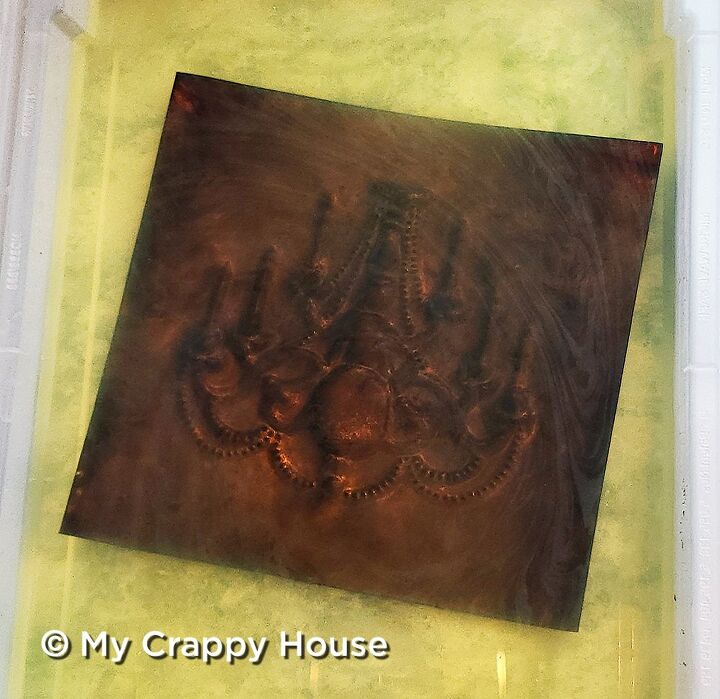
Let this soak for… I don’t know. Ten? Fifteen? Twenty minutes? Let it turn black. Be patient. It’ll happen. (Because, science.) Once it does, rinse it under the faucet…
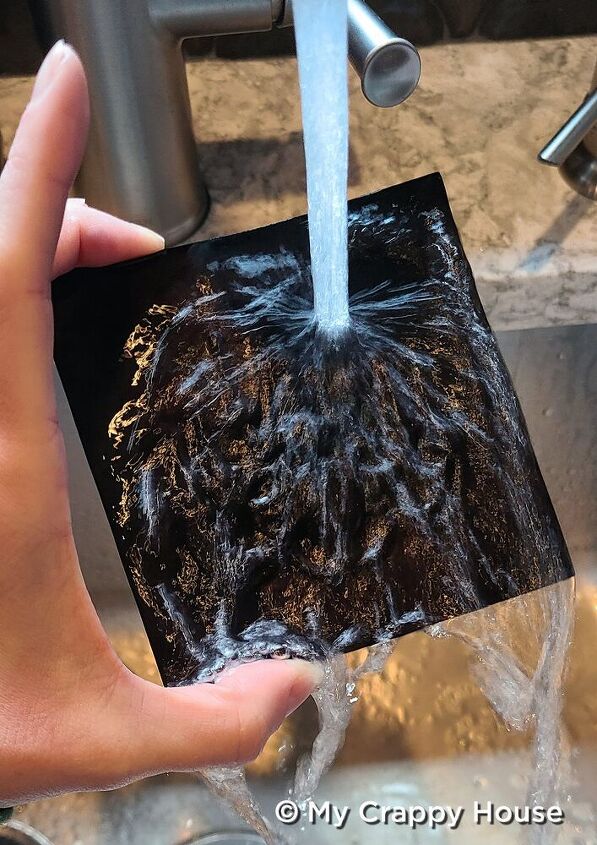
And then let it dry.
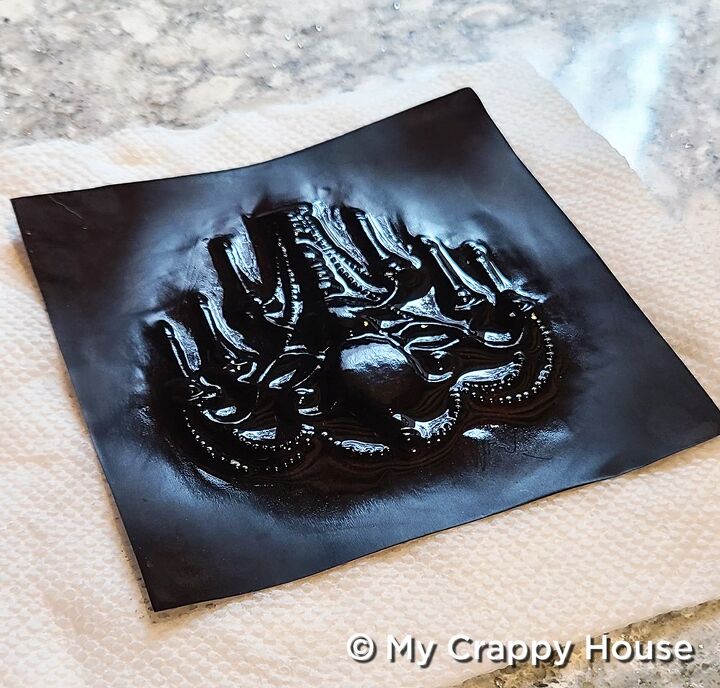
Once it’s completely dry, you can begin to wipe off the black with a dry paper towel. Take your time with this. You’ll want to leave some black in the nooks and crannies to enhance your art, so work slowly in small sections.
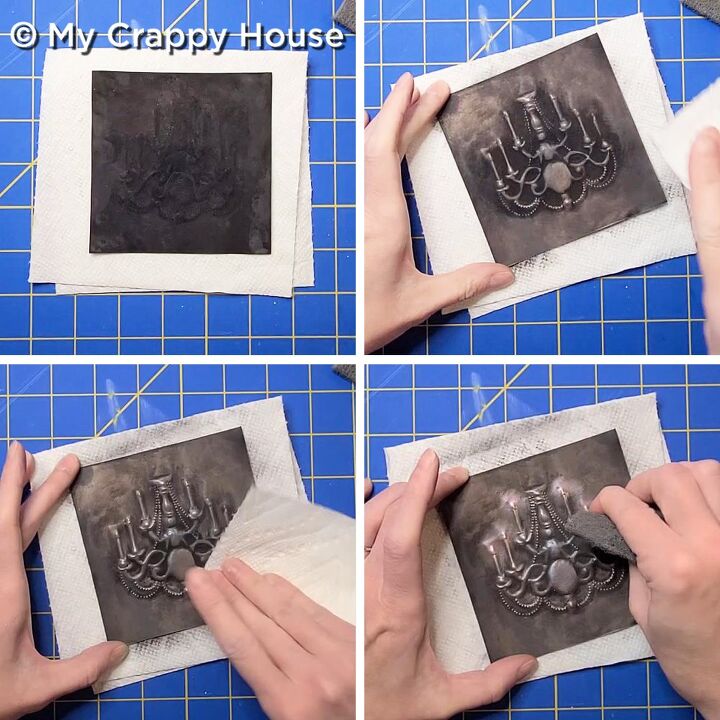
Switch to your scouring pad once you’ve gotten off all you can (or want to) with the paper towel. Stick to the high spots, avoid the crevices, and don’t over scrub! For my piece, I spent a little extra time around the lights so it would look like they were glowing.
I know. I’m so freaking creative.
The last step is to wipe on the poly with a paper towel. Would you believe I don’t have pictures of this step for you? Well, believe it, baby. I forgot to take them. However… that final step is included in this bonus video I made especially for you where I demonstrate the whole entire process. Guys, I am always thinking of you! Watch the video here if you don’t see it below.
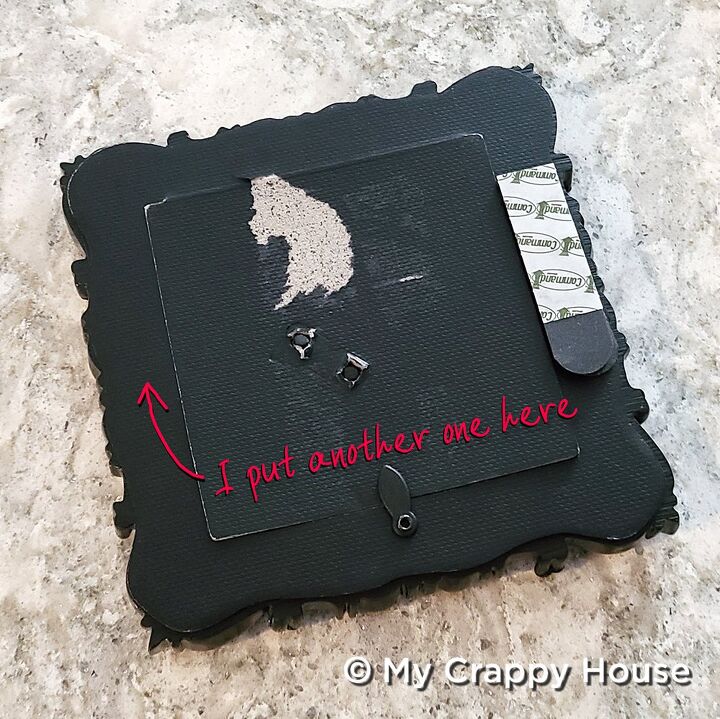
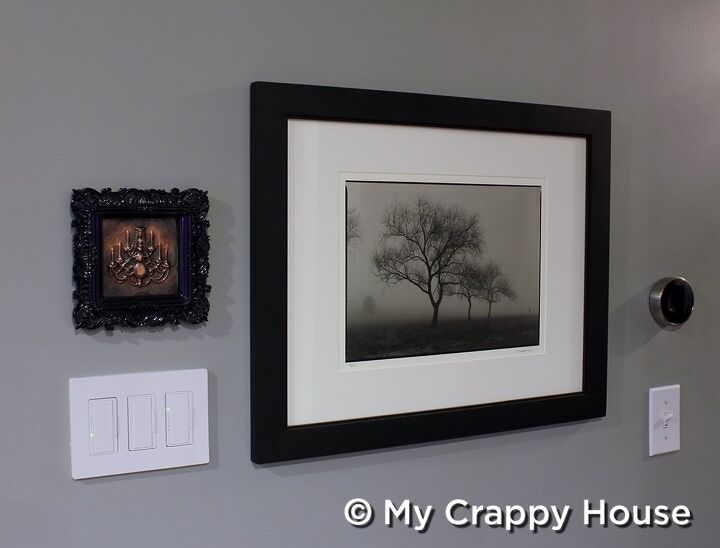
The only thing left to do is frame your art. I pulled the kickstand off of my frame so I could hang it flat on the wall and I used these Command Picture Hanging Strips in black so they wouldn’t be visible.
Now let’s hang it up on the wall and take a look…
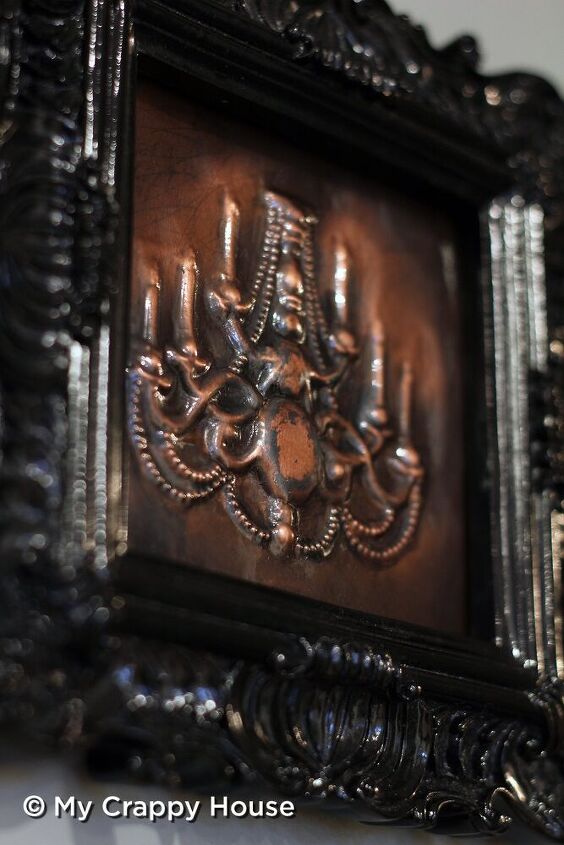
Do you love it? Of course you do. What a silly question.
I hung it over the most popular light switch in the house. A true place of honor…
Hey, why don’t you pin this post on Pinterest so you don’t forget about it? This image looks mighty pinnable…
In other news, I’m still here in Crazy Town (where we go big or go home…), working on that outdoor cat house I told you about last month. I know it’s been a while (Things tend to take much longer to build in Crazy Town, due to the highly elaborate nature of the projects.), but it’s coming out purrfect! Even better than I’d imagined. (And I can imagine quite a lot…) Look for a mew post about that next week. You’d better subscribe right meow so you don’t miss it… That’d be catastrophic >^.^
*This post contains affiliate links.
Resources for this project:
See all materials


Comments
Join the conversation
-
Your blog title " My Crappy House" sure gave me a chuckle this morning!
-
Loved your project, so fun! I don’t live in a dungeon either, 😂


Frequently asked questions
Have a question about this project?
Where would I get more instruction on this method of Cooper work? I did a loin and her cub with trees in the back round in grade 8 and gave it
to
my mother for Mother’s Day. No idea where
it ended up I was very proud of
how well it
turned out. I have looked in the past but
could not find any info on the technique.
Mazel tov! Truly a work of art ❤️ Honey...being that it's antique looking? It's such a " museum piece" in appearance. It would seem to present, (on it's own). In some place of honor. Maybe with a small picture light, & copper embossed name plate underneath? Idk? Just lovely 👍