


How to Install Beautiful Craftsman Style Trim
8 Materials
$32
2 Hours
Medium
A Straightforward Guide For Installing Classic Craftsman Style Window and Door Molding
Craftsman style trim is super popular right now and I am here for it! I love how simple and clean it is while still looking classy and elegant. Lucky for us, it is SUPER simple to create for yourself! Since all my projects are gonna be done on a super budget (thank you COVID layoffs), I decided to make this trim, myself, using MDF. You could totally just use common boards from Home Depot, 1x3s, 1x4s, 1x5s, 1x6s, but that adds up quickly!
LET’S GET STARTED! Note: Affiliate shopping links are provided for your convenience. By shopping through the links on my site, I will earn a small commission at no additional cost to you. Thanks!
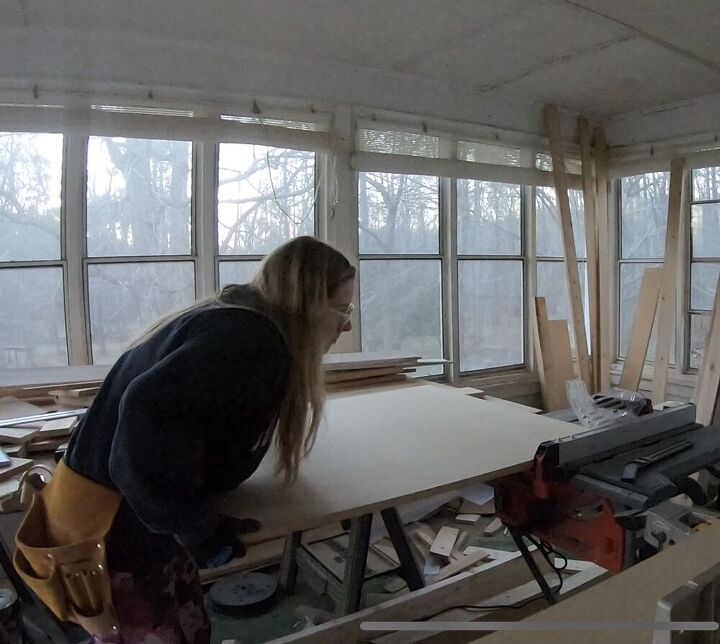
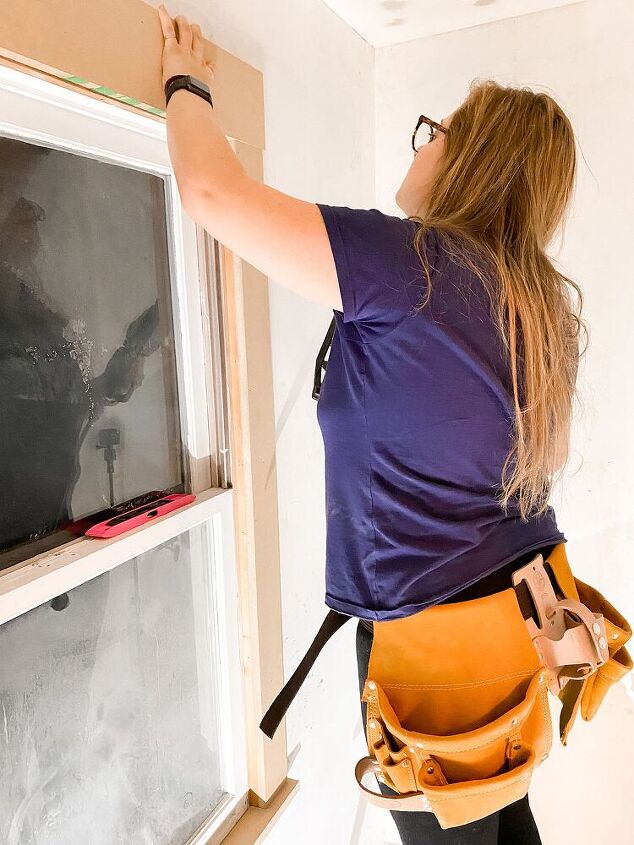
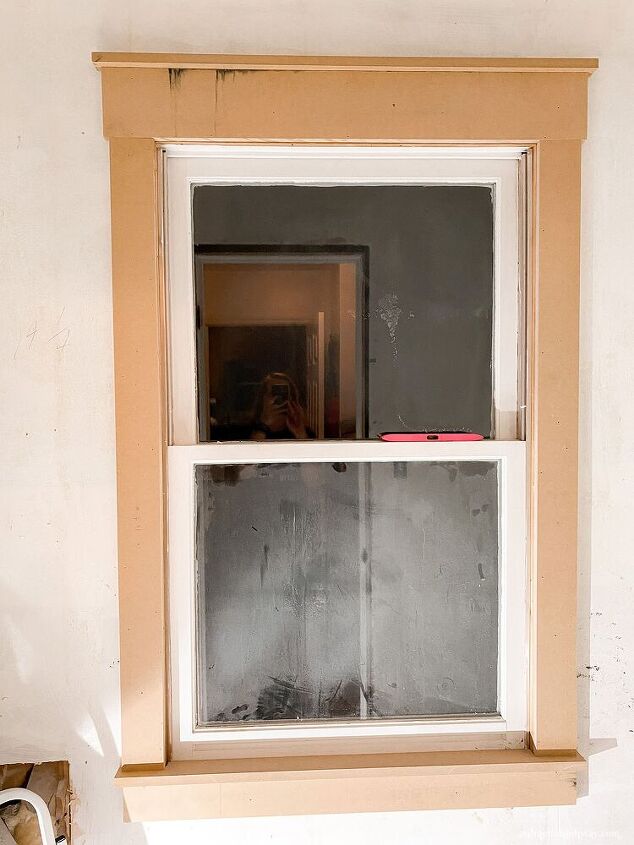
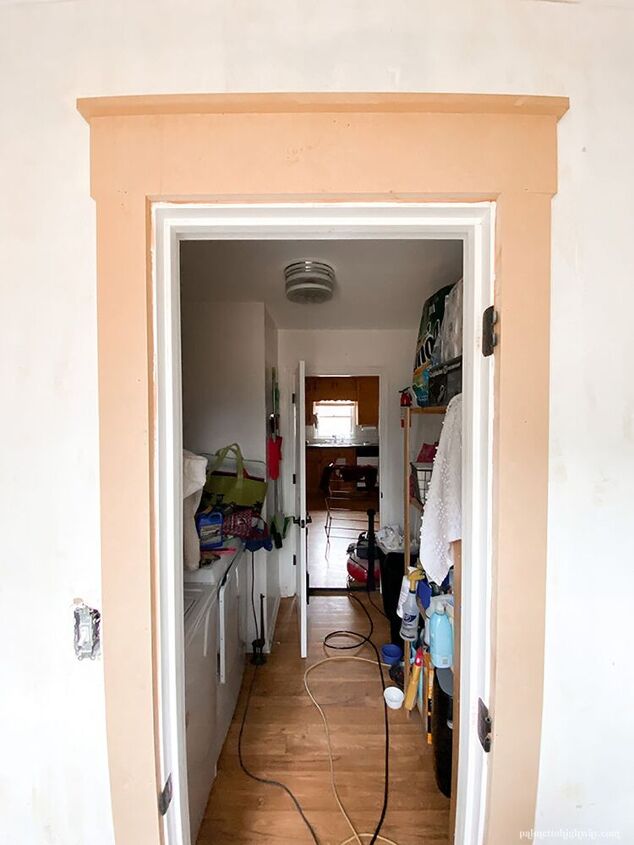
1. MDF was the affordable option for me so I used my table saw to cut down some boards to the sizes I needed to trim the windows and doors
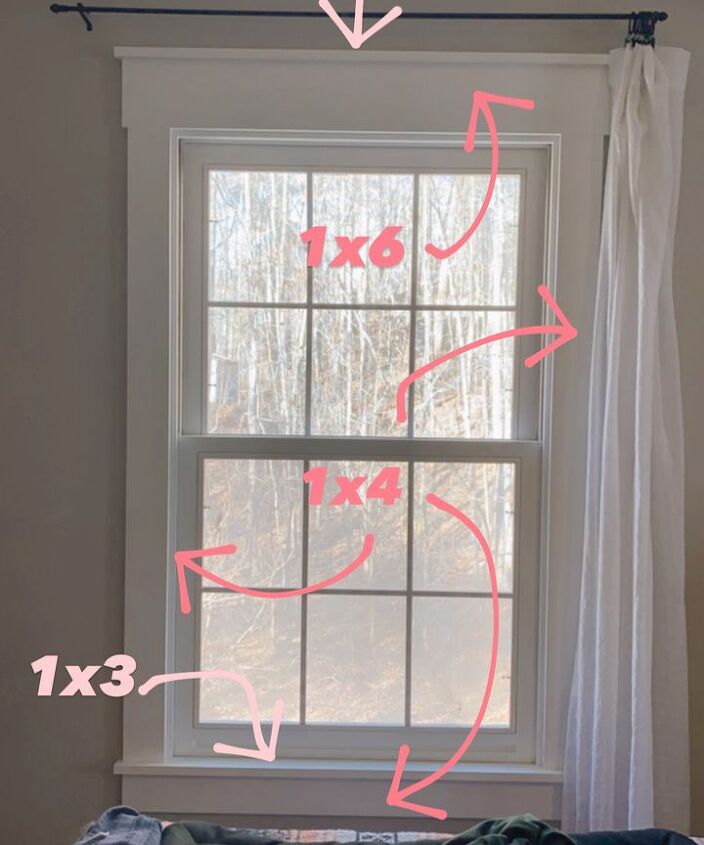
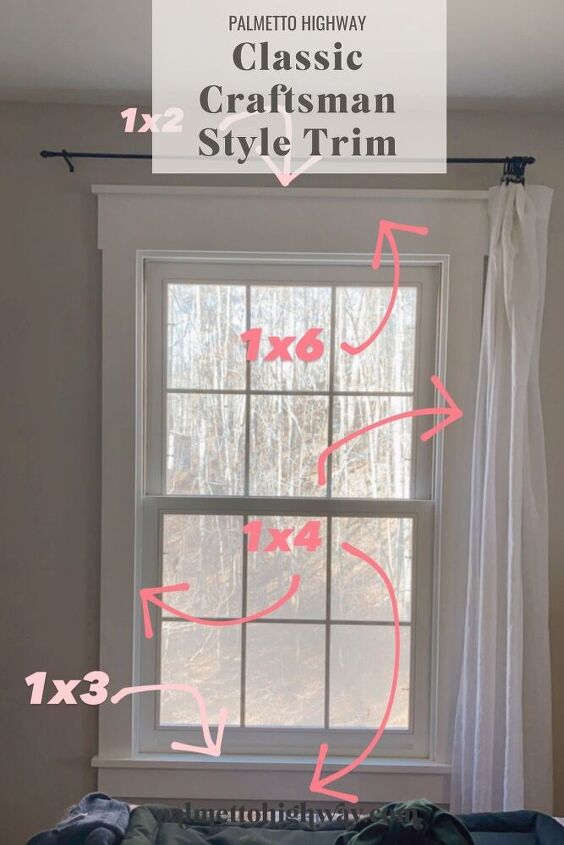
2. Most of the trim was approximately 1×4. The top piece was 1×6 with a 1×2 cap and 1×3 ended up being a good size for my window sill
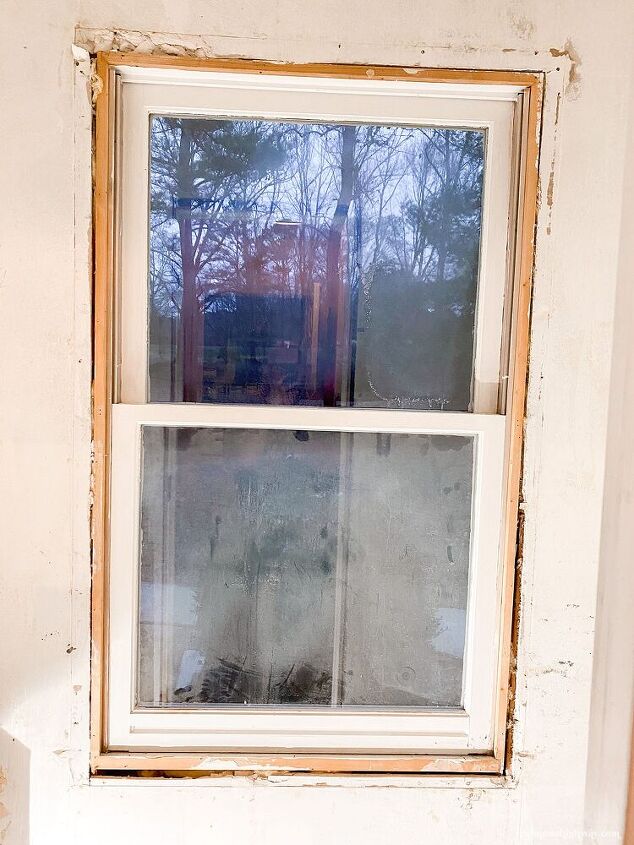
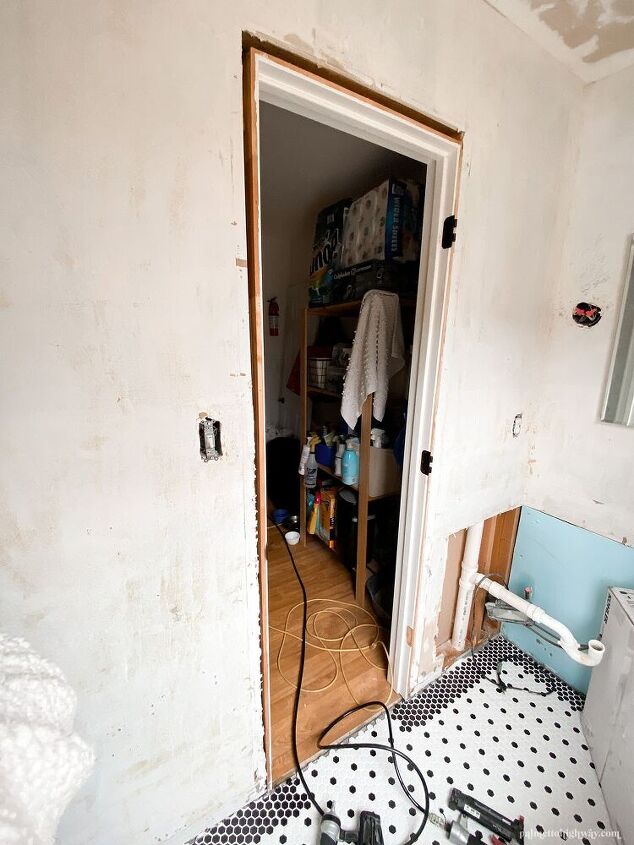
3. I had already stripped the room of all trim so this is my starting point
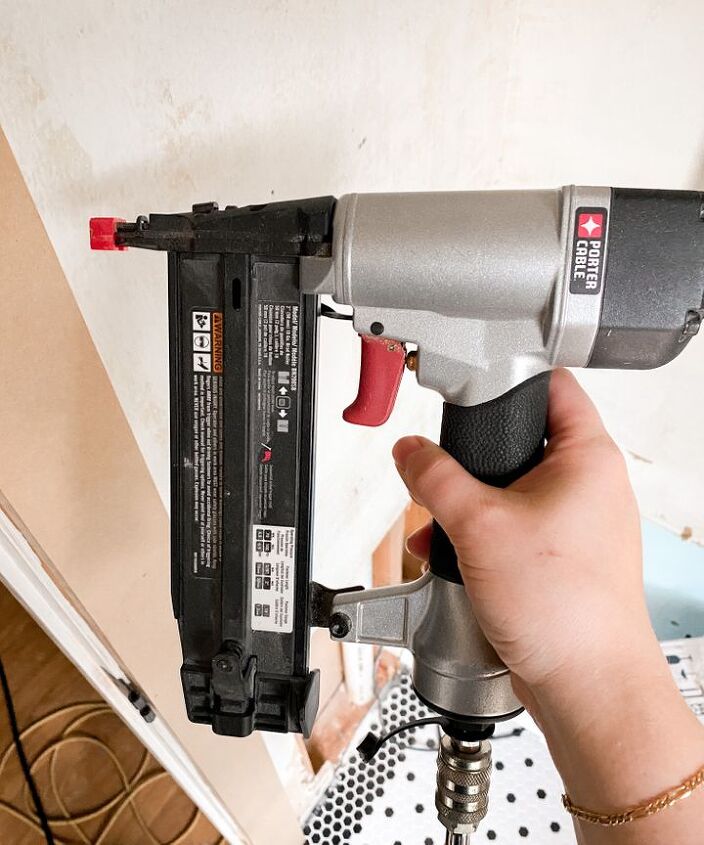
4. I used a finish nail gun for shooting trim directly into the wall/stud and a brad nail gun for the shallower pieces shooting 2 pieces of trim together

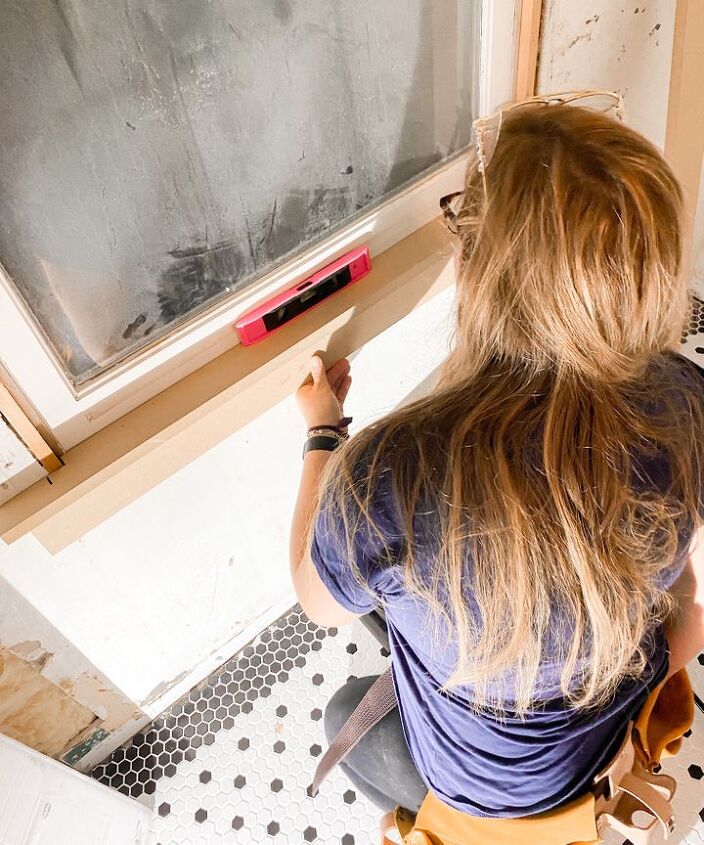
5. For windows, I recommend installing the sill first and the verticals on top of it. Luckily MDF doesn't warp as typical wood boards would so installation is fairly easy!
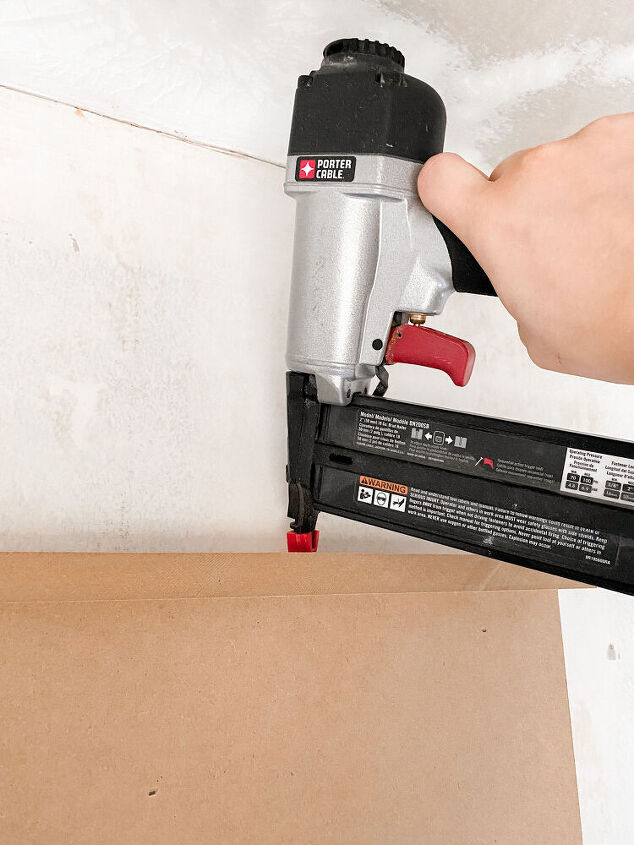
6. Installing the sill first allows the top piece to sit level on the verticals. When you attach the top cap trim, use a brad nailer from above.
7. The only piece that doesn't rely on the others is the bottom apron. You can install this at any time after the sill. I chose to nail it in place lastThe trim turned out great! Now for the rest of the bathroom makeover to continue! Next up, board and batten. Follow me on Instagram to see the whole bathroom makeover from start to finish!
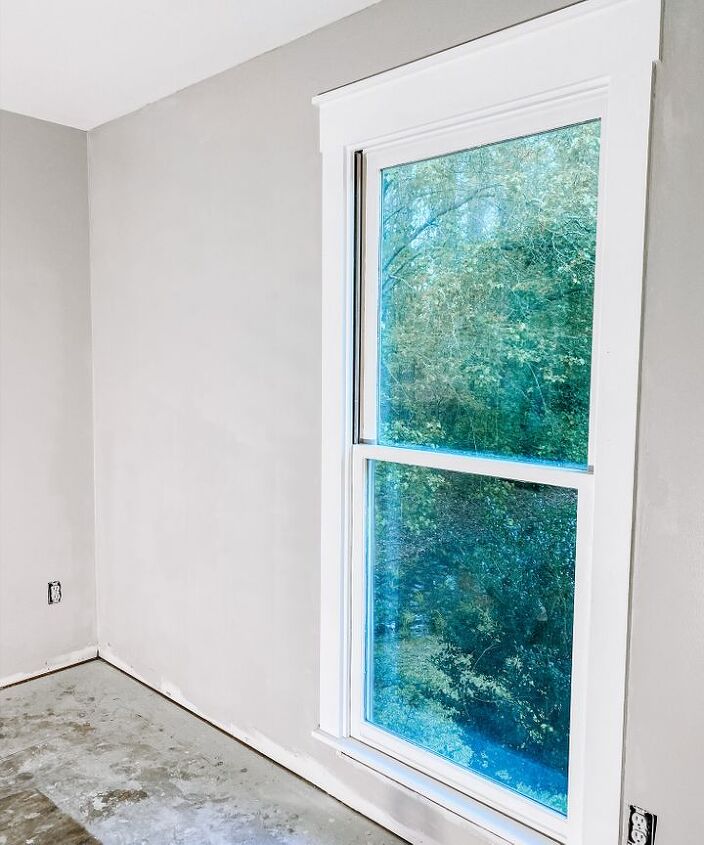
9. Once caulked and painted, it'll look like this window from another room I renovated
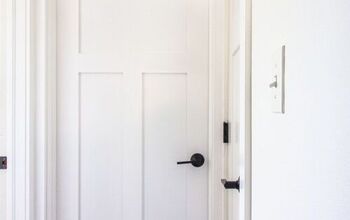
After! LOOK HOW GOOD IT LOOKS!
If you want to know what tools and materials I used for this project, shop from my post on my blog.If you’d like to see more about this bathroom renovation, check out my tutorial on how to install mosaic tile in this bathroom. This bathroom makeover is slow-moving but it is going to look so good!

Want more details about this and other DIY projects? Check out my blog post!
Comments
Join the conversation
3 of 5 comments
-
Looks good and so simple. Good share
-
Really enjoyed this! With the current prices of wood being so high, it was such a good choice to us MDF. Looks lovely. Good job. Thank you for sharing!


Frequently asked questions
Have a question about this project?