


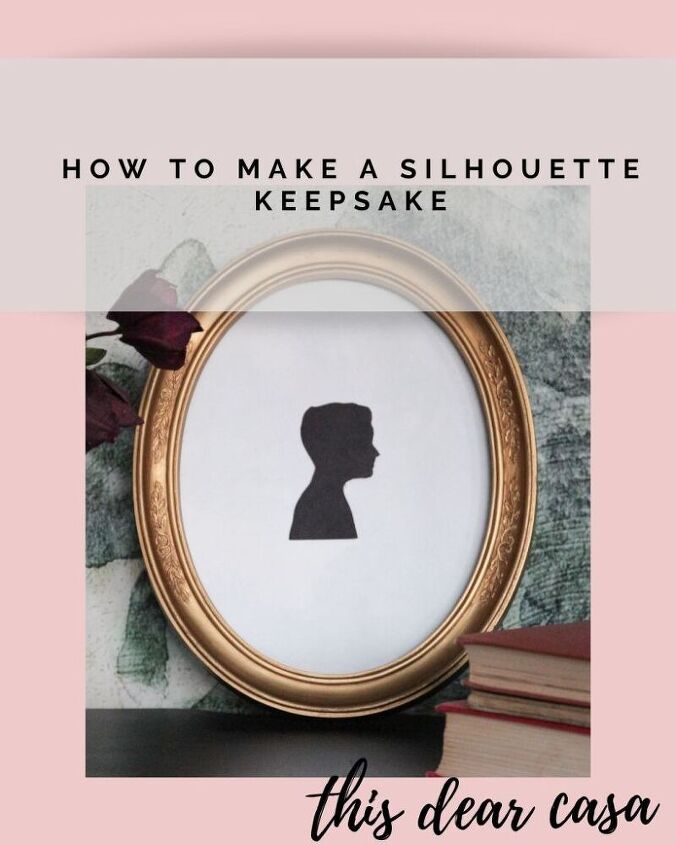
How To Make A Silhouette Keepsake
Have you been crafting or tackling projects during the cold weather? I tried an easy sentimental project that would fit in a gallery wall or would be perfect to gift! Read on to see!
I've started to think about ideas for Mother’s Day. It’s a few months away, but never to early to brainstorm. I started thinking about nostalgic memories. Somehow my brain led me to remember the souvenir silhouettes at Disneyland. Have you seen them? Your silhouette is captured in the same manner as the very popular Victorian mementos, you are able to choose the frame, and of course it says “Disneyland” along the bottom. I grew up going to Disneyland and the silhouettes always made an impression on me. I never had one done, but I loved to look at them.
After my trip down memory lane, I arrived at the idea of making my own silhouette. Well, not of me, but of my son! By the way, bravo for baring through my thought process ha ha.
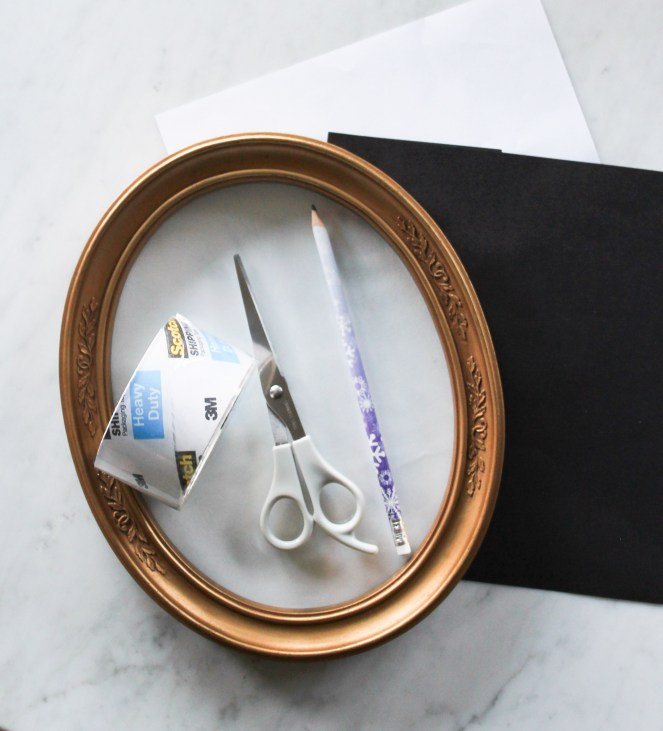
Gather your materials and let's go!
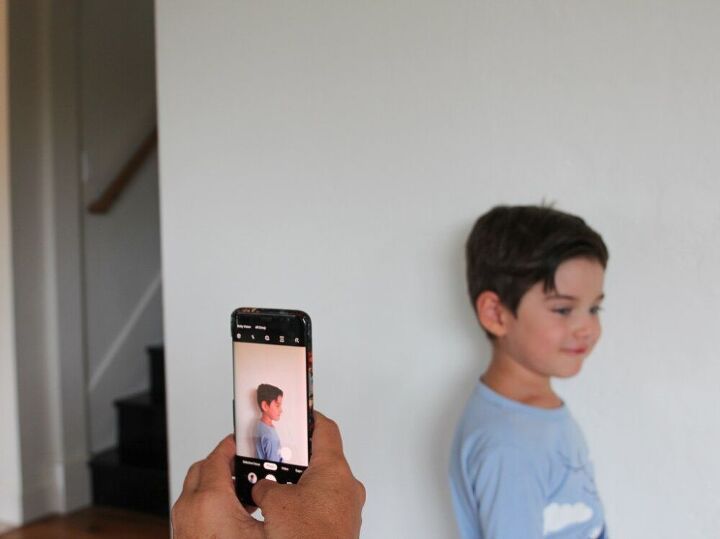
First up is to take a photo of your subject. This is my son :) You don’t need a fancy camera to do this. I just used my cell phone and a white wall as the backdrop.
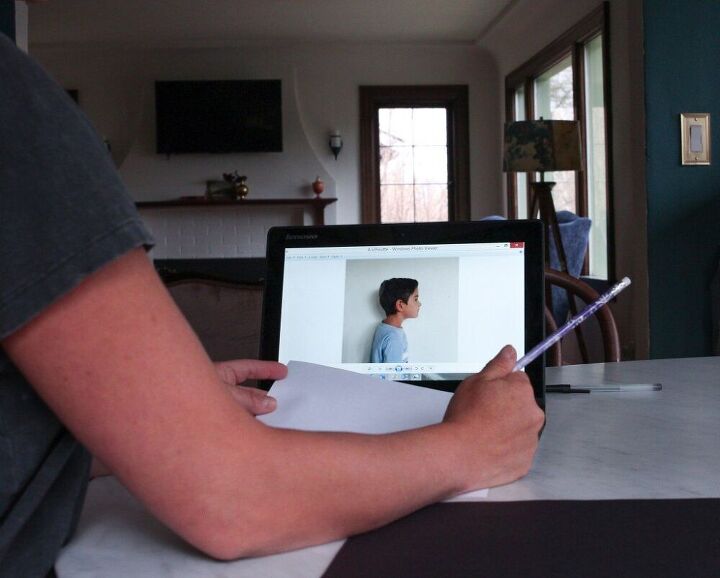
Pull up the photo on your computer. I emailed the photo to myself. I am on a PC and not sure if there is a better way to do this lol. If you have a Mac, I guess you would airdrop the picture.
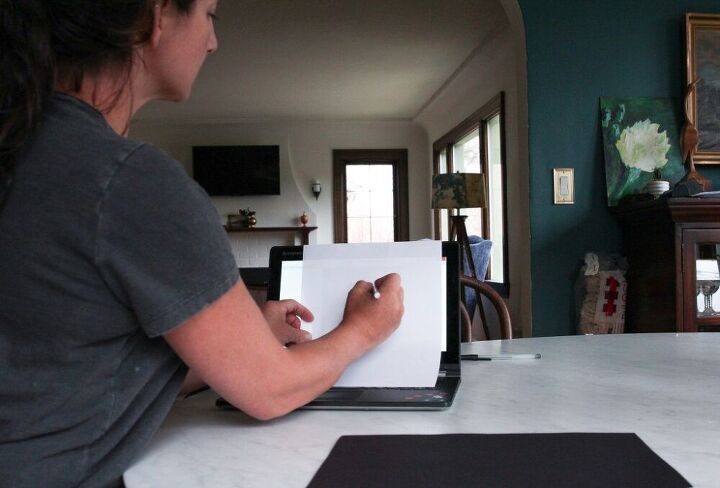
Trace the photo. For this step, I used a piece of printer paper. I have a touch screen, so this step took me a bit longer than if I had a non-touch screen. After a few attempts to trace and having the image move, I taped the paper to the computer and made my screen lay flat. The other thing that helped was to keep my son’s picture as close to the black border of my screen as possible. If you have a normal screen, this step will be even easier.
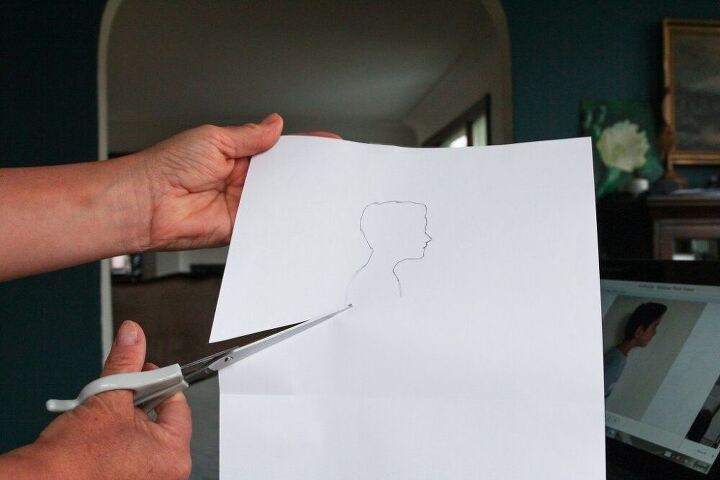
Cut out the outline. My scissors are not the sharpest, so it was tricky to get the small sections. If you have small hair strands or things like eyelashes to capture, sharper scissors would be ideal. I linked some below n the Materials section.
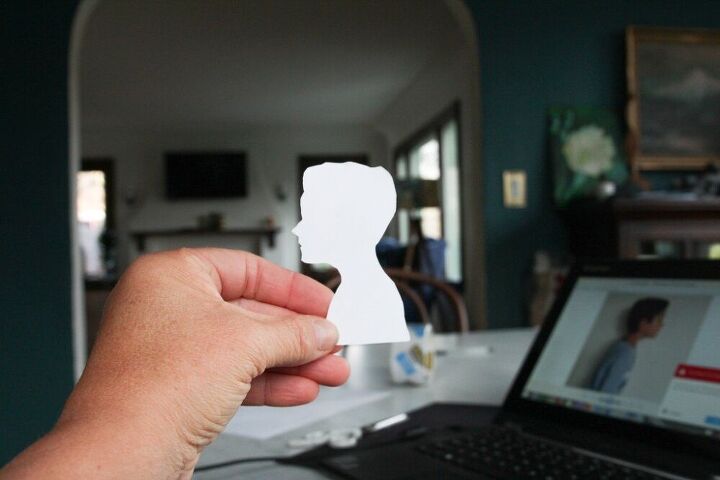
I compared the silhouette to the photo on the screen and made little snips to cleanup the outline.
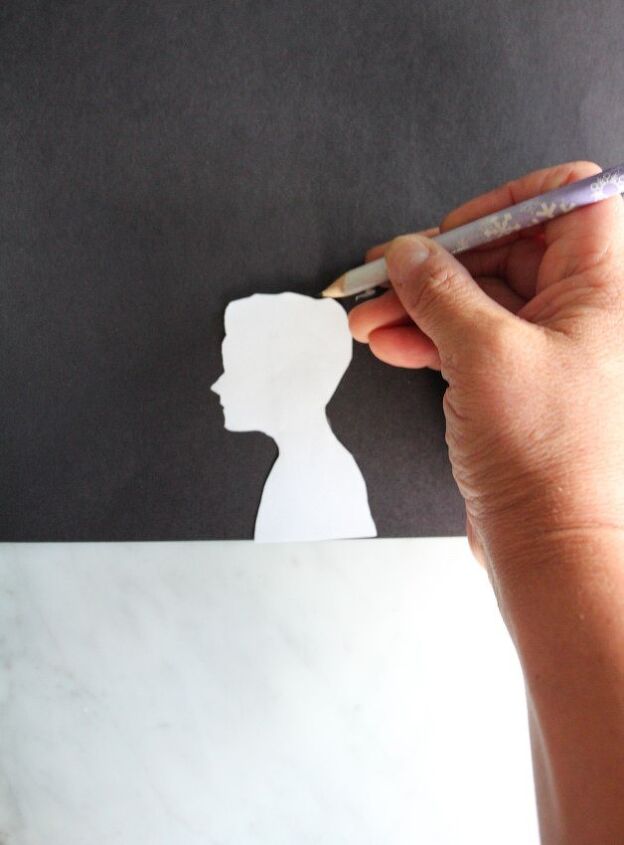
Trace the outline to black paper or other color desired. I had one black sheet left in my stash. I also had scraps of cardstock in different colors and experimented with those. Maybe because my scissors were not sharp enough, bits of white fibers showed along the outline. The colors were a fun update to this centuries old technique.
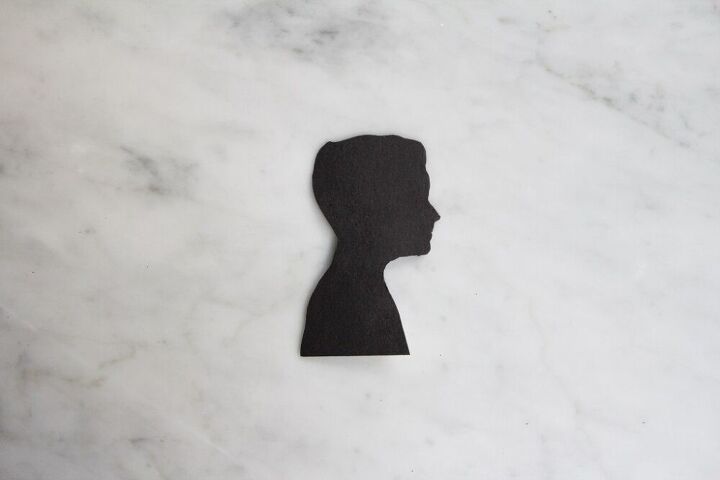
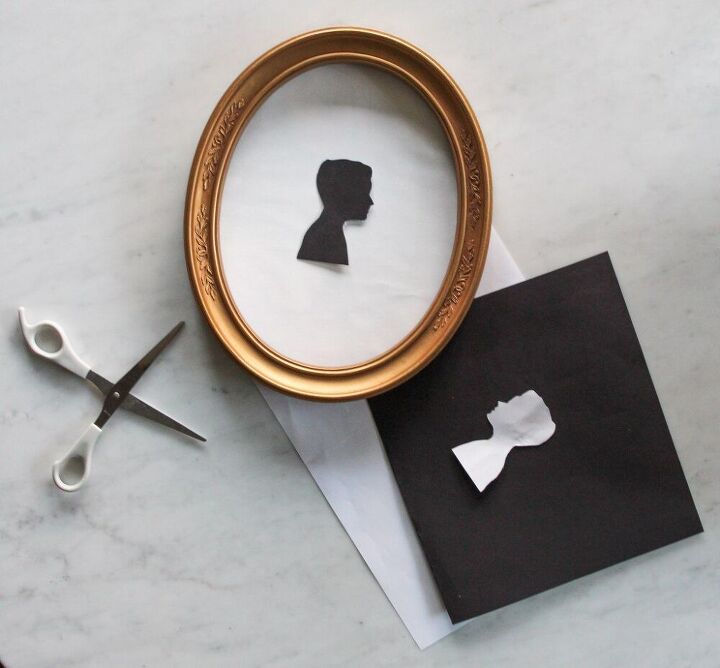
Here is the silhoutte ready for a frame!
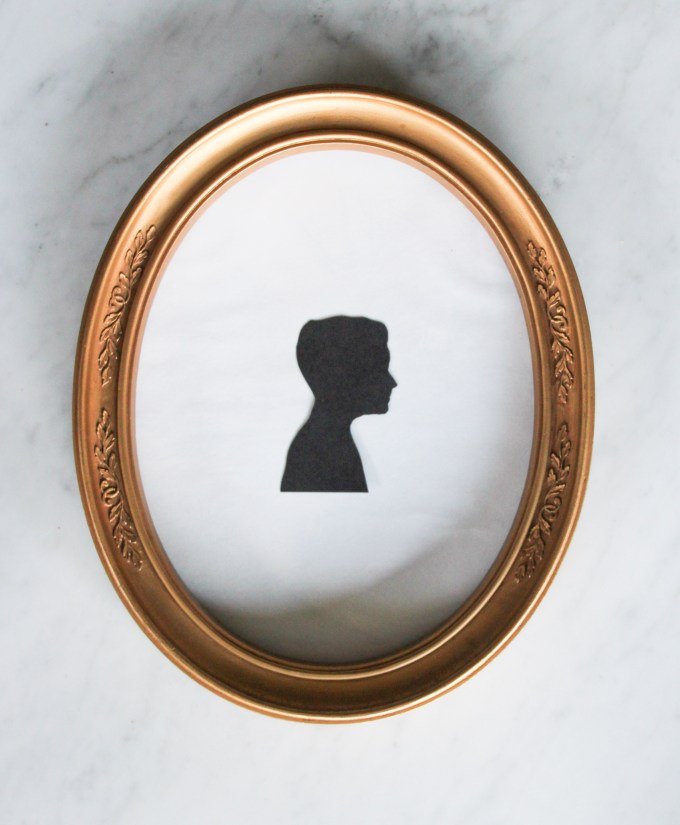
I happened to have this oval frame which feels like the silhouette frames you may see in an antique shop.
I must say I really love how this turned out. I am sort of sad that I didn’t do one when my son was younger. Might need to look through old photos just so I can capture his chubby baby profile.
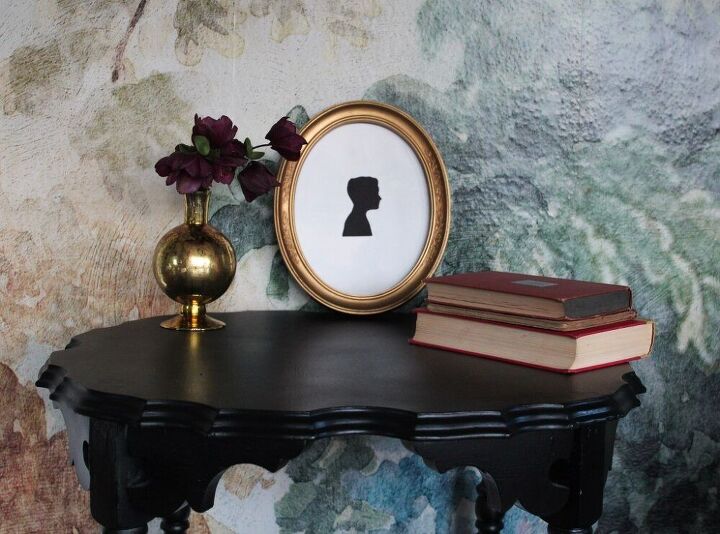
I think I will eventually add this to a gallery wall that I have been planning forever. For now I like it here with a hellebore and some old books. My son asked where his eyes were. Ha ha I explained that it is like I captured his shadow. I think that answer satisfied him.
Thank You!
Thank you so much for reading. I really appreciate the time you spend here in my casa. Let me know in comments if you have have a vintage silhouette collection, have a made one, or just say hello! If you'd like to see other handmade decor gifts or just some project inspiration check out:
Resources for this project:
See all materials


Comments
Join the conversation
-
I did my sons by drawing their profile on paper taped to the wall. The light created their shadows. Easy, trace, cut out and glue on background paper. This is of course a larger version; my sons didn’t have to sit long and we did everything in no time
-
We did this through the school I attended when I was in the second grade. They were done on 12X12 paper.


Frequently asked questions
Have a question about this project?
Rather than trace on the computer why not print out and cut to make your figure to trace on black?
Nicely done. That being said, where did you get that wallpaper?