


Recycled Art Canvas

I've been trying to not spend and only use what I have at home. I went through my craft closet and pulled everything that has been stashed away forever, it seems. I decided if I couldn't find something to do with each 'thing', it gets trashed. This was my challenge for last night.

This is an old canvas that I played with years ago. I don't know how to paint. But I have fun doing mixed media anyhow. It was time for this to go.
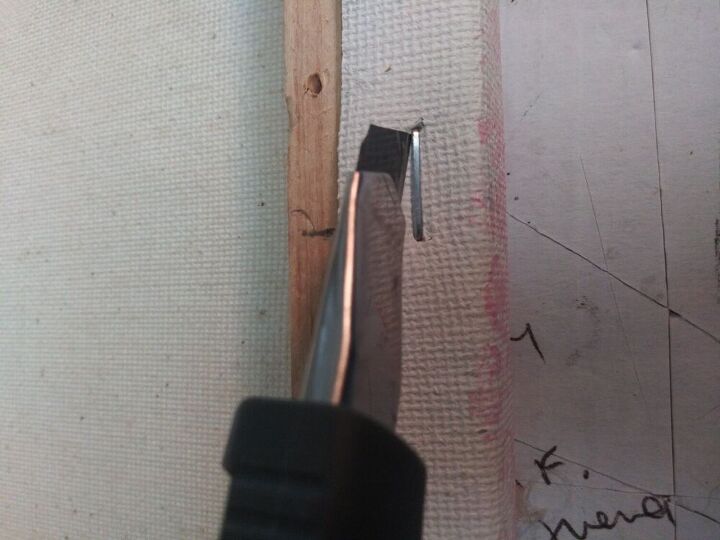
The first thing I did was remove the canvas. I cut small slits beside each staple. It doesn't really matter how it is removed... you won't be using the pieces that are cut. Afterwards, you can remove the staples or not. They won't be seen... they'll be covered. So it's up to you. I removed them.
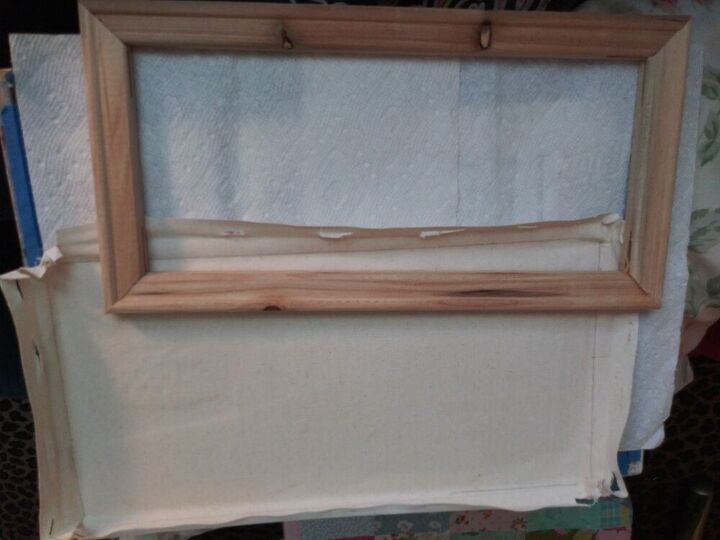
Trim the canvas edges. You can pretty much use the folds from where it was attached to the frame as a guide. Trim it and set it aside for now.
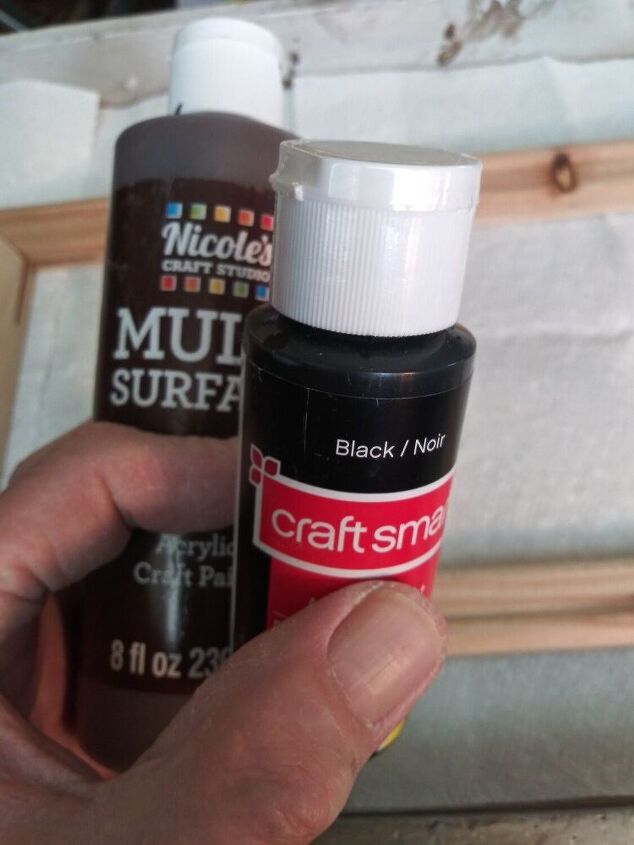
I made a very watery paint with brown and black paint and water. My husband is a commercial painter and I could have access to stain. I prefer water based anything. This is what I always use.
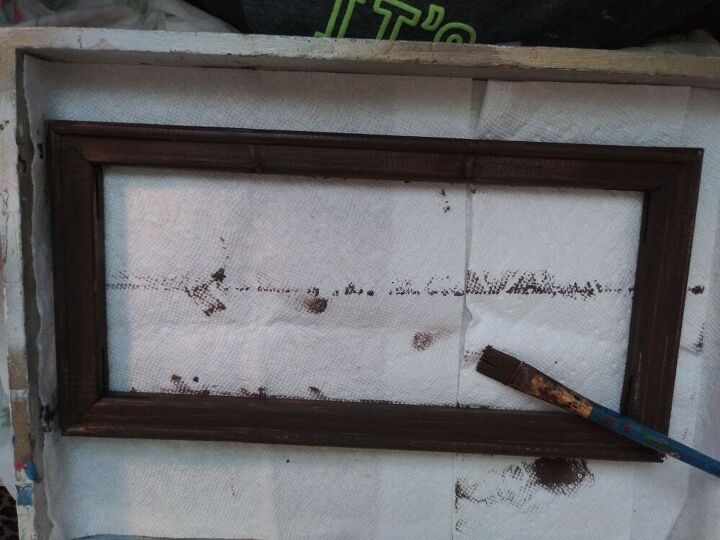
Paint the frame. Paint the sides and the side that did not have the staples in it. The staple side will be covered so it doesn't matter. Set it aside to dry.
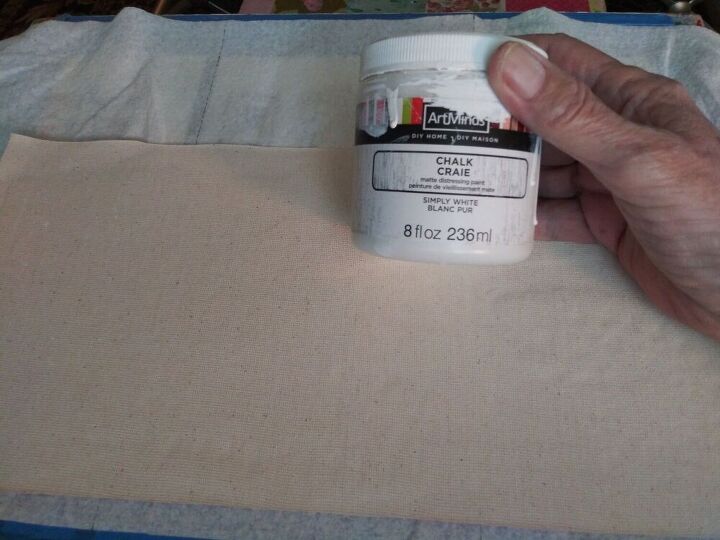
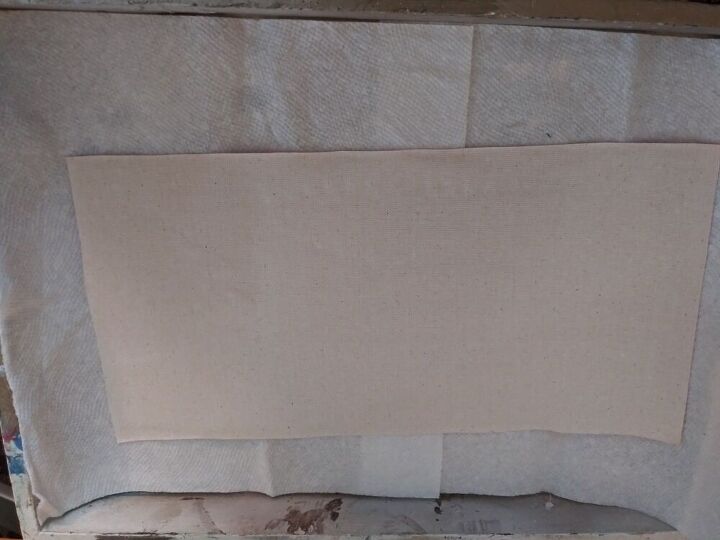
Next I took the trimmed canvas and painted it. This is the raw side of the canvas and has not been treated to accept paint. Give it a good coat. I used white chalk paint because I always use chalk paint! I love it. Since it has not been treated, it's very porous.
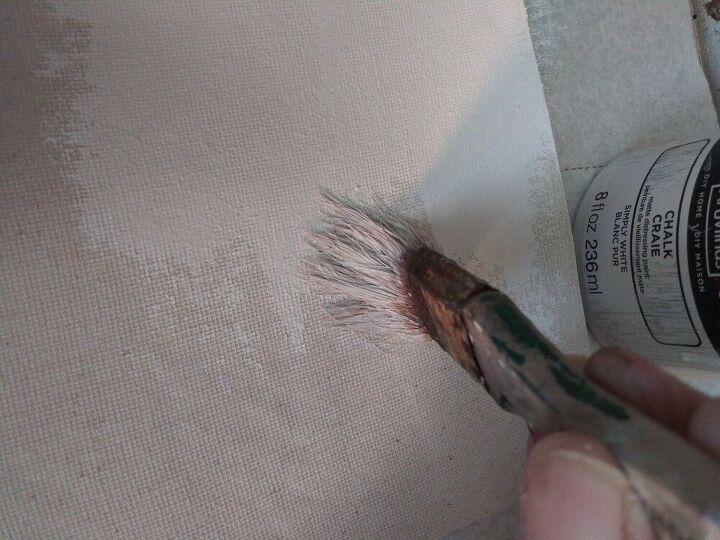
Push the paint deep into the canvas. I did 2 coats. When it was completely dry, I gave it 2 coats of Mod Podge. I make my own, so if you're out of it, just mix equal amounts of a good glue with water. I think I bought Mod Podge once before I realized I can make it for a FRACTION of the cost.
Anyhow, set it aside to dry thoroughly.
Note - if you are using a new canvas and the RIGHT side has not been used, skip this part. You don't need to prime it. For the BACKSIDE like I used, it needed to be primed.
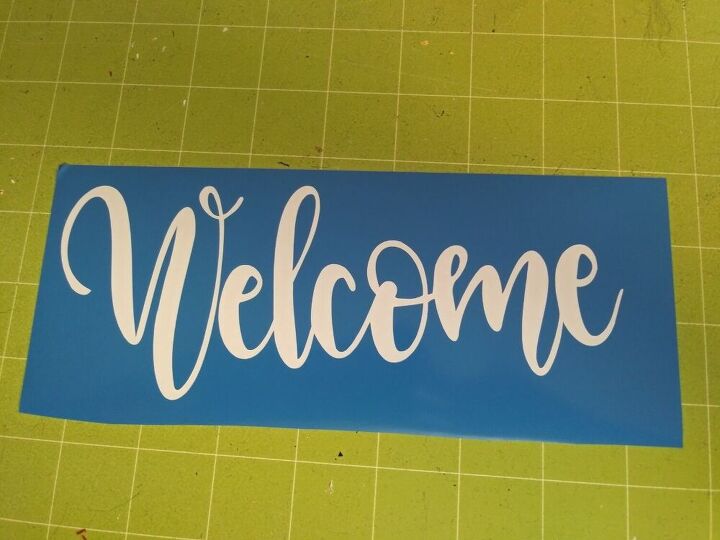
I decided to make a Welcome sign. After cutting it on my Cricut, I removed the unwanted vinyl. But this is a reverse canvas, remember? So I did it in reverse and removed the letters, which gave me a stencil. Remove the stencil with transfer tape.
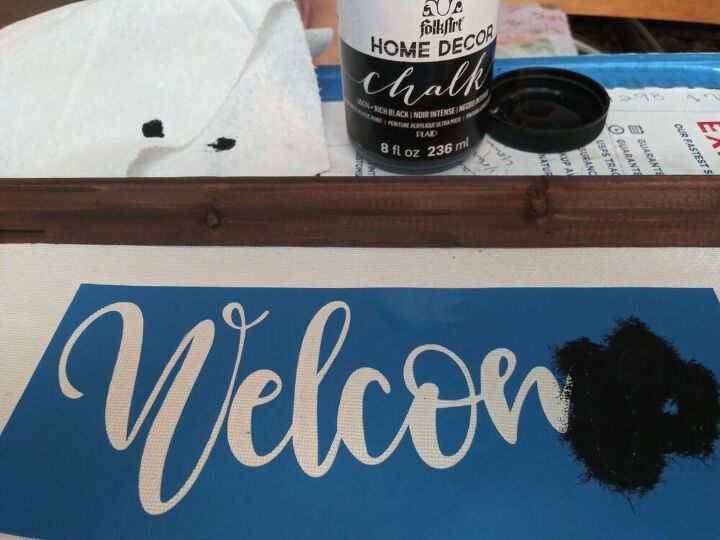
The vinyl is NOT going to want to stick to the canvas. Make it. You're the boss. Don't let any little piece of vinyl try and stop you! Eventually it will stick enough that between that and holding it down, it will work.
I used black chalk paint and began painting.
When it's completely dry, remove the vinyl.
Reattach the canvas. With these frames, it's easy to do with a regular stapler. It's very soft wood so a staple gun wasn't even necessary.
I also covered the back (what I had previously painted) with brown butcher paper after I stapled it.
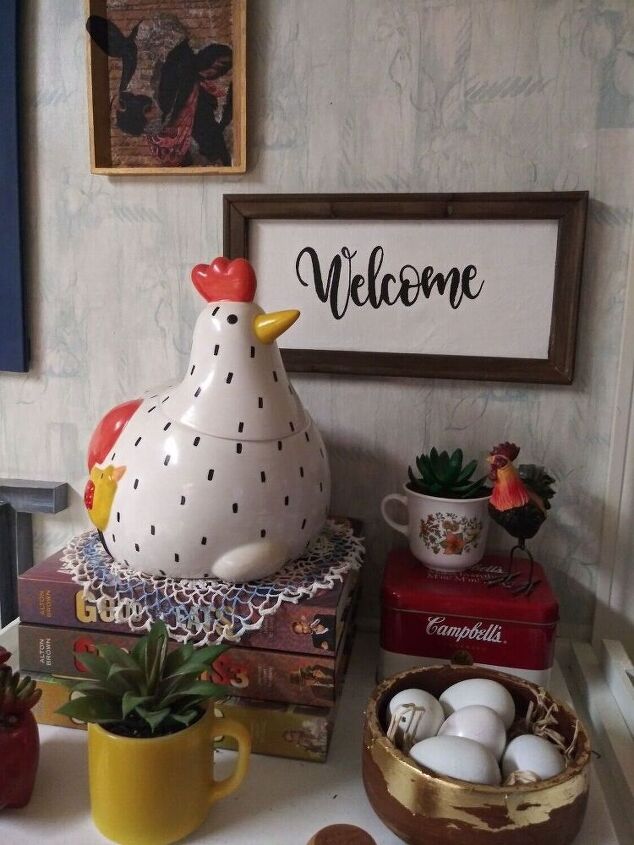
And that's it! I think for something that belonged in the trash, it came out nice. Which is why I never trash anything!
Thanks for looking!


Comments
Join the conversation
-
Love this 💕
-
A beautiful job! But that cow in the background though!!!!
 I'm in love with that cow art piece! LOL


Frequently asked questions
Have a question about this project?