


Quick and Easy Interior Slab Door Makeover With Trim

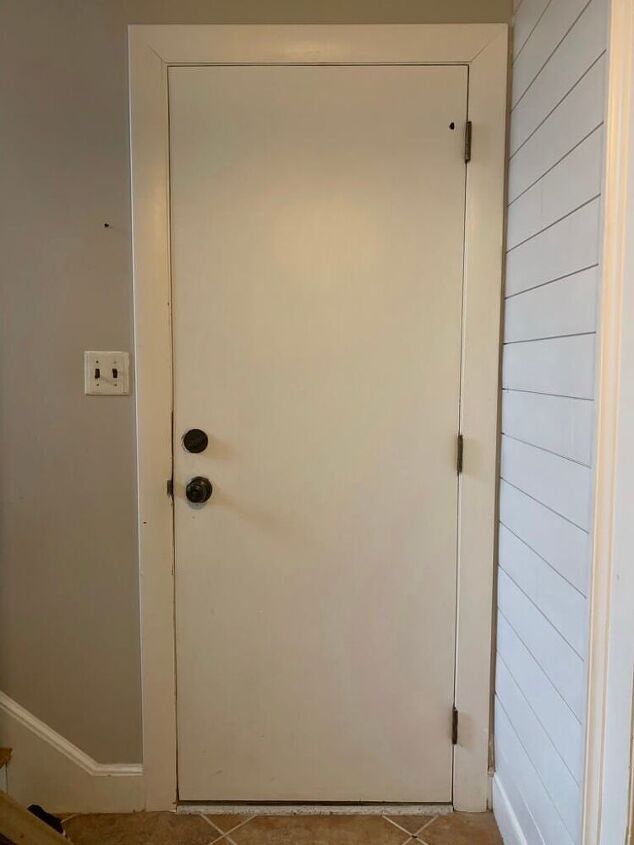
We live in a relatively older home (built in the 1960s) with lots of finishes that are basic, old, and out of style. In one section of the home, there are several old boring slab hollow core doors that are in much need of a makeover. While I could replace them, adding a little trim to these interior slab doors does the trick for a fraction of the cost of door replacement. I’ll walk you through how I did it below.
Disclaimer: In the name of full transparency, please be aware that this blog post may contain affiliate links and any purchases made through such links will result in a small commission for me (at no extra cost for you). As an Amazon and Home Depot Associate I earn from qualifying purchases.Supplies:- Nail gun
- Thin wood strips (I used leftover vinyl flooring but ¼” plywood would be perfect)
- Caulk
- Paint
Step 1: Plan your design
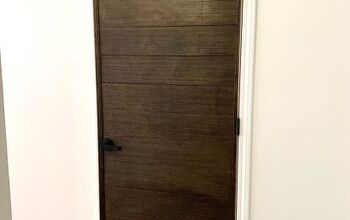
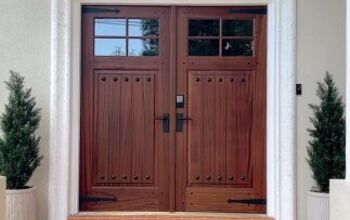
There are so many different door styles out there that you could do to makeover your interior slab doors. You could cover the whole thing, do something super elaborate like a chevron pattern, or do something more traditional like the paneled shaker style door I did here. I also did this style for my barn doors that sit in this hallway, so it only made sense to make this match in style (not color).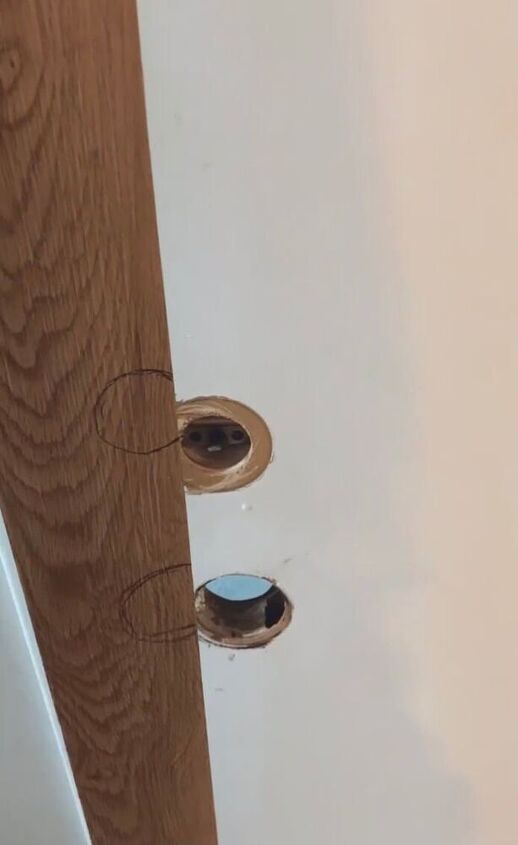
Step 2: Cut your strips
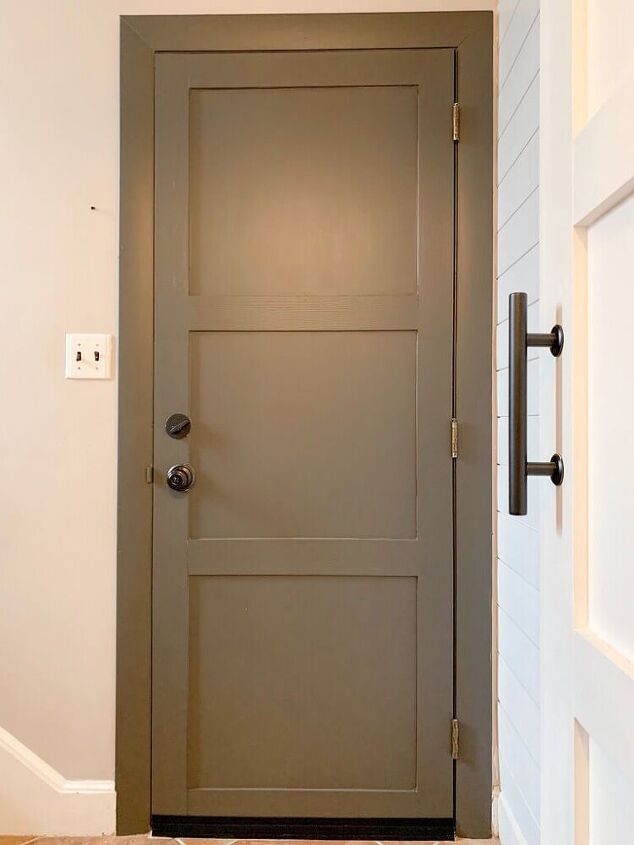
So for the shaker style you need two long strips the height of your door. I’d recommend making your strips between 4-6’ in width depending on your door dimensions. I used leftover vinyl flooring strips (weird, I know, but I was looking to use up what I had in the garage and these seemed perfect). These strips were pieces that had previously been ripped down and they are about 3.5” in width. They do the job but would’ve been better if they had been a little bit wider to accommodate the full doorknob and lock cut outs. You will then need three shorter pieces cut to the width of the door minus your two vertical strips (these pieces will fit between the vertical strips).I feel like I should mention here that I previously painted my doorknob and lock hardware from a dated gold to this modern matte black. That process is covered in this blog post.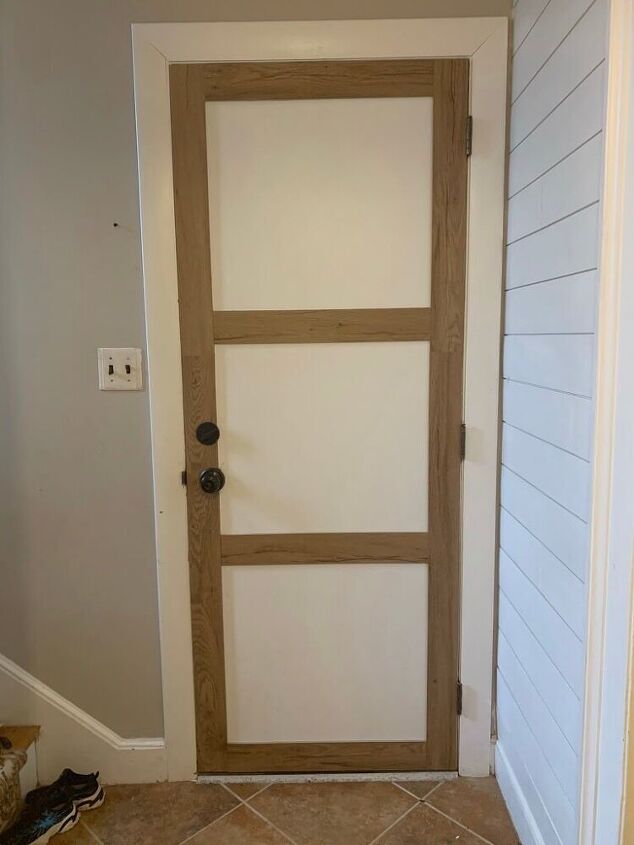
Step 3: Attach trim to slab door
From the long strip on the doorknob side, you will need to trace your doorknob opening and cut it out of the strip using a jigsaw. Then attach to the door with brad nails and nail gun. You can also add adhesive for additional security. I didn’t because I always like the ability to change something later without damaging the surface a ton. Then attach the top and bottom horizontal strips the same way. Last you will want to measure the gap between your two horizontal strips. Make sure to equally space your two middle horizontal strips prior to attaching.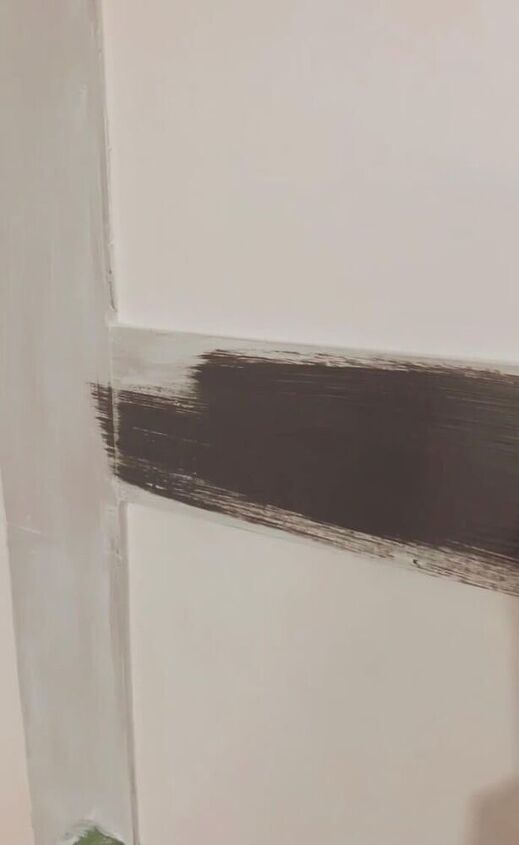
Step 4: Finishing touches
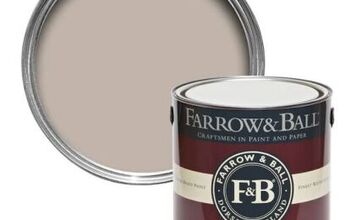
Believe it or not, you are almost done with your slab door makeover already! The last couple things you need to do is: 1) caulk all the edges where the trim meets the door so there are no gaps, 2) prime the door and trim, 3) paint your door and trim with two coats of paint. I used the color Urbane Bronze by Sherwin Williams. It is an awesome moody neutral with both gray and brown undertones. This color plays well with both cool and warm walls. I also opted to paint the door frame trim but this is just a personal preference.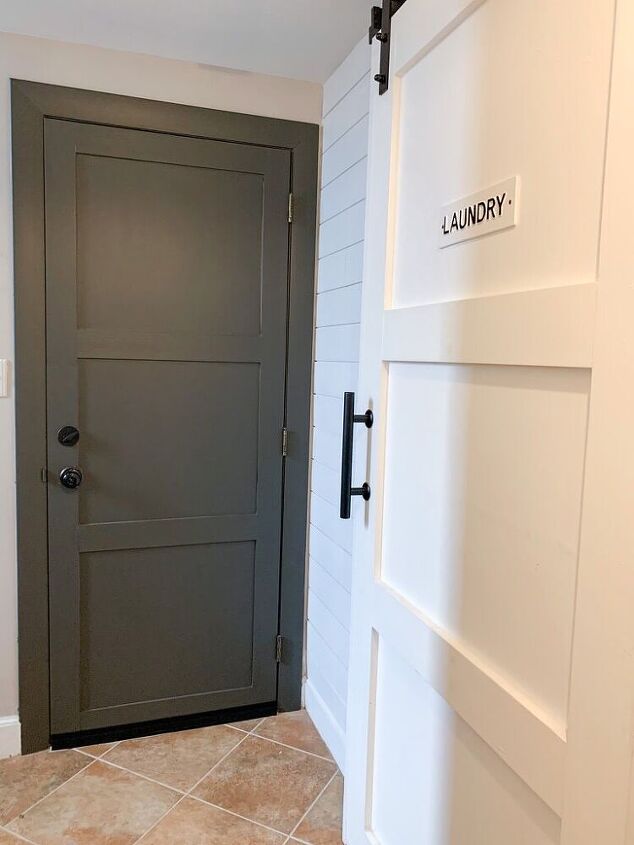
You are done! Can you believe it is so simple and inexpensive to update an interior slab door?! Oh, and one more thing I want to address because I’ve had people ask on my IG page. If you are doing the side of the door that closes into the frame: you will need to inset your added trim to accommodate for the door frame. If you don’t and your extend your trim all the way to the door edges then your door will not close all the way. Trust me, once it is painted you will never even notice it is a bit offset. And obviously, you won’t see it at all once it is closed!
I’d love to hear your questions or comments below! And if you want to see the barn door tutorial from this same hallway, click here! Or you can check out the vinyl flooring in action in this Boho guest room makeover.
Resources for this project:
See all materials


Comments
Join the conversation
-
You explained the process so well I didn't even need pictures!! Very well written. I love the finished product too
-
This is great idea. All my interior doors are old, ugly, and beaten up. This just be the answer to 1,000% improvement without breaking the bank. Thanks for sharing


Frequently asked questions
Have a question about this project?
This is wonderful, and SO simple! I do wonder...could you do an inexpensive chair rail, or even wainscoting using this, slightly modified? That presents some real options, when renovation budgets are almost nonexistent!
Is this just for solid doors or could I use it for hollow core doors
Can you do hollow core doors?