


How to Make a Round Flower Pot With a Wheel

It’s time to decorate the garden! In a very simple way, you can create your own hanging pot from a recycled tire, and show off plants while contributing to a more sustainable world. Be careful step by step!
WHAT DO YOU NEED?
Tools
- Brush
- Compass
- Flexometer
- Pencil
- keyhole saw
- Sandpaper block
- Driver drill
Materials
- Mounting adhesive
- Rope
- Recycled tire
- Spray paint
- Wooden board
STEP BY STEP
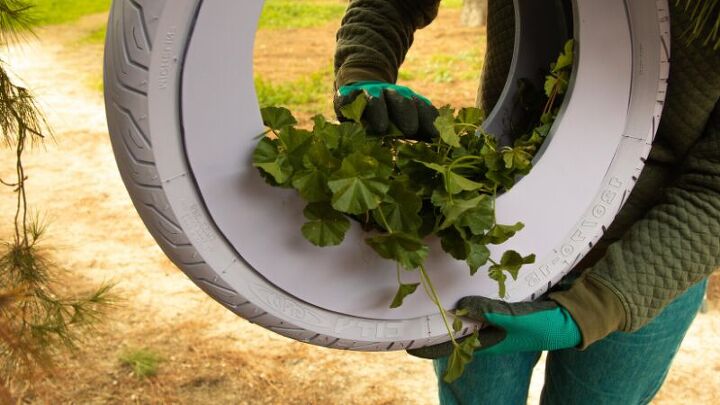
For this idea you only need a used tire, some circular wooden covers for the sides, a little paint to decorate the pot and a rope so you can hang it. 🙂
1. Clean the tire
The first thing you should do is clean your tire both inside and out. To do this, use a stiff bristle brush and run it over the entire surface of the wheel until no dust or dirt remains.
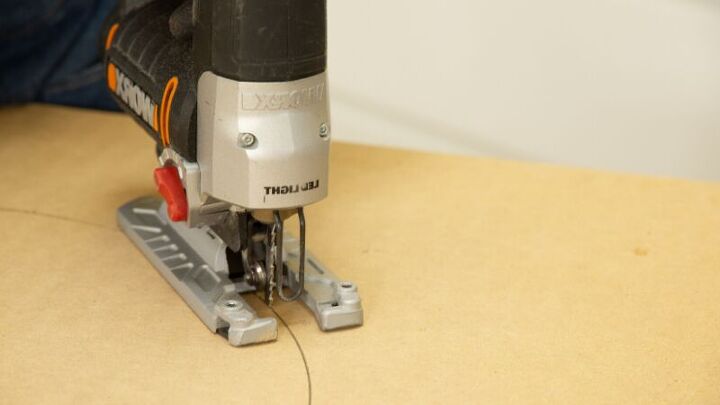
2. Measure and cut two pieces of wood
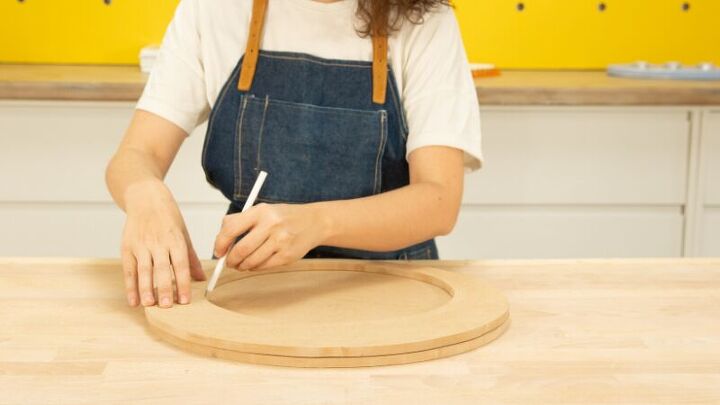
Next, create the wooden caps that will cover the sides of the tire. Measure the inside space of the tire first, between the middle of one edge to the middle of the opposite edge. Once you have the measurements, draw a circumference of identical dimensions on the wooden board and cut the piece with the jigsaw. You will repeat this process one more time to obtain two equal pieces.
To draw the circumferences you can use a wooden strip screwed into the board as a compass. The cleat should have a hole that a pencil can pass through, and the distance between that point and the screw should be equal to the radius of the desired circumference. Turn the ribbon and it will be a perfect figure. This will make your job much easier! 🙂
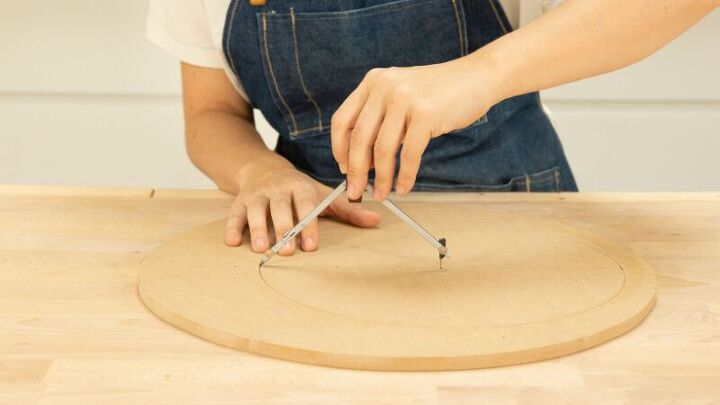
3. Open an off-center circle each piece
Now you have to make some holes in the lids of the pot so that the plants can breathe and show off. 🙂 With the help of a compass, draw another smaller and non-concentric circle within each of the two pieces. To do this, place your compass at a point other than the center and make the stroke.
Before cutting, you should make a hole with a flat bit on the inside of this new circumference. This will allow you to insert the jigsaw blade.
Once you have one finished lid, place it over the other and use it as a guide to get an identical inner circumference. Do not forget to sand the edges of your covers so that the result is more aesthetic and professional.
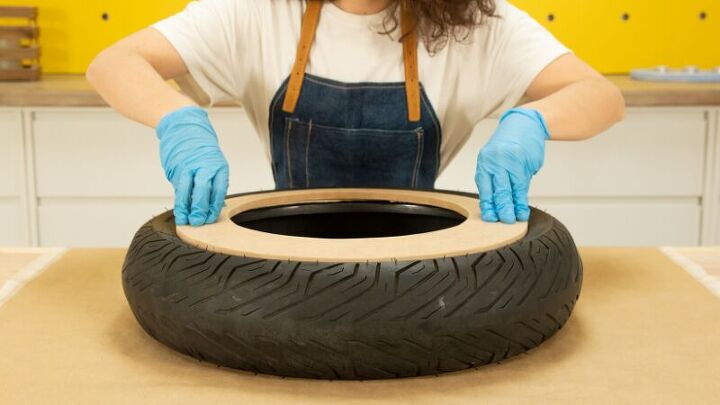
4. Glue the pieces of wood to the tire
Next, glue the caps to both sides of the tire with mounting adhesive and sergenta to secure the joint while it dries. You already have the structure of your pot made!

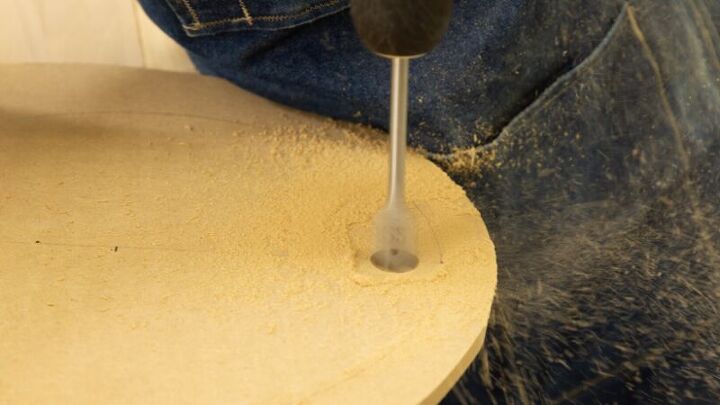
5. Drill a hole in the base of the tire so the pot can drain
Using a drill, make a hole in the bottom of the tire (corresponding to the wide area of the cap). This will ensure that, after watering your plants, the water they do not need can be easily removed.
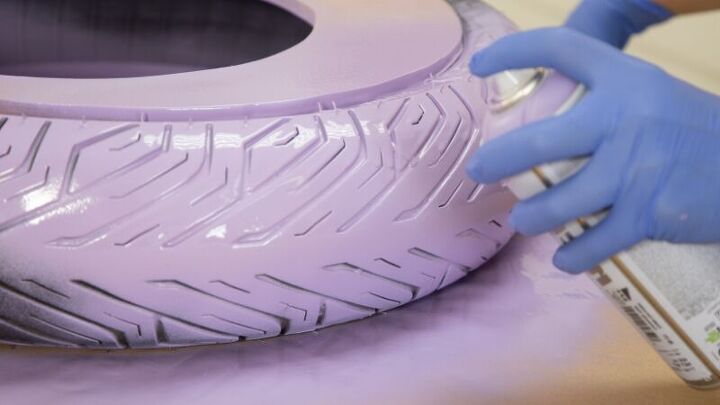
6. Paint the pot
For the pot to acquire a much more aesthetic and personalized appearance, paint it in the color of your choice. Do it with a spray paint and let it dry for the time indicated by the manufacturer.
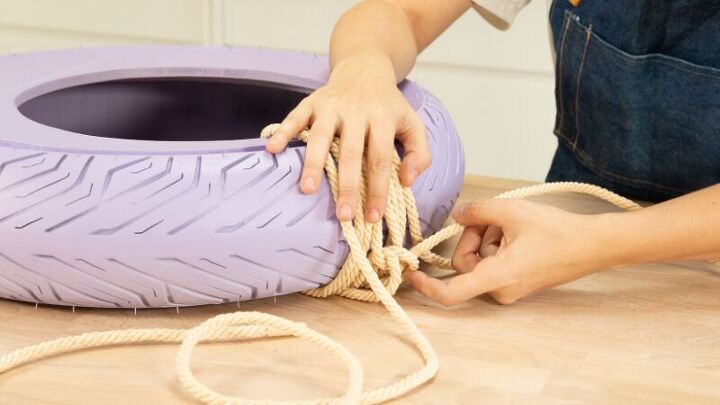
7. Attach the rope to hang the pot
It’s time to place a piece of string on top of our pot. It will be used to hang it and, therefore, its length will depend on where you are going to place it.
Fold the rope in half and pass its ends through the inside of the wheel. Then go around the entire edge of the tire and thread the ends through the loop in the middle of the rope. Pull to make the joint secure. Then, wrap the ends around the edge several times, and finally, thread them through the two loops that were formed at the beginning.
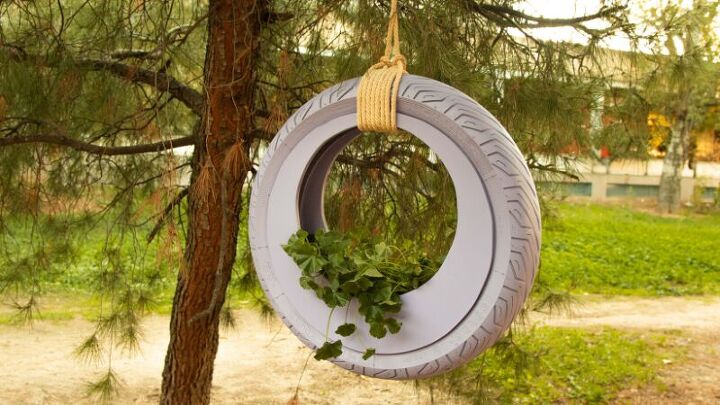
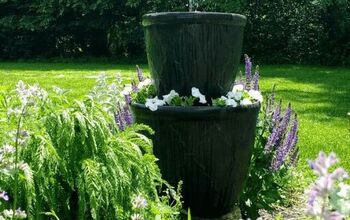
And ready! You already have your finished pot. Without a doubt, it will give a different touch to your garden. In addition, it has helped us to reuse a tire and not waste resources. What do you think of the result?


Comments
Join the conversation
-
This is such a great idea!!
-
Very pretty. The addition of the wood makes it look finished.


Frequently asked questions
Have a question about this project?
Beautiful way to recycle ❤️ I was wondering what “sergeants” was?