


Floating Shelves

Alright, let’s talk about some home decor absolute must haves. For me, one of the top 10 must haves are floating shelves. I love them! I don’t know what took me so long to install them, maybe it’s because I’ve been consumed by so many other projects and I knew that installing floating shelves would be easy. So, recently when I was creating a home office, I knew that I needed to have a small floating shelf. I figured this would be a perfect opportunity to share with you how I installed it.
I will say, I think it’s a great idea to have Home Depot cut your wood if you’re not comfortable using a hand saw. I figured since I needed to purchase wood, I’d have them cut mine. It made this project even easier 😉 This is actually the second shelf I’ve installed and will show you the longer one I installed in my kitchen at the end of this DIY.
I know there are many ways to install these floating beauties but I prefer the no hardware being visible method. So, this DIY will show you how I installed the shelf using floating shelf rod brackets. You will not see any hardware and they’re very easy to install too. I think the only challenging part for me was ensuring I drilled the holes on the wood straight without drilling them at an angle. Using a drillblock made drilling a straight hole much easier for me. You don’t need to use one if you’re good at drilling straight holes.
I used self drilling drywall screws to secure my brackets but if at all possible, ensure you drill and secure your brackets into studs. When I know I’m doing small projects that aren’t going to hold heavy items, I use the anchors. I’ve never had problems, yet LOL
Alright, let’s get building!
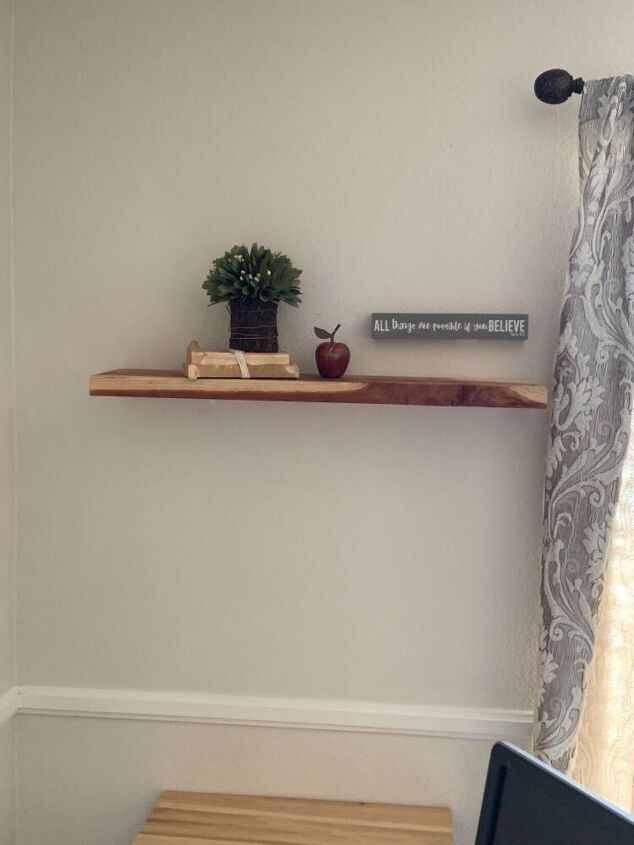
My sweet floating shelf. I chose redwood because I love the grain and color of the wood.
The first thing I did after purchasing the wood was to obtain measurements. Your measurements will vary depending on your placement and the size of the shelf you decide that you want. I chose a small wall and my measurements were centered between the end of one wall and the beginning of my window.
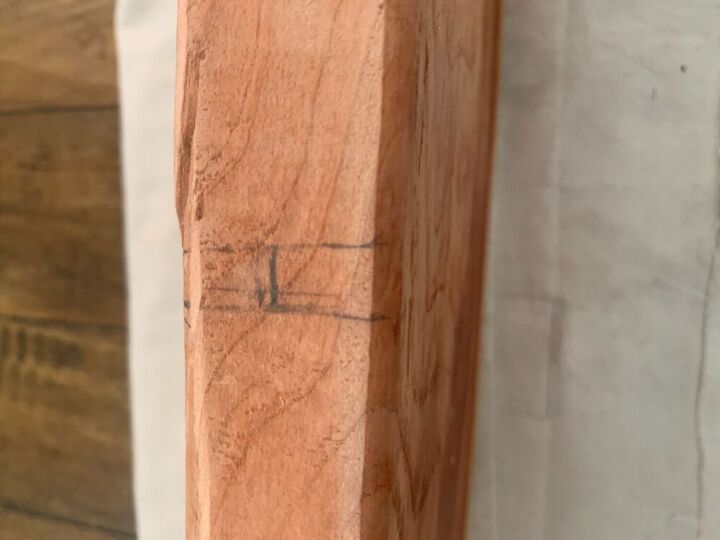
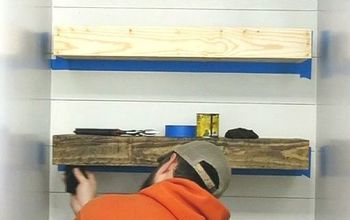
I then measured the wood so that each end matched up with the measurements on the wall. I then drew a line in the center of my measurements because that’s where I was going to drill the hole for the placement of my brackets. I did this at each end of the wood (shelf).
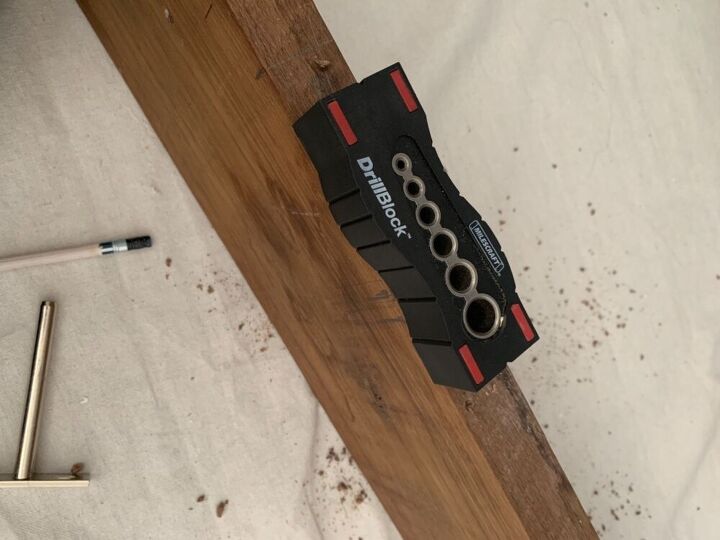
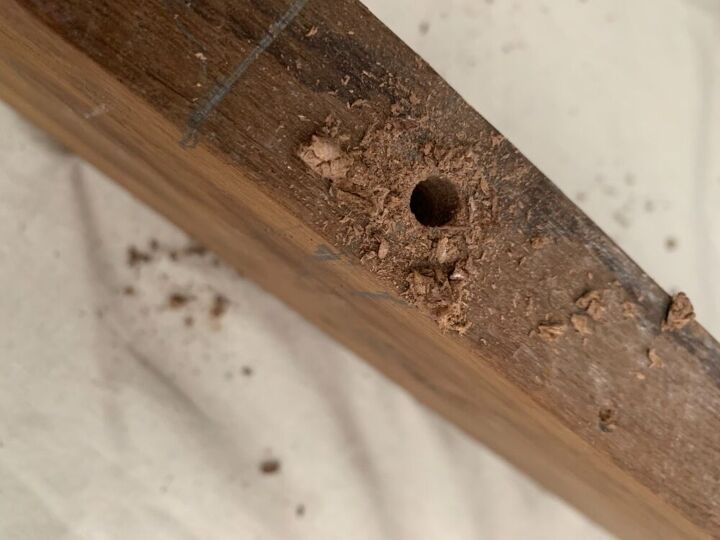
I placed a drill block directly over the center point at each end of the shelf where I drew the center lines. I then drilled the holes, 1 at each end of the shelf.
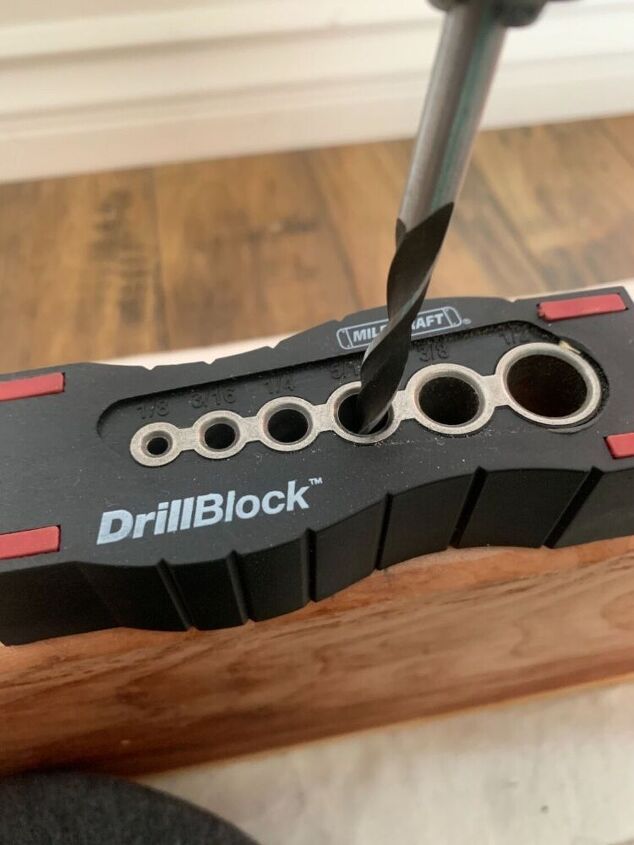
The drillblock helps ensure straight holes are made. The holes needed to be 4 inch deep to fit the rods and they were approximately 1/2 inch wide.
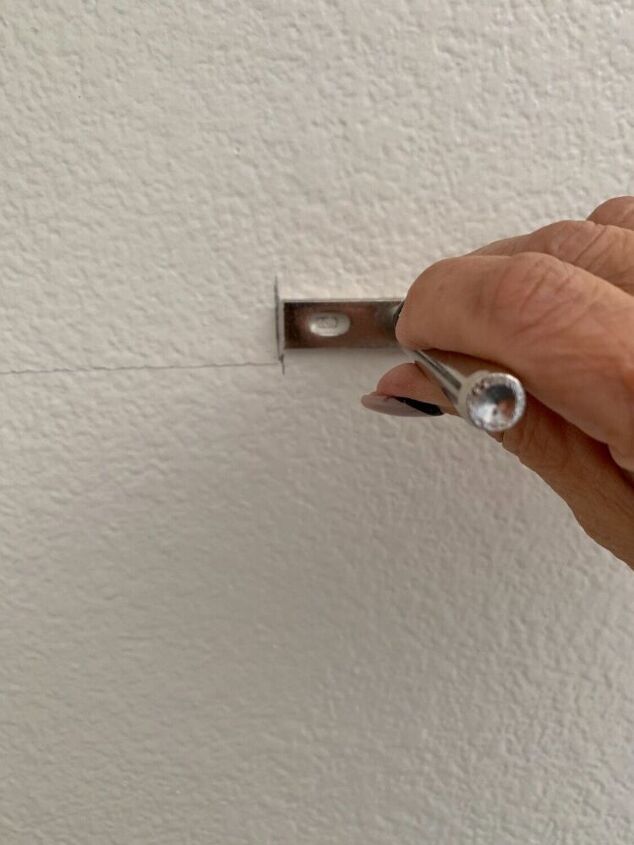
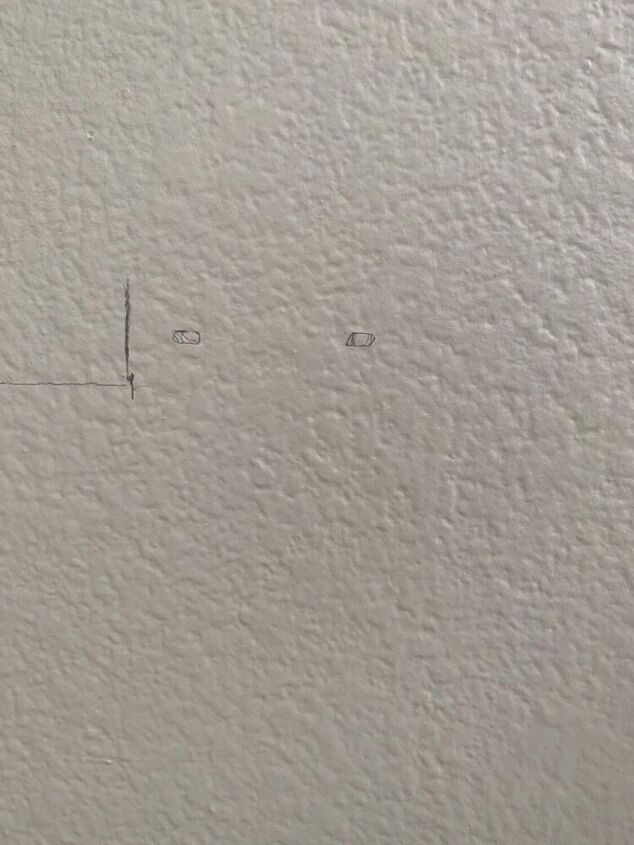
I drilled holes at each end of the wall to insert the self drilling drywall anchors before screwing in the rods. They are fasteners designed to provide a strong connection when using screws. I recommend using these if you’re not going directly into a stud. My shelf was small and I knew I wasn’t going to place anything heavy on it so I just used these anchors. I’ve used them before for small projects and they worked well for me. With that being said, if you can, try to secure your rods into a stud for added security.
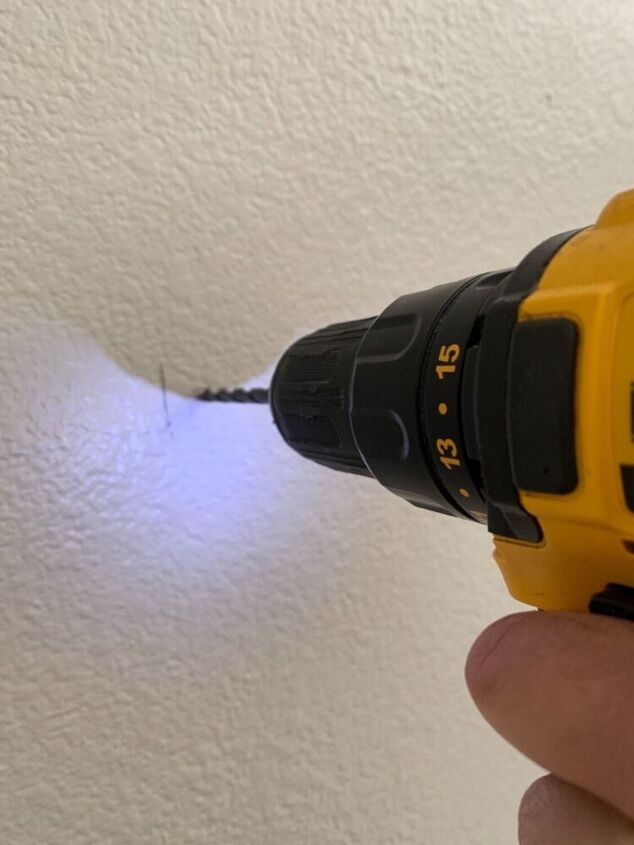
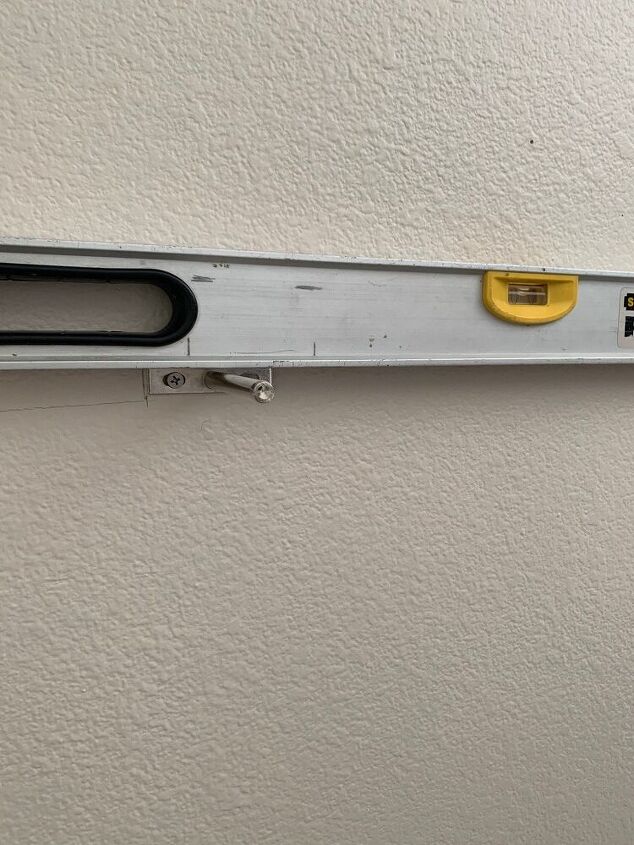
Ensure you check placement and use a level prior to drilling the second hole so that your shelf is level. I think I will eventually get myself one of those lasers levels. I think they’d be much easier and faster to use.
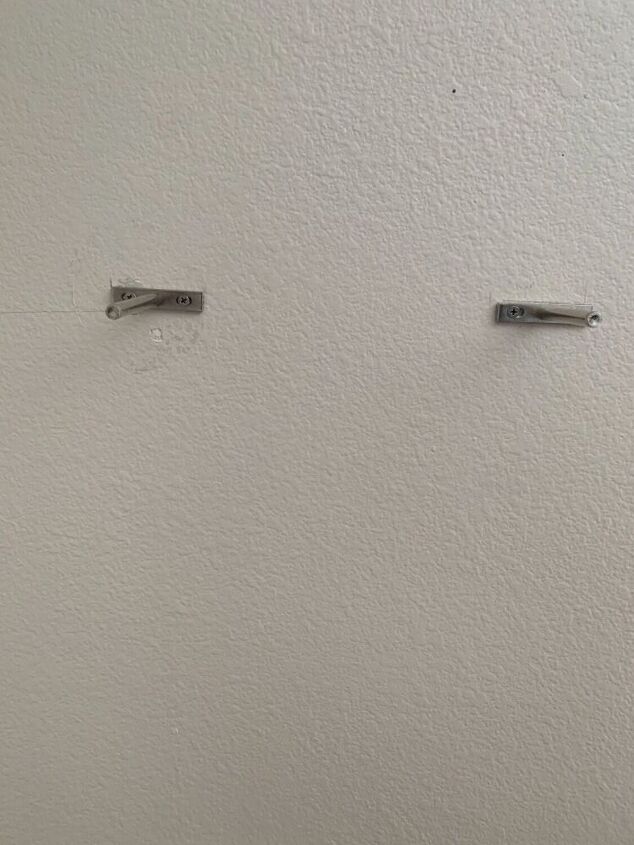
Both floating shelf brackets, secured and leveled.
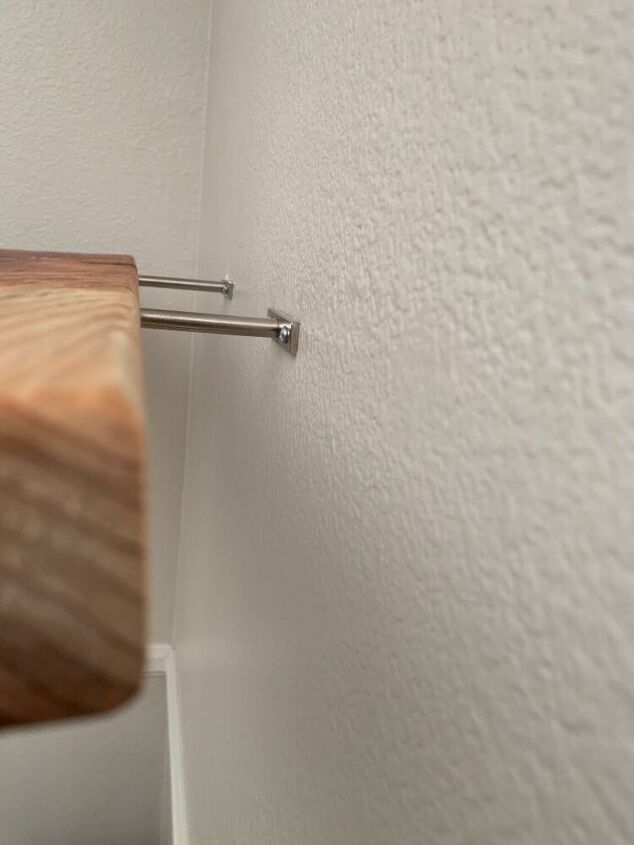
The fun and final step is inserting the shelf into the rods/brackets. You literally just slip the rods into the holes in the wood and voila, you have a floating shelf. I chose not to stain the wood because I love the grain and color of red wood. I did however lightly sand the raw edges, wiped the shelf clean and applied mineral oil to condition the wood and I love how it enhances the grain of the wood.

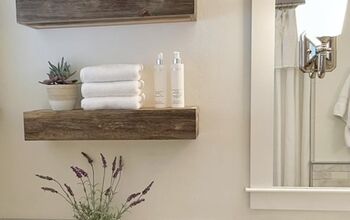
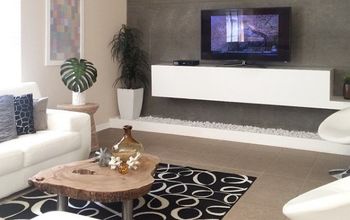
This is the floating shelf in my kitchen, this beauty did get mounted on studs.
Thank you for stopping by and if you’d like to see more of what I love to do, please visit me at https://www.instagram.com/mycreativekneads/
Resources for this project:
See all materials


Comments
Join the conversation
-
Very nice, it really adds to the ambiance!
-
Your shelves look wonderful! I am looking around my home and right away see two places where I could hang these shelves, great job, and thanks for sharing. Also, I need a Drillblock, hadn't even known such a thing existed.


Frequently asked questions
Have a question about this project?
Don't the floating shelf "brackets" force there to be a gap between the wall and the back side of the shelf? Not always a consideration but sometimes...