


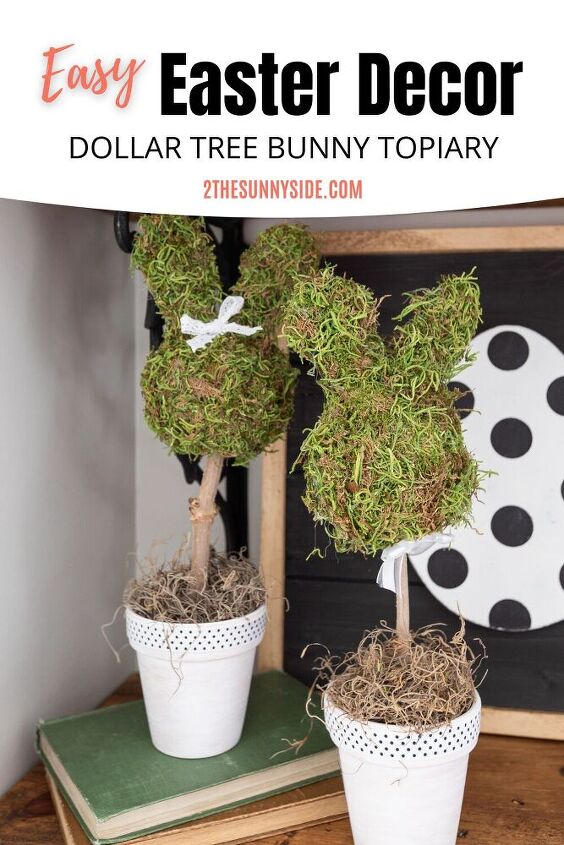
How to Make Cute Easter Decorations With Dollar Store Items
Are you wondering how you can add a little spring decor to your home without spending an arm and a leg? Or are you looking for cute and inexpensive Easter decorations ideas?
Well, today we have both! If you remember my Heart Pom Pom Valentine’s decor for my front door started with a Dollar Tree find.
Once again, we found the perfect Easter decor item from Dollar Tree that we could transform into some fun spring decorations.
Most of the supplies for this Easter decoration are from the dollar store. While the dollar store does carry moss, we decided it was more economical to get large bags from the craft store. For this project we used 2 kinds of moss, green Spanish moss and sheet moss.
Supplies we used:
- hot glue
- green paint
- floral foam – Dollar Tree
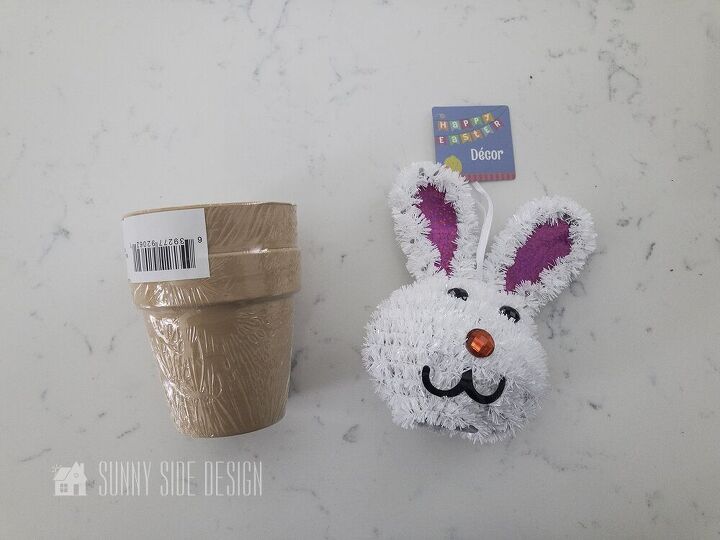
- small clay pots – Dollar Tree
- 3-D bunny decor – Dollar Tree
- green Spanish moss
- sheet moss
- ribbon or trim – optional
This post contains affiliate links for your convenience. As an Amazon affiliate we earn from qualifying purchases. See our disclosure for details.)
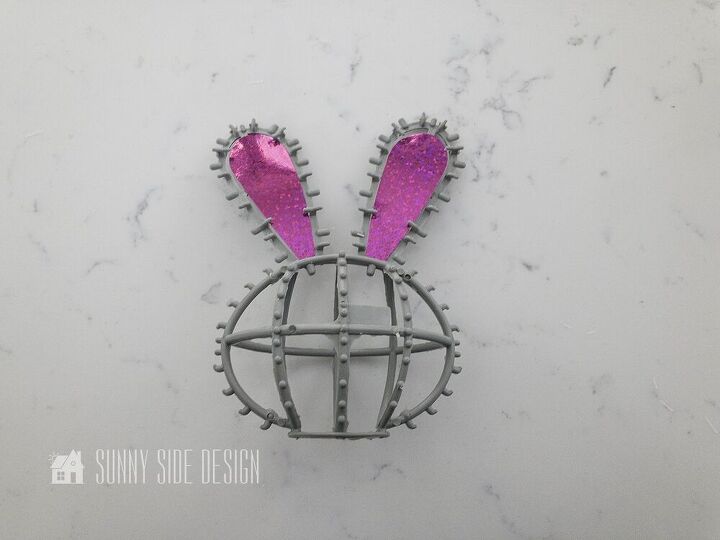
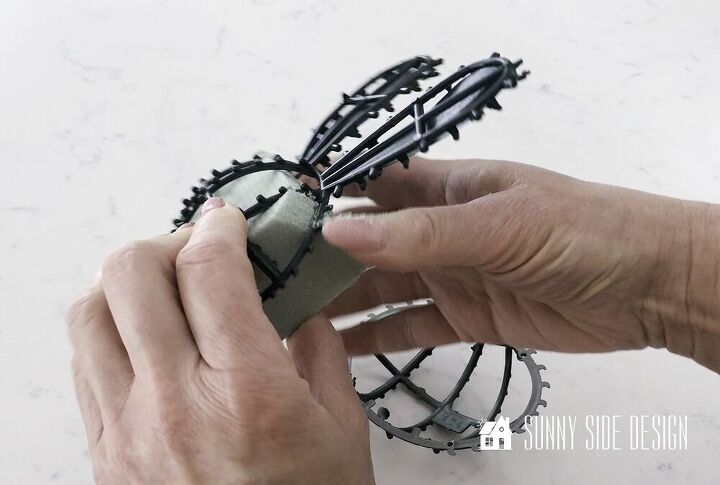
First, remove the tinsel wrapping on the 3-D bunny decor. As you remove it, you will see that it comes apart into 2 pieces.
Second, you will want to paint the bunny frame green. This will ensure that none of the gray plastic frame shows through the moss.
We found it quicker to give it a coat of green spray paint. However, if you don’t have any, it can be painted with a green craft paint too.
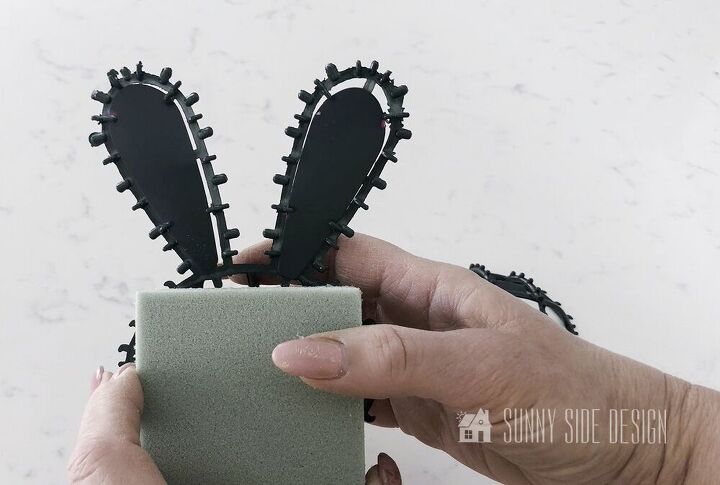
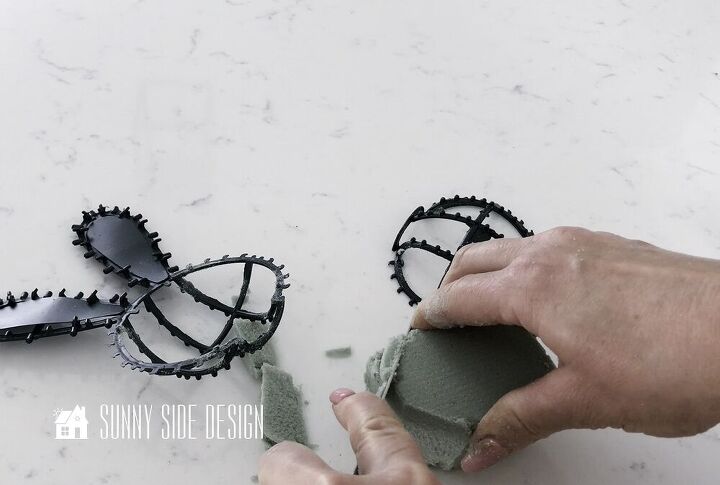
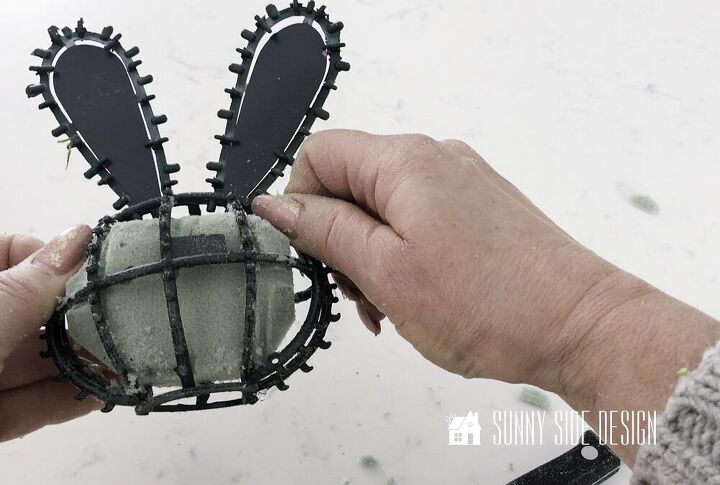
Next, we’ll want to fill the cavity of the bunny frame with floral foam.
First, press a piece of the floral foam against the bunny frame.
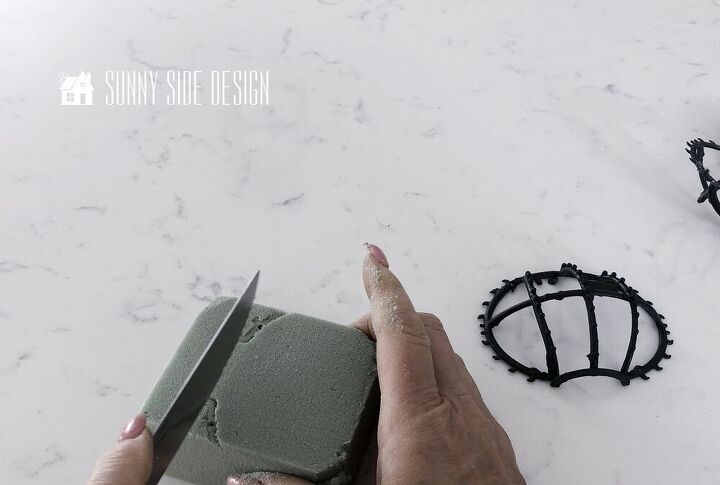
As you can see, this makes it easy to see where to trim the floral foam. Then, trim the floral foam with a knife.
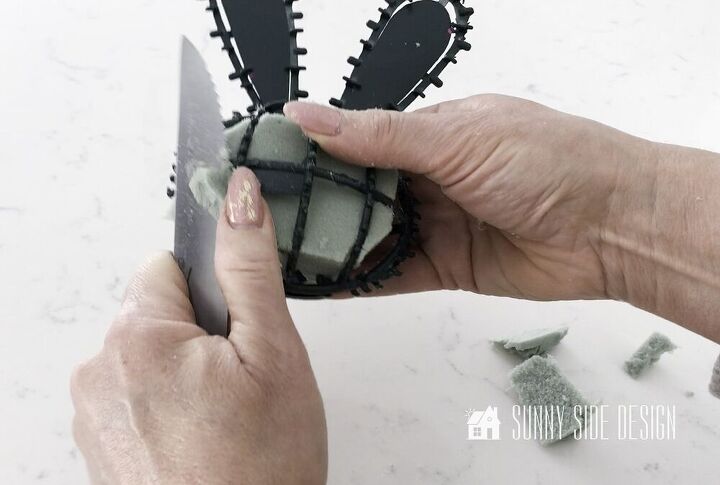
Continue placing the foam into the bunny frame and trim as necessary.
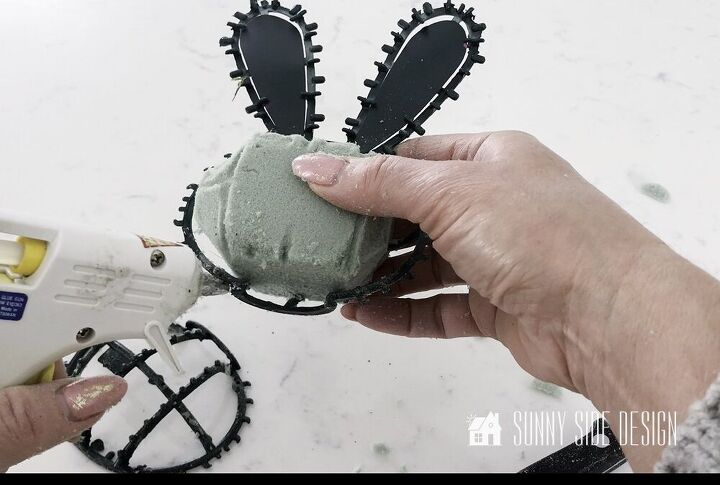
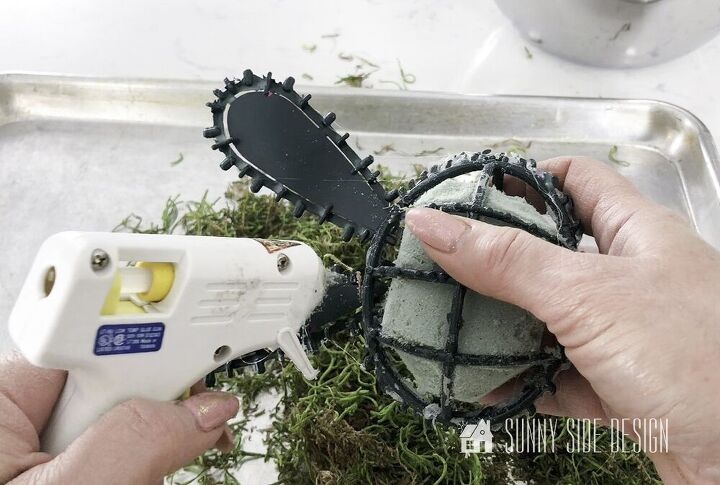
Once the foam fits inside the bunny frame, attach the two sides together with hot glue.
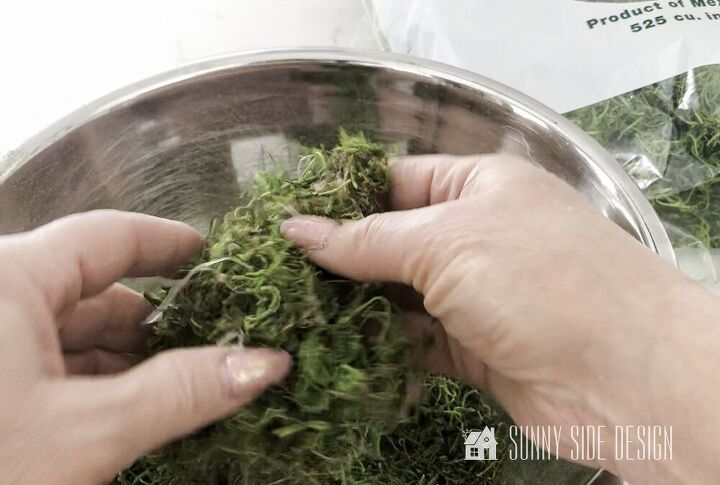
For this topiary, we used two kids of moss, Spanish moss and sheet moss.
First we began to break them apart into small pieces. We did find it easier to cut the Spanish moss with scissors.
You’ll want a 50/50 mix of the two mosses.
Now for the fun part, creating the moss topiary.
First, we began by placing some of the moss mixture in a sheet pan.
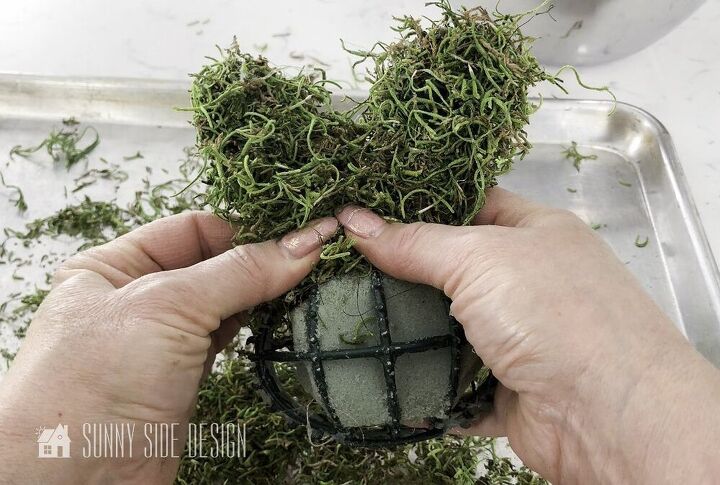
Next, we placed hot glue on about 1/2 of the front side of one of the bunny ears. Then, we pressed the ear into the moss mixture. Pressing it firmly with a bunch of moss on the backside of the ear as well. This will protect your fingers from getting burned.
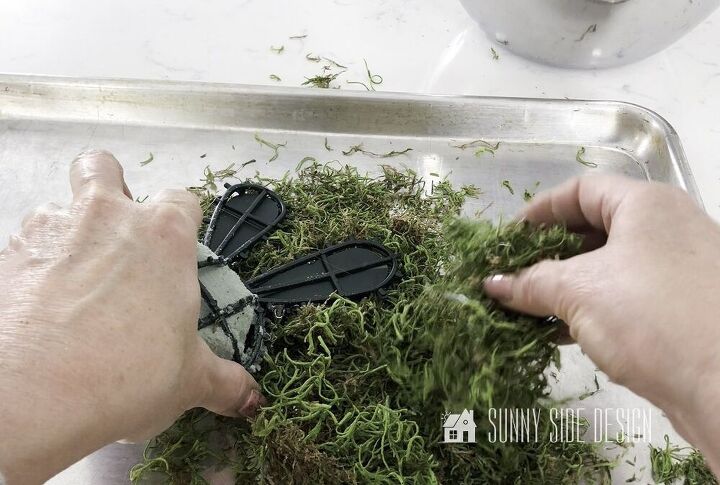
Continue this process until both sides of each ear are covered with the moss.
Brush off any loose moss and check to see if there are any areas you still need to fill in.
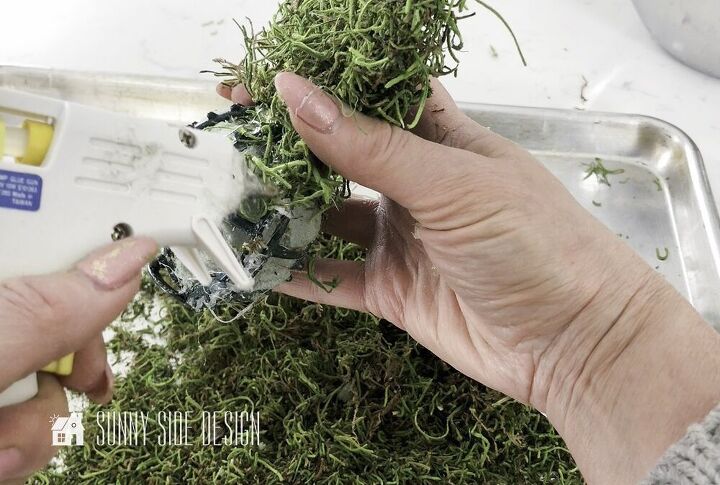
Once the ears are completely covered with the moss, begin filling in the remainder of the bunny head.
We worked on one section at a time. Filling in a section with hot glue and pressing in the moss.
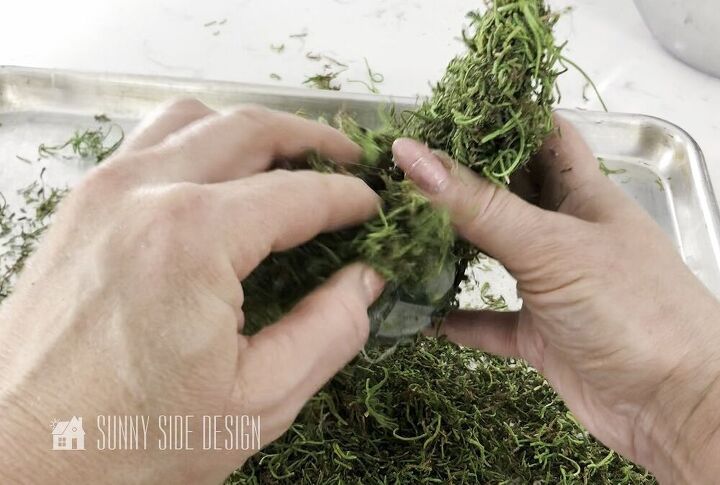
Once the entire bunny frame is covered with moss, once again check for sections that may need a little more moss.
It’s really starting to take shape now. Isn’t it the cutest easter decoration?
Speaking of cute, did you see Steph’s cute Easter/Spring garland she made last week? It really dressed up her mantle for spring.
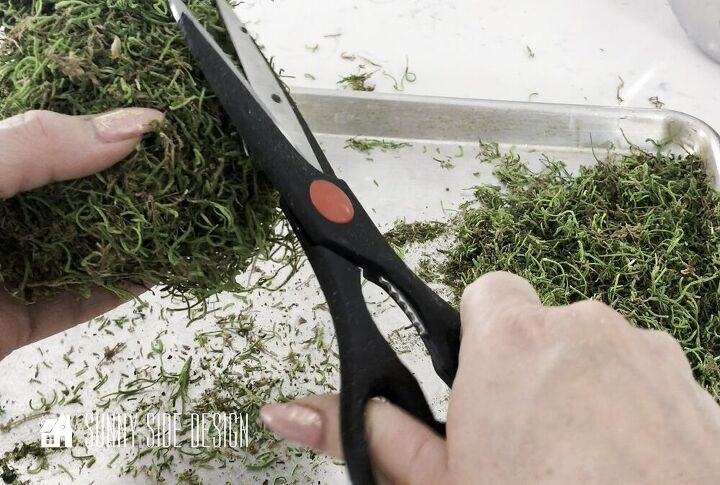
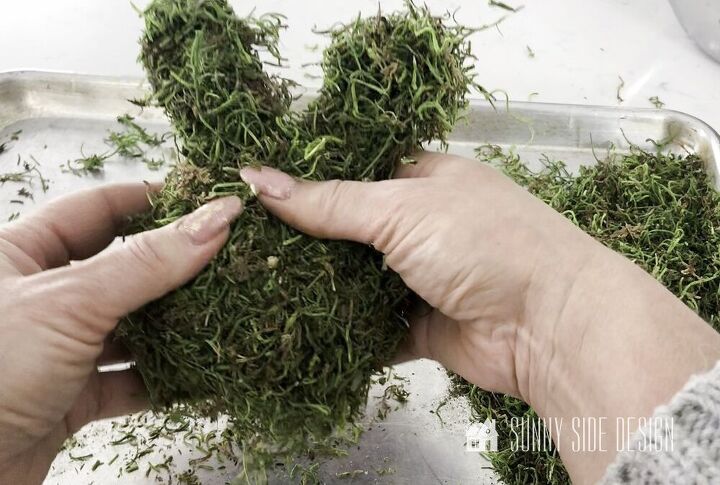
Now it’s time to shape the Easter decor. Using kitchen sheers we trimmed off any long pieces of moss, creating our bunny topiary.
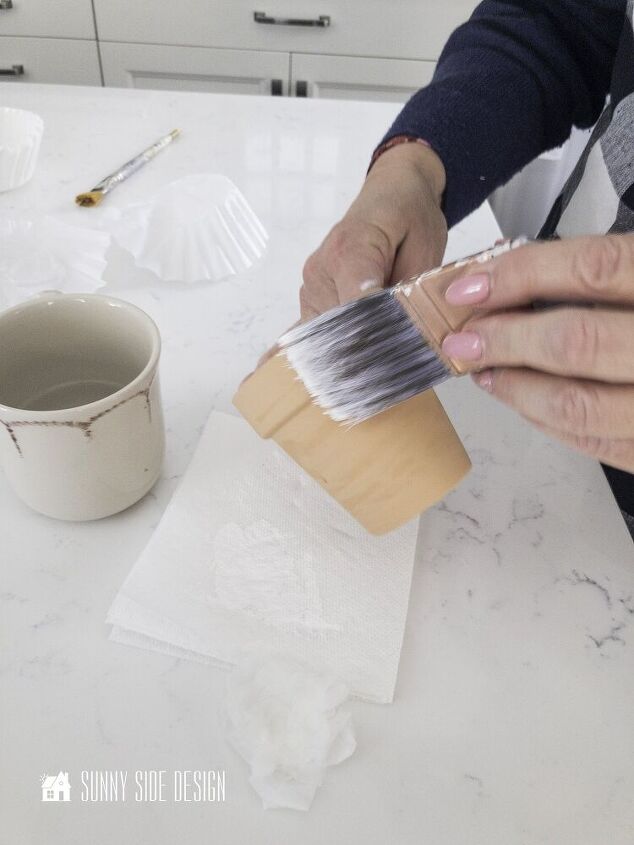
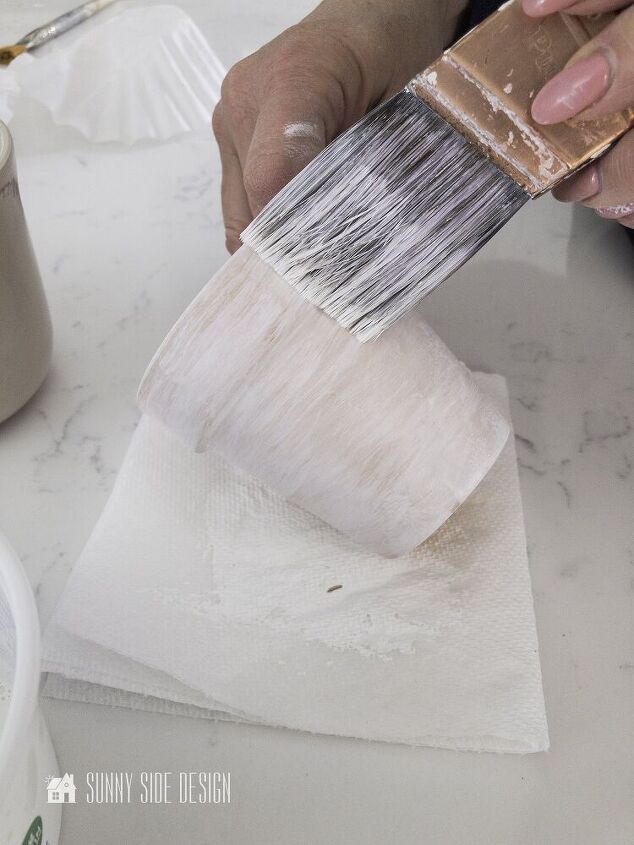
We wanted a soft look for our pot. With this in mind, we decided to white wash the small clay pots.
To begin, we thinned down white chalk paint with water until it was quite thin. Then, brushed on the paint and dabbed it with a wet coffee filter. Creating a soft, worn look to the pots.
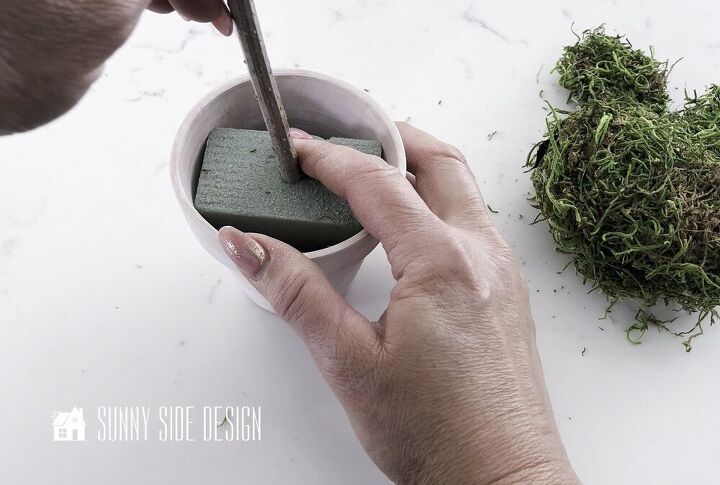

Once the pots were dry we inserted the leftover floral foam and a small branch from the yard.
In fact, you could also use a dowel for this part.
Insert the branch into the floral foam, then place the bunny head on the top.
Embellish the bunny topiary as you’d like.
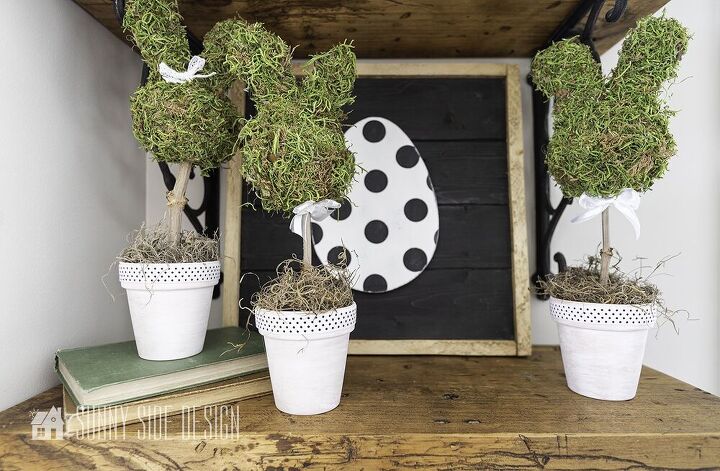
We decided on a polka dot ribbon around the pot and a little bow for each topiary with scrap ribbon and trim.
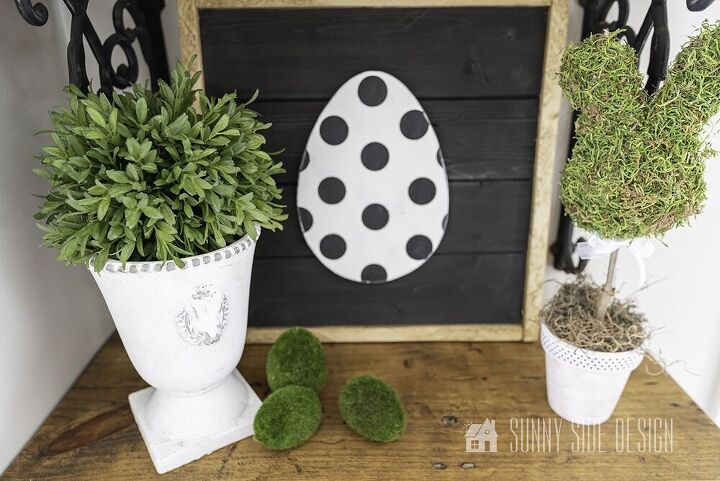
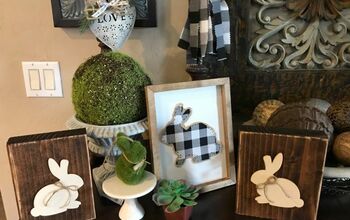
In my opinion, this easter decoration just says spring! The soft green with my black and white easter decor looks so fresh. To me it has that farmhouse feel.
So, please tell us what you think! Is this a little project you’re going to try and add to your Easter decorations this year?
We love to hear your thoughts!
Please PIN and share with your friends! Sharing is caring! If you’re new here, WELCOME! We love to meet new friends.
Say hi in the comments below, we’d love to hear from you. You can also learn more about us here.
Thanks for spending some time with us today!
And as always here at Sunny Side Design
WE HOPE TO BRING YOUR HOME TO THE SUNNY SIDE OF THE STREET!
Be sure to follow us on Pinterest for even more home decor and DIY ideas.
To see what we are working on before it’s on our blog, follow us on Instagram.
You can also find our video tutorials on our YouTube channel.

Resources for this project:
See all materials


Comments
Join the conversation
-
Cute!
-
So cute! I have the supplies and will try it. If you spray the bunny head with cheap hairspray when you're finished, the moss won't shed so much. Thanks for a great idea!


Frequently asked questions
Have a question about this project?