


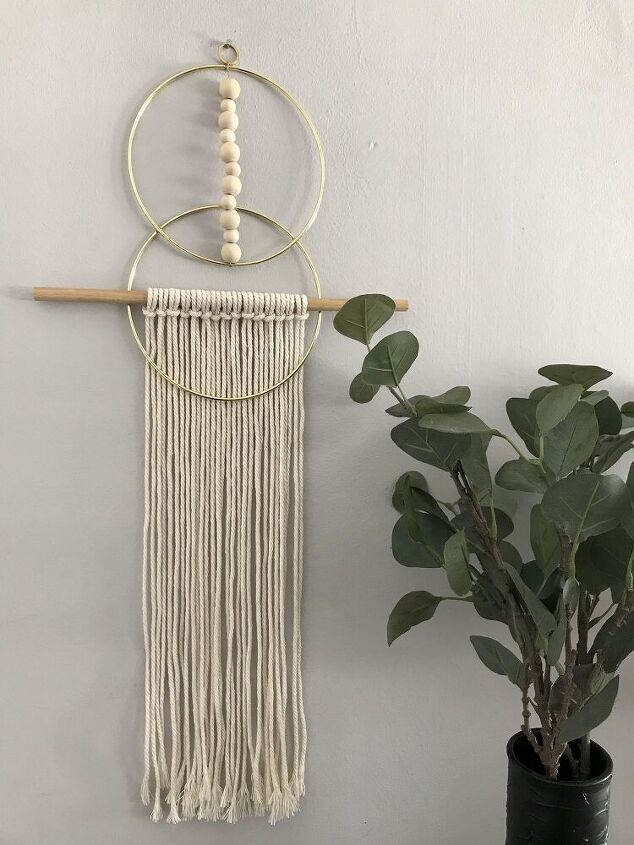
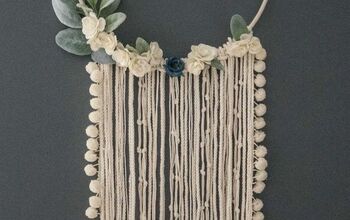
DIY Boho Wall Hanging Ideas – Affordable And Cute
Hey everyone! Today, I wanna share two boho wall hanging ideas that I’m obsessed with! I like to have elements of boho style throughout my decor and these wall hangings are a perfect match!
So, are you with me? Let’s begin!

Supplies
- 3 mm macrame cord
- 2 6″ metal rings
- wooden dowel
- E 6000 glue
- small metal ring
- some wood beads
- thin metal wire
- scissors
Eventually, I didn’t use the glue gun so delete it from this list.
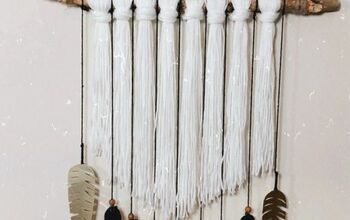
Step 1
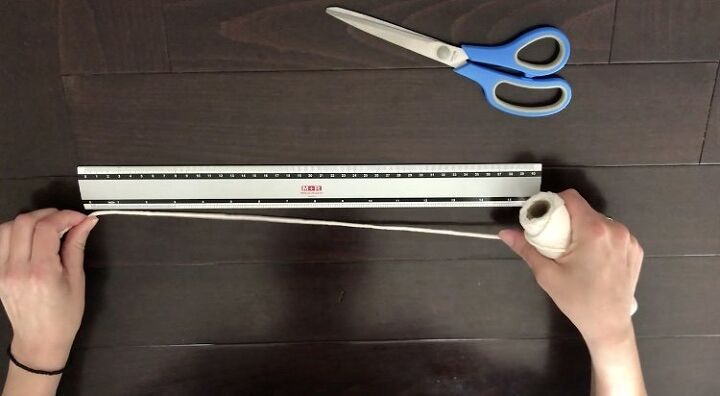
Measure out a cord 50″ in length and cut it. Then cut another 14 pieces at that measurement using the first as your guide.
Step 2
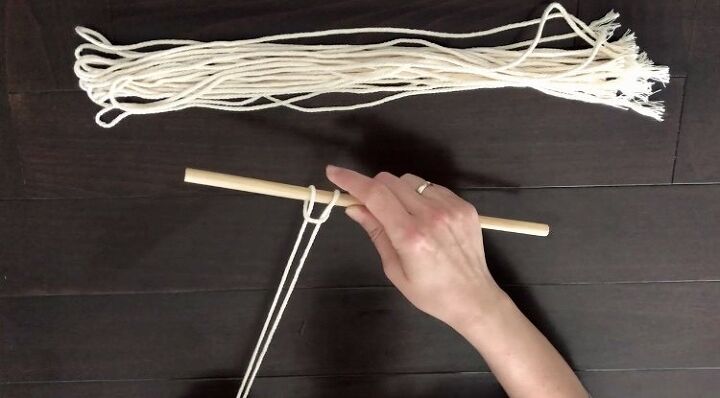
Take a piece and attach it to your dowel by making a lark’s head knot. That means that you have to fold your cord in half, place the loop over the dowel, pass the two strings through the loop and pull them down.
And your first knot is done! Another 14 to go!
Step 3
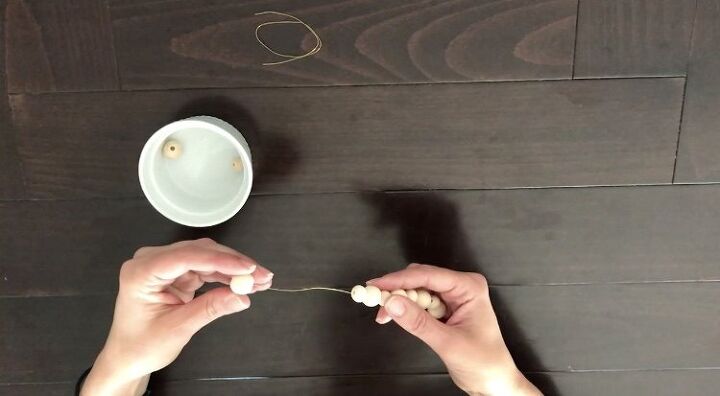
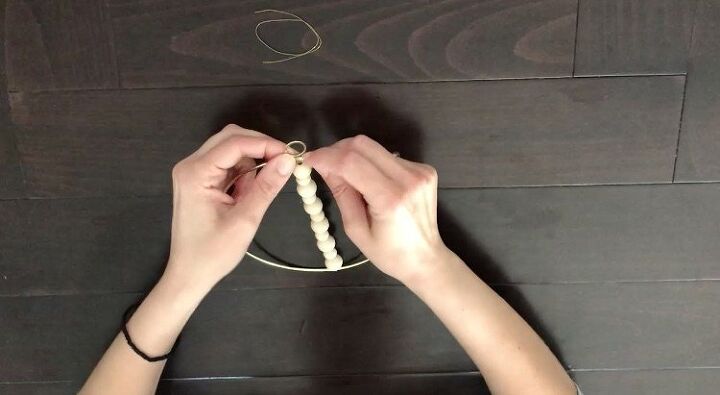
Take your wire and cut it at 10″ or more. Then pass through the beads one by one.
I opted for beads in two sizes but that’s my preference.You can use whatever size you like.
First, pass through the large bead and then the smaller one, and so on and so forth until you pass through all the eleven beads.
Step 4
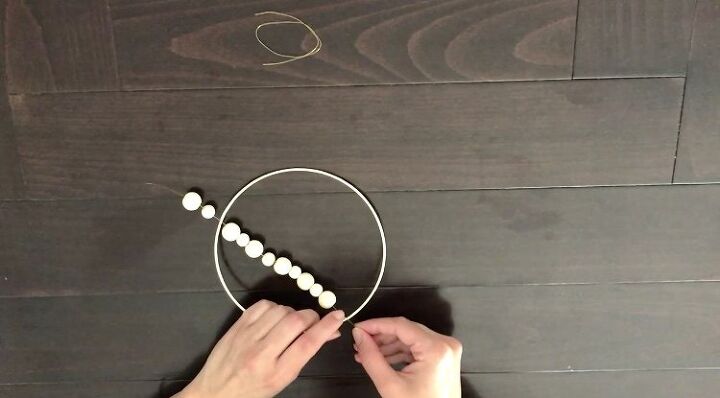
Wrap the wire around to the bottom of the ring and then bring the wire all the way across and wrap it once again.
Step 5
Fasten the metal ring up with the same wire you used to secure the beads.
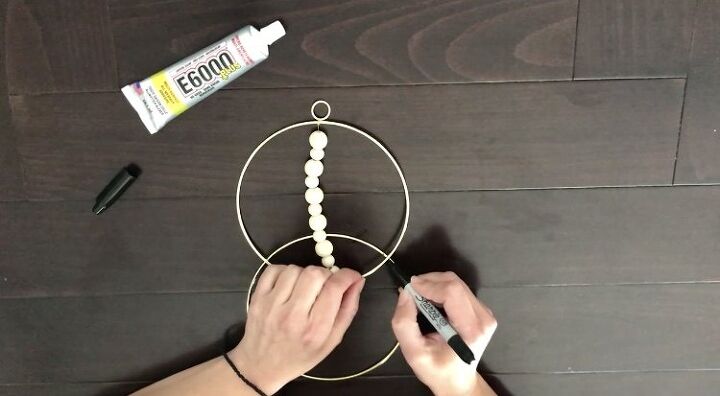
Step 6
Grab the second ring and slide it under the first at the point where the three beads at the bottom are meeting. Then go ahead and mark with a sharpie the points where the two rings are touching each other.
Step 7
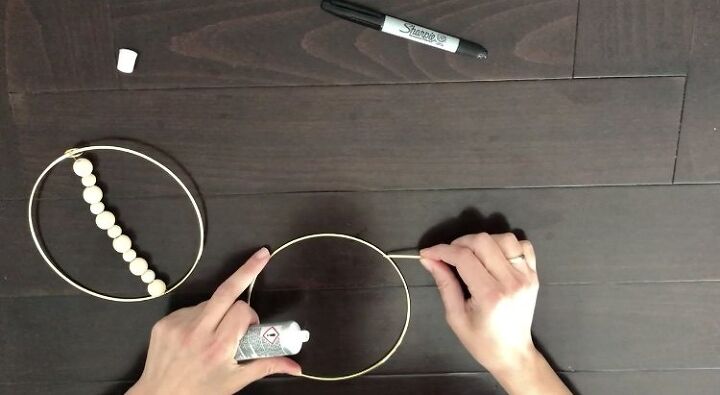
Put your top piece aside for the moment and take your E6000 glue and with the help of a toothpick apply a small amount to the marks.
Tip: I highly recommend using a strong adhesive like E6000 because I tried hot glue but it didn't work. I even tried the hot glue and E6000 combo but that didn't work as well.
Next, place your top ring on top of the bottom ring and let it sit for a couple of hours or so to dry.
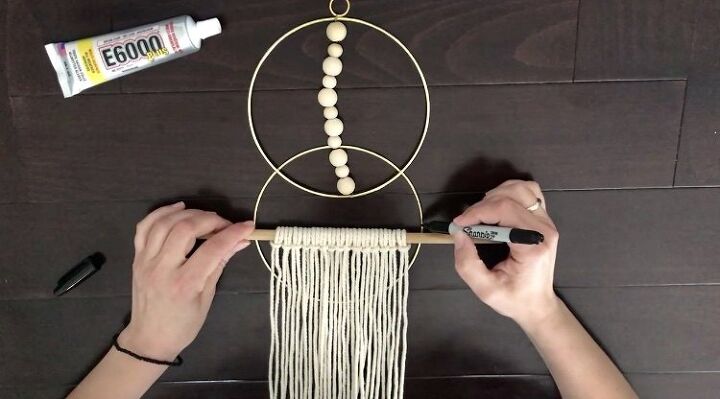
Step 8
After it adheres well, lay the dowel on top and in the middle of the bottom ring. Then once again, mark the points where the dowel rests and apply some E6000 at those marks.
Let it sit for a couple of hours and then come back and gently pull the cords back through the ring.
Step 9
Give it a cut at the bottom and then unravel a little bit the ends and now it’s ready to be hang!
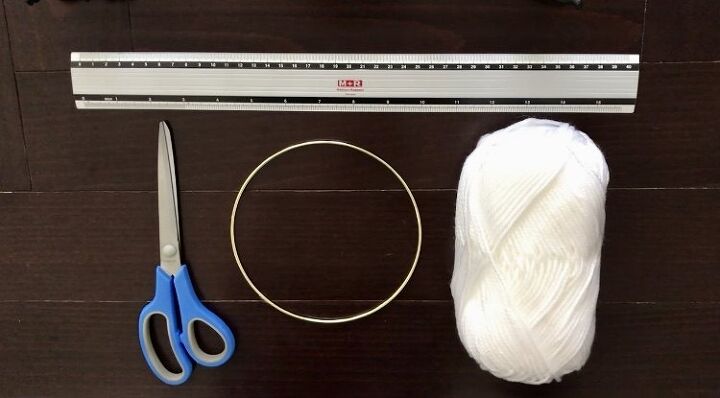
Supplies
- Thin yarn
- 6″ metal ring
- scissors
- ruler
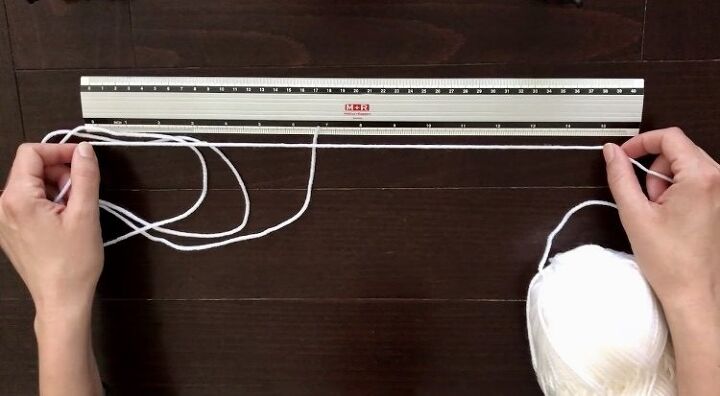
Step 1
Measure out your yarn at 60″ in length and cut 8 pieces in total at that measurement.
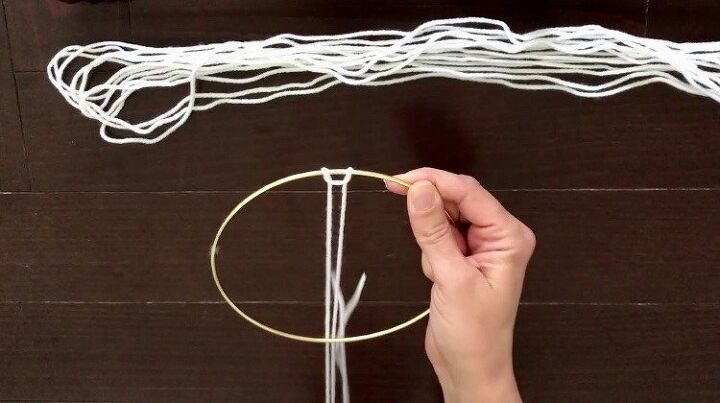
Step 2
Now, that you have all your pieces of yarn cut out, go ahead and attach them to your ring one by one by making the lark’s head knot.
Fold it in half, put it over the ring, bring the ends through the loop and pull tight.
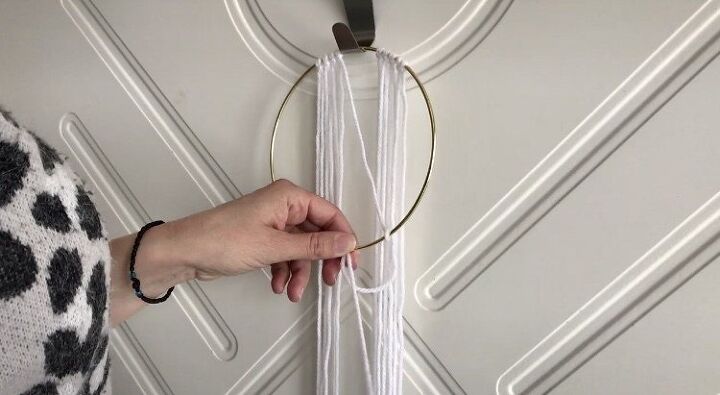
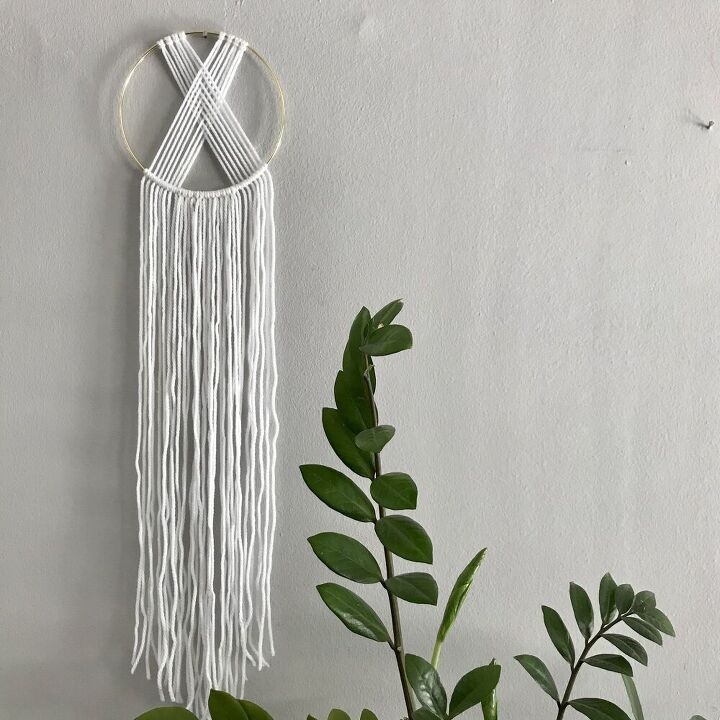
Step 3
Separate 4 strands to one side and 4 to the other and grab the far-right string from the left section and loop it to the ring by making a half hitch knot.
Take the string, wrap it around one time and then from there wrap it around one more time but this time pull the tail through the loop that has been created.
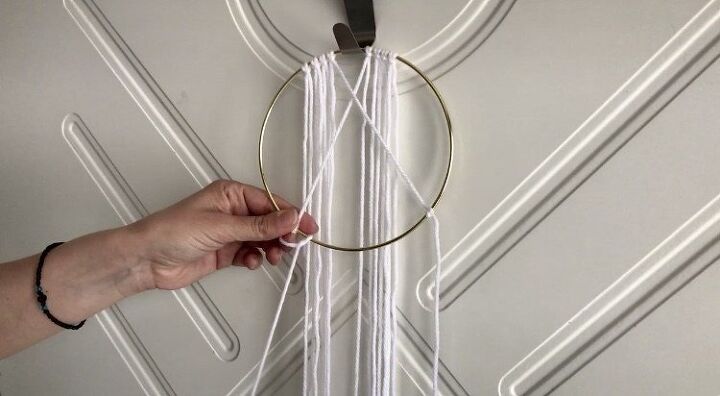
Step 4
Next, take your far left string from the right section, cross it under the first string you’ve just attached, and make a half hitch knot.
Essentially, what you’re gonna do is to take a string from the left section, loop it around diagonally and then take the string from the right section and loop it diagonally as well.
Repeat these steps until you reach close to the center. Make sure that you are bringing the string underneath the previous one you’ve just looped in.

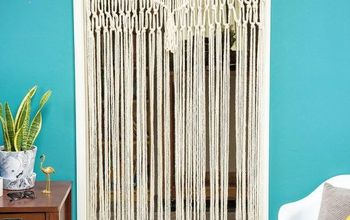
Step 5
Now, that you’ve finished with all the knotting you’ll see a gap. All you have to do to complete this gap is to take several pieces of yarn that are about 50″ in length and loop them one by one to the center of the ring.
Basically, what you’re gonna need to be doing is to attach them by making a reverse lark’s head knot. That means that this time you have to put your string under the ring, bring the ends through the loop and pull them down.
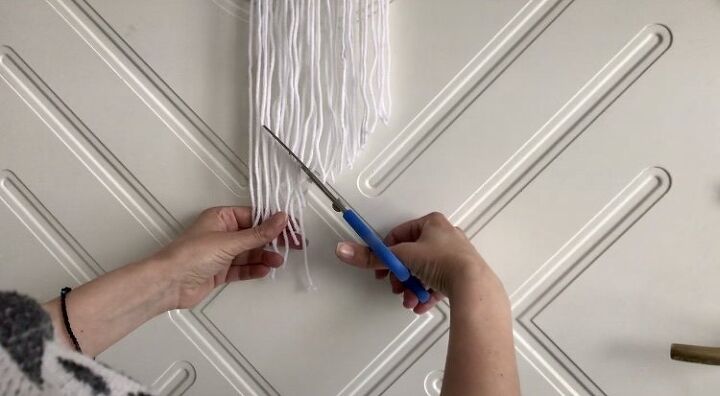
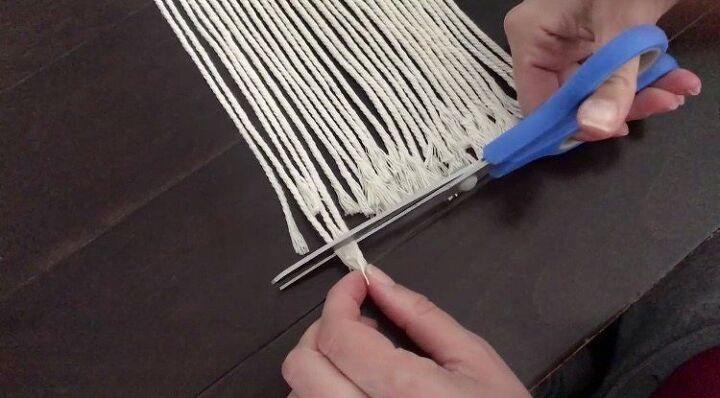
Step 6
When it’s all done, go ahead and cut the end with the help of a scissors.
I opted for a chevron shape but you can cut it at a straight line or diagonally. It’s up to your own preference.
And that finishes off our second boho wall hanging!
If you want more details on these projects, check out my video tutorial!
Guys, I’m in love with these wall hangings! Honestly, I don’t know which one I like best. It’s hard for me to choose.
I hope you like these boho wall hanging ideas too, and I also hope I inspired you to make them. And if you do, please send me a photo over on Instagram. I would love to see it!
Lot’s of love
Evi
Resources for this project:
See all materials


Comments
Join the conversation
-
Easy and simple to do. Going to try it with a colored yarn. thanks for sharing.
-
That would also be lovely on a child size hula hoop!


Frequently asked questions
Have a question about this project?