


Installing DIY Built in Cabinetry Design - DecorDIY/ProjectsInstalling

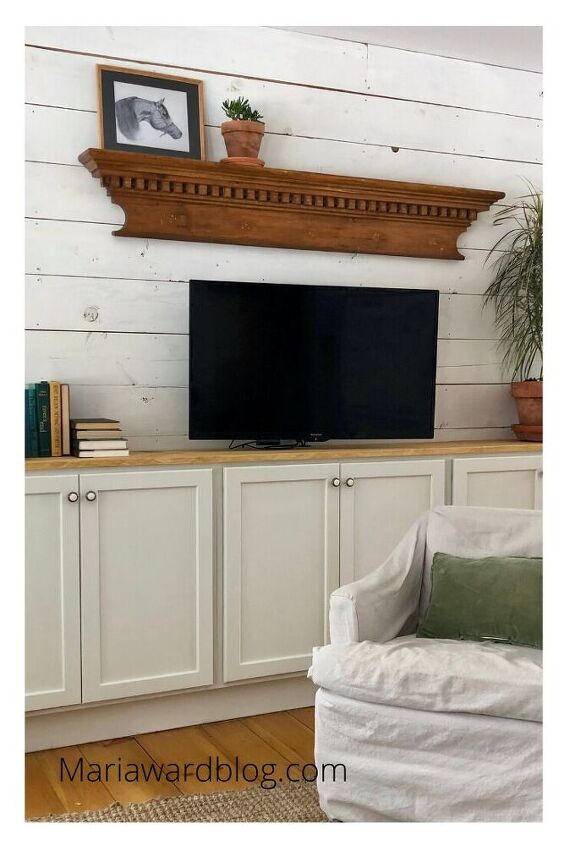
Installing DIY built in cabinetry can be easy and affordable when you are using unfinished pre-made cabinetry. The cabinetry can be installed and customized to look like a built in unit by using like or similar finishes of the surrounding area and it adds additional storage as well.
Pin this for later!
unfinished pre-made cabinets
2×6 ‘s for base cut to needed length & width depending on size of cabinet
cabinet top – We used 1 x 13 pine
wood glue
drill & screws
paint / stain
knobs
We began by deciding on what size we wanted the cabinet. The wall we are working with is 11 feet wide. I wanted a bit of space on each end so decided on 9 feet.
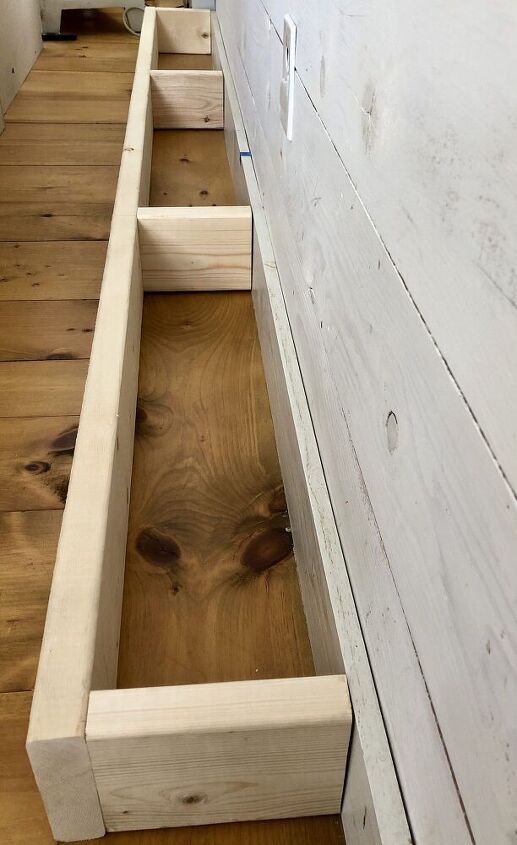
My husband built the base using 2 x 6’s and attached it to the wall. Because the wall is clad with shiplap finding a stud to attach the base to was not an issue. If your wall is sheetrock you will need to find the studs. The cabinets are 12″ deep and I wanted a toe kick so the base was built 9″ deep and attached to the existing mob board.
Once the base was screwed to the wall, the pre-made (stock) cabinets were set in place on top of the base. We used 3 upper cabinets from Home Depot ( 36w x 30h ). These cabinets come in several sizes to choose from depending on what size you want your built in cabinet to be.
Once they were placed where he wanted them to be he screwed them together and then screwed them to the wall.
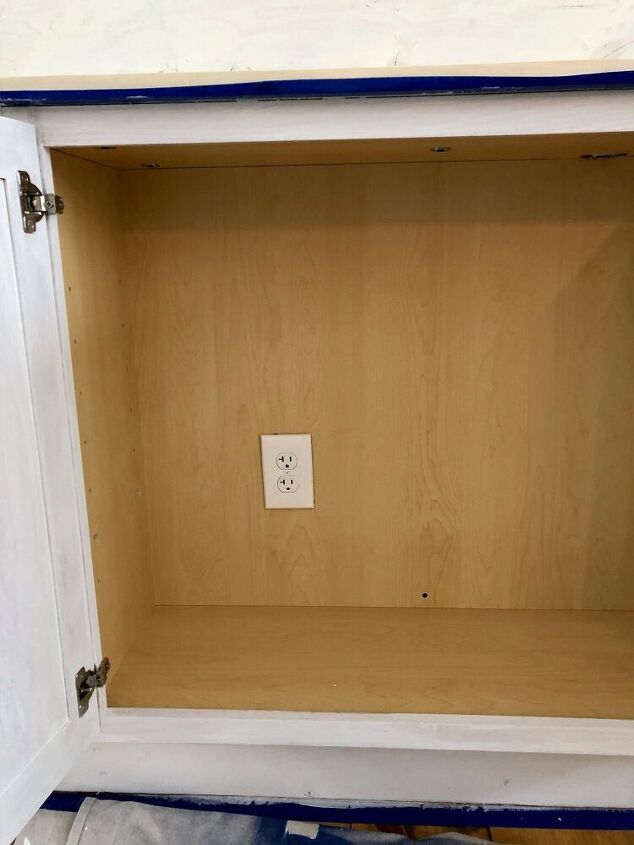
Since there were outlets on the wall my husband cut out the back of the cabinets where the outlets are so they would still be usable.
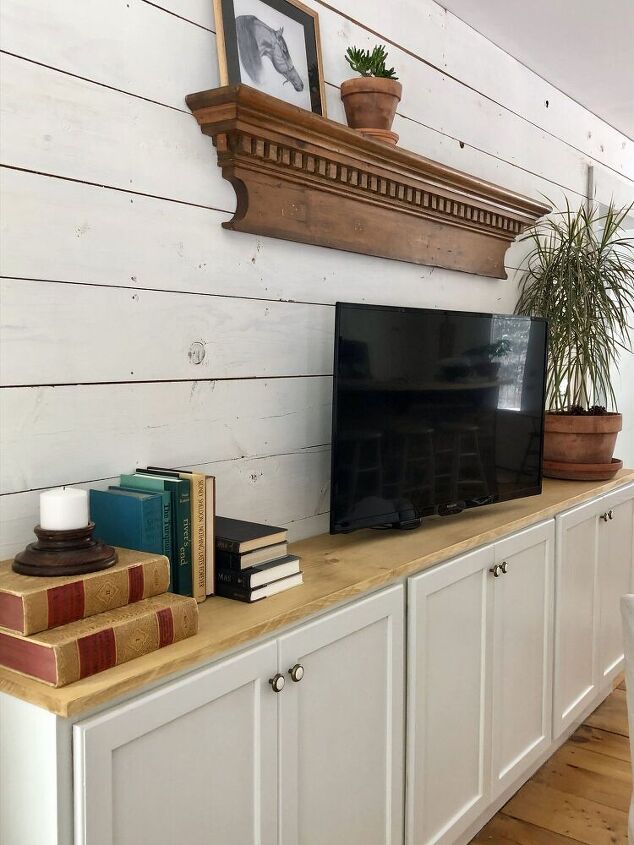
The top was also secured to the cabinets. We used a 1 x 14 that was ripped down to 13″. The cabinets are 12″ deep and I wanted a 1″ overhang. Butcher block would also be a good alternative.
This is where you make the pre-made installed cabinets look built in to match the rest of the cabinetry in the house.
My house is rustic so there wasn’t a lot to do besides the painting, staining, and attaching knobs. If your house has specific baseboard moulding then you would apply the same moulding to the base. If you have bead board on other cabinetry then you would add it to your stock cabinets as well. You get the idea.
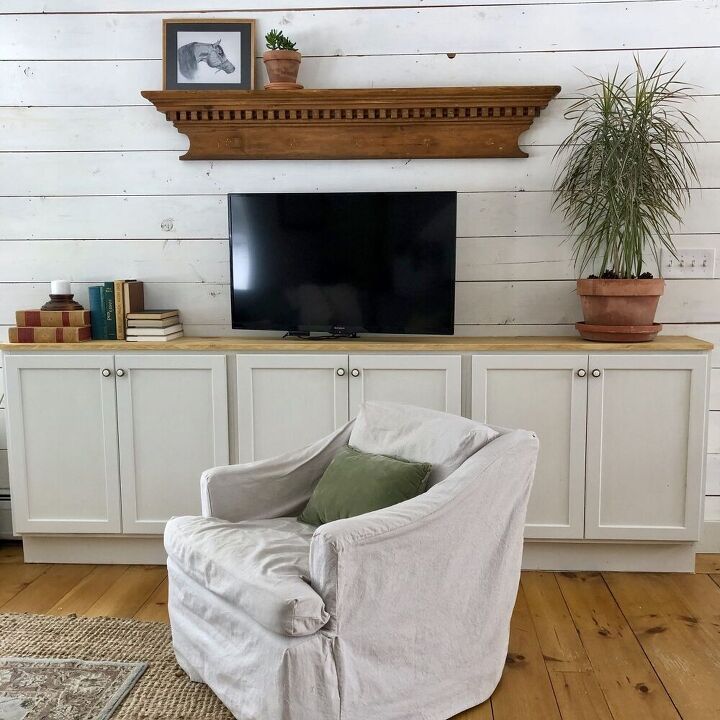
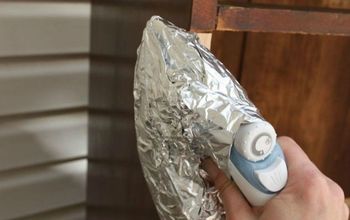
I decided to paint our cabinet the same color as our kitchen cabinets which is china white by Benjamin Moore. Since the cabinets are unfinished I made sure to sand and prime before painting. As with any painting project I also sanded with fine grit between each coat of primer and paint. I then sealed the cabinet with polycrylic by Minwax. The top was stained white oak to match the floors and then finished with the polycrylic as well.
I should also mention that my husband also drilled holes in the top to allow access for cords for any electronics to reach the outlets that are now inside these diy built in cabinets. Once the cabinet was finished he attached the knobs. These are knobs that I had on hand and are similar but not the same as the kitchen cabinets.
I also used these knobs on the desk that you can see in Living room office with functionality.
Notice the large moulding on the wall. I purchased it from @k.c.scanlon estate sales. I love going to these sales! I have found some awesome pieces at great prices. I posted about this piece on Instagram here.
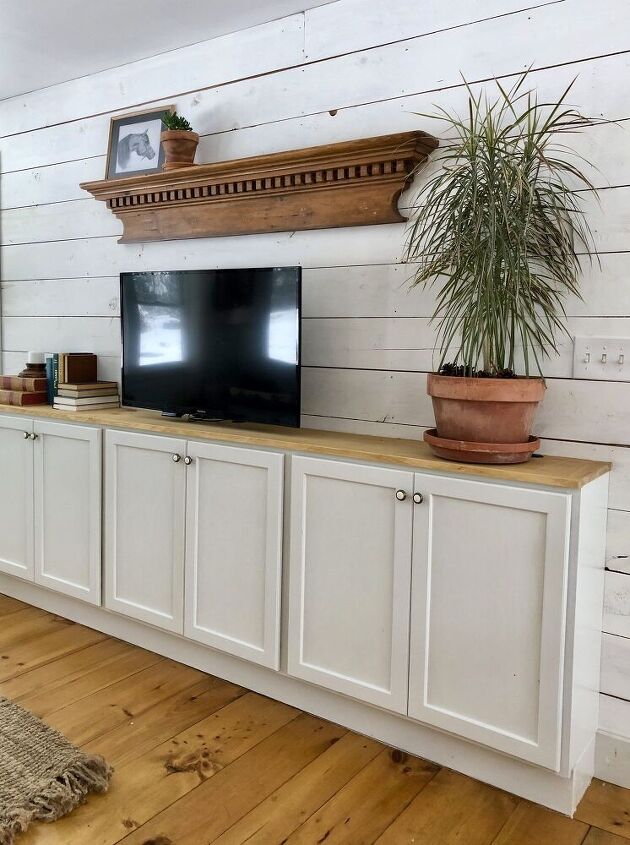
I am soooo glad that I decided to have these diy built in cabinets installed! Not only do they look good and blend in with the rest of the house, they also fill that wall space nicely and and provide a lot of storage. I just don’t know what I did without them:)
If you have basic carpentry skills I’m sure you could also diy built in cabinetry yourself. I have zero skills in that area so I am so glad that I am married to a handy man. I need to find a way to keep him around:)
Thank you so much for being here and reading this little blog of mine. I hope I can inspire you (or your handyman ) wink..to try some DIY’s too.
Maria
Feel free to pin any of these images. You can also follow me on Pinterest here, and Instagram here.
Resources for this project:
See all materials


Comments
Join the conversation
-
I took top cabinets and put on the floor of my kitchen for more storage along an empty wall. I took lower drawer cabinets in my office/craft room then put bookshelves on top for a built in look for storage.
-
Great idea. Beautifully done. Love the Arabian Horse above it.


Frequently asked questions
Have a question about this project?
Where is your cable box?
would it be possible to make an island using 4 cabinets? Two on each side, with overhang on one side with 2 chairs?
You think you could stack them with the top in between I think they would be great for pantry or my craft room never enough space in my craft room