


Fairy-light Tree for a Small Space

This bookshelf-hanging fairy-light display is perfect for college dorms or tiny areas where you can't stick things to the wall and don't have enough counter space.
I don't know about other places but my daughter's university dorm room looks like a cross between army barracks and a hospital. There is a strict 'no-stick' policy - not even Command Hooks, simply because they are not widely known around here. So how is a girl supposed to hang her fairy lights and prettify things?! This is the crucial issue that absorbs the crafting mom sitting 800 miles away because sadly, this is the only contribution I can now make to her life - fairy-lights.
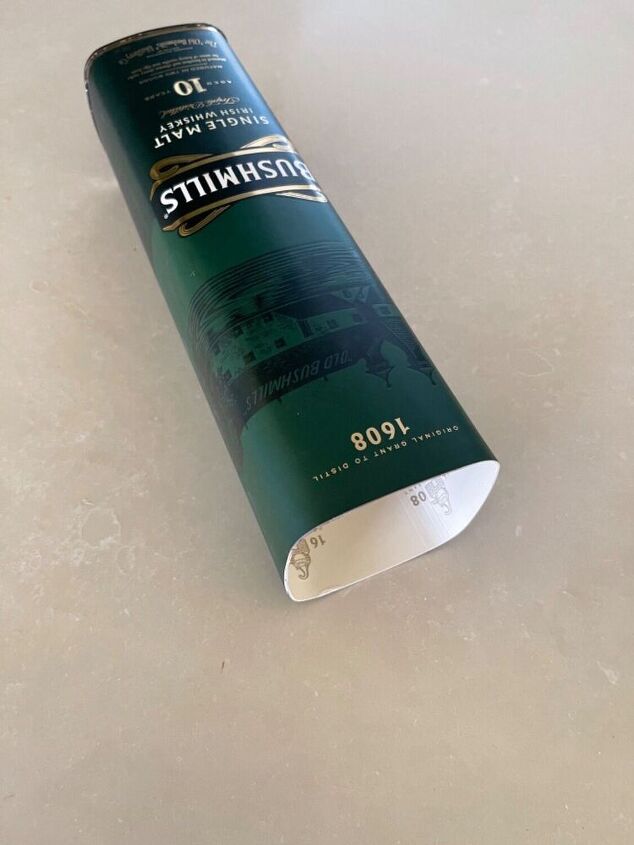
Oh well, I know the room has a bookshelf and I have a cardboard whiskey bottle container...
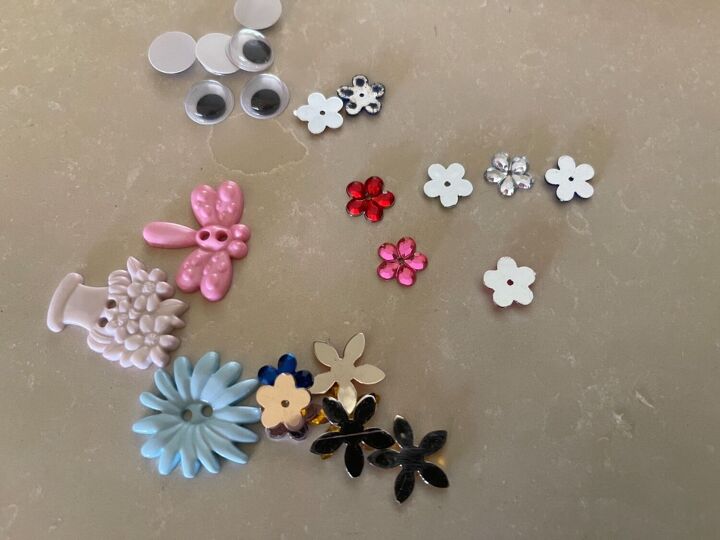
And some small plastic trinkets.
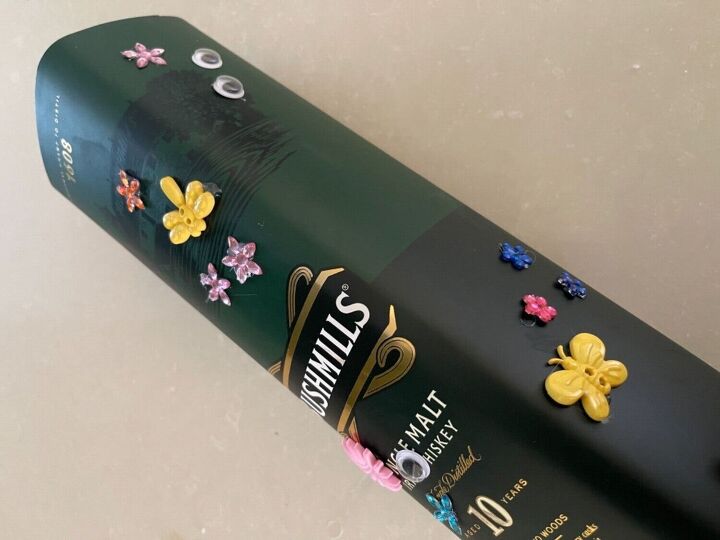
I stuck the items to three sides of the box with a glue gun.
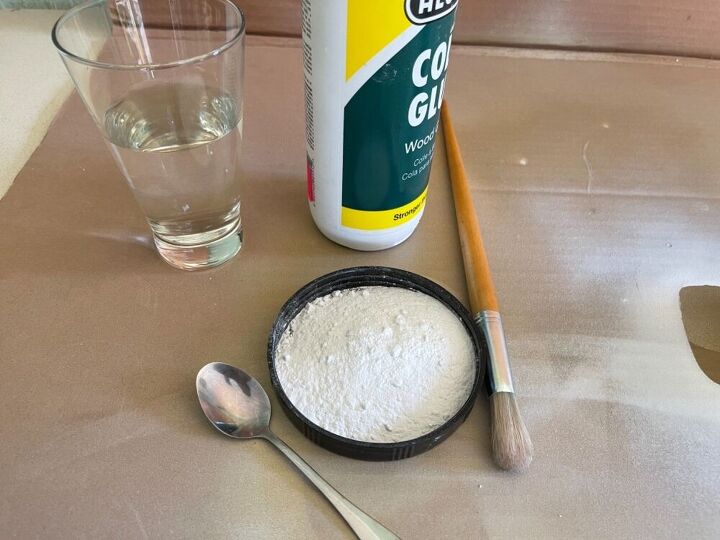
I then mixed about a cup of crack filler with a bit of water to form a medium paste (almost the consistency of corn flour paste when you make white sauce) and added a teaspoon of wood glue. Stir the water in bit by bit and keep stirring until you have the right consistency. Don't add any additional crack filler once the water has been added, I find that it makes more lumps. If the mixture is too runny, give it a couple of minutes to dry out. The mixture will be grainy in order to create texture.
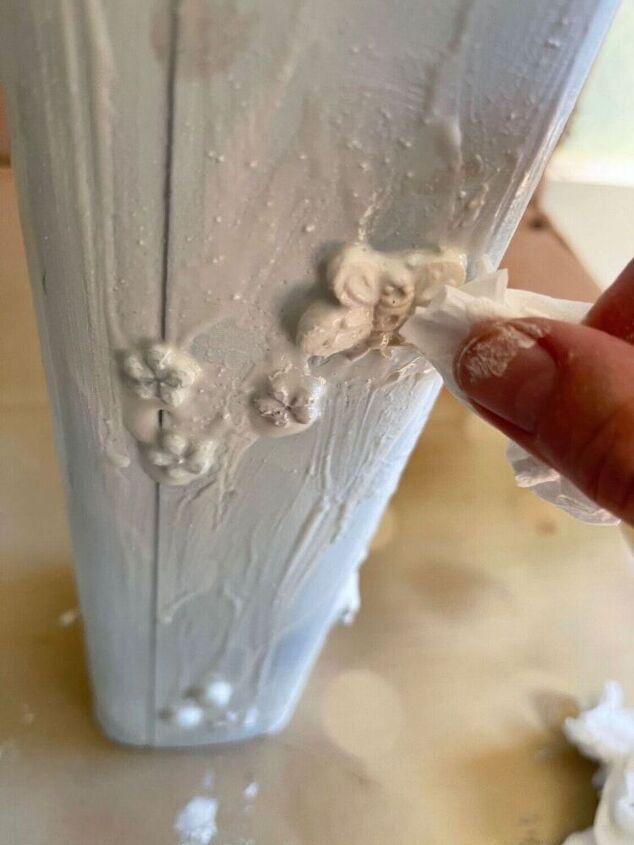
I painted the box with the mixture, including the inside top area. The paste got a bit thick in some places around the charms, so I blotted it with toilet paper and a cleaner paintbrush. I then left it to dry overnight.
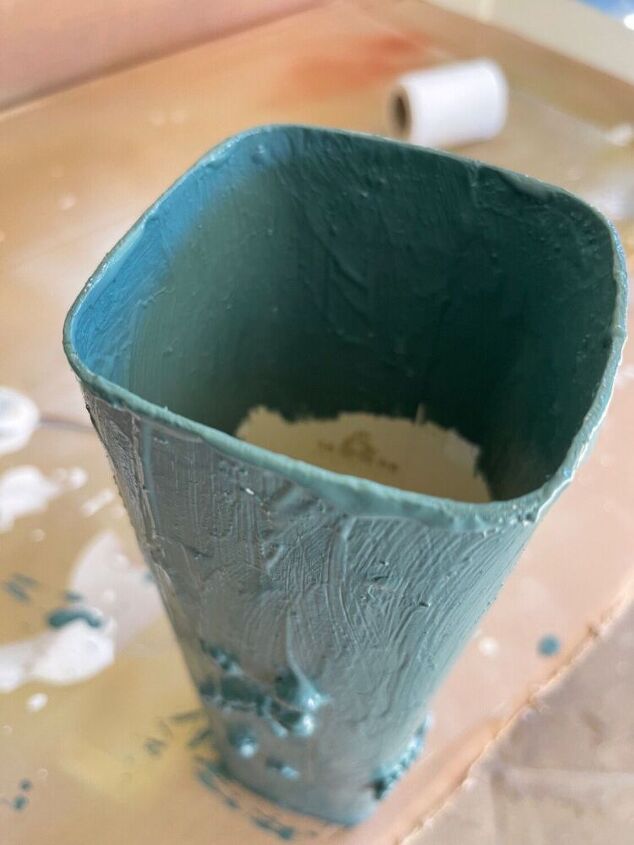
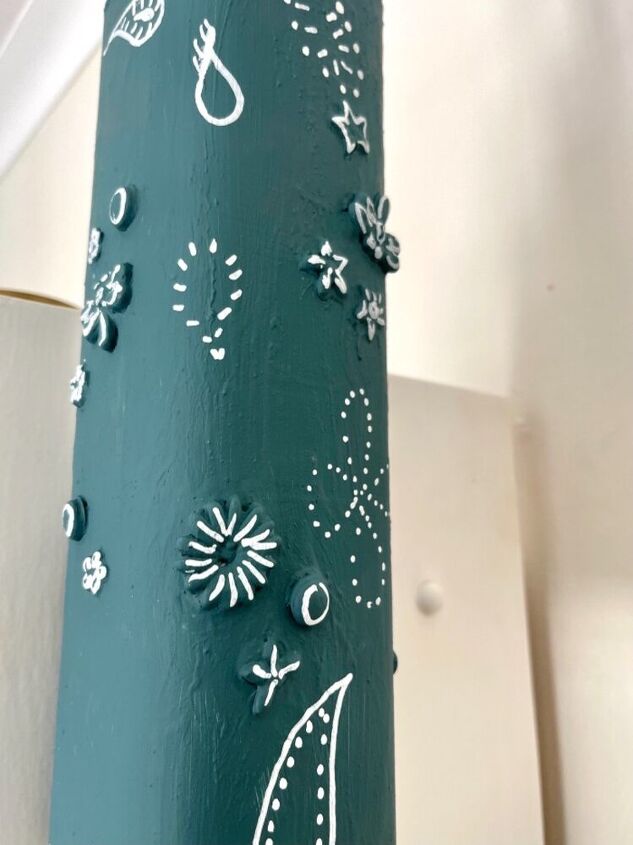
The next day I painted the entire container with chalk paint, including the inside top as you can see from the picture above.
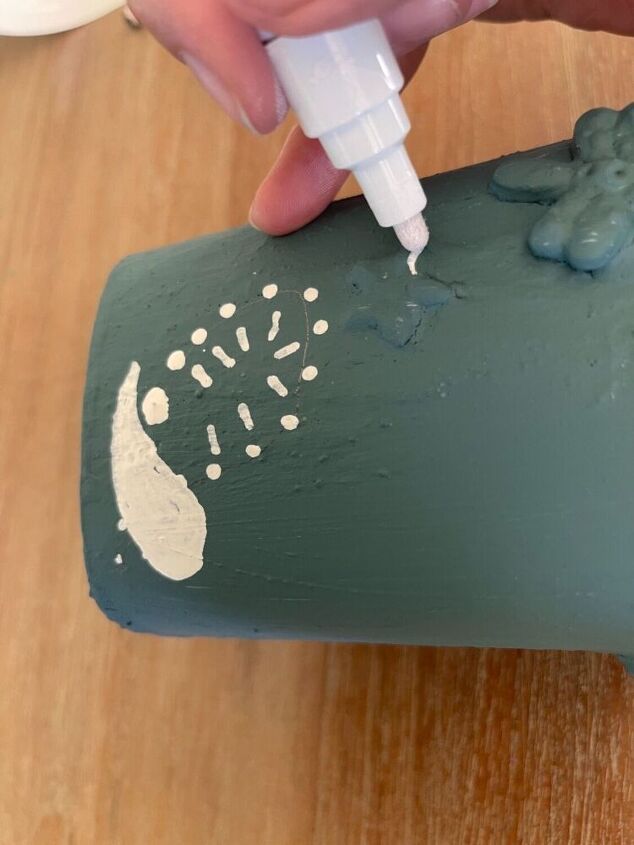
I used a white paint pen to draw designs and to highlight the relief parts. The design matches her duvet set. You could also seal everything with a matte spray sealant but I didn't.
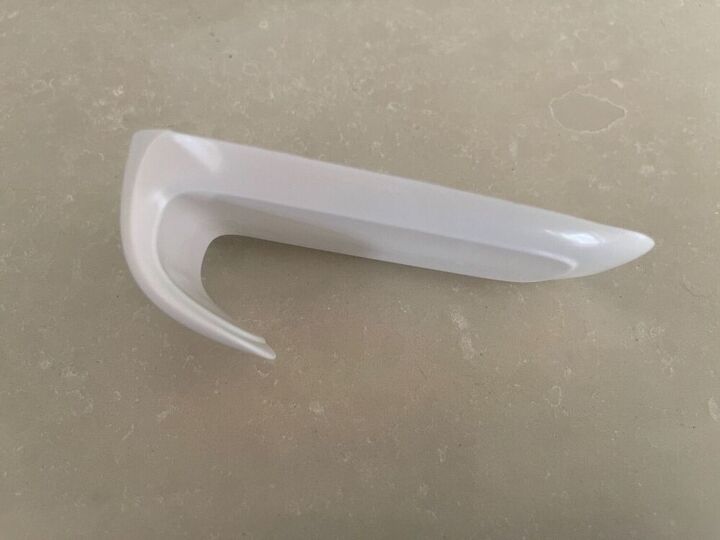
I found a big, square hook that fits over the lip of the bookshelf. This one happens to be a very large Command Hook because the design was perfect. Take the relationship between the curve of the box and the size of the hook into consideration, you don't want the hook to be too big and stick out on the sides.
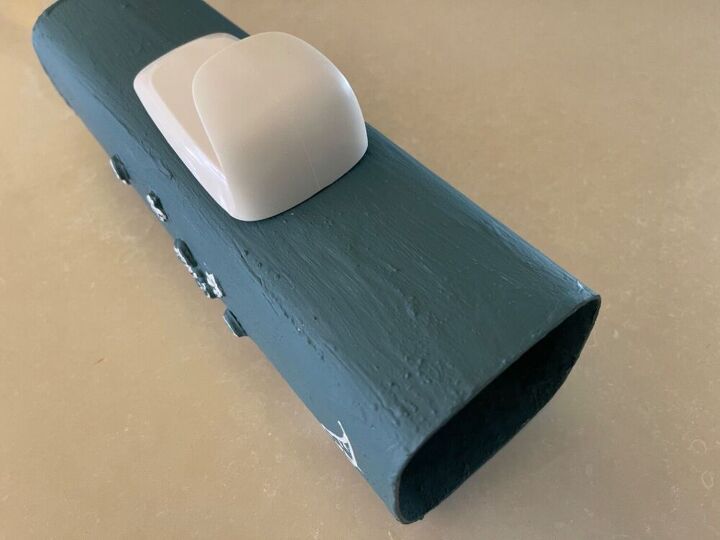
Instead of using the sticky strips, I used my glue gun and stuck the hook up-side down, midway on the fourth, undecorated side of the box. The glue gun is particularly helpful in increasing the sticking area between the hook and a round box. I chose a flat hook because I figured it would sit more securely on the bookshelf if one was fiddling with the light switch.
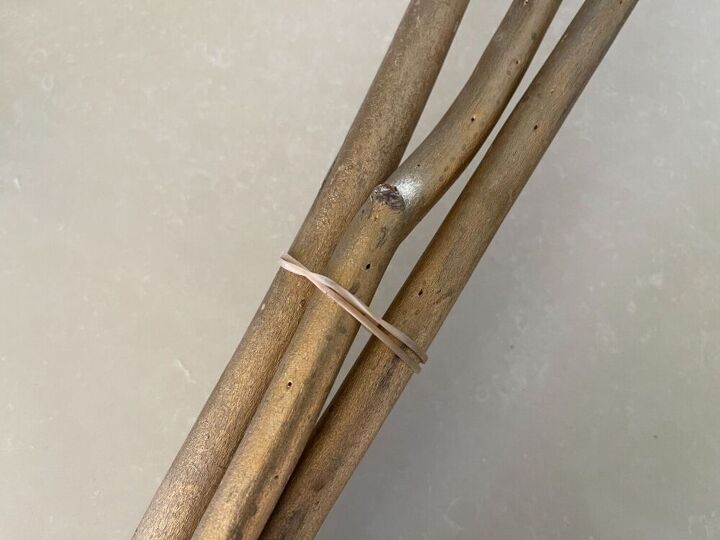
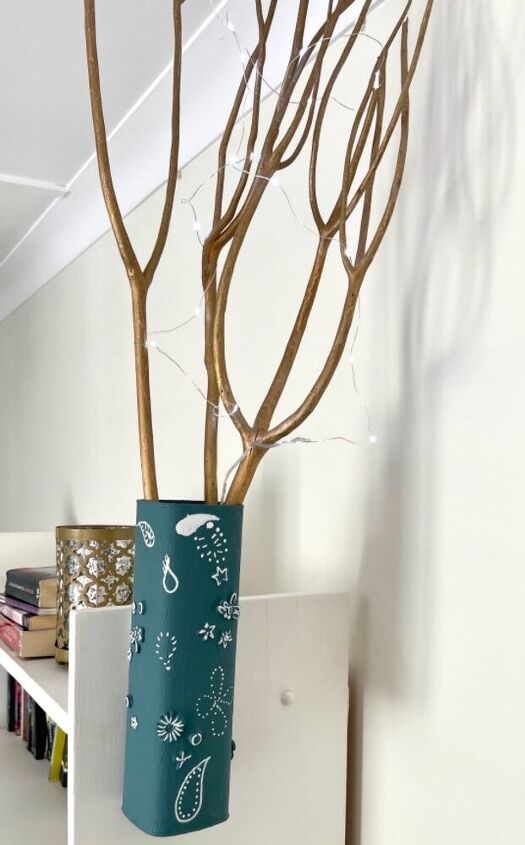
I had a couple of sturdy twigs that I had painted gold for a previous project. I decided to add a loose elastic to their bases so that they formed a loose bundle and didn't move around quite so much.
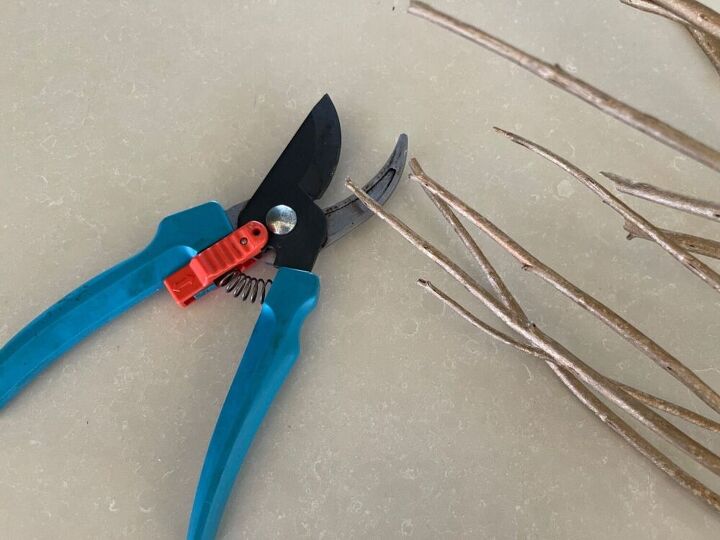
Only when doing the mock-up did it occur to me that the height of the ceiling could impede my creation. I know the dorm room has a really nice high ceiling but for the purposes of my mock-up at home, I had to trim some sticks. But once the height issue was sorted out I could drape the fairy-lights over the twigs and hide the switch inside the container.
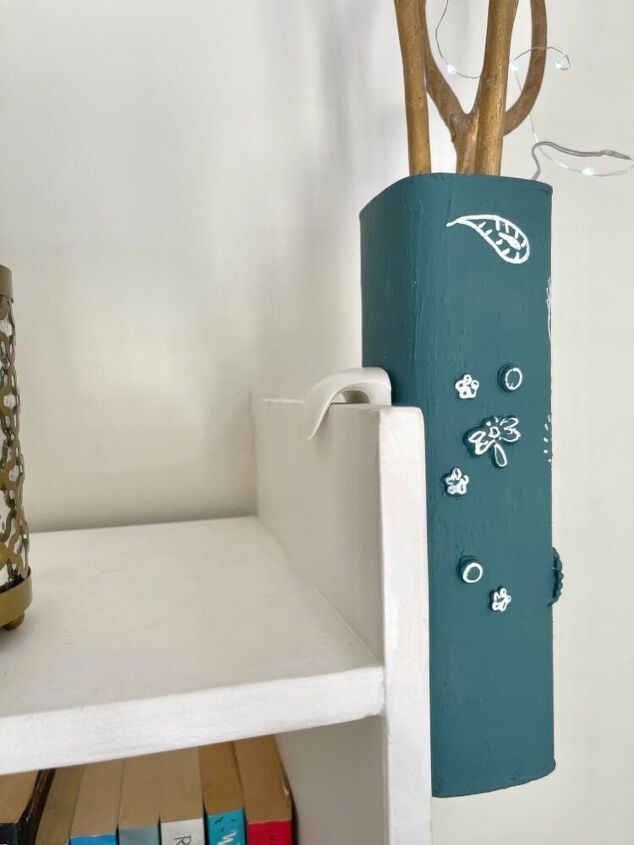
And then hook the container over the bookshelf.
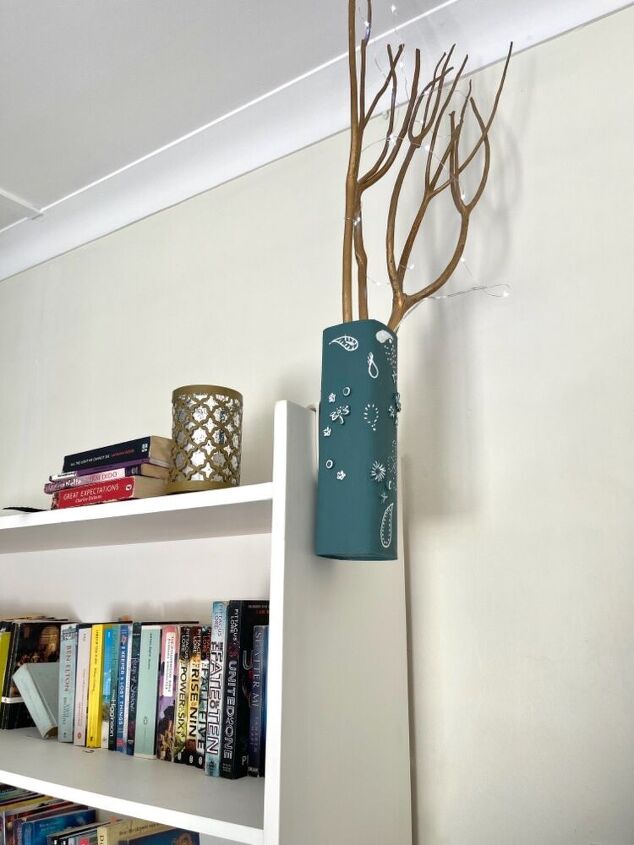
So now she has a nice decorative feature for her without taking up precious surface space. And without getting into trouble.
Resources for this project:
See all materials


Comments
Join the conversation
-
Cool idea. Looks cool :)
-
Thank you. When are you posting again?


Frequently asked questions
Have a question about this project?