


The Easiest Way To Clean Your Trash Can

Learn the easiest and fastest way to clean your indoor trash cans during Spring Cleaning sessions using this back-friendly method.
Hi and welcome to another Quick Win idea! I’m coming at ya with a fast and easy hack for cleaning your trash can today, which is something I bet you haven’t done in a while. Sure, your trash can is lined with a bag, but somehow it always ends up with crumbs, sticky spots, and a candy wrapper in the bottom. Your trash can holds a lot of bacteria and is actually really gross, and you should be cleaning it much more often than you do. Let me show you my easy method for cleaning trash cans all at once, and explain how often you should repeat this process.
Supplies You Need To Clean Your Trash Cans
- Dish Soap (I used Dawn Powerwash Dish Spray)
- Tub Cleaning Handled Brush and/or Dishwashing Sponge
- Microfiber Cloth (if your trash can is stainless steel)
- Shower (with handheld shower head)
How To Quickly And Easily Clean Your Trash Cans
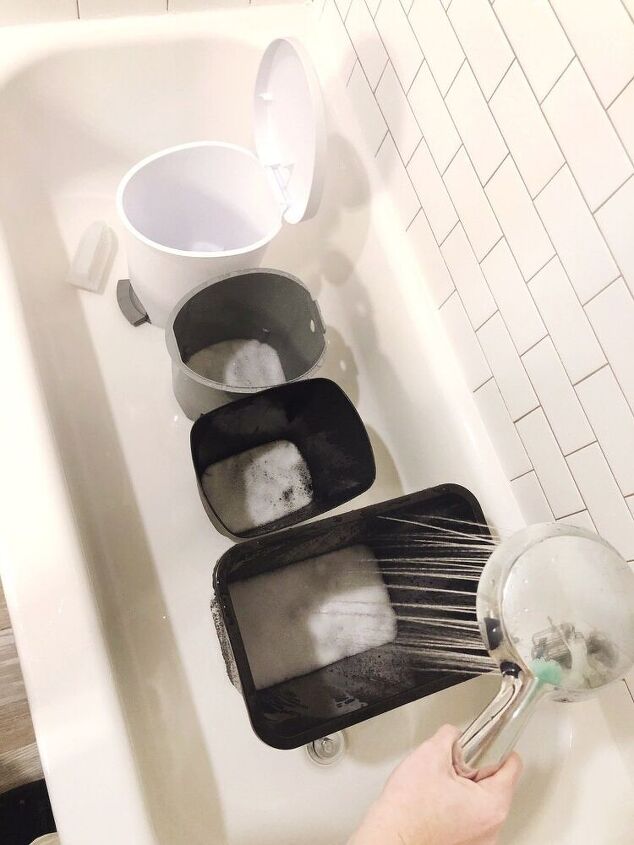
- Start by removing trash bags and any stray trash from inside the cans.
- Bring all your indoor trash cans into the bathroom and sit them in the shower.
- Get the water warm (but not hot). While it’s warming up, add some dish soap to the bottom of each can.
- Fill the can about 1/3 of the way full with warm water. It will become very sudsy.
- Let the water and soap sit in a plastic lined can for 15 minutes, and a stainless steel interior can for 5 minutes.
- After the trash cans have soaked, scrub the inside using a tub cleaning brush or sponge. Dump out the water inside.
- Wash the exterior of the can with a sponge or rag. (If your trash can’s exterior is stainless steel, use a microfiber cloth so you don’t scratch it.)
- Rinse the can using the handheld shower head (If you have one. If not, fill a large cup with water from the faucet to rinse)
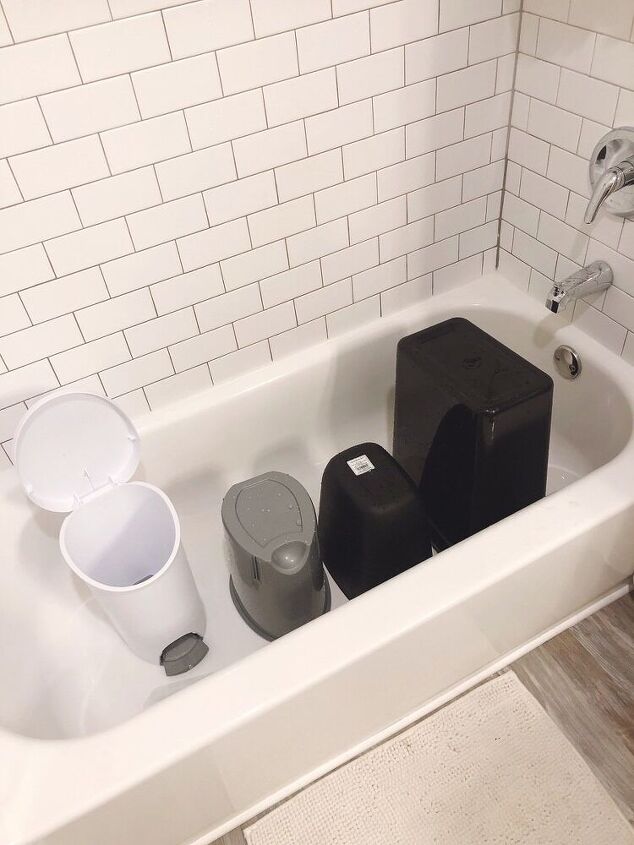
- Turn the cans upside down in the shower and let them air dry. (If your can’s exterior is stainless steel, dry the outside with a microfiber cloth immediately)
How Often To Clean Interior Home Trash Cans
Your trash cans hold a lot of, well, trash. That sets them up for contact with all kinds of germs, bacteria, and sticky, smelly stuff. You should aim to clean your trash cans once a month using the method above, and immediately after something spills inside like liquid from a package of uncooked meat. You should also be cleaning the lid or lever daily using an antibacterial wipe or spray.
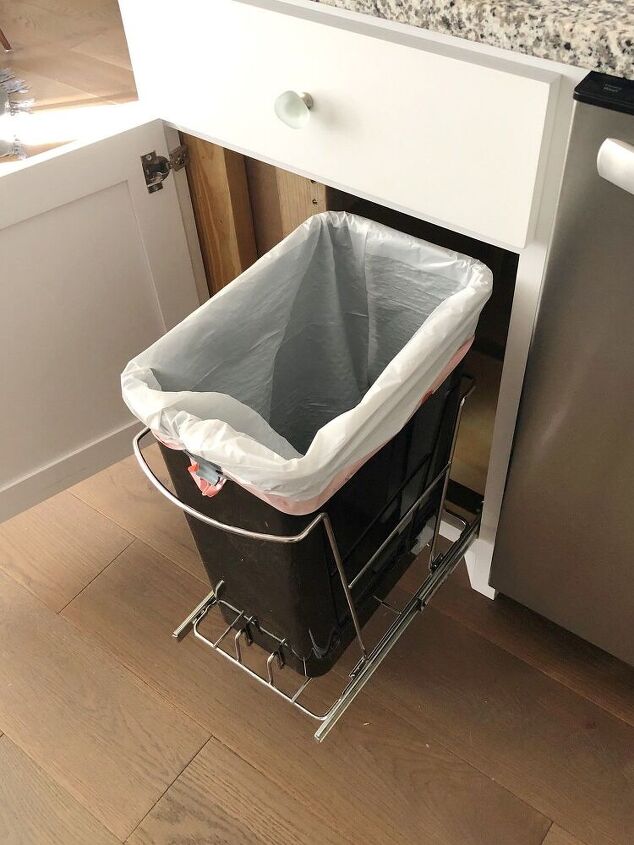
If you keep your trash can inside a cabinet, like my favorite pull-out can rack, you should wipe down the cabinet handle and cabinet door with an antibacterial wipe or spray daily also. You should also use the hose attachment on your vacuum cleaner to suck up any crumbs that ended up on the cabinet floor surrounding the trash can pull-out rack. And wipe down the top of the inside of the cabinet, too, in case you over-filled your can and trash rubbed up against the cabinet “ceiling.”
Quick little disclaimer. You should always reference the manufacturer suggestions for how to clean your specific trash cans. This guide is for basic plastic or plastic-lined stainless steel trash cans. Specialty cans may require specific cleaners or cloths and using some chemicals may damage them. Always do a quick Google search for cleaning instructions if you have a specialty trash can with an unconventional material or electrical component and you’ve thrown out the owner’s manual.

Want More Quick Win Projects?
Follow me on Instagram @lelaburris for super fast and easy organizing project ideas. I love sharing videos and tutorials for quick wins to help you get Organized-ish and post them almost daily. I even made a Reel-style video showing this entire trash can cleaning process as I did it myself during my own monthly cleaning routine. Head over to IG and watch it!


Comments
Join the conversation
-
I also do all my indoor plants this way every couple of months. It cleans the leaves from dust and gives them a good watering. I let the dry overnight and put the back where they can get the most sun. I don’t put flowering plants when they are blooming.
-
It is easier for me to clean a trash can as needed. If I do all of them at one time it seems like a lot bigger chore. I guess that’s because I’m older and it’s easier to break big chores up into smaller ones.


Frequently asked questions
Have a question about this project?
Simple and common sense. I like it. I also like how your cabinet is reconfigured for what looks like a dog feeding station on the other end. Do you have a "how to do" post on that?