


Decoupage Plastic Easter Eggs With Postage Stamps
It’s easy to decoupage plastic Easter eggs to give them a fun new look with just a few supplies needed.
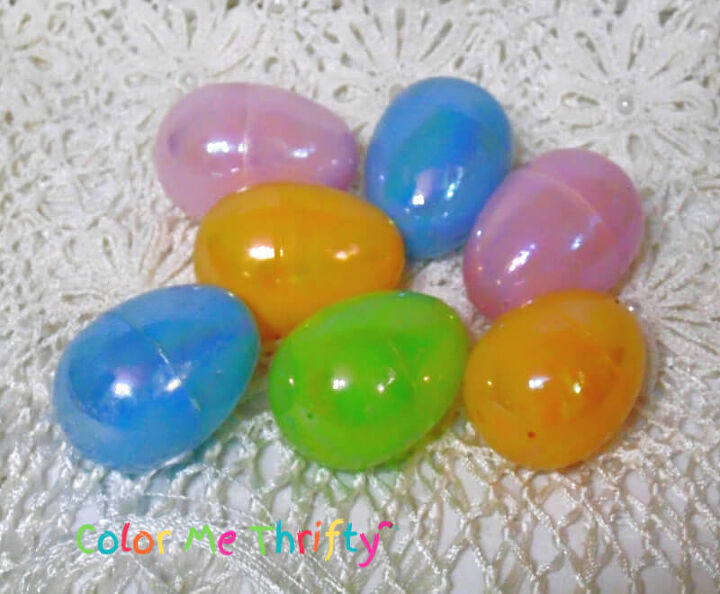
I love the colors already, but it’s easy to make them more fun and interesting.
These plastic eggs come apart because they’re meant for treats to be put inside. Make sure they’re closed tight before you start.
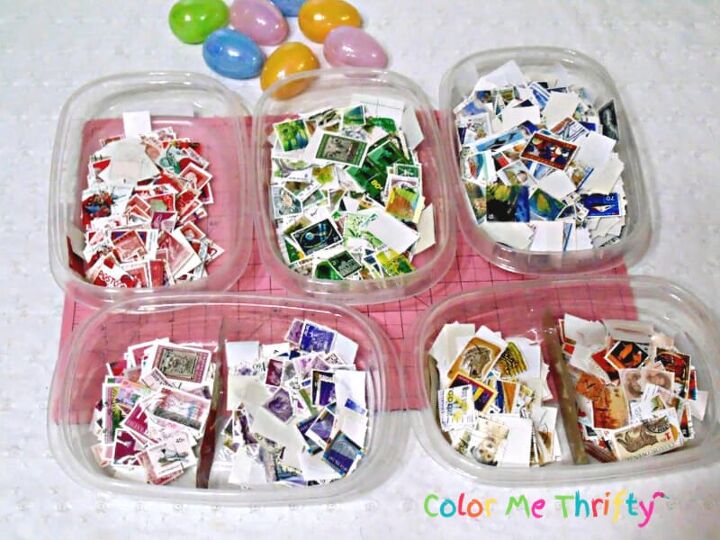
I purchased some large lots of used stamps some time ago and have enjoyed using them in projects.
NOTE: I am not a stamp collector and these postage stamps were purchased specifically for crafting purposes.
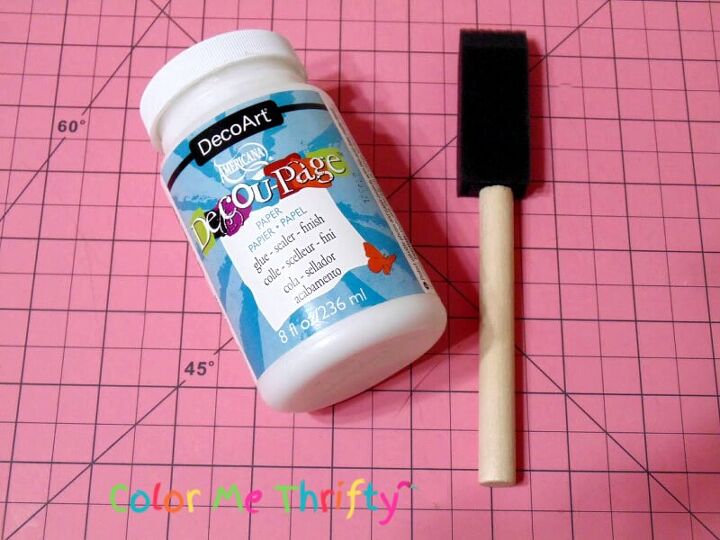
All I needed to decoupage my easter eggs was my DecoArt paper Decoupage medium, and a foam brush, and a fine grit sanding block.
This would probably work with regular Decoupage medium too, matte or gloss, depending on what you like.
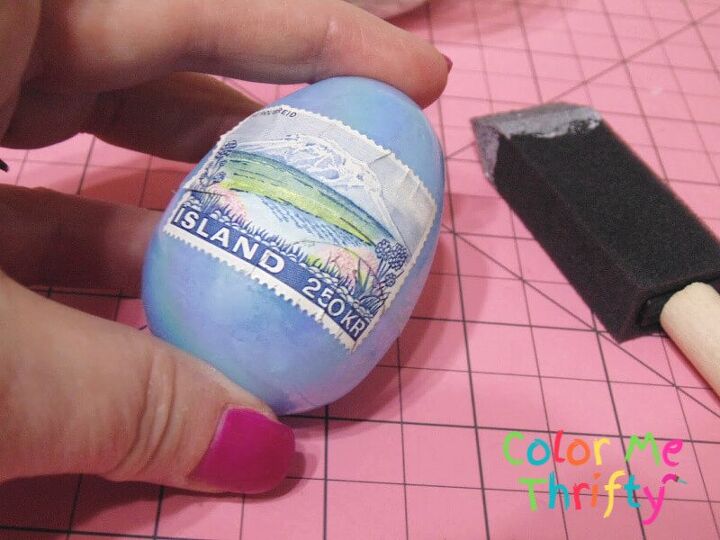
To apply the stamps onto the plastic eggs you just need to apply a little of the decoupage medium onto the egg, and onto the back of the stamp.
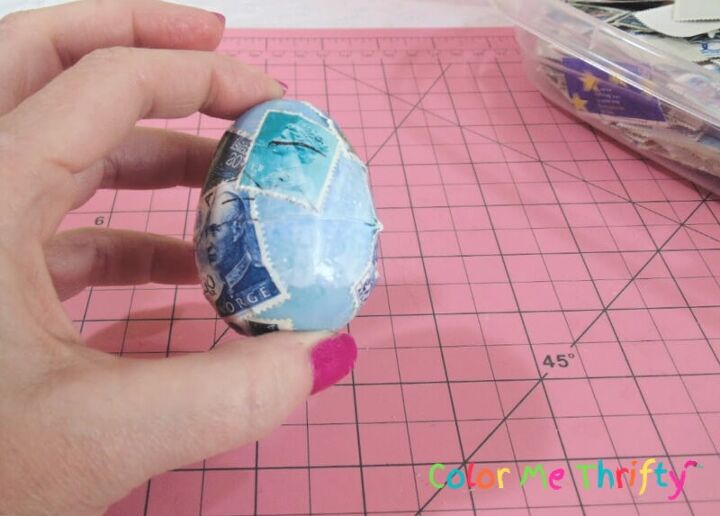
Not too much, a little goes a long way.
Make sure to press the stamps down as you go to get out any little wrinkles or bubbles.
Once I got them about half way done I let them dry so I could hang onto them to finish them up.
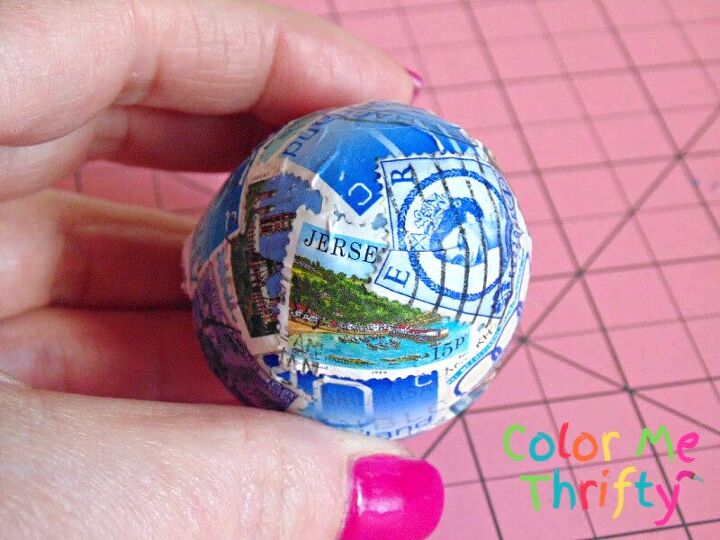
Here’s my first decoupaged plastic Easter egg all done.
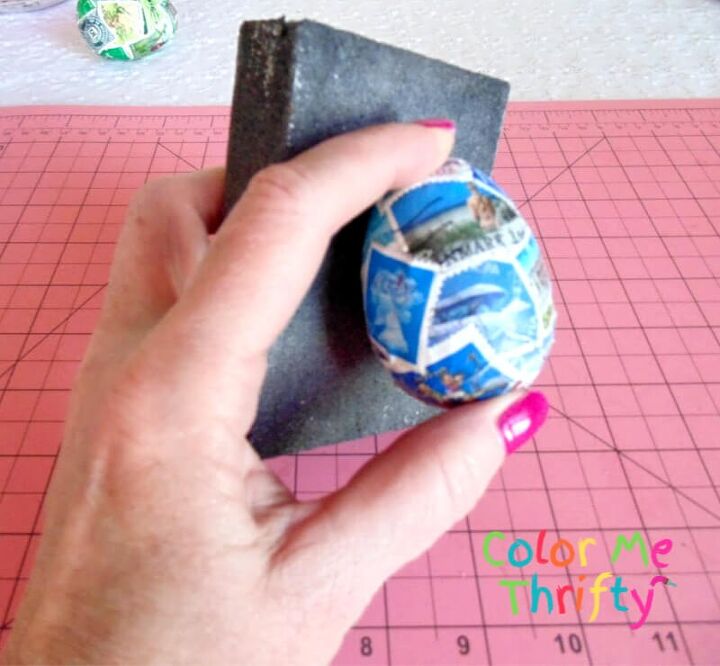
After I gave it one light coat of the decoupage medium I gave it a light sanding with a fine grit sanding block.
Then three light coats, sanding lightly in between.
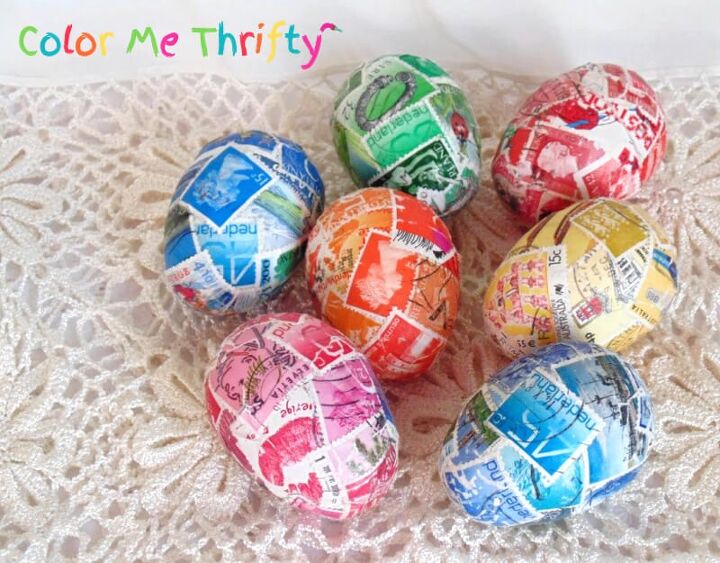
When decoupaging these plastic Easter eggs I used the stamps that matched the color of the egg.
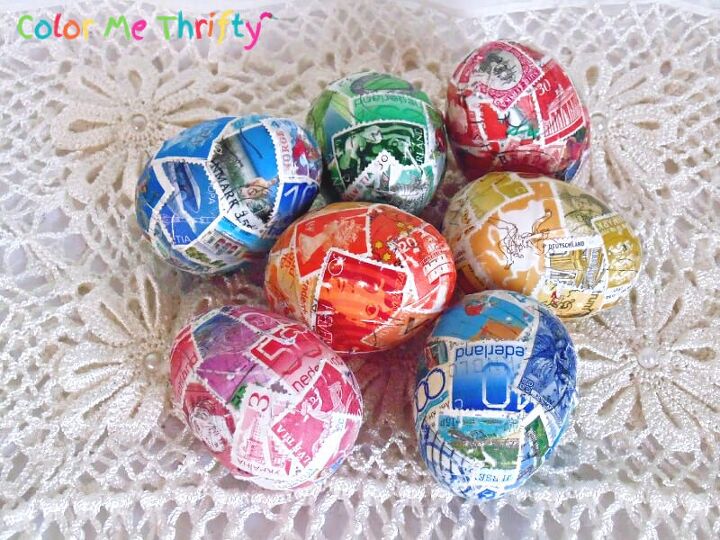
That way if there are any tiny holes between stamps it’s not very noticeable.
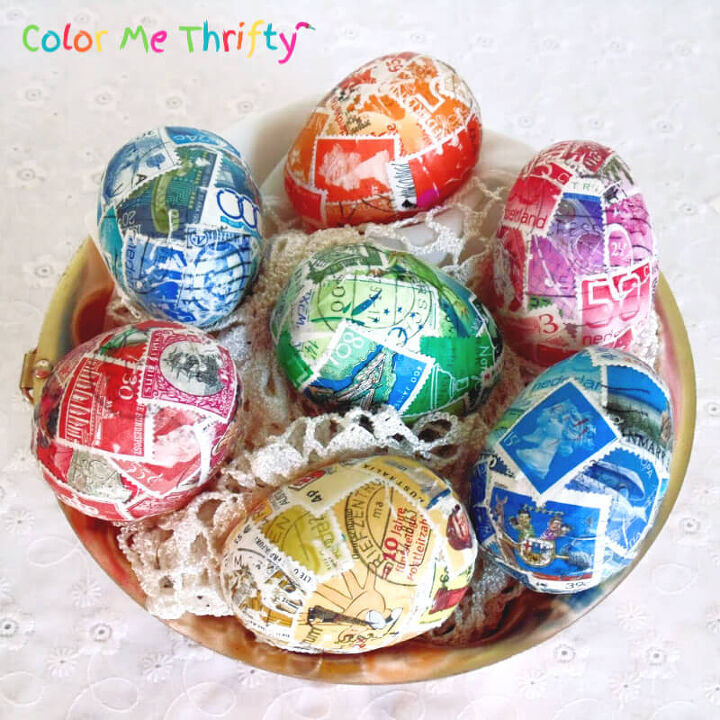
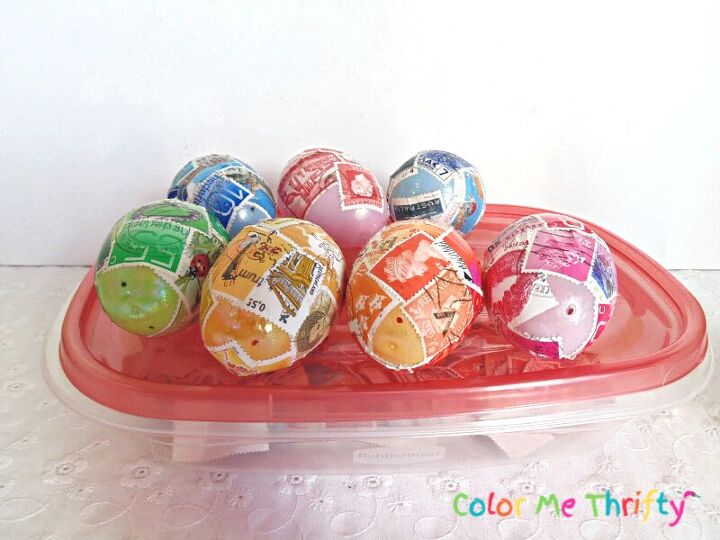
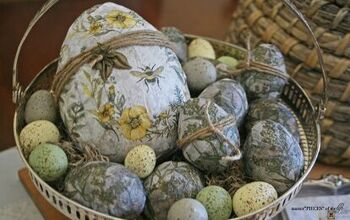
I’m displaying my decoupaged eggs in an old copper bowl with a doily in it.
Once they’re done you really don’t know they’re not the real thing unless you pick them up.
These eggs are a lot of fun, and if you don’t have stamps you could use anything.
Book or magazine pages, maps, comic books, coloring books. Whatever you can rip up into small pieces you can use to decoupage plastic Easter eggs.
You can find more decoupage projects on my blog here.
Resources for this project:
See all materials


Comments
Join the conversation
-
With postage so high these days, I think I'd use purchased stamps with flowers or something.
-
Beautiful! Now if I can just figure a way to attach a hanger!


Frequently asked questions
Have a question about this project?