


DIY Ruffled Pillow…farmhouse Style
We’re getting to the fun stuff in my daughters bedroom renovation. She asked for a modern farmhouse aesthetic, so I obliged with a set of ruffled linen pillows.
We went to Home Goods a couple nights ago and she fell in love with, and bought a pair of pillows just like these, but they were way too big. Since I already had this lovely linen from @fabric-store.com , I decided to make a pair of ruffled pillows just the right size, and far cheaper too.
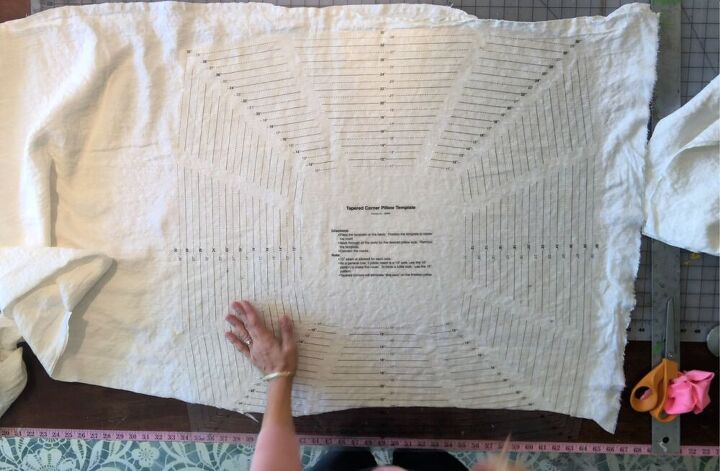
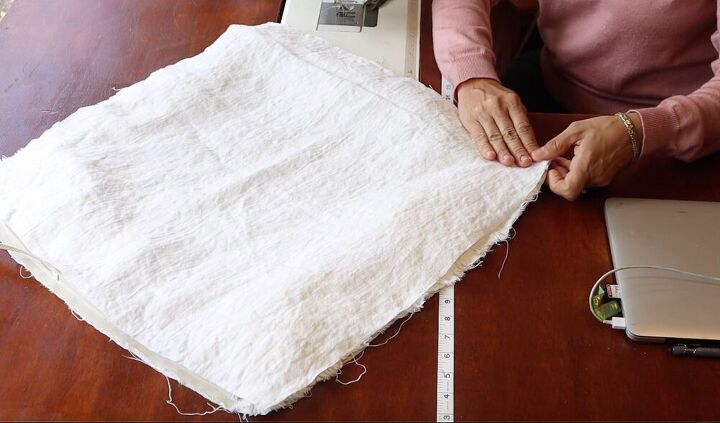
I used my pillow template to cut the pillows just the right size. I use this pillow template A LOT. You just lay the template on your fabric and mark through the holes at the dimensions you need, remove the template, connect the dots, and cut out your pillow. No thinking.
TIP: cut your pillow 2″ smaller than the size of your insert so you get a plump pillow.
The best part about the template is that the corners are tapered so you don’t end up with dog-eared pillows.
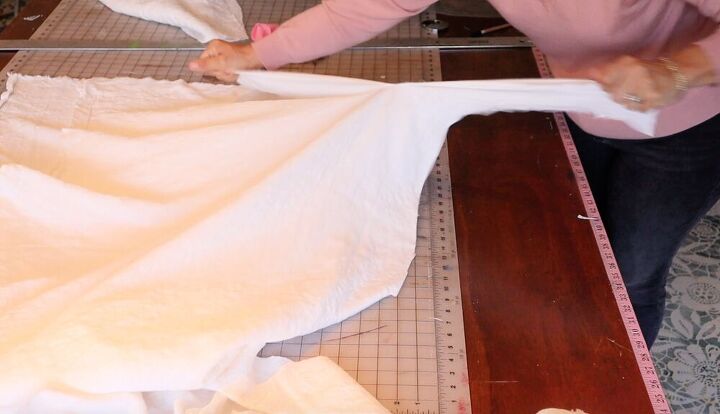
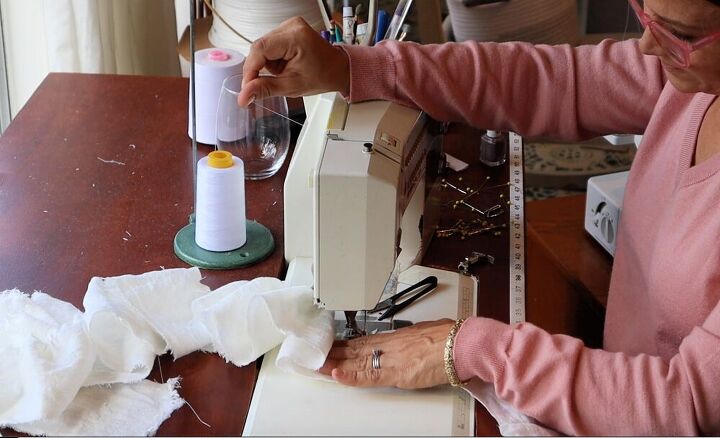
After cutting out the front and back of my pillow, I cut 4″ strips to make the ruffle. I actually ripped the strips to make the ruffle. The Home Goods pillows had frayed edges on the ruffles, so I ripped the strips to duplicate the frayed look.
You snip into the edge of the fabric with scissors and then rip the rest of the way across the fabric.
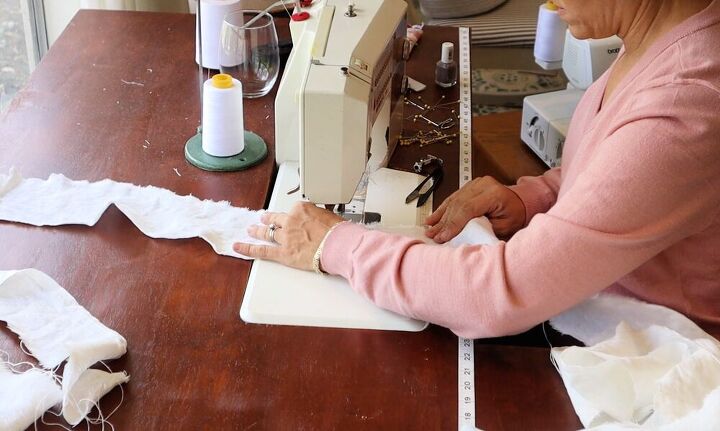
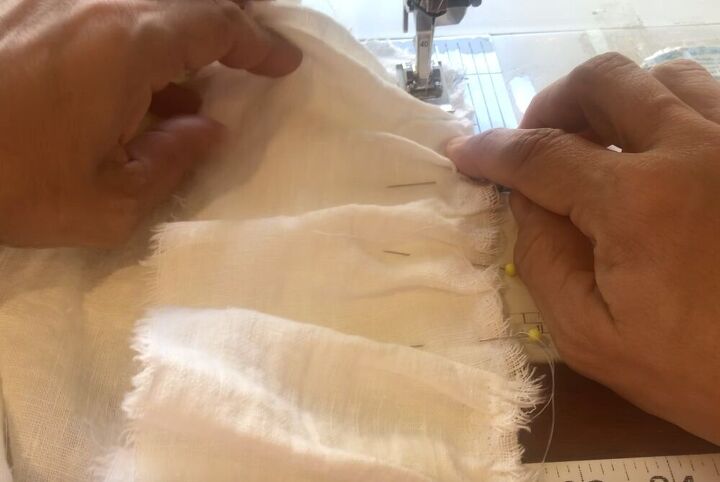
I sewed all my 4″ strips together to make one long strip of fabric. THEN…this is important…I sewed along the frayed edge with a long stitch to secure the frayed edge. This will keep the linen from unraveling continuously. I used white thread so you can’t even see the stitching.
Now to make the ruffle. I have an easy trick for ruffling…you hold the top thread between your thumb and forefinger to create manual tension on the thread. The tension causes the fabric to gather, creating a ruffle.
You’ll have to give it a try and practice this on scrap fabric, but it’s easy.
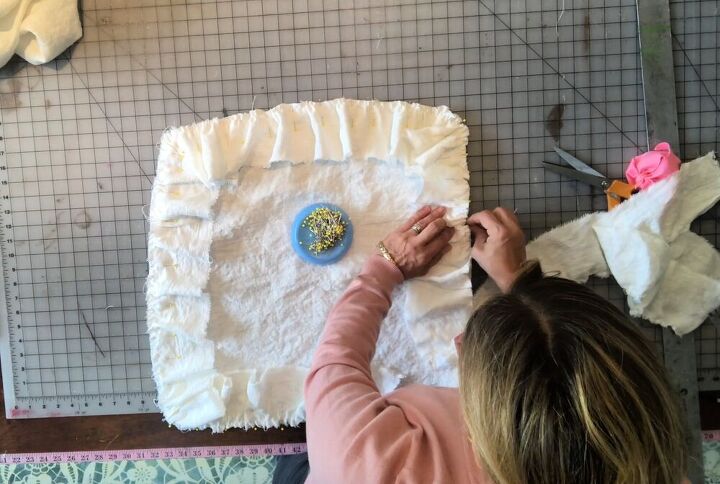
Pin the ruffle onto the pillow front. Be sure to gather a little extra fabric in the corners so the corners will lay flat and not “cup”. The video below will explain this part better.
After pinning the ruffle onto the pillow front, sew it on.
Cue the jaws theme…it’s zipper time. JK…pillow zippers are easy!
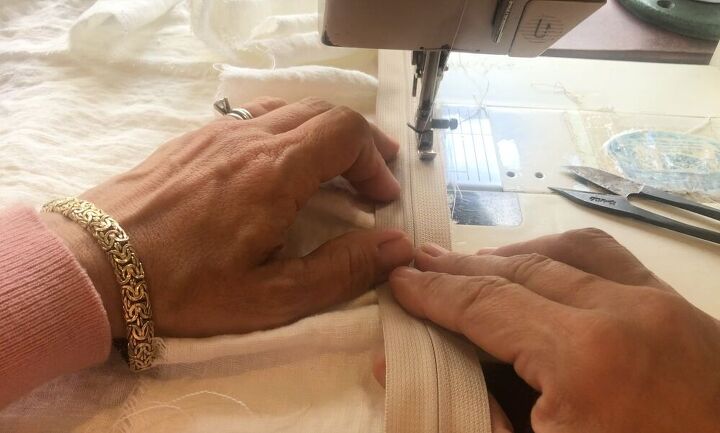
Lay the zipper face down on the front of the pillow against the ruffle, pin it down and sew it to the edge of the pillow, sewing right next to the zipper teeth.
Place the back side of the pillow on top of the front, right side to right side(with the ruffles in the middle).
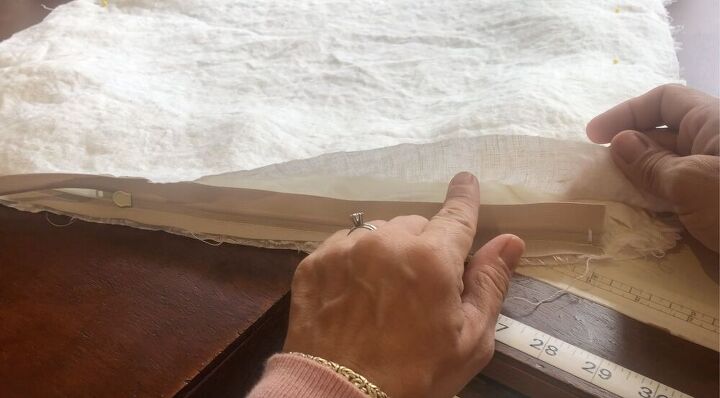
Place a few pins through all the layers around the perimeter of the pillow, except the bottom where the zipper is. Then sew the other side of the zipper to the back side of the pillow. After sewing the zipper to the back of the pillow, sew all the way around the pillow. Then open the zipper and turn your pillow right side out. Again, the video will make all of these instructions make sense.
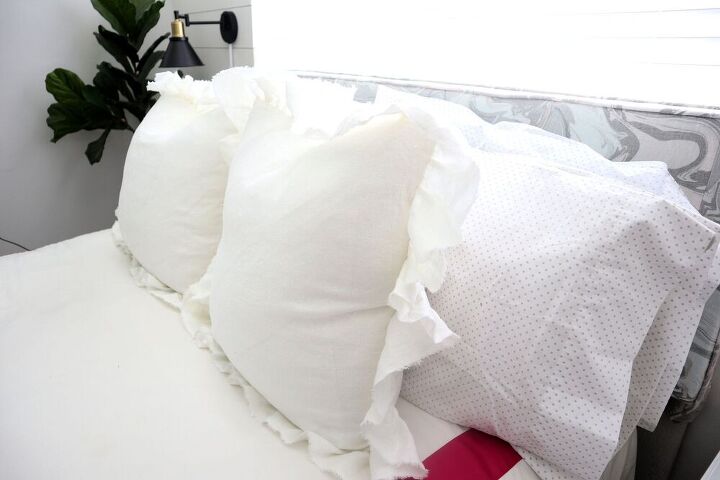
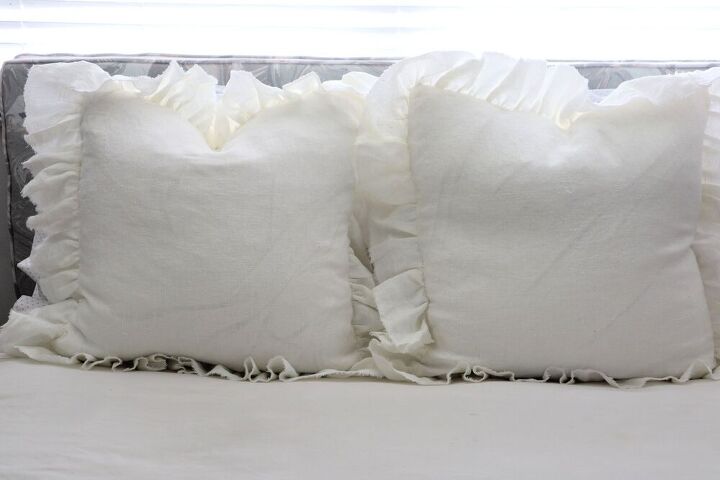
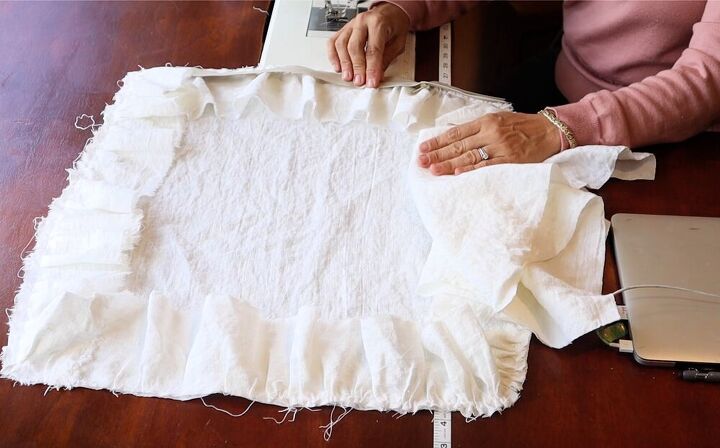
Enjoy the easiest ruffled pillow you can make. The frayed edge of these ruffles make this such a quick and easy project!
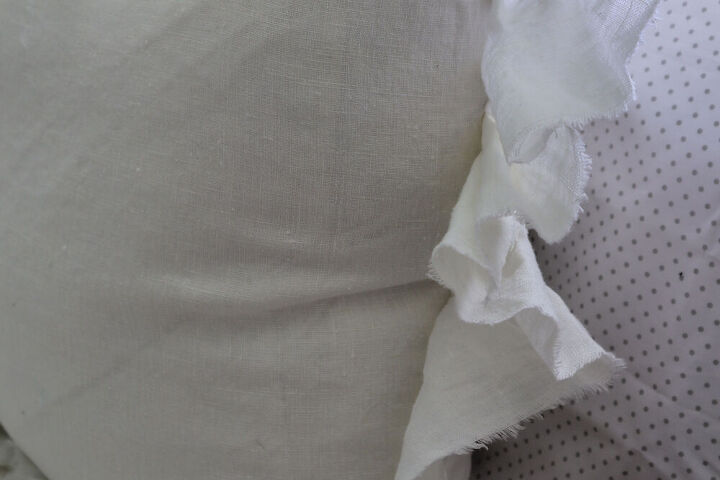
Can you see the cute little fraying on that edge? I love the way these turned out and this heavy weight linen fabric is perfect!
BTW…I washed and dried the linen first to shrink it, so it can be laundered in the future.
Resources for this project:
See all materials


Comments
Join the conversation
-
I love the frayed edges!


Frequently asked questions
Have a question about this project?
Where did you get the pillow template?
Where would I get the pillow template?