


Budget-Friendly Coastal Wall Decor

Budget-Friendly Coastal Wall Decor
Are you looking for budget-friendly coastal wall decor for your home? I’ve got a really simple and totally budget-friendly project for you!
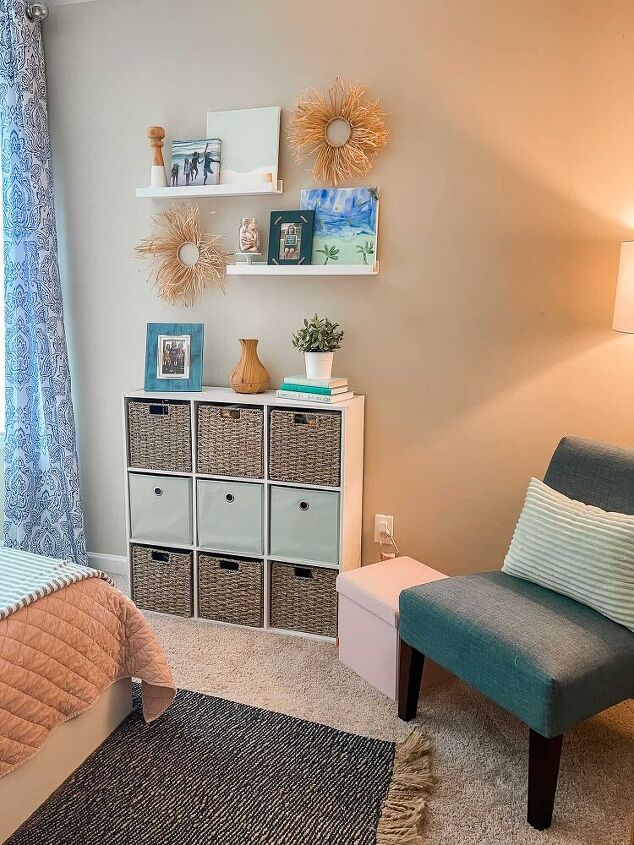
Last year, my girls came home from a trip to Hilton Head and decided they wanted to replicate the coastal/beachy feel in their bedroom. I agreed, but with lots of reservations and my own stipulations.
Often the decor in beach houses and condos borderlines on cheesy. I mean, it’s possible to overdo seashells, sea creatures, anchors, and other nautical accessories. Every home decor store has a section dedicated to this motif.
Since I was the person paying for this transformation, I wanted it all to be done with touches of coastal, yet still be classy and not too juvenile. In all of my Pinterest searches, I came across some really neat decor ideas that I decided I could DIY!
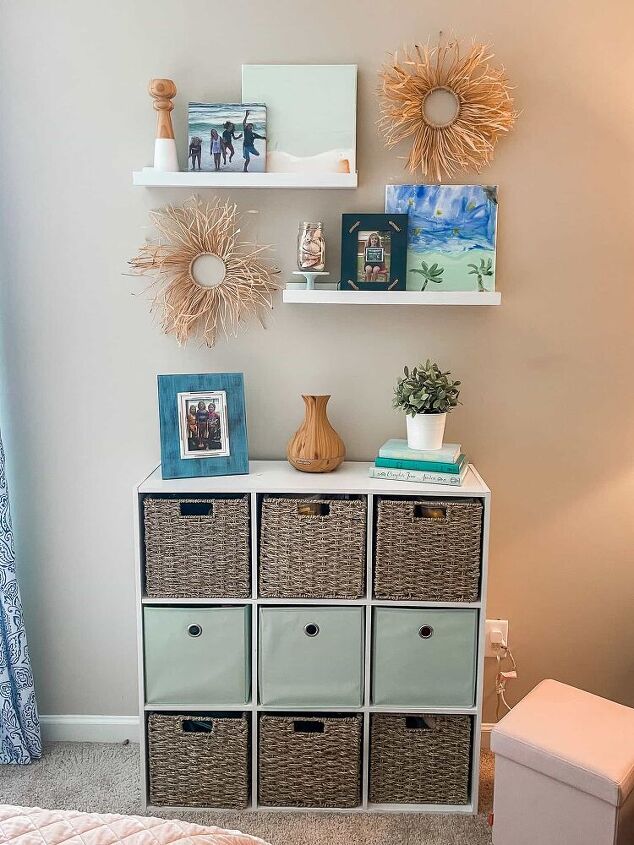
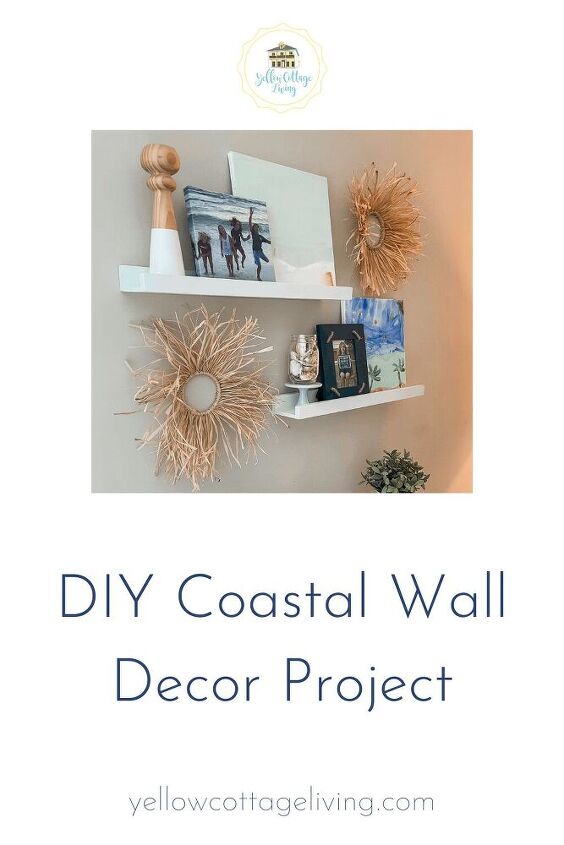
These little raffia sunburst wreaths add a touch of coastal and whimsy, don’t you think?
They were so simple to make that I hate I’ve had all of these supplies on hand for several months and just finished them this weekend. I had hoped that one of my girls would help cut the raffia initially (months ago), but she had zero interest. When I sat down to finish these up this weekend, she was all in.
Here’s what you need to make your own little raffia sunbursts!
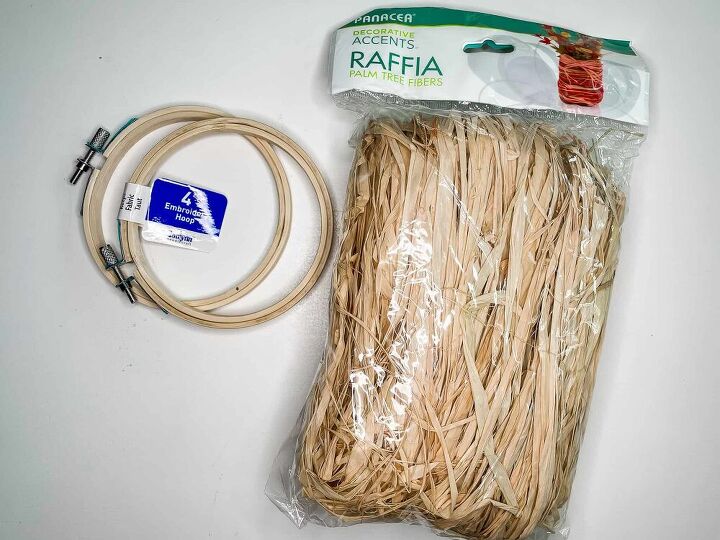
Supplies:
Raffia – 1 pack was more than enough for these 2
4″ Embroidery Hoops – I just used the inside piece of 2 hoop sets
Scissors
A broom 🙂
What to do:
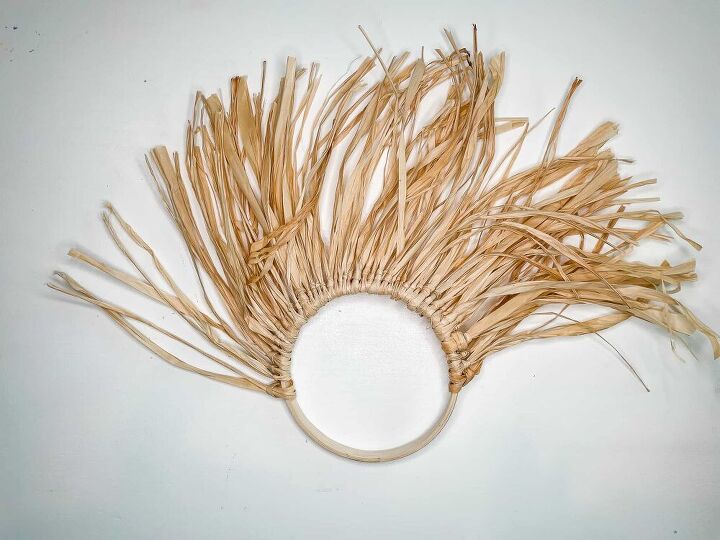
- Cut Raffia into 12″ to 15″ pieces. This is all about your preference of how big you want your sunbursts to be.
- Tie Raffia onto the embroidery hoop using the same technique as making a tutu. Fold the Raffia strip in half. Place the loop behind the embroidery hoop. Tightly pull the two ends of the Raffia strip through the loop. (Google how to make tutus if you need better instructions!)
- Pull each knot as tight as possible.
- Repeat typing raffia into slip knots all the way around the hoop.
- Trim the ends of the raffia sunburst to somewhat even lengths.
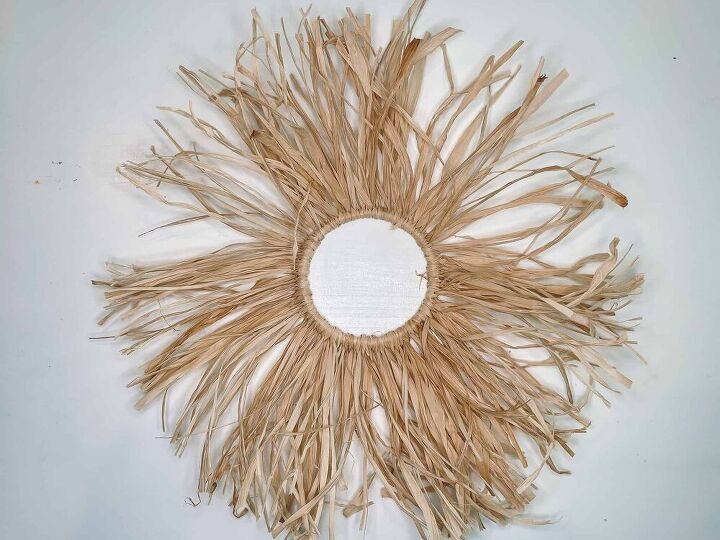
I love a craft that doesn’t have to be perfect! When I think of the beach, I think of wind and waves. These little sunbursts look like they’ve been tossed about by the wind, don’t they? At least that’s the story I’m telling myself about their imperfection!
Buy Your Project Supplies
Pin For Later
Other Posts You May Enjoy
3 Reasons Why Your House is Cluttered
Cottage Keeping
DIY Decor


Comments
Join the conversation
-
I Love love LOVE these and will definitely make some with my grandkids. We may even figure out how to put mirrors behind a few.
- See 1 previous
-
Adding a small shells around the center will make it more coastal, right now
it's considered Boho decor.


Frequently asked questions
Have a question about this project?