


3-Tier Cart

Have you ever seen the Michaels or Ikea 3-tier cart on wheels. If not, here it is. I’m not a fan of the protruding wheels on that bracket. The style just wasn’t for me. So I came up with something just a little bit different and I’ll show you here. If you prefer video demonstration, I saved this build to my Instagram reel.
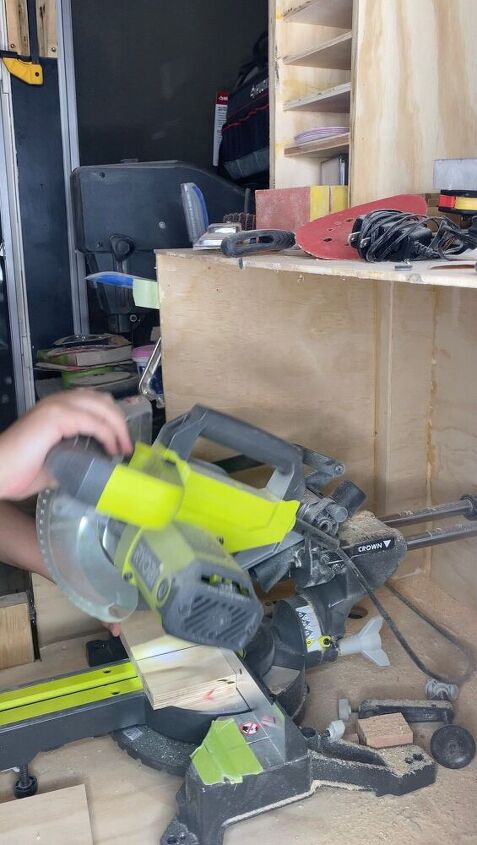
First things first is choosing the width of your drawer boxes. I had scrap wood that I cut to size. You can buy a 1x4 or 1x5 board at the big box store and cut them on your miter saw. A circular saw or jig saw would work just as well. If you like the width of mine, I recommend a 1x4". Total drawer dimension was roughly 12x16.5” and a total height of 30”.
This isn't necessary but I wanted to try something new. To assemble the drawer boxes, I created a groove in the panels. I used a dado blade and raised it approximately 3/8”.
Another way to assemble is to use wood glue and brad nails or pocket hole screws, make a box and nail/screw together.
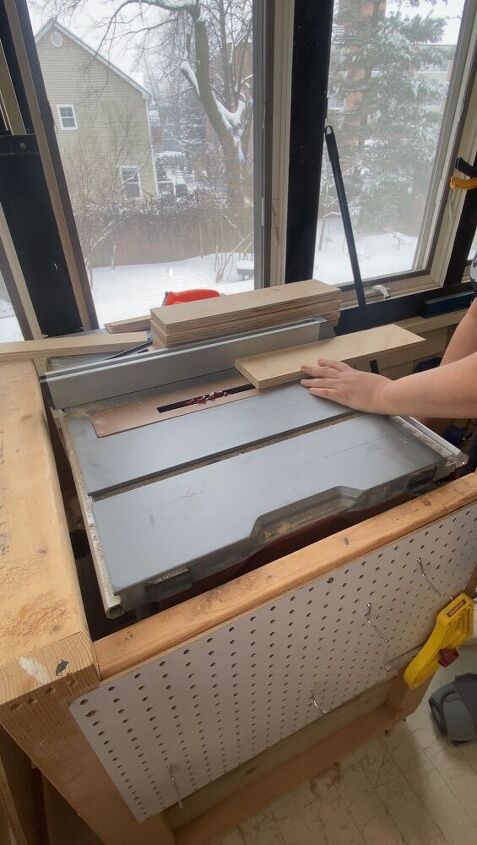
If you choose to use a table saw, make sure you use the right equipment and press firmly on the plywood. You want to press firmly because plywood tends to bow.
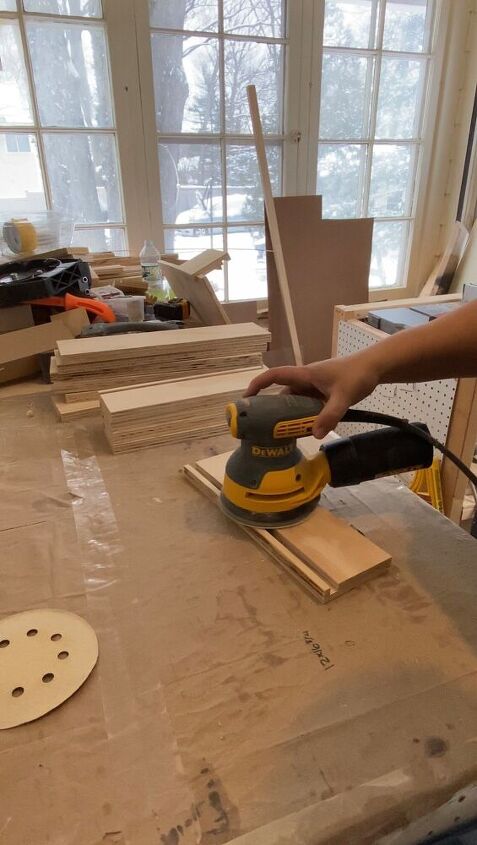
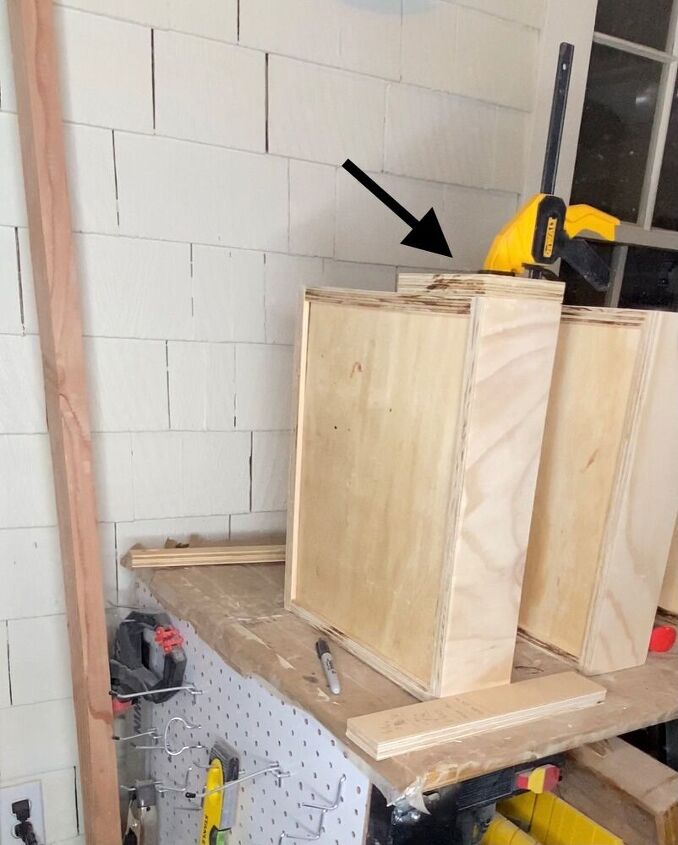
I prefer to sand before assembly. I start with 100 grit and work my way up to 220 - 300 grit.
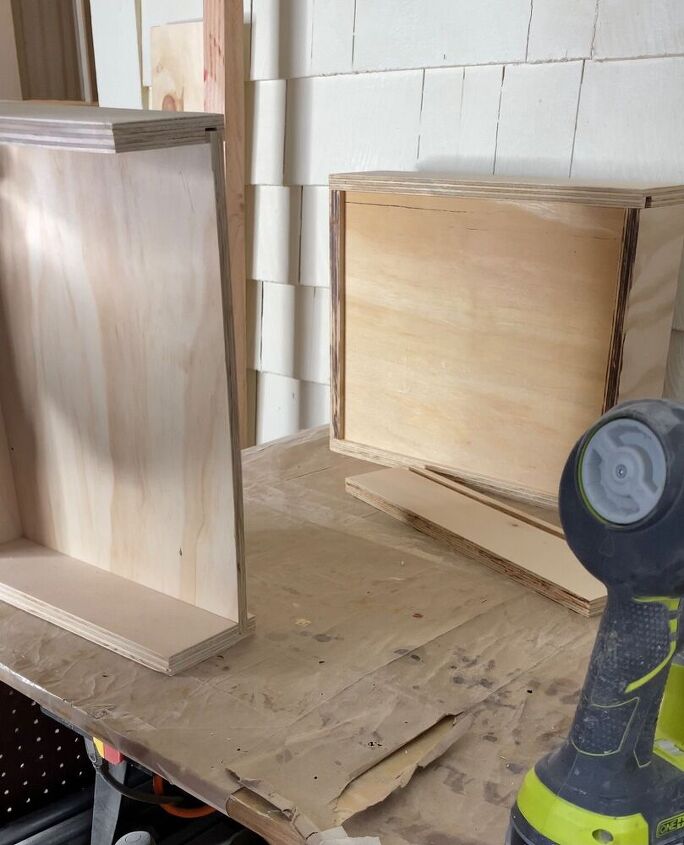
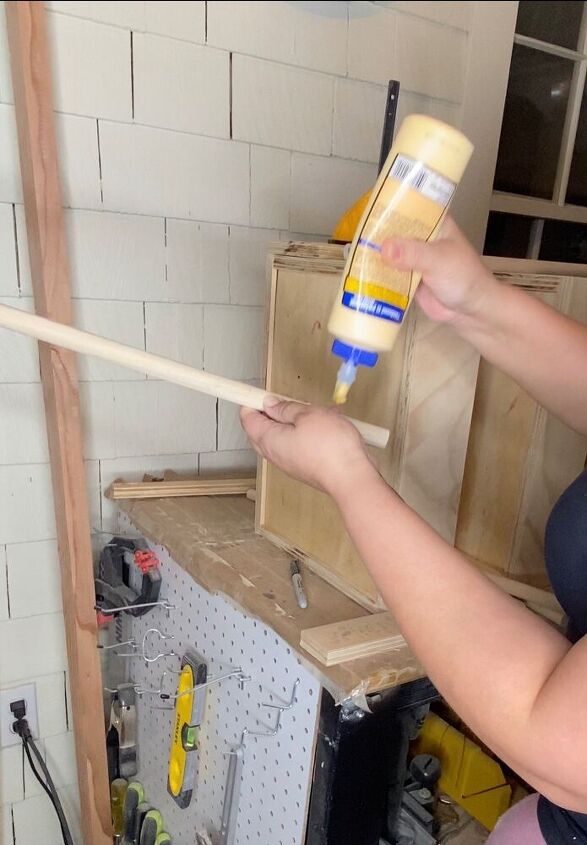
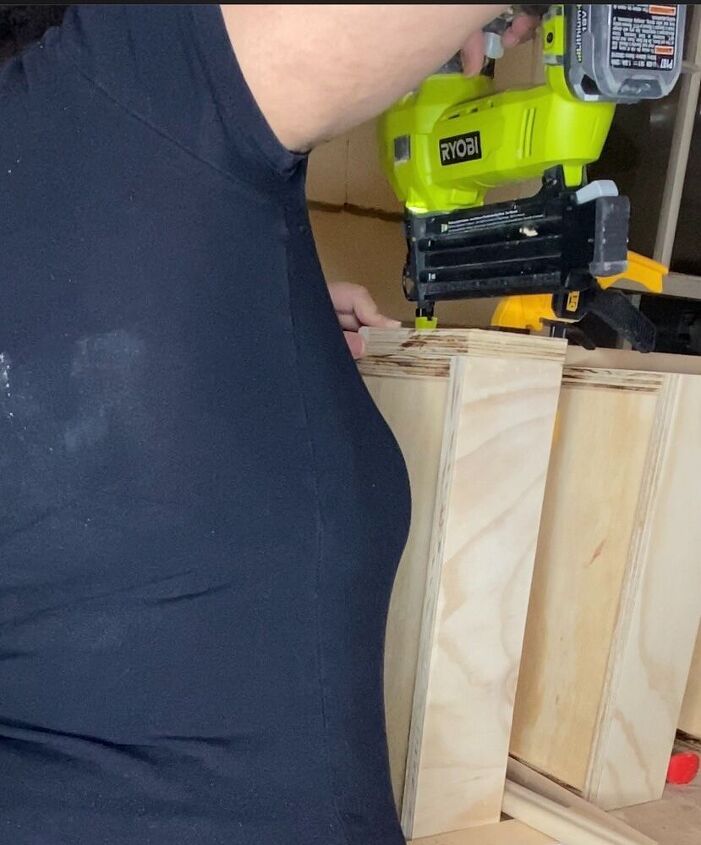
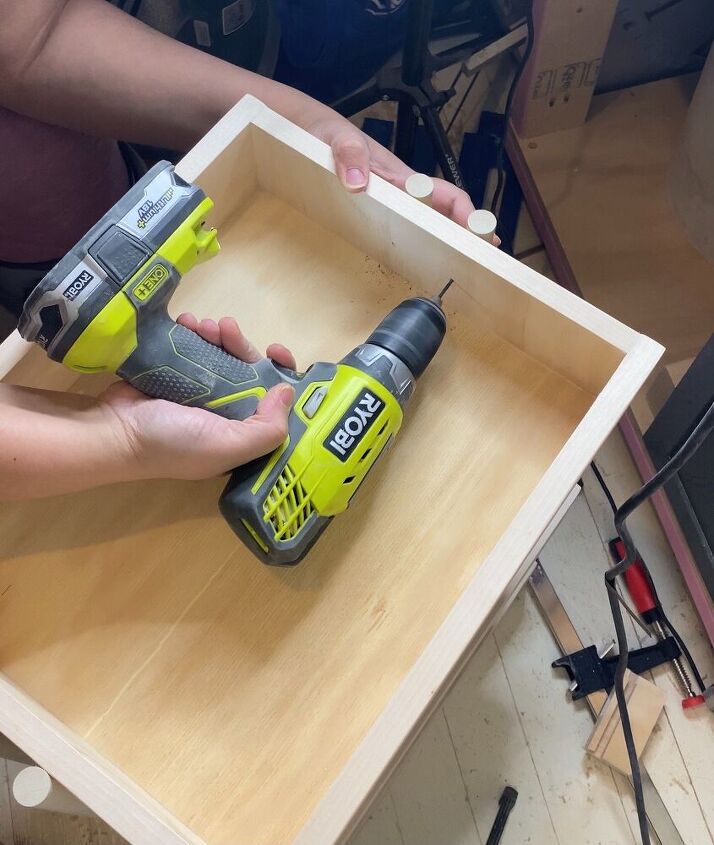
I cut the bottom panel and slipped them in the grooves. I added wood glue to the grooves and then used my brad nail to hold everything together.
You can see the box in the background and how it looks assembled.
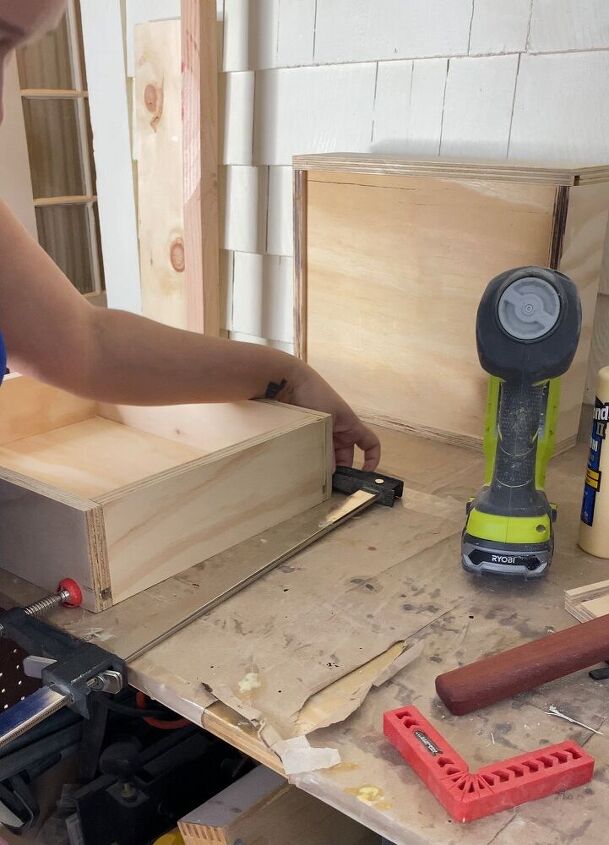
My clamp helped me hold things in place while I glued and nailed the box together.
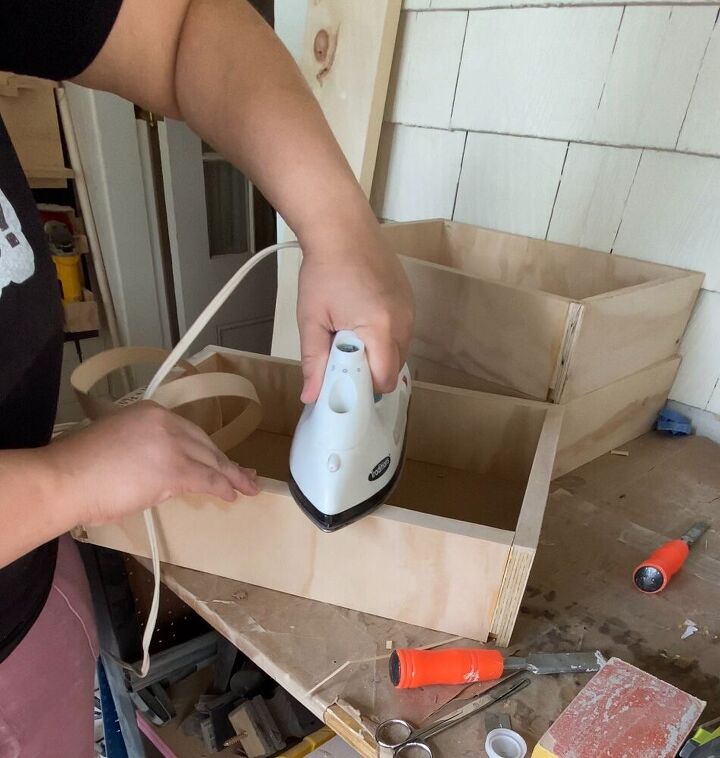
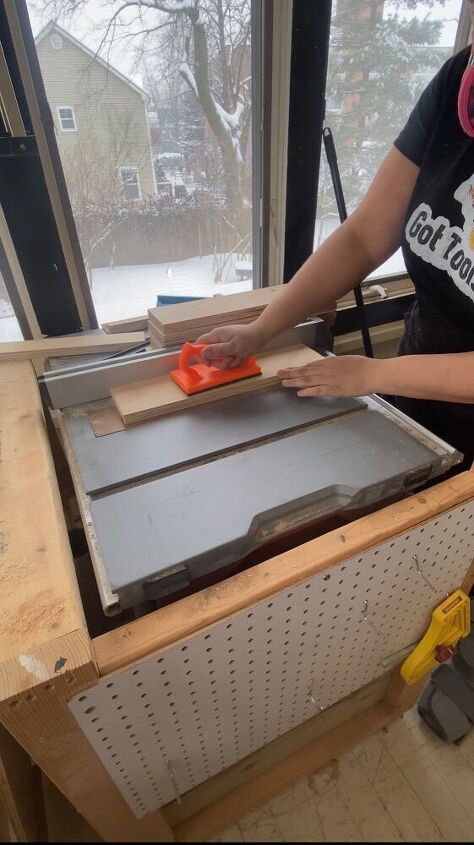
Once the drawers are together, use edgebanding and your iron to hide the plywood edges. I prefer to use a razor to cut any overhang but there is an edge band trimmer that you can use too.
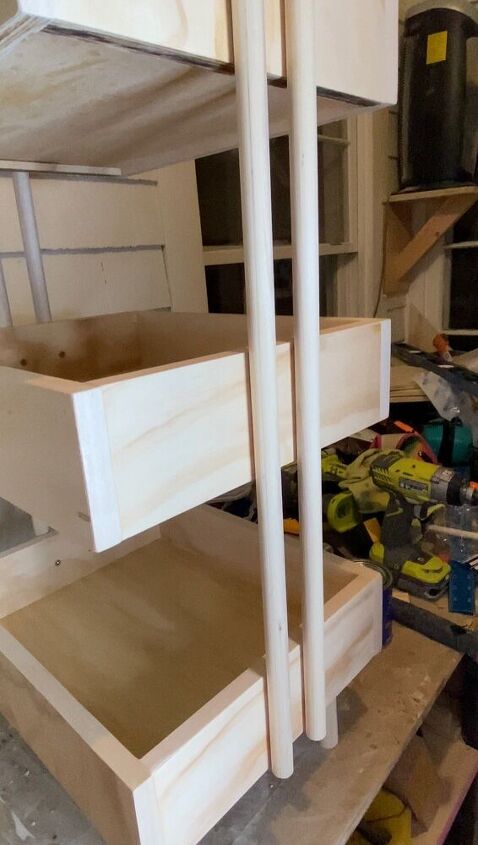
Now it's time to add the dowels. I used a spacer block here. You are going to line this block up to the edge of the drawer. Clamp it in place and align the dowel next to it. Do that on both sides for each drawer and everything will be equally spaced.
I cut the 3/4" dowel (for the sides) and started attaching. I started with the bottom shelf because this was the easiest way for me to do it. I used wood good and brad nails for this.
Here, I am holding the dowel against the spacer, and brad nailing into place.
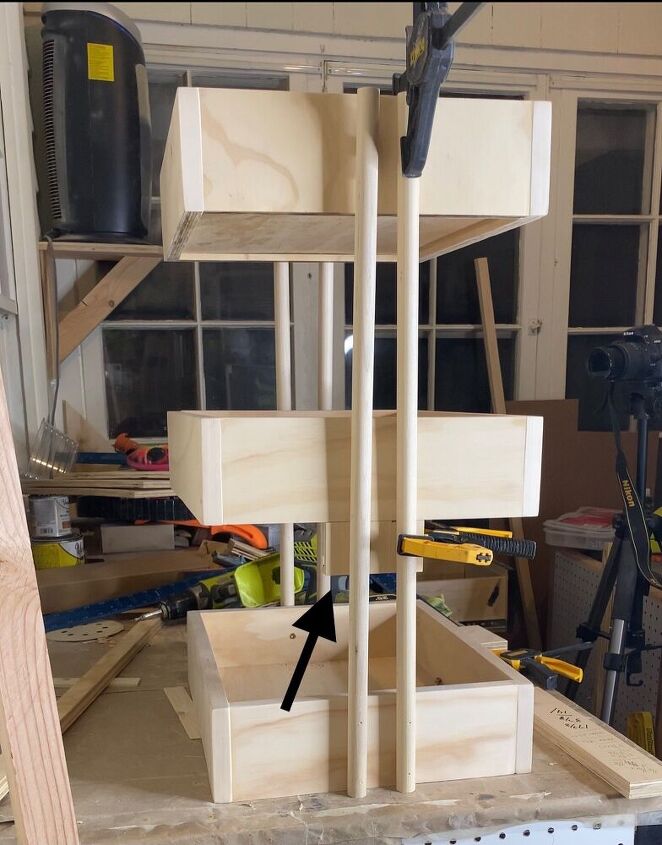
To attach the middle and top shelf, I used a block that had a straight edge and clamped it along the dowel. Use a level and brad nails to nail it into place. I wasn't able to get glue here but that's okay. We are going to screw everything in later on.
I know in this picture the dowel to the left looks crooked, but that's okay. When you use the spacer for the left side, just move it over so it sits against the spacer.
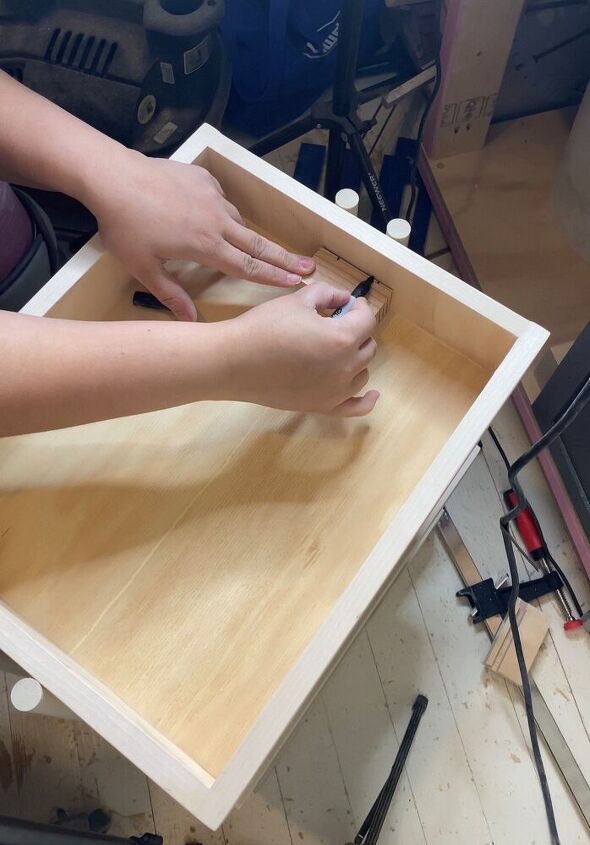
Once all the dowels were in place, I used a block (again ) and marked where screws needed to go. I used a block to make sure the height of the screws were consistent throughout.
I used a small drill bit to drill pilot holes.

Then I screwed the screw in.
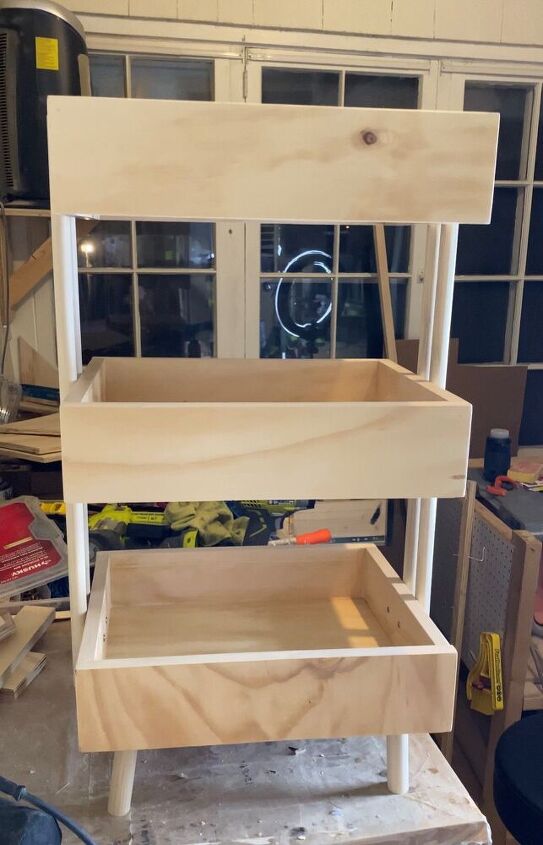
Now it’s time work on the legs.
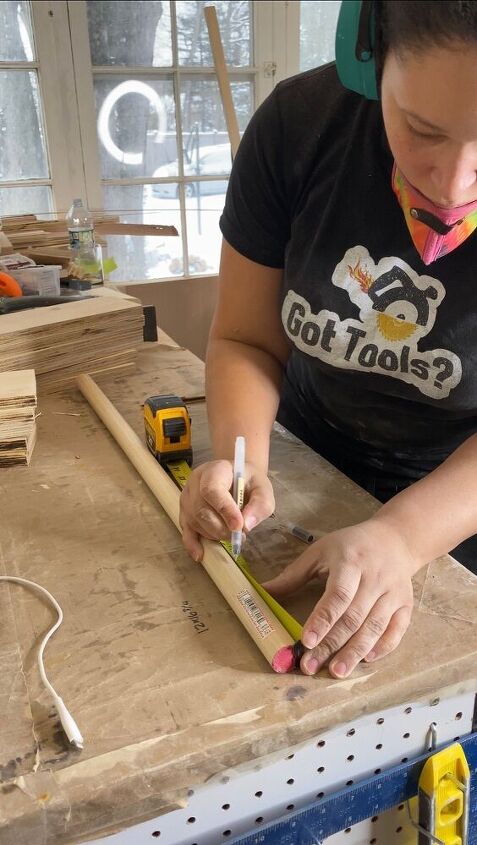
Measure how long you want the feet to be. This is a 1" size dowel and I am cutting it 4" tall.
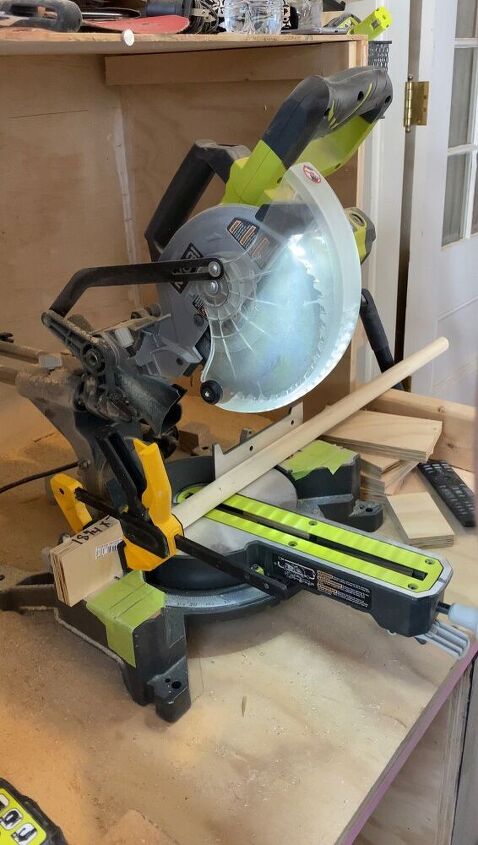
To make sure all the feet are the same length, I used a block and clamped it against my miter saw. This allows me to repeatedly line up the dowel against the block to make the same cut every time. *I cut the feet at 5 degree angle so it would sit flush on the floor.
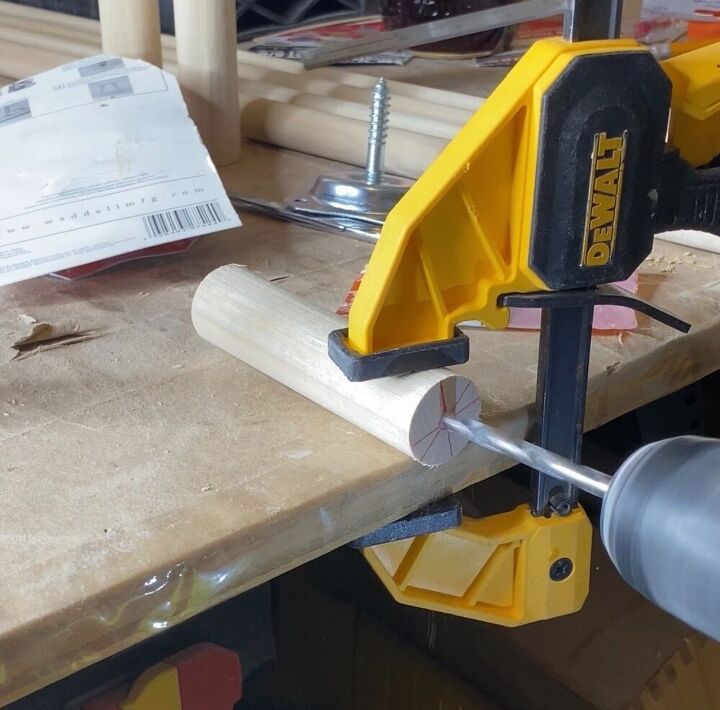
To attach the feet, clamp the feet to your work surface. Find the location close to the center and use a pointed drill bit to start drilling your hole. Try to hold your drill at 90 degrees while doing this. You want to drill slightly shorter than your screw depth.
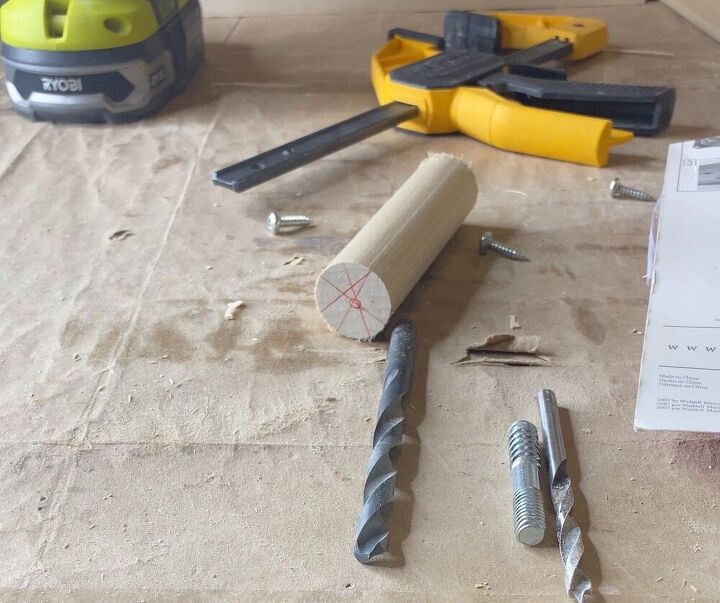
You can see the bit on the right has a pointed tip. I used that to start drilling. The pointed tip helps keep the bit from sliding.
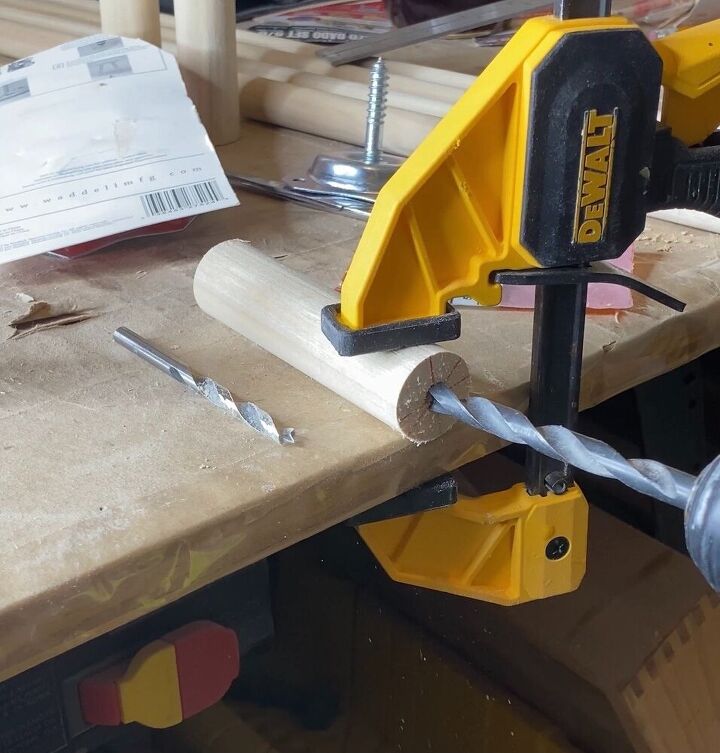
I then used a larger bit to make the hole bigger.
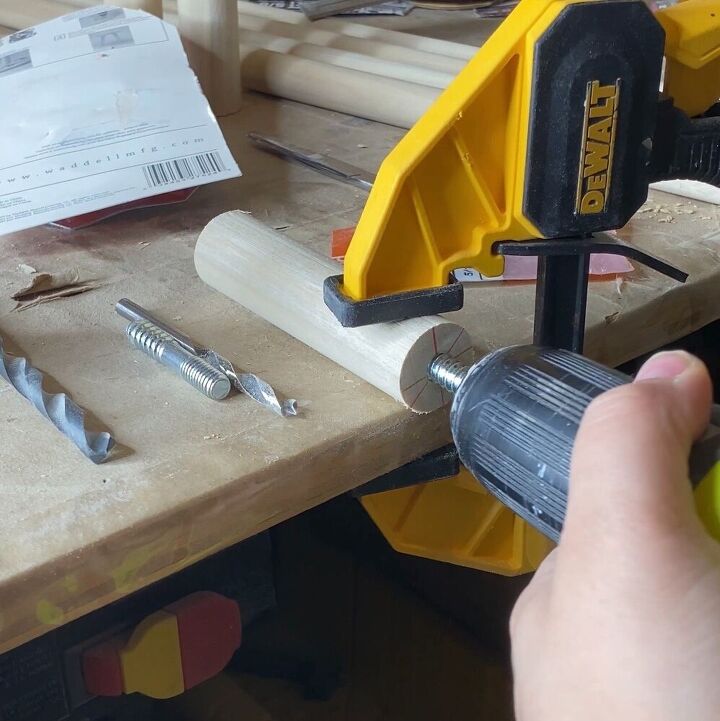
I took the hanger bolt (looks like a double-sided screw) and put it into my drill as if it were a bit. Then I screwed it into the hole I made.
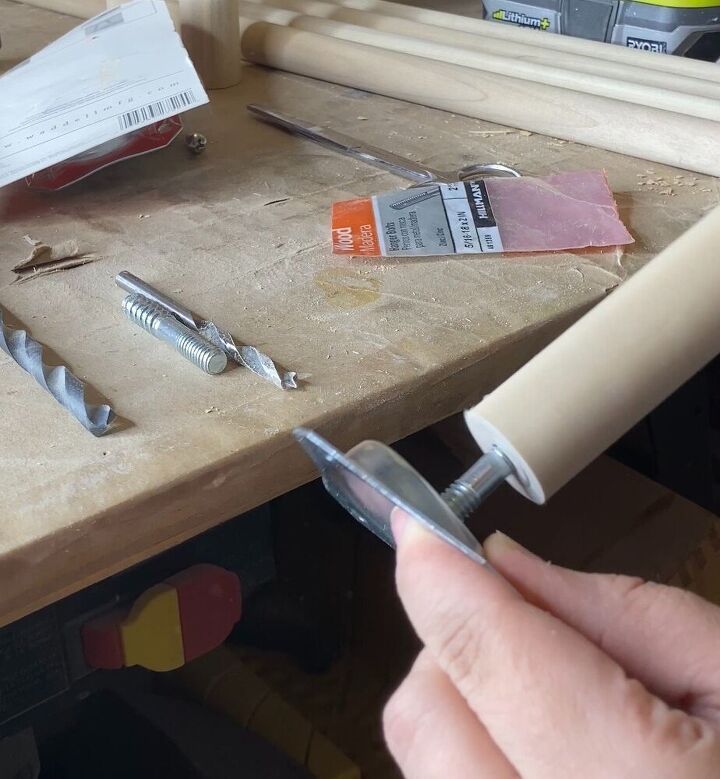
Take the leg and screw it into the angle attachment.
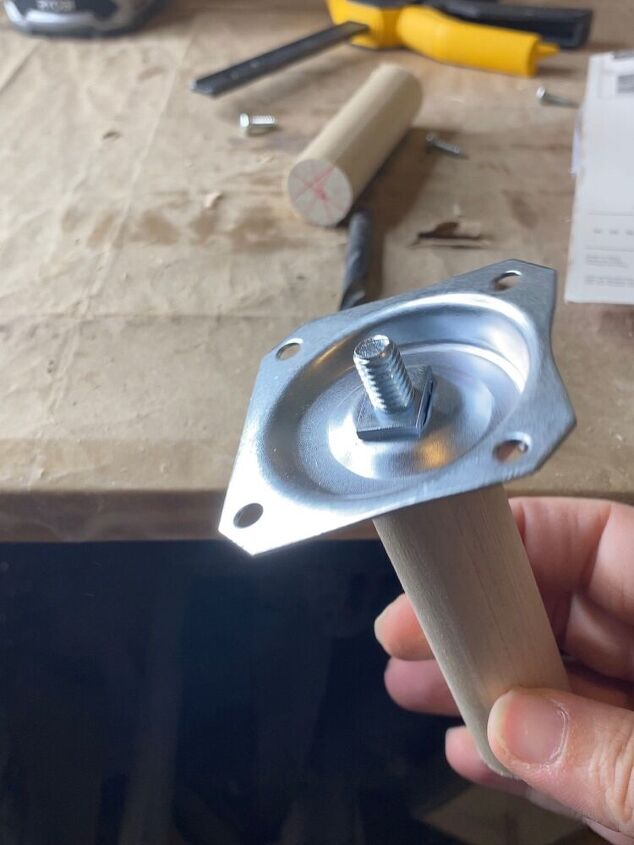
*In this picture, you can see a lot of the hanger bolt showing. I went back and used a wrench to screw the hanger bolt in more. If the hanger bolt protrudes, the legs won’t sit flush against the drawer box.
When that is done, simply screw the legs onto the bottom drawer.
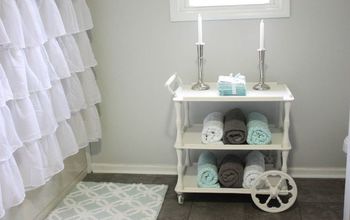
The only thing left to do is decide how you want to finish your project.

A sample size of paint was more than plenty to get this painted. Afterwards, I used minwax polycrylic in matte finish.

Resources for this project:
See all materials


Comments
Join the conversation
-
So love seeing women creating their own projects in woodworking I learned by using sewing skills! Same critical path thinking for assembly, just different materials (and vice versa. Dad learned sewing after building our homes as kids). Ladies don’t hold back you too can master power tools
-
My dad raised me building things from my imagination. My mother taught me to sew and I taught myself to make anything I could draw. Both ways of working took the same skill. I love tools and have a whole two sheds of them. Also several sewing machines and a treadle machine in rebuilding mechanically and the wood drawers.
I love this item and I have new drawers that would make this with ease. Instead of legs I’ll add casters. That is all I’d have to buy.


Frequently asked questions
Have a question about this project?
Love your work! As I looked at the finished product it hit me that, if you could find three old drawers of the same size, you could do the dowel rod thing with them and bypass making the boxes. What do you think?