


Create a View in a Viewless Room
Hi! I'm Liz from the decorating and DIY blog SimpleDecoratingTips.com.

Installing a wall mural is a great way to create a view in a viewless room! Last year I told you about a mural I installed in the studio. ( you can find that studio mural installation post HERE.) More recently, I installed a different type of mural and thought jotting down a few tips about this particular installation, which was different, would be helpful.
This viewless room I just created a view for is a small game room in our lower level. It is without a view, (I mean really without a view, as in no windows) and no matter the amount of prints and pictures hung on the walls, to get a big impact, it needed something more. A full wall mural can have a lot of aesthetic kick, this one of the coast does indeed. HERE are some more really fun mural ideas… from a forest of black and white birch trees to a graffiti brick wall to primary colored dinosaurs…
This mural installation was so different from the one I did in the studio that I wanted to give you a few tips I found to be useful installing it. (For basic wallpaper tips, you can check out THIS post, or THIS post.) The tips I’m sharing with you today are specific to this type of mural.
When I ordered the mural I could select how many strips I wanted, up to a point…
Here’s the 1st tip: There’s a balance between having fewer seams and not making each strip so wide that you can’t easily handle it. I selected 3′ wide strips, giving me only 2 seams, not counting the 2 outside corner edges.
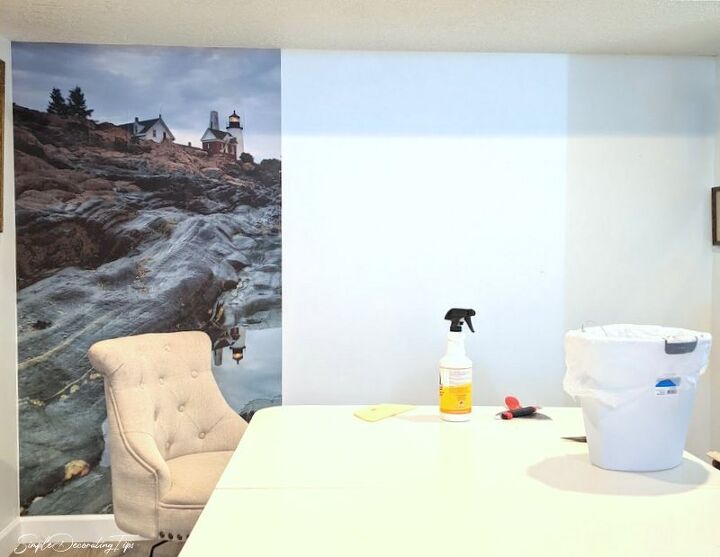
This particular brand of mural doesn’t need any extra wallpaper glue. The panels are pre-pasted on the back, but instead of dipping it in a wallpaper water tray, the directions say to only spray the back with water. (I assume they really don’t want the front to get very wet?)
Here’s tip 2: Spray and then spray again, being sure to really douse the edges. I’m not sure if it was because it was low humidity in the room when installing this mural, but I found out right away with the first piece, that it needed more water than the first round of water sprayed on the back.
Per the instructions, and like most wallpapers once the glue is wet on the back of the wallpaper, it’s important to ‘book’ the paper. That’s just simply folding half the strip down to the center, glue sides together, on both ends and letting it sit for a minute or two to really activate the glue.
The next tip is coming up…
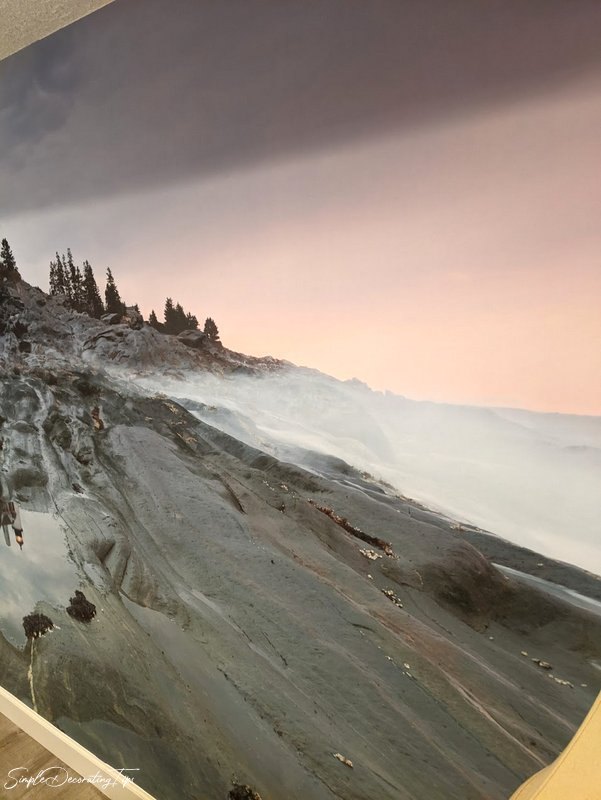
Unlike the wallpaper mural in the studio, which had standard seams that butted up to each other, this mural has clear instructions that the seams MUST be overlapped and left that way. The mural is printed so that the edges have to be overlapped.
I had an old carpenter teach me a seaming trick, (he wasn’t old then, but is now 😉 ). When I was siding my house with vinyl siding, pretty much a hundred years ago, he showed me how to have the seams overlap, from back to front, so that from the front of the house the seams are nearly invisible.
That’s tip Overlap the seams on the wallpaper on this type of mural, so that the edge of the seam is towards the less viewed end of the room. I started on the left side of the room, which is the opposite side of the entry door to this room. That way the next piece will lay on top of this one and the seam will be facing the left.
Let me show you what I mean…
Here’s the mural installed from the main doorway into the room:
Not a seam in sight, right?!
Now, here’s the same wall, only from the opposite side of the room:
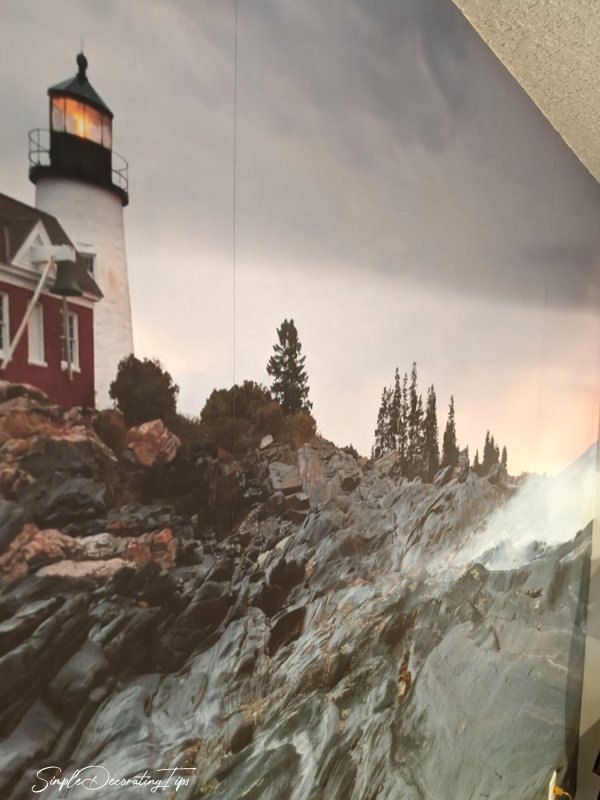
Aha! Behold the seams!
Because the wallpaper is laying on top of the other piece of wallpaper, on the seams, your eye can catch the edge of the paper and see the seam.
That’s why you need to think which angle you’d like to hide the seams from, and lay the paper from the other direction.
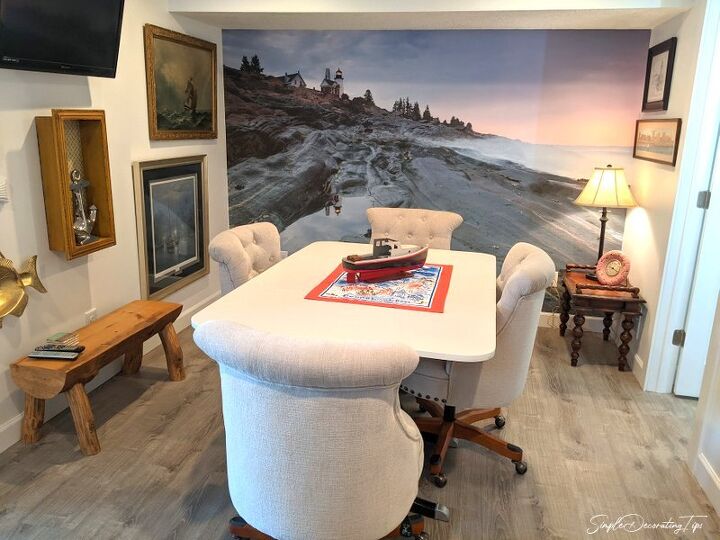
A great way to create a view in a viewless room is with a wallpaper mural, and with a few tips on a good installation, it’ll add a great look to the space packed with interest and maybe even a conversation piece.
By the way, this mural I installed in the game room is of Pemaquid Point Lighthouse in Maine. My husband and I have walked the steps up to the top of that old lighthouse. We’ve crawled out on those amazing rocks that look like they were swept into place.
How about you? Do you have a room without a view that you’d consider installing a mural in?
I'd love for you to stop by Simple Decorating Tips and see the other projects I've been working on.

Comments
Join the conversation
-
YES ! Will be doing the same thing to my home office I face a wall. Thanks so much for posting this.
-
How clever is this?! Love your choice of view.


Frequently asked questions
Have a question about this project?