


How To Hide Office Eyesores: Easy DIY Shredder Cabinet
Easy DIY Shredder Cabinet
This project is sponsored by GBC Shredder, however, the thoughts & opinions are always my own. I only share products & companies I absolutely love with yall!
You know that feeling when your space is finally decorated & everything is in its place?
Yeah me either, but for a fleeting three minutes, it happens sometimes if I clean up really quietly & the toddler & four dogs are distracted with food or mud.
I was sitting in my home office after a good decluttering & organizing session when I noticed everything had a place except my GBC paper shredder.
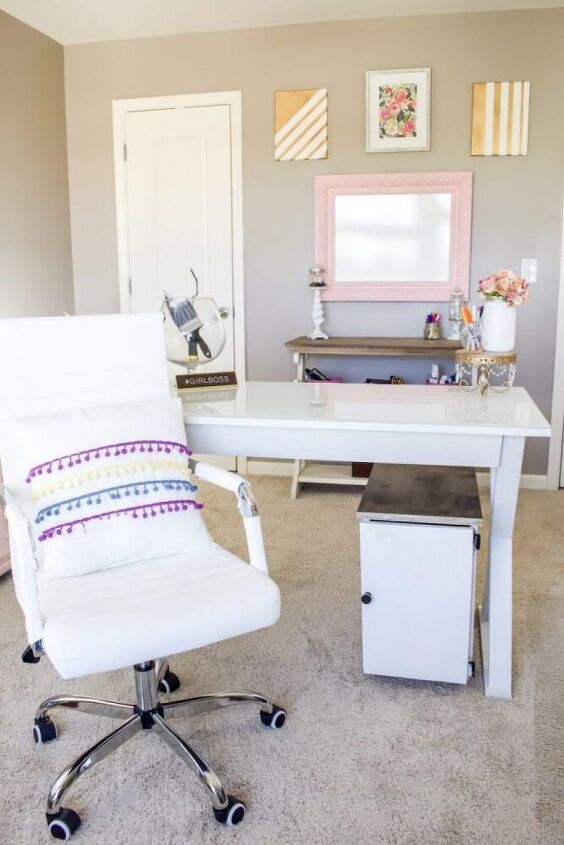
If you have been following along with me for anytime at all you know that this is when my DIY light bulb went off… It was time to build a shredder cabinet!
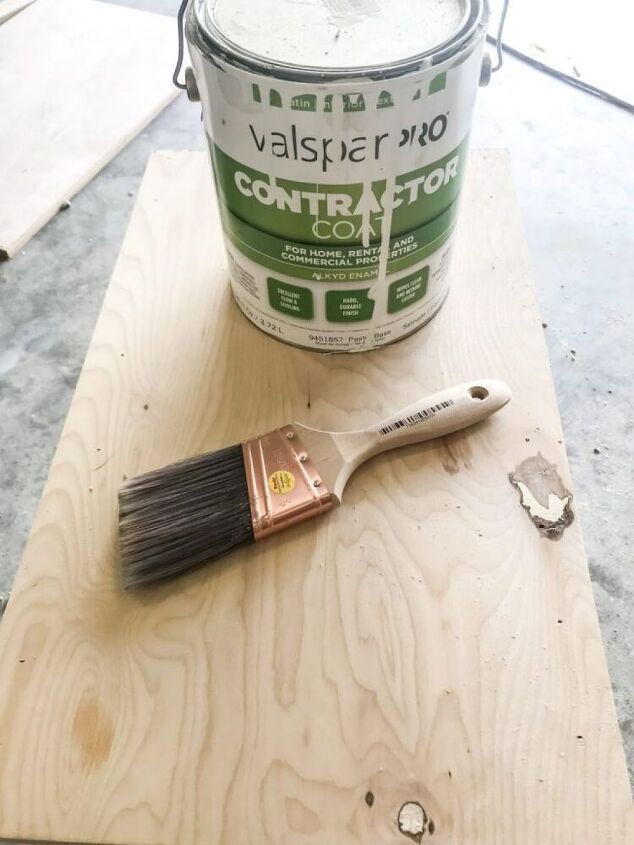
Supplies:
- 1 Sheet ¾” Smooth Plywood
- Dowel Rod or Cabinet Legs
- 1 Small Door Pull
- Paint or Stain
- 1 ¼” Pocket Screws or Nails
- Wood Glue
Tutorial:
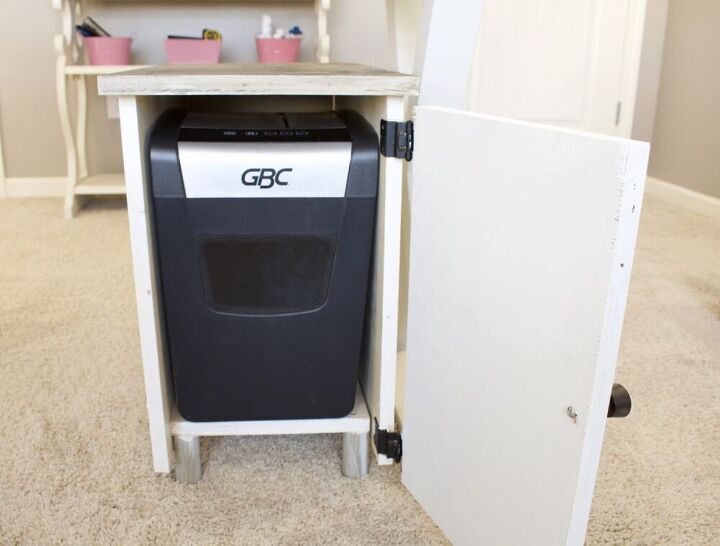
- First I measured my GBC shredder to find the length, height & width.
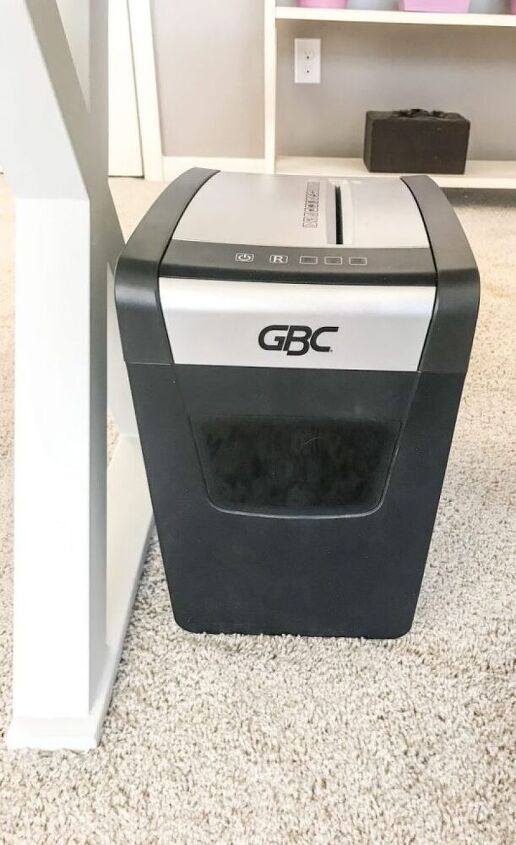
I have the GBC ShredMaster Home Office Shredder, PSX10-06 version & those measurements are: 15x15x10”
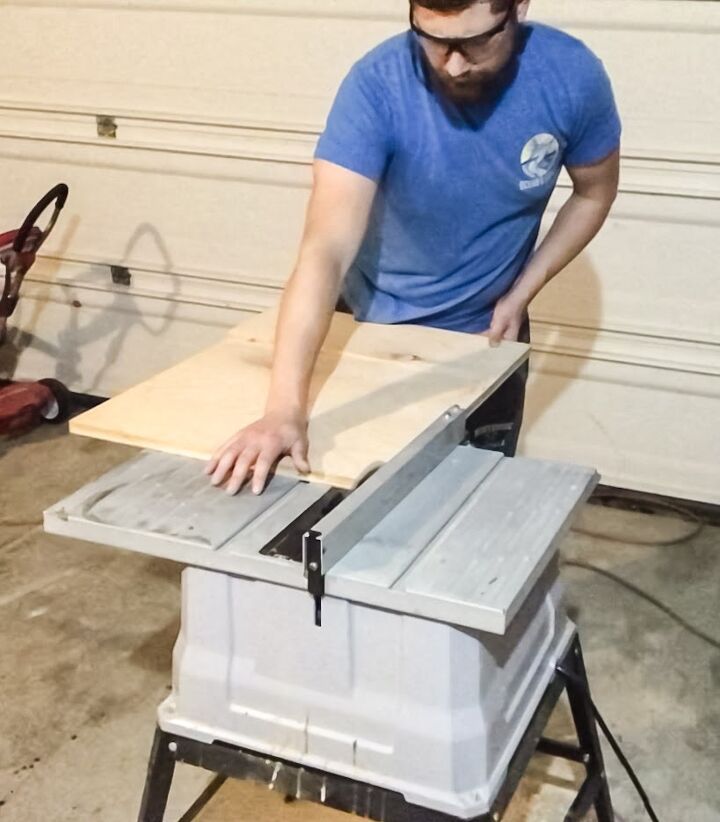
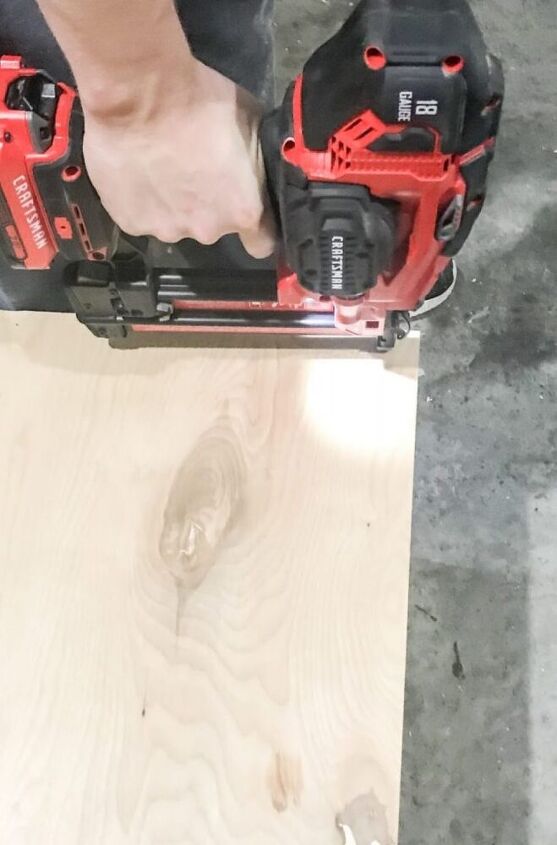
- Once we had the measurements ready we ripped a piece of scrap plywood into (6) pieces:
- (2) 15 1/2 “ x 24” for the sides
- (1) 14” x 24” for the back
- (¾) for the base
- (1) 16 ½ “ x 16 ½ “ top
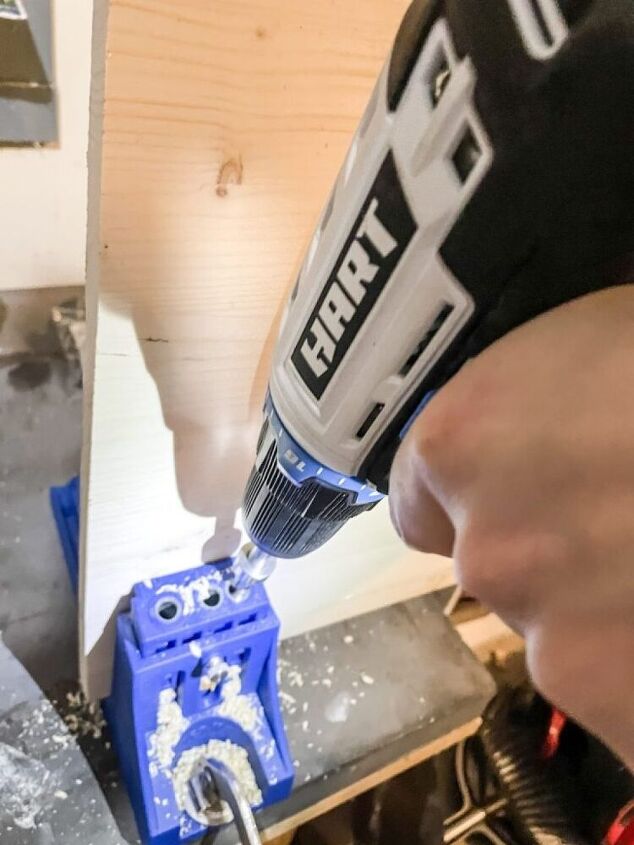
- Next, I drilled pocket holes into the back piece on both sides where it will connect to the two side pieces
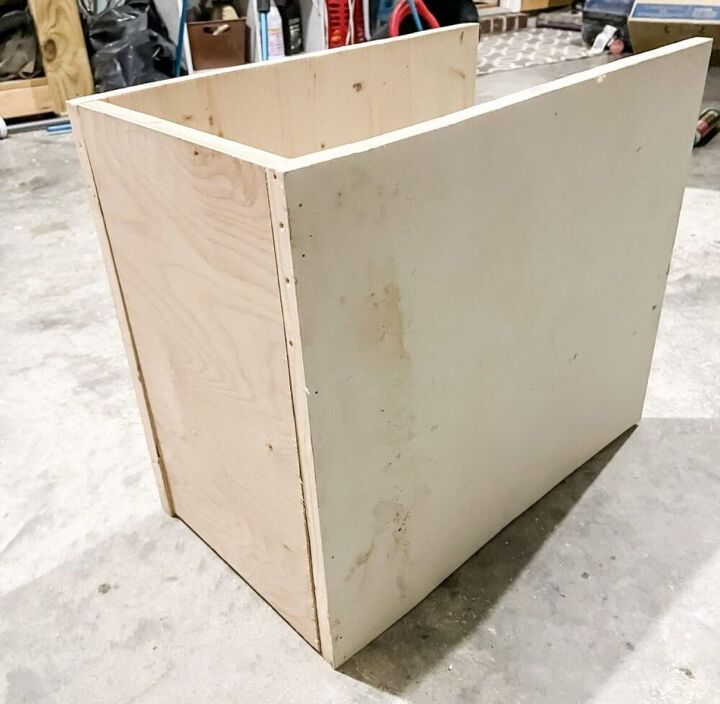
- To attach the sides to the back piece we used wood glue, pocket screws, & also finishing nails because my pocket hole drill bit plus the drill wouldn’t fit into the tight space
- After the two sides were attached, we added the base 1” up from the bottom using nails & wood glue
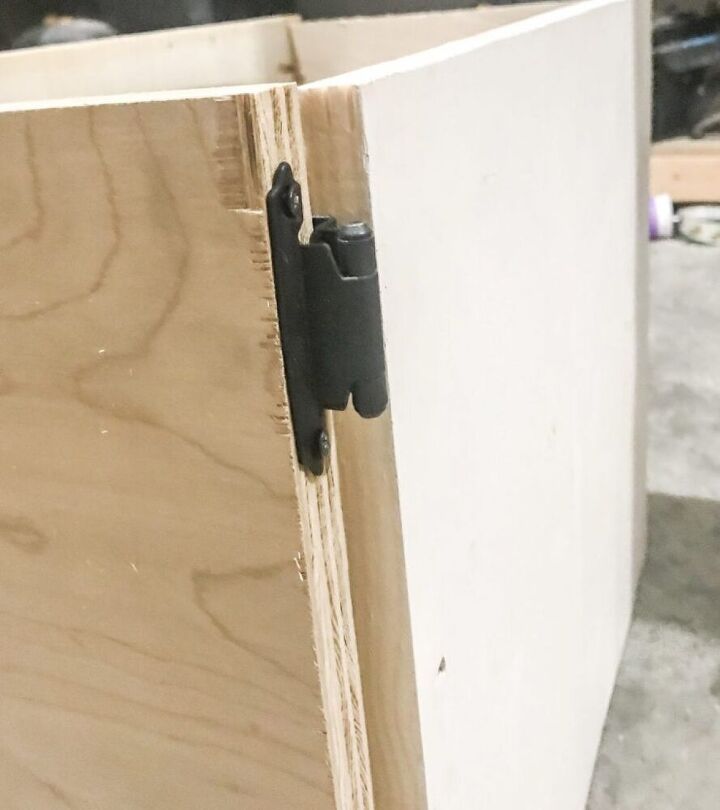
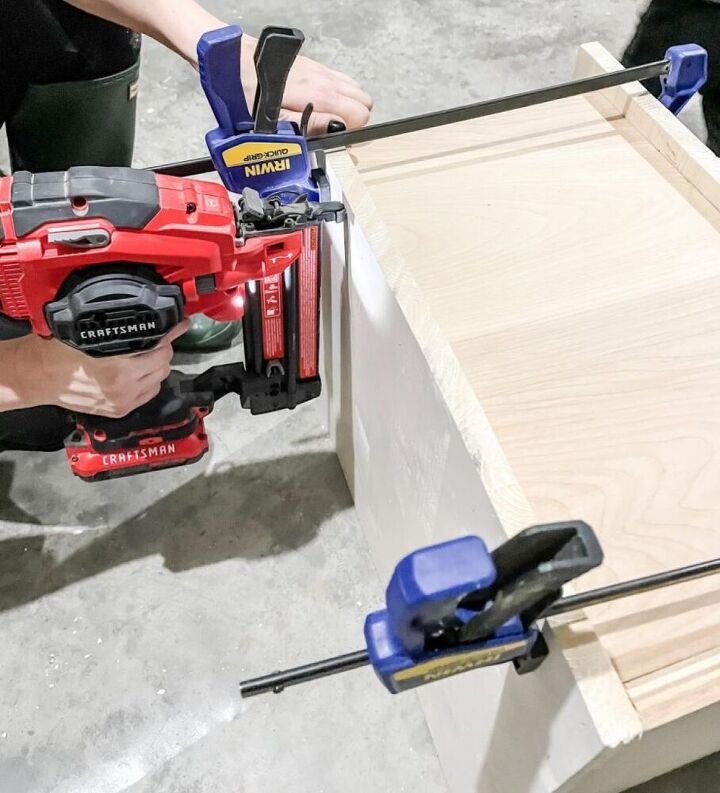
- Finally it’s time to attach the door to the front of the cabinet! Start by attaching the hinges to the cabinet first & then attach them to the side of the front door
The top of the cabinet was easiest to install. We just centered it on the base & nailed it in from the top
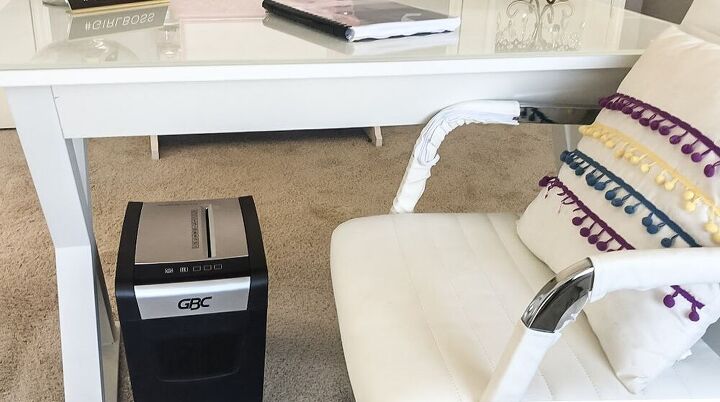
NOTE: Where my shredder cabinet will be located is under a desk that is why my cabinet opens from the front. If you do not have to worry about something obstructing the top you could add the hinges to the top of the cabinet, so that the top can simply open & you can shred your paper that way.
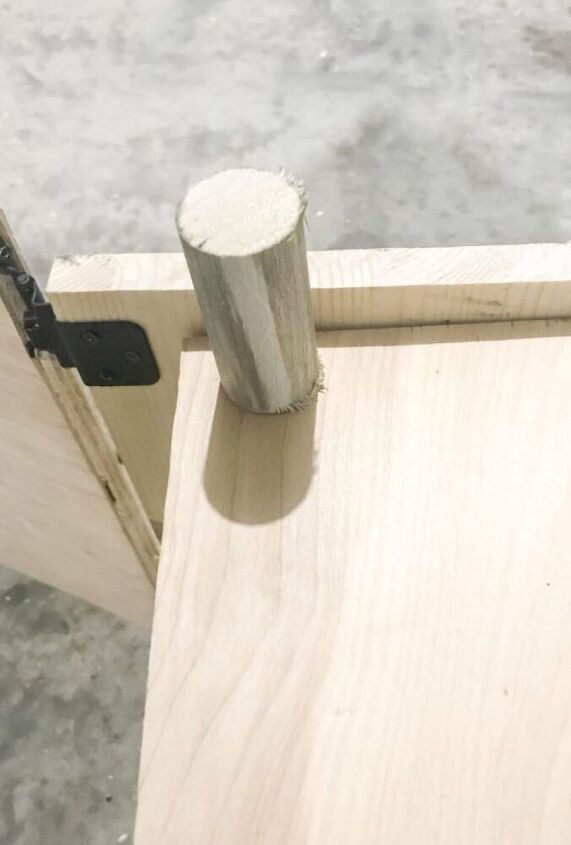
This last step wasn’t in the original plans but after standing the shredder cabinet upright we decided to add some fun legs. You can buy legs at your local hardware store, but we had a left over dowel from the DIY Curtain Rod & Dowel project
Our legs are 3” long & we simply screwed them in from the base of the cabinetAnother last minute idea was to add a hole to the back of the cabinet for the cord to go through
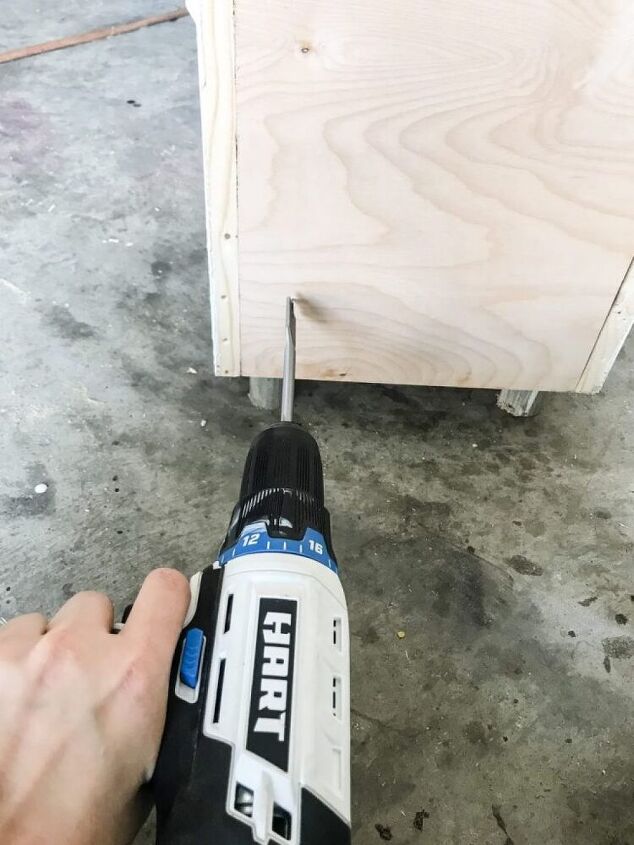
Another last minute idea was to add a hole to the back of the cabinet for the cord to go through
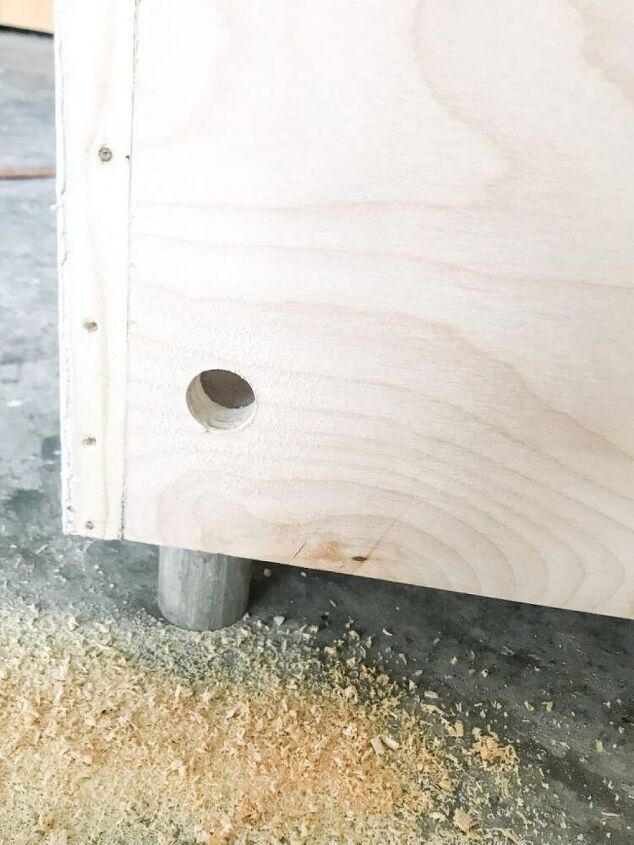
I used a 1” woodboring bit to make the hole
Finishing: Easy DIY Shredder Cabinet
Now comes my favorite part: FINISHING! I used some leftover white paint for the sides & door
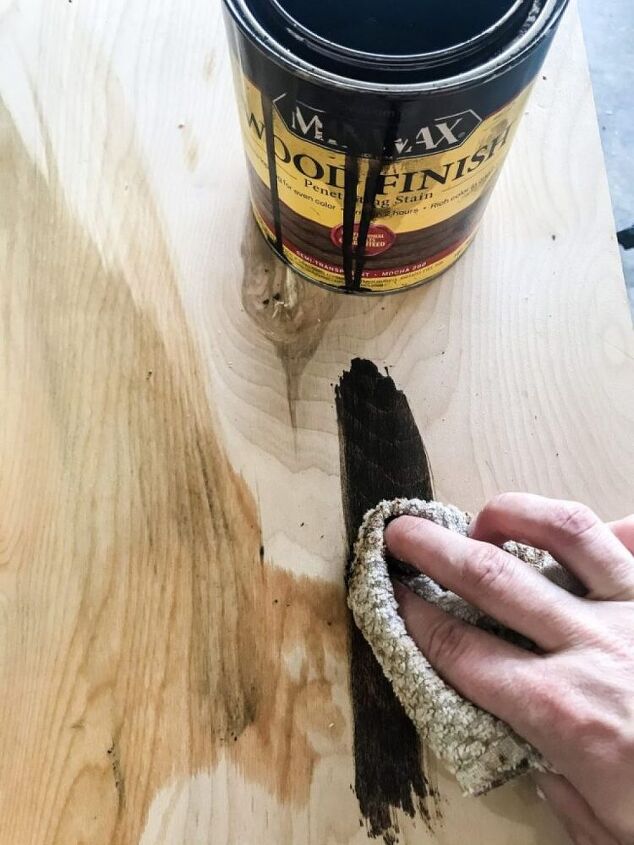
I got a little fancy with the top & decided to stain it in Minwax Mocca

Lastly, I added a small knob we picked up from Lowes to the front
How cute is this cabinet yall!
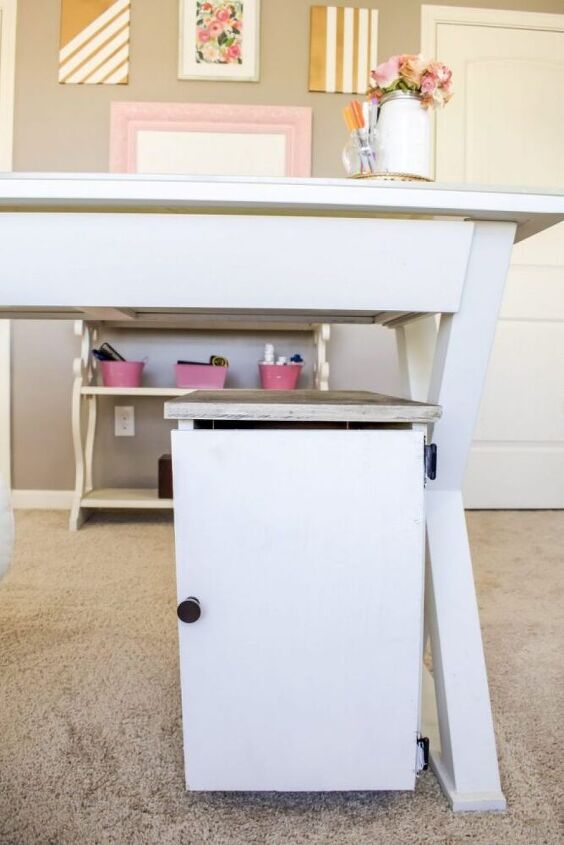
It fits my GBC shredder perfectly & takes up barely any space!
I think staining the top added a nice touch & the small knob is perfect.
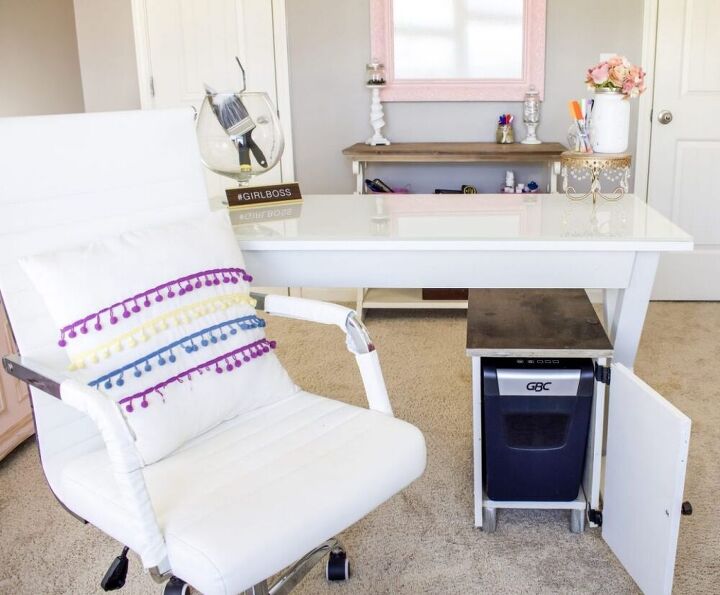
Now my shredder has a home & my heart is happy!
Not only is my GBC shredder absolutely necessary for getting rid of personal documents, but you can also reuse the shreddings!
Here’s a few ideas I love:
- Use shreds for packing delicate items or shipping
- Make your own paper
- Use it for stuffing pillows, dolls, etc
- Mix it in with mulch
- Use it to help start a bonfire
- Use it for Easter basket grass
- Paper mache projects
- Vase filler
- Fill gift bags
- Make paper clay

The possibilities are endless yall!
Resources for this project:
See all materials


Comments
Join the conversation
-
Love this idea. I think I would want mine to have a top that slides to the side with slide hardware so I could just slide the top over to utilize the shredder.
-
Love all your ideas to use the shred. Mine does not offend me enough to build it a box. I have a closed desk area and mine sits behind the trash can. Something to be said for cozy hidey holes. I'm not a marie kondo follower.


Frequently asked questions
Have a question about this project?
Your office is beautiful and so organized, do you actually work for a company or is the office just for show ?
It looks great but I’m really confused. What I’m seeing is that you have to pull the shreader out of the cabinet to use it? Or did you cut a slit in the top wood piece to feed the paper through?
the box fits too tight, there would be little air flow, doesn't your computer overheat?