


Plugging Drawer Pull Holes With Home Made Wood Filler and Dowels

This is a wood filler hack I came across. Since I like to refurbish furniture, it has come in handy on numerous occasions. Basically, you use sawdust and either white glue or wood glue to make it. This filler is not for use with staining. The filler works well on painted pieces and is easy to make. Read on to see my hack for filling/ plugging holes from old drawer knobs and pulls.
Best wood filler!
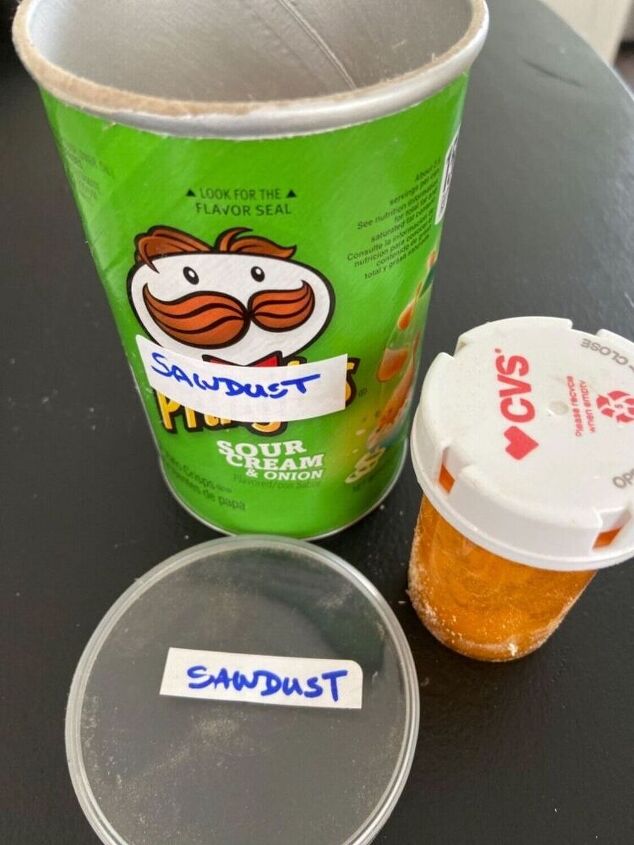
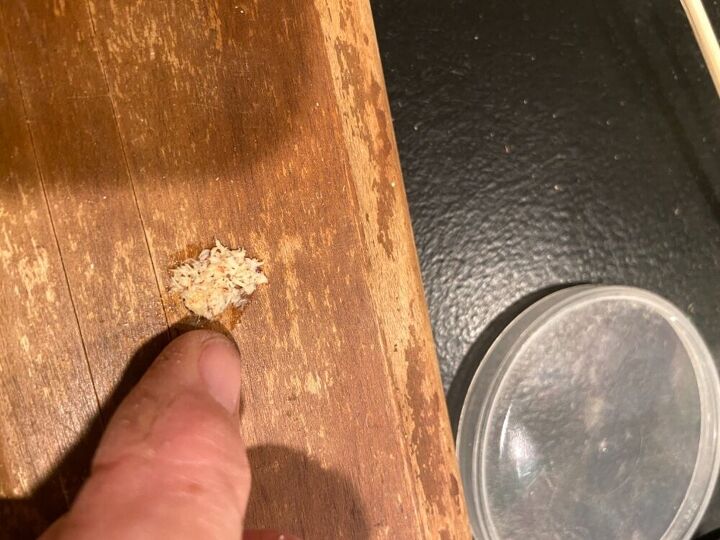
First you either make sawdust from sanding a piece of real wood or gather some sawdust from your workshop or from Home Depot near their panel saw. (Ask first , but I’ve never had an issue with grabbing some.) Had some odd looks, but never been told,”no”. Be sure to bring a small container or ziplock bag to put your sawdust into.
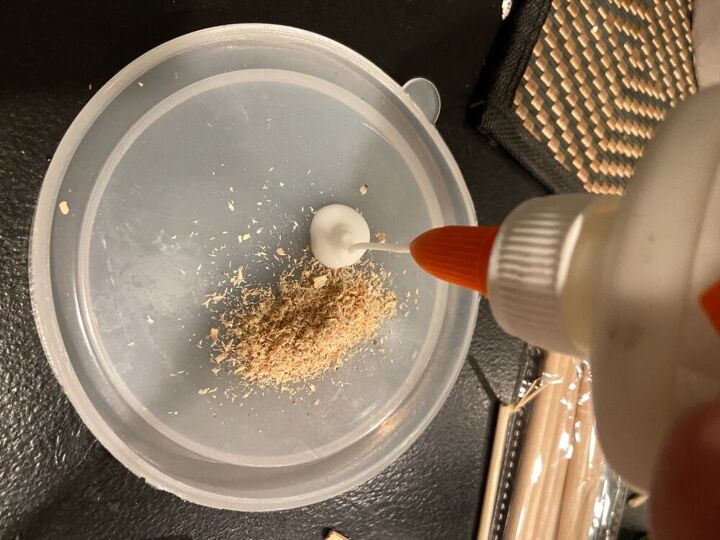
I used white glue because that is what I had on hand. The sawdust I used consisted of a coarser sawdust then I’d preferred, but it still worked for my project. You mix the glue and sawdust to an oatmeal like consistency. If it doesn’t quite stick together, add a little more glue. Once it’s workable, you’ll be using it to plug holes from previous places where hardware was. You can also use this wood filler for large gouges.
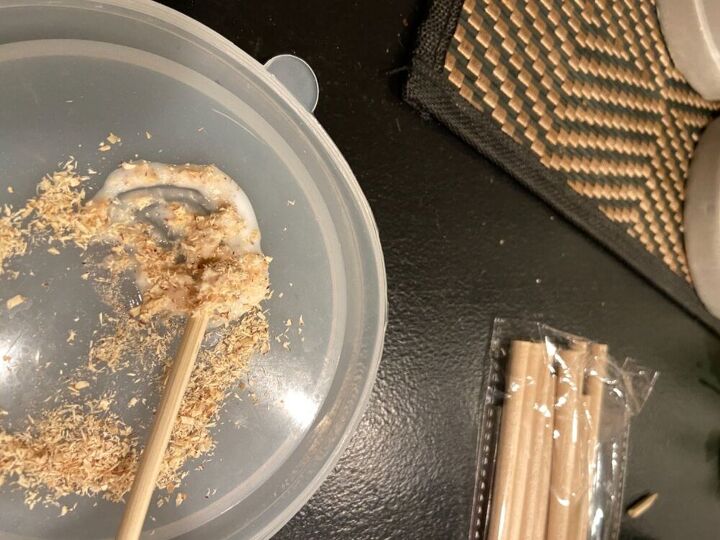
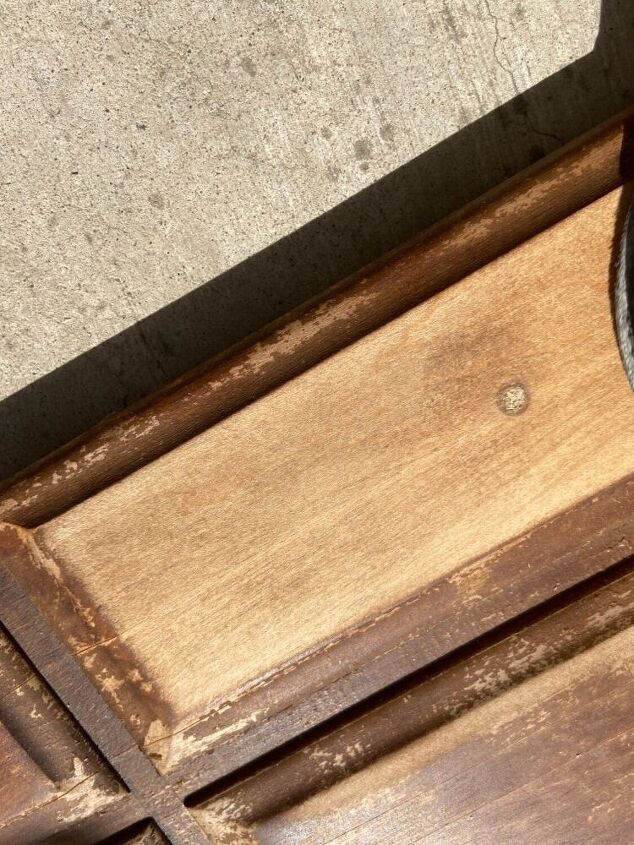
Since holes go all the way through the drawer front, each hole takes up quite a bit of wood filler and takes awhile to dry. Instead of waiting days for the filler to cure & dry, I use another hack along with the filler. I use a wood skewer or thin wooden dowel to take up the space where the old screw went.
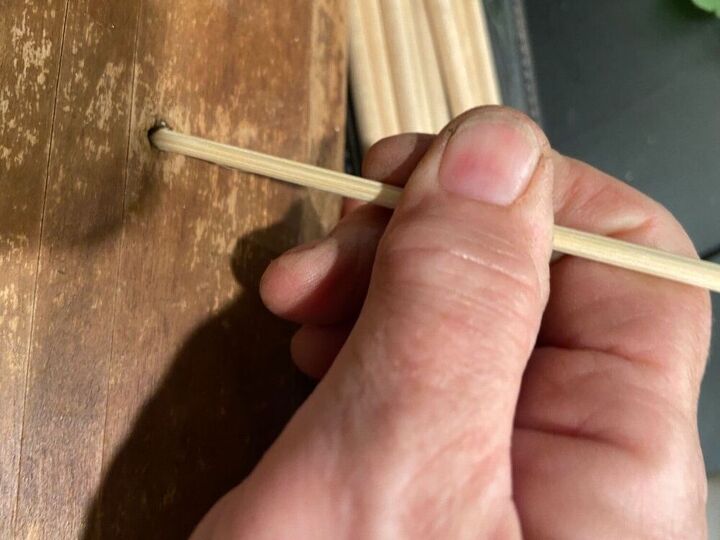
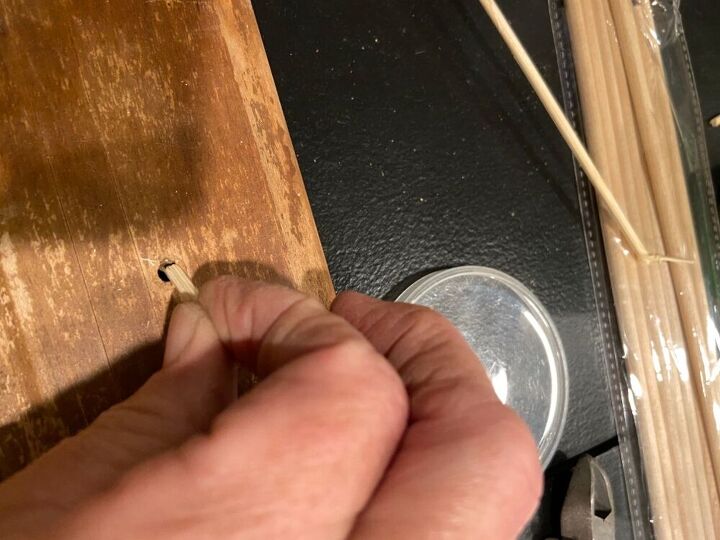
I insert the dowel, or skewer if hole is too small for a thin dowel, mark where it hits the front of the surface of drawer front, remove it and then use a pair of diagonal cutters to cut the wood “ plug” to size. I then roll the plug into my homemade wood filler and reinsert the home made plug into the previously drilled hole.
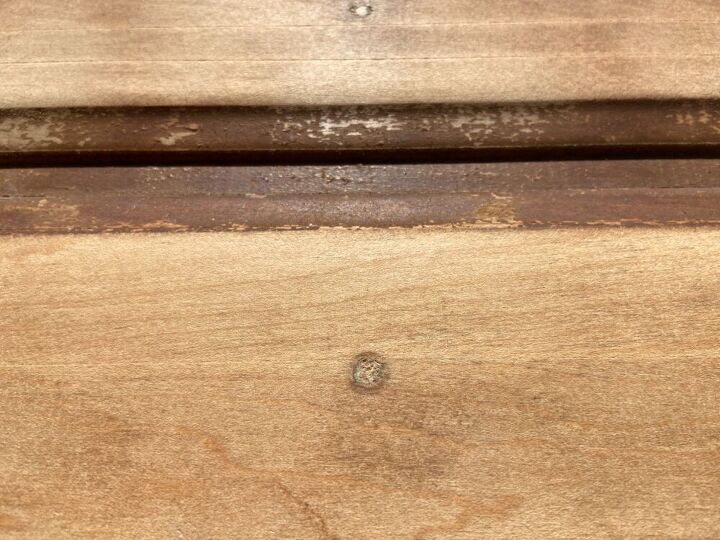
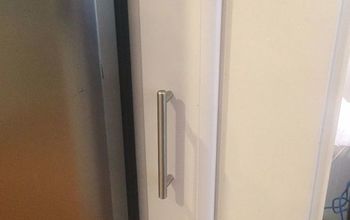
I used a skewer in this photo to act as the plug because the holes were pretty small.
Now you are ready to use your wood filler to top off the space left where the plug had any gaps. I smash in the wood filler around the plug on both the drawer front and drawer back. I overfill the holes to allow for shrinkage while it dries overnight. It also will have a better chance at the holes being hidden after the next step which is sanding.
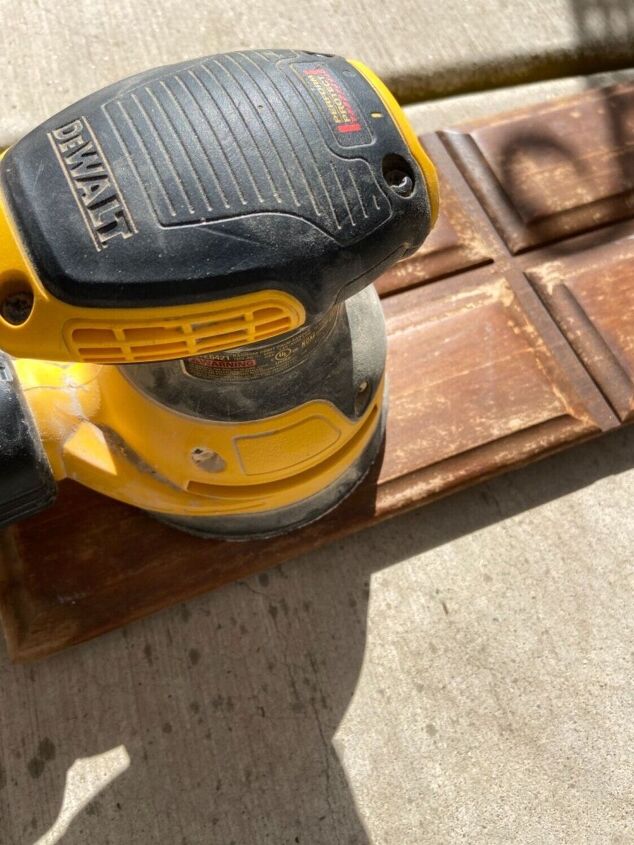
I use an orbital sander with whatever grade paper I have on hand. Since I paint most of my pieces with chalk paint, it doesn’t matter to me how fine of sandpaper I end up using. If you are concerned about sander marks, start with a coarser grade sandpaper and use a finer one after.
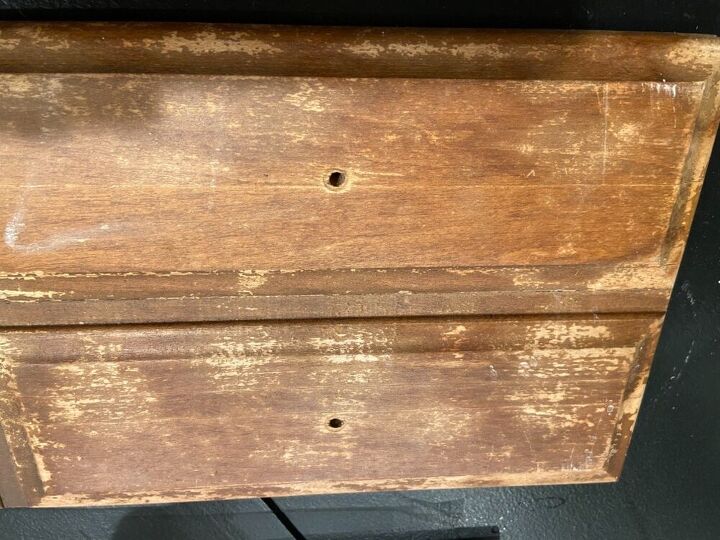
I also sand the back of the drawer front.
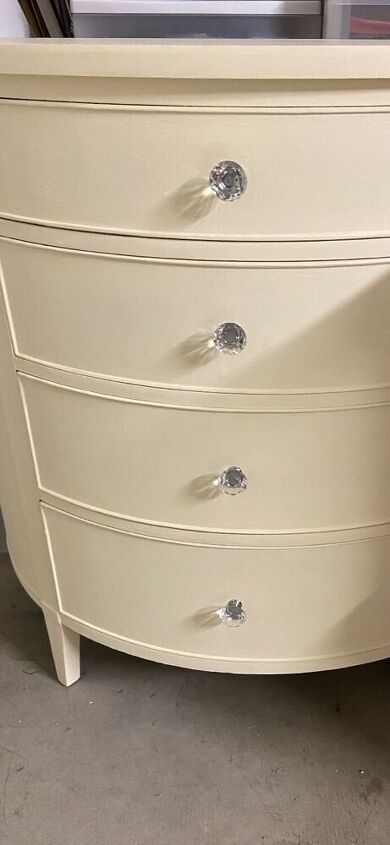
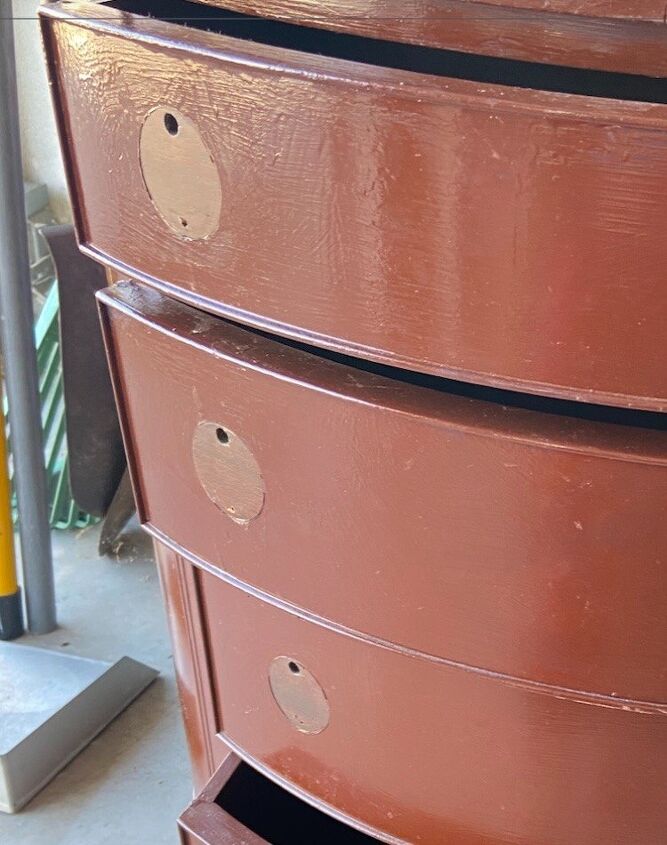
Here is the drawer front that is ready for chalk paint. My next photo will show how a finished occasional chest turned out after using this process to change the location of the drawer pulls from the sides to the center. The photo after that will show you the same chest as it was when I’d purchased it with the drawer pull holes on the sides.
Since this particular antique piece of furniture was originally painted with a glossy brown paint and had dings and missing hardware, it needed some serious refurbishing. The original mahogany wood was difficult to get completely sanded down since it had been previously painted with a brown semi gloss paint and then painted over that with a high gloss oil based paint. I decided to use chalk paint. Since the homemade filler is made with glue, you cannot use stain over it as the stain won’t take. In the photo below, you’ll see the “before” of this chest which is how it looked when I bought it.
This chest of drawers had all 8 of her previous hardware holes plugged using dowels and the homemade wood filler. I ended up using chalk paint to refurbish the chest and drilled new holes for the new hardware which had been relocated to the center. I hope you learned a new way to fill unwanted hardware holes with dowel plugs & homemade wood filler. PS, the finer your sawdust is, the smoother your filler will turn out. Happy refinishing. Thanks for viewing.
Resources for this project:
See all materials


Comments
Join the conversation
-
Warning - DO NOT use this method if you wish to stain the piece!! The glue blocks the absorption of the stain and it will look horrible. Learned my lesson the hard way. Buy commercial stainable filler.
But for painted projects, it's ok!
-
Jill, you are correct. I’m sorry my directions were confusing. This plugging method works well for painted projects.


Frequently asked questions
Have a question about this project?