


Ragbow Tutorial, Bigger is Definitely BETTER!
I love to make a ragbow, but I love the look of them more. Have you seen one before? Beautiful, shabby chic design that can be made with so many different types of fabric in any color. Here's what you'll need.
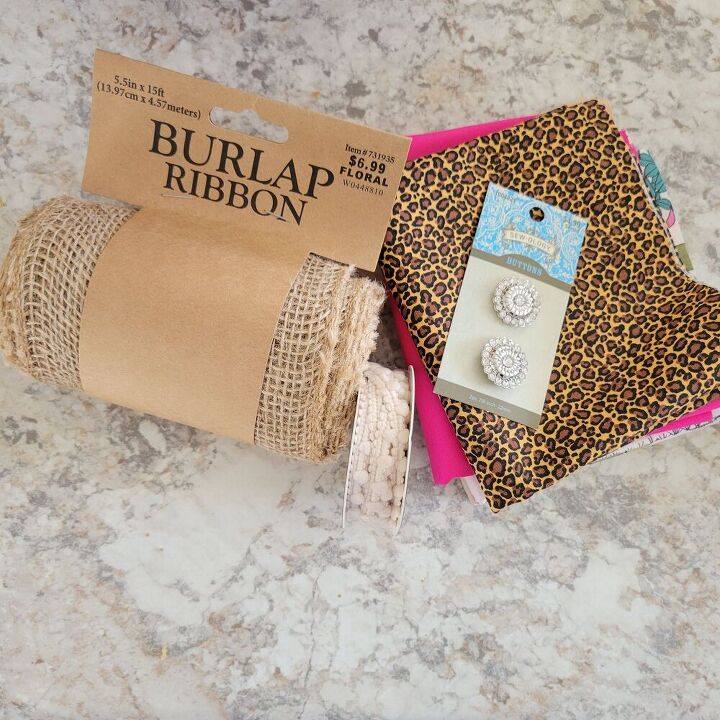
Supplies
Muslin or thicker, stronger type of material
2 - 4, 1/4 bolt of color/design cotton fabric
1 - 2 Lace ribbons or some type of accents to add in and give a different texture to your bow
Fabric scissors
Hot glue gun
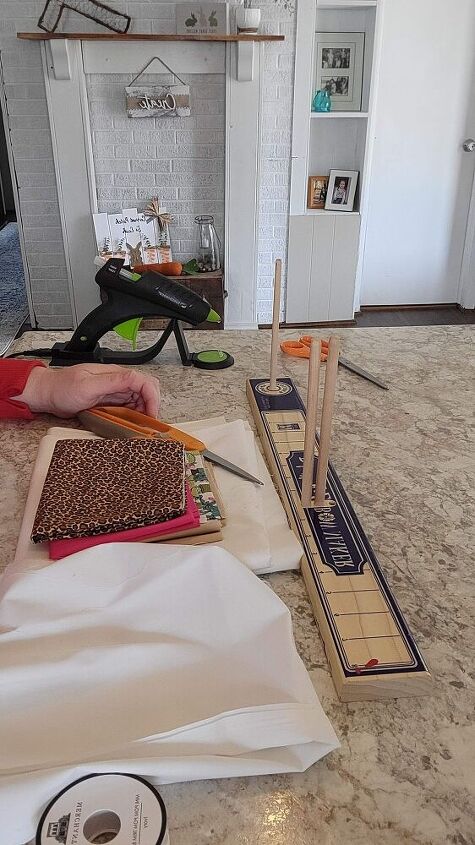
*Bowmaker (I use to hold and build my bow, other options would work fine)
1 - Pipe cleaner (If you plan to attach to a wreath or other item)
1 - Jewel to place in the middle of the bow
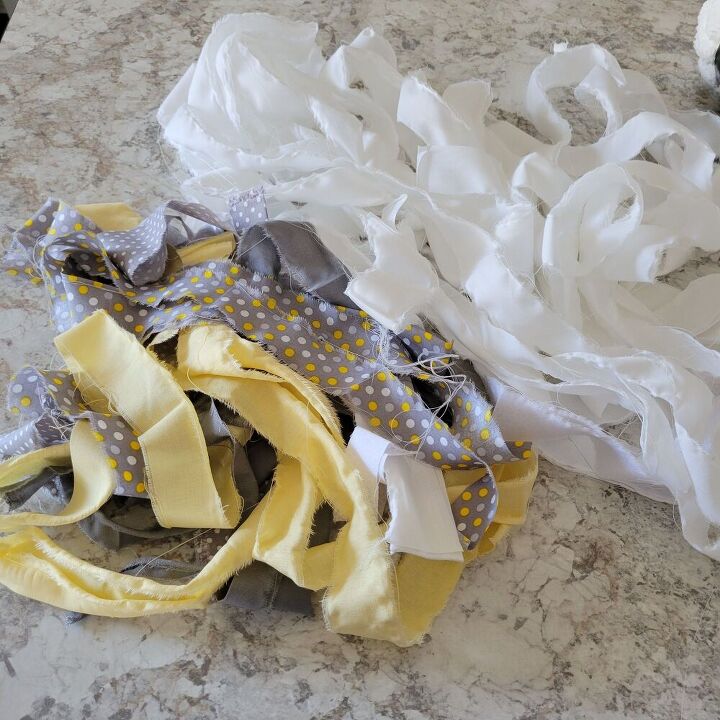
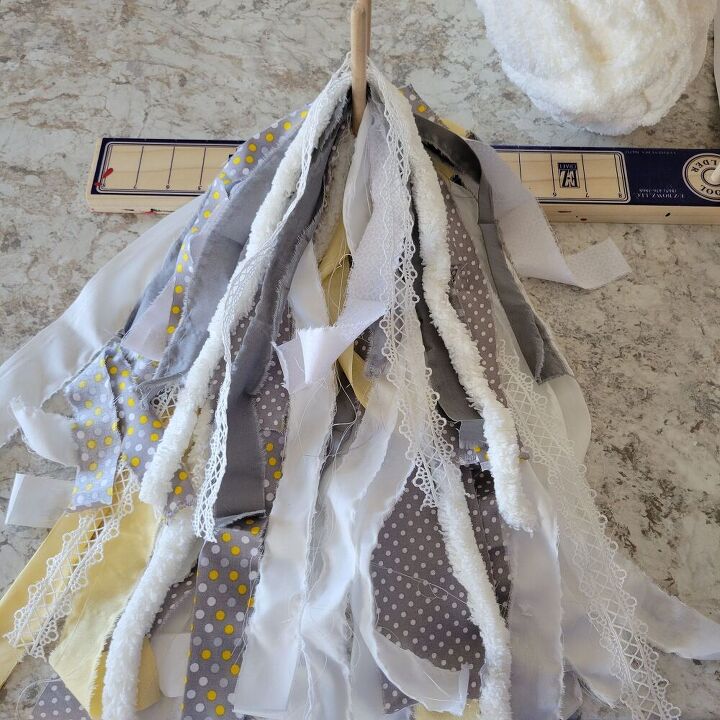
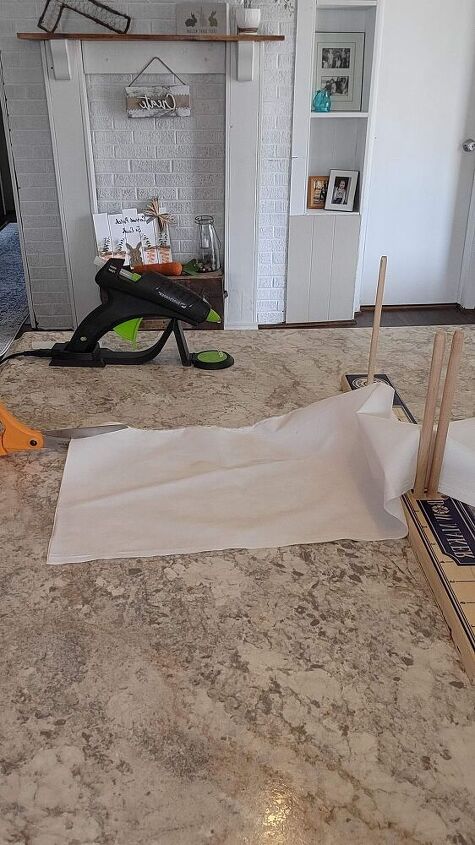
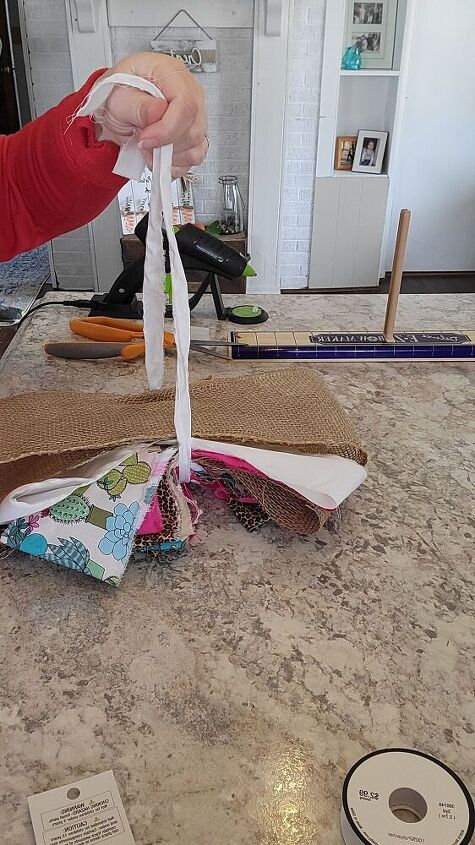
You will need 1" strips and 2 1/2" strips of each fabric. The 1" strips are for the tails of your bow and the larger is to make the loops of the bow. I start by cutting about 4 - 1" strips of all of my fabrics. Simply cut the ends of your fabric in 1" sections then start pulling/ripping the fabric to get individual strips like the pictures above. Once you have all of those strips cut, set the rest of your fabric aside for later and start with your strongest/thickest fabric and start building your bow. This is where I use the bowmaker to hold my fabric. I start by placing one strip at a time alternating colors and designs. I will also add in different textures while I'm building this part of my bow. For example; I have added different types of lace or yarn. Once you have added all of your strips of fabric & lace, it is time to tie off this part of your bow.
What I do now, is take 1 strip of fabric, you may have to cut a couple extras of your muslin to tie off both the top and bottom parts of your bow. Slide your fabric that will be used as a tie right down the middle of your strips. It is very important to pull and tie this as tight as you can, this will be what is holding all of your tails together. Once you have that tied set this aside and we will begin making the loop/top part of ragbow.


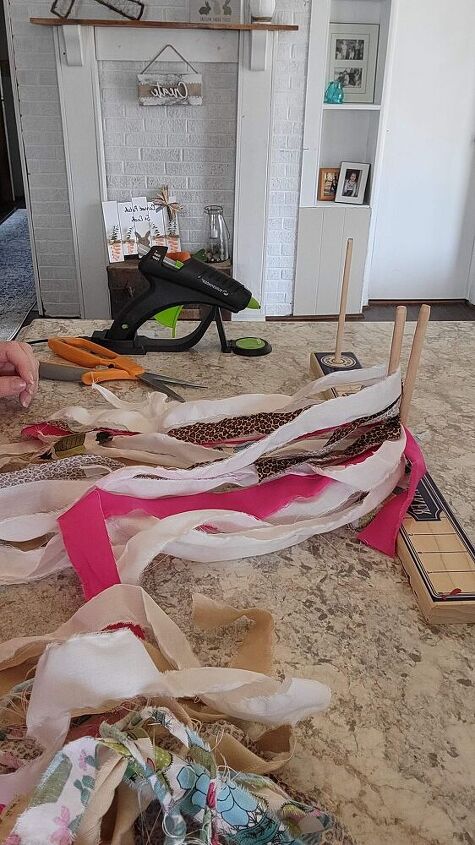
Cut the rest of your fabric in 2 1/2" pieces and start ripping. Again start with the strongest/thickest fabric and loop your fabric to start forming your bow. I have used the bow maker to do this part or I have just laid it out on my table. Following the same pattern alternating fabrics and your extra textures keep layering up your fabric. I typically will put a little hot glue on each strip of fabric to keep the layers together.
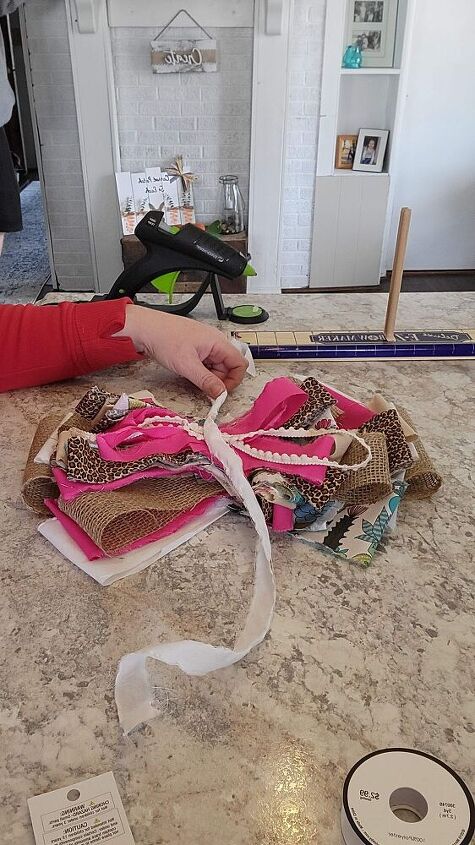
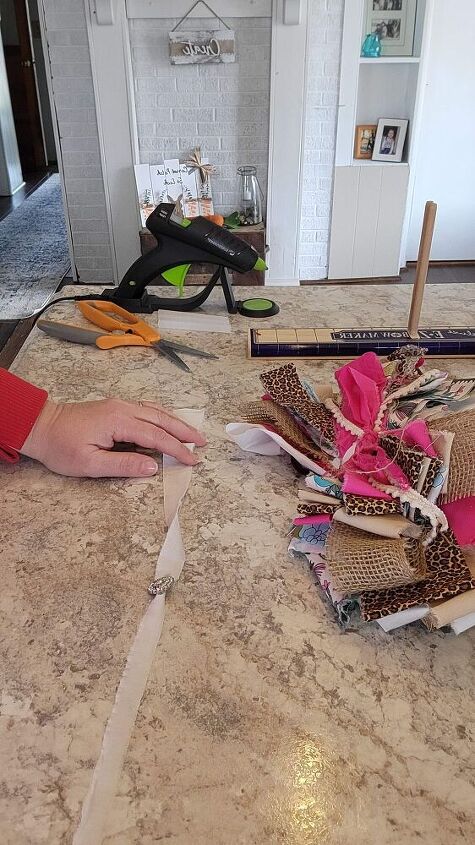
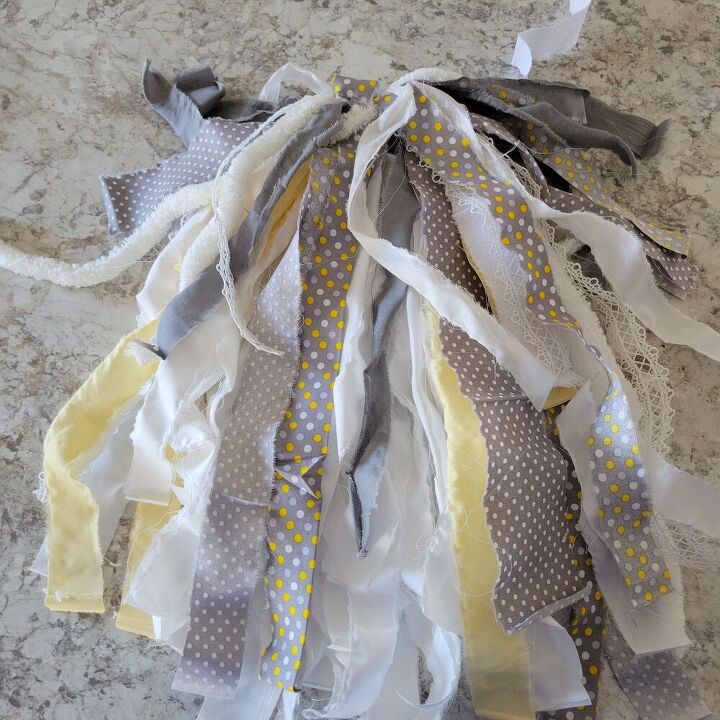
Again, your going to tie off your bow using and extra strip of fabric, pulling and tying it as tight as you can. I use a little jewel from Hobby Lobby sewing department in the middle of my bow, so you can string it on to an extra piece of fabric and tie it on to the bow at this time also. Now we will work on attaching the tails and loops together and this ragbow is almost ready to use.
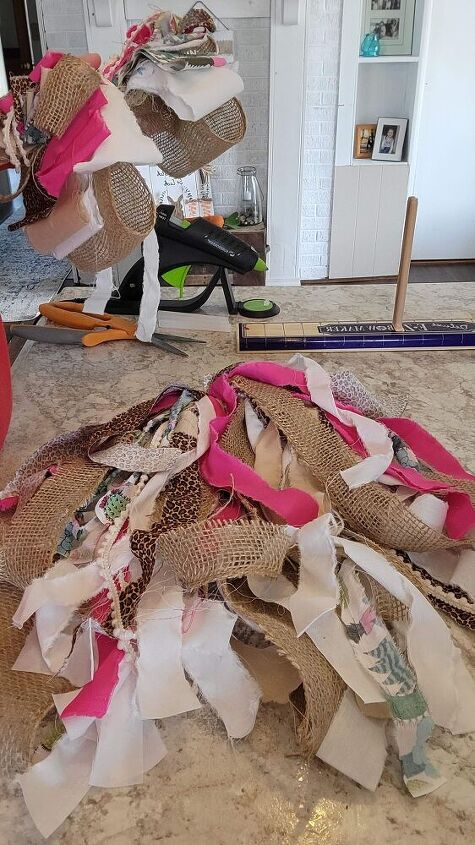
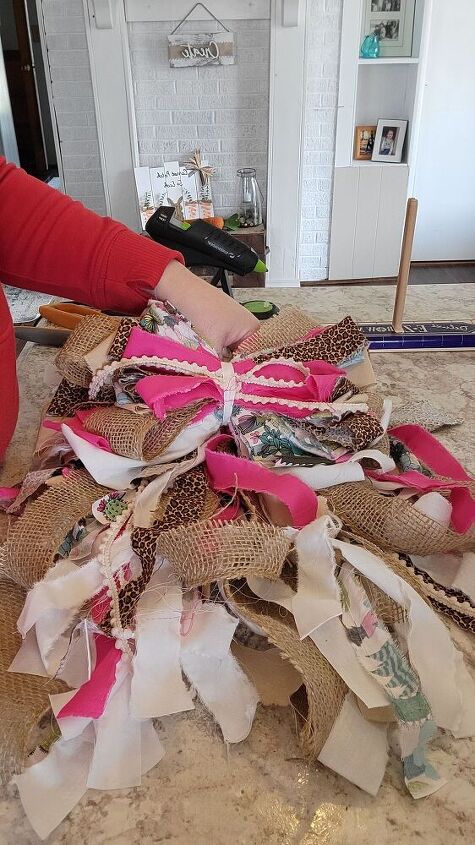
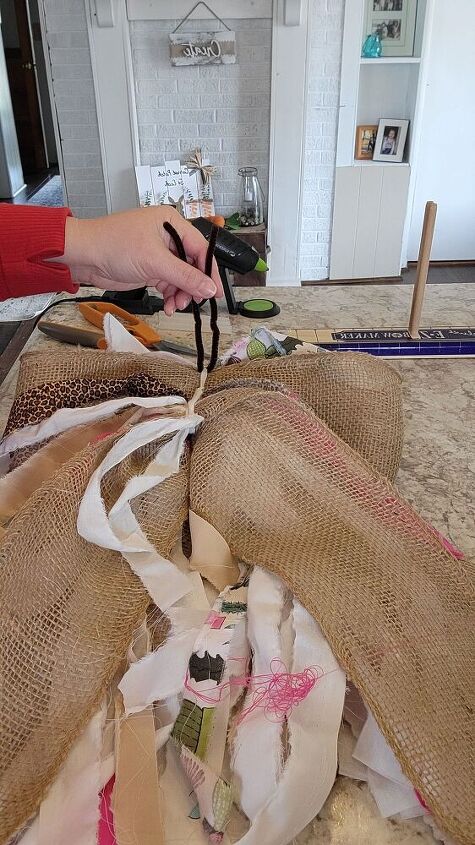
I tie the 2 pieces of your ragbow together and place a pipe cleaner under the fabric that you used to tie. This will allow you a way to attach your bow to whatever your using it on. I used mine on a grapevine wreath form for a beautiful wreath, but these work great for weddings, lanterns or simply to brighten up your home décor.
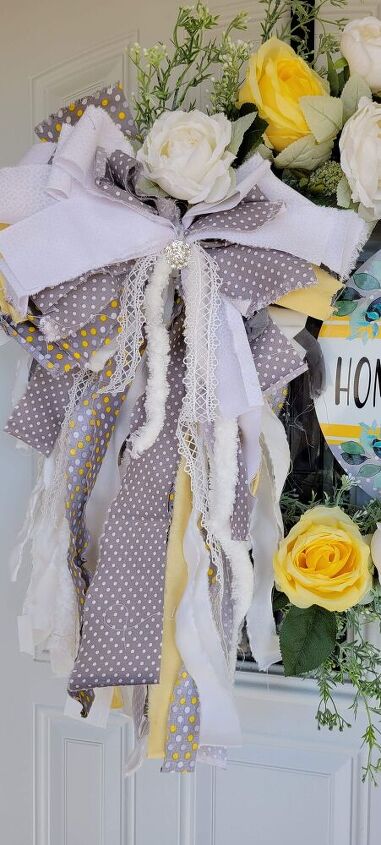
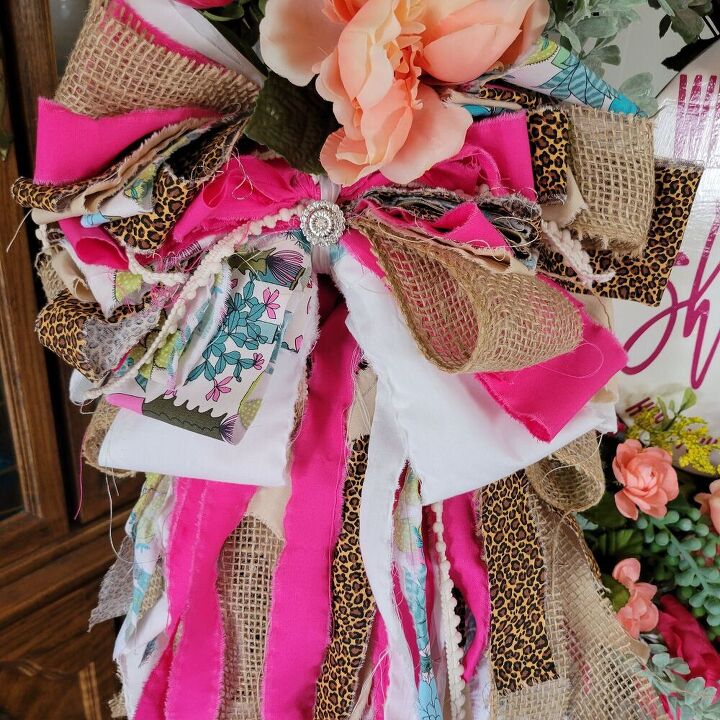
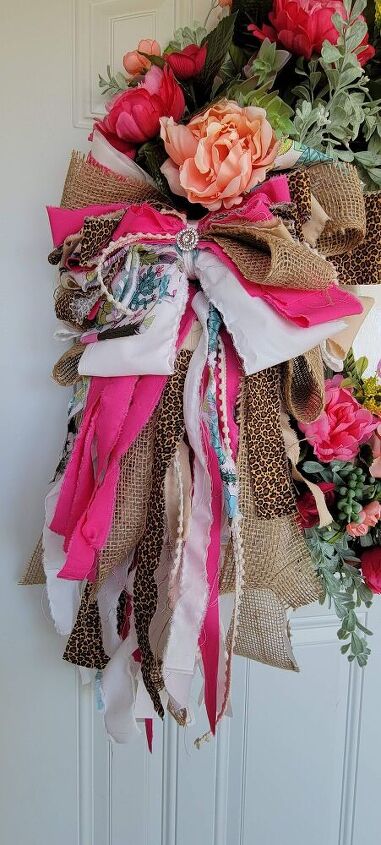
Here's an example of 2 different colors and how I used mine. Ragbows are such a statement piece when added to a wreath. I really hope you have enjoyed reading how to make a rustic, shabby chic ragbow.
Happy Crafting!
Jill

Comments
Join the conversation
-
That bow is so cute! My question: Can you use the bow alone hangover on your front door? It is difficult to tell from the photos if it is big enough/ sufficient in size to use alone.
-
Such a cute project!


Frequently asked questions
Have a question about this project?