


How to Make DIY Ombre Curtains and Use All Your Pretty Denim
We’re making DIY ombre curtains today!
This is the project for those times you want fresh room decor and can’t find any decent curtain fabric.
As someone who has spent far far too many hours combing Ebay and Etsy for the *right* curtain fabric, I’ll tell you now you might not find it.
Thankfully you can put together several colors of denim and have a sturdy, unlined curtain in no time. And maybe it’s just me, but I always end up with some awkward remnants after making a pair of jeans. Awkward denim bits, meet your project.
What I love: All the ombre color goodness will make a big visual impact for not a lot of money. The bold stripes you create will literally never go out of style.
Bonus: this project is simple straight line sewing with a little bit of hardware.
So raid your stash for all those denim off-cuts and let’s stitch these DIY ombre curtains!

Supplies DIY ombre curtains
This will make 2 curtain panels. If you want to make just one panel, divide the fabric and grommet requirements in half.
- 3/4 yard white denim, 1 1/2 yards cream denim, 1 1/8 yards colored denim or twill, 2 yard darkest colored denim, 1/8 yard of another cotton twill fabric
- fabric marker
- glue stick or Steam a Seam 2
- 16-24 plastic grommets or metal grommets
- Grommet setter if using metal grommets
- Olfa circle rotary cutter (strongly recommended)
- 3 yards Buckram tape (iron on or not)
- knit fusible interfacing
- matching sewing machine thread
- heavy topstitching thread
- Universal 90/14 sewing machine needle
- Manila envelope
- Ruler
- pen
- scissors
- Hem guide (like the Clover Hot Hemmer)
- IRON!
Cut your fabric
First step, cut 2 pieces the following dimensions (or 1 if you’re making only 1 panel).
Cream denim: 4″x44″, cut 2
Cream denim: 18″x44″, cut 2
White denim: 12.5″x44″, cut 2
Denim color 1: 18.5″x44″, cut 2
Denim color 2: 35.5″x44″ cut 2
Contrast cotton twill for hem facing: 5.5″x46″, cut 2
Prep for the grommets
First, cut a length of buckram 44″ wide. Next, place the narrowest section you cut from the cream denim so that the right side is against the right side of the buckram.
Stitch the buckram to the cream denim with a 1/2″ seam allowance.
Press the seam towards the buckram, then press the buckram so that it fuses to the wrong side of the denim.
From the right side, stitch down the bottom edge of the buckram with a straight stitch (3.0mm length).
Sewing together the pieces
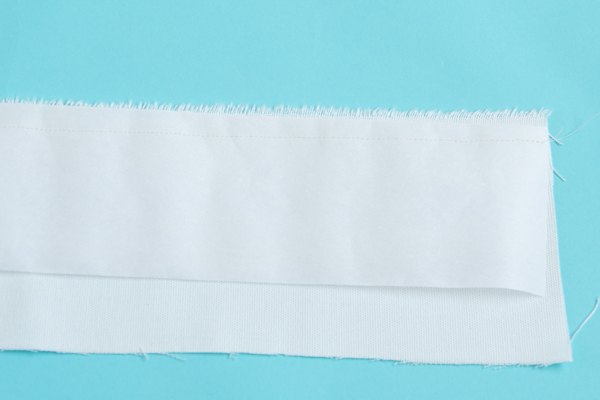
From here, grab the section of white denim. Place the white denim to the bottom of the buckram section, right sides together.
Sew the two sections together with a 1/2″ seam allowance.
Press the seam as it was sewn, then press it upwards towards the white denim.
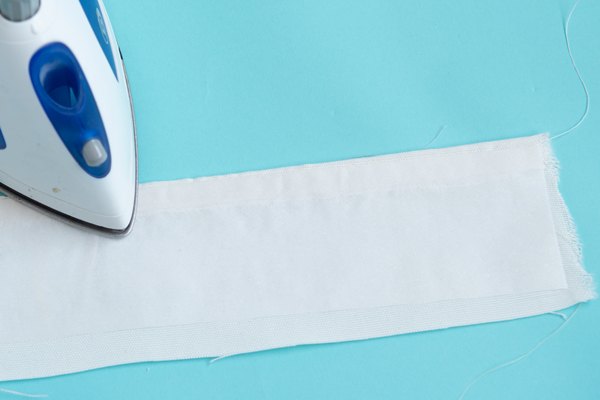
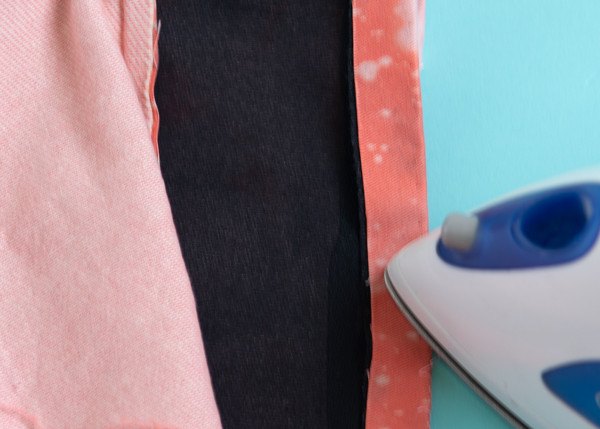
Trimming the seams
Trim the bottom side of the seam to 1/4″.
Wrap the seam allowance around the trimmed side of the seam and press.
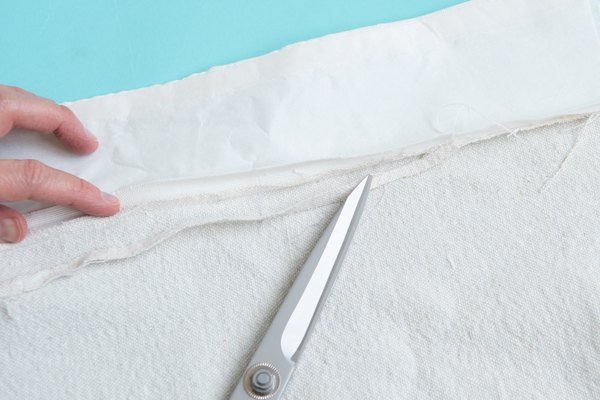

To secure the seam, dab a little glue stick to hold the pressed seam down.
If you’d rather, you can instead use some Steam a Seam 2 tape. This double sided tape is pretty amazing when you need to topstitch seams down like this and you don’t want them moving on you. Steam one side in place, take off the backing paper and steam it again with your iron.
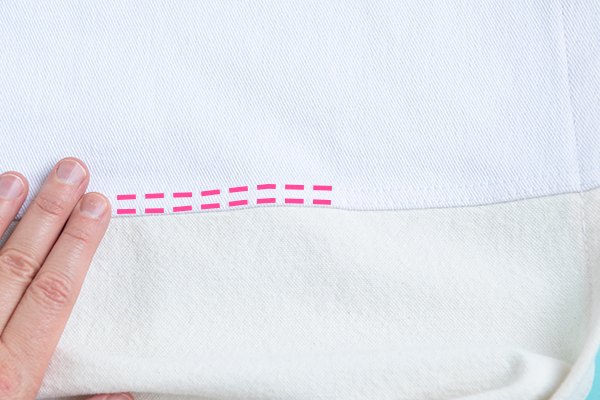
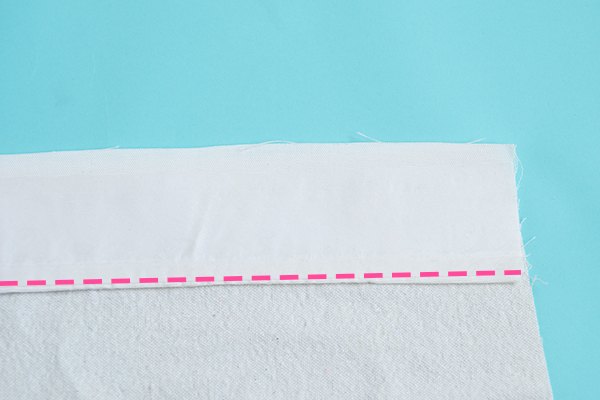
Topstitch 1/8″ from the seam with a straight stitch (3.0mm length) all the way across the seam. Your stitching should catch the pressed edge from the last step.
After that, stitch 1/4″ away from your first line of topstitching.
For the best results, use sewing machine feet with blades that can run along the seam like a 1/4″ foot, blind hem foot or ditch quilting foot. You can read more about those feet and how to use them for topstitching in How to Topstitch.
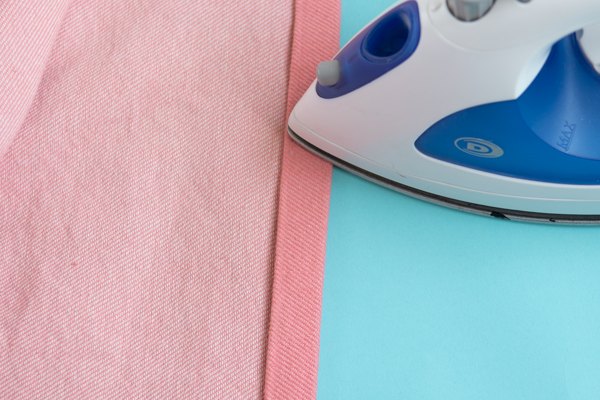
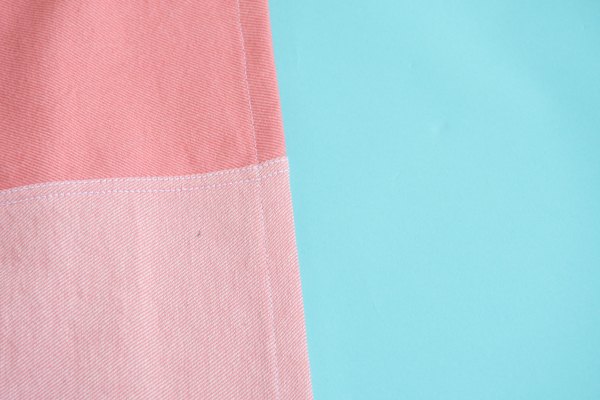
Sew the rest of the seams
Sew the rest of the pieces together with the white to the cream, the cream to the first color, and the first color to your darkest color.
Trim the seams, and topstitch everything just like you did with the first two sections.
Sew the side hem
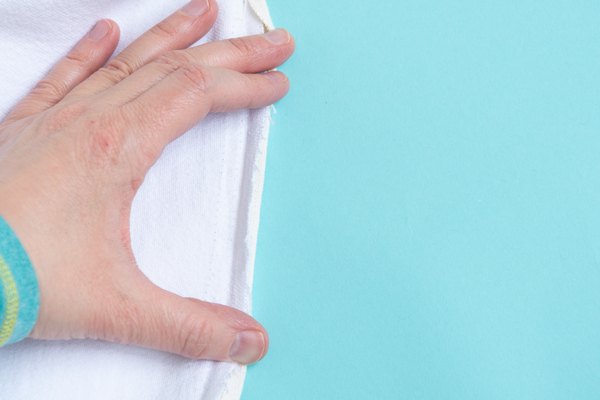
Next, use your hem guide to press 1″ towards the wrong side on the sides of your seamed panel.
Fold the raw edge towards the pressed fold you just made. Press again so you see 1/2″ folded twice on the wrong side.

With regular thread sew down the side hem from top to bottom 1/2″ from the pressed outer edge of the curtain panel.
Repeat for the second side.
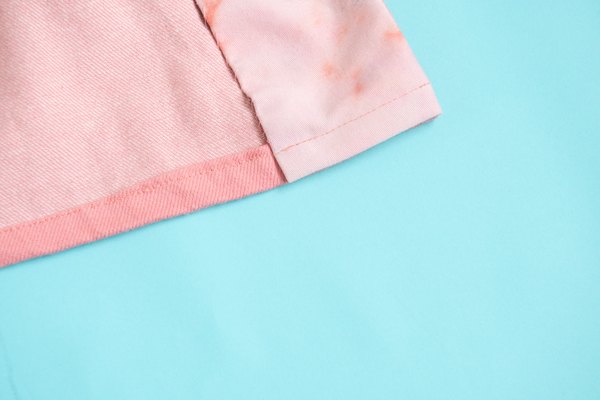
Sew the bottom hem
We’re almost done! To finish up we’ll add a hem facing to the bottom of the curtain. This is kind of a cheater way to do a hem. I like it because it’s a chance to use a contrast fabric on the inside of your curtain. It also will save you a little yardage on your bottom piece of fabric.
Use whatever cotton you have on hand that matches the colors you have. If you have cotton twill all the better.
Fuse a piece of fusible interfacing to the wrong side of your strip of cotton twill. This will give the facing a little more weight and help the curtain hang nicely.

Press one of the short sides and one long side of this facing fabric to the wrong side by 1/2″.
Next, match the facing to the curtain bottom right sides together. Sew the facing to the curtain with a 1/2″ seam allowance. Fold in the second side of the facing towards the wrong side as you get to it. Fold pack and press any extra of the facing fabric about so that the edges are even with the pressed side hem.
Press the seam towards the facing and flip the facing towards the inside of the curtain.
Finish off the hem by stitching the facing down along the sides and across the pressed edge of the facing.
Sew the second curtain panel the same way as the first if you’re making 2 panels for your window.
Add the grommets
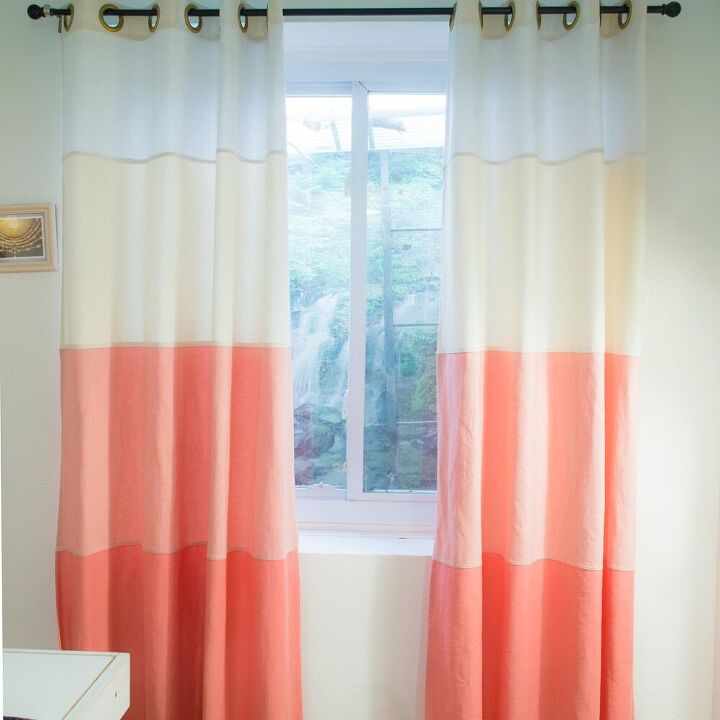
Finish off your curtain panels by adding grommets to the top with the buckram. To do this, follow the steps from How to Make Curtains with Grommets starting with the “marking the grommets” step.
Add grommets to your curtains
How to add this simple hardware for a classy casual look to all your DIY curtains.
Enjoy your fresh new DIY ombre curtains!
More home sewing projects to explore:

Elizabeth Farr is the writer behind the Elizabeth Made This blog where she shares helpful sewing tips, step by step sewing tutorials and videos to help you explore your creativity through sewing. She has written sewing Eguides and patterns, been a featured teacher at Rebecca Page’s Sewing Summit and Jennifer Maker’s Holiday Maker Fest and her work has appeared in Seamwork and Altered Couture magazines. She also created a line of refashioned garments for SEWN Denver. When her sewing machine isn’t humming, she’s playing and teaching violin, and hanging around a good strategic board game with her husband and 4 kids.
elizabethmadethis.com


Comments
Join the conversation
-
You are an awesome seamstress. Your lines are perfect...WELL done!!
-
Gorgeous. Since there are no fabric stores near me, I was able to buy grommets for a project I was doing from Harbor Freight.


Frequently asked questions
Have a question about this project?
Love love love these curtain panels! But my local fabric store does not carry denim in such nice colors. Pretty much denim jeans blues and black. Where did you get your pastel colors please?