


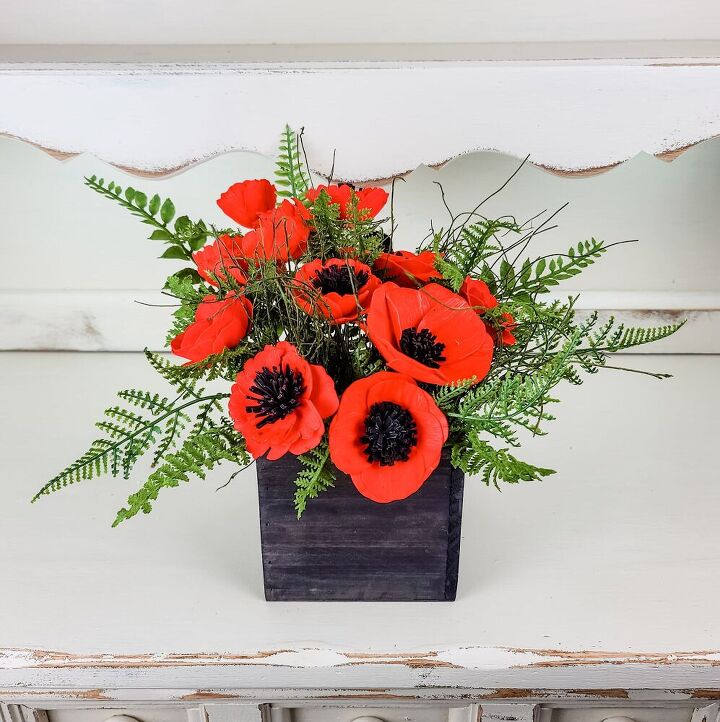
Memorial Day Poppy Arrangement
Each Memorial Day, we create a poppy arrangement to symbolize remembrance. One of our favorite things about using wood flowers is that they are a forever keepsake and can be used to create a piece to honor a loved one.
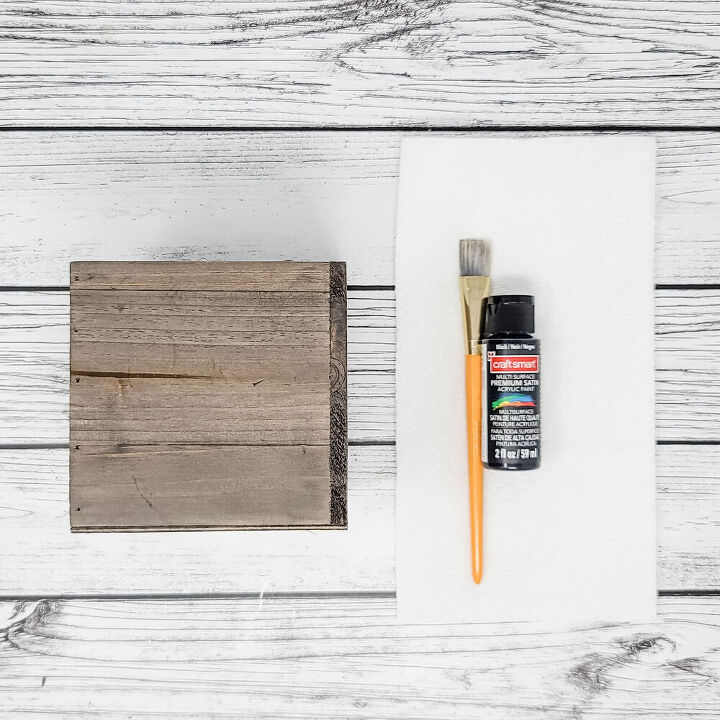
Here is what I used for this project:
- Wooden box planter (this one is 5"x5"x5")
- Craft acrylic paint and paintbrush
- Paper towel or baby wipe
- Foam block
- Mixed fern greenery
- Wood flowers from Oh You're Lovely
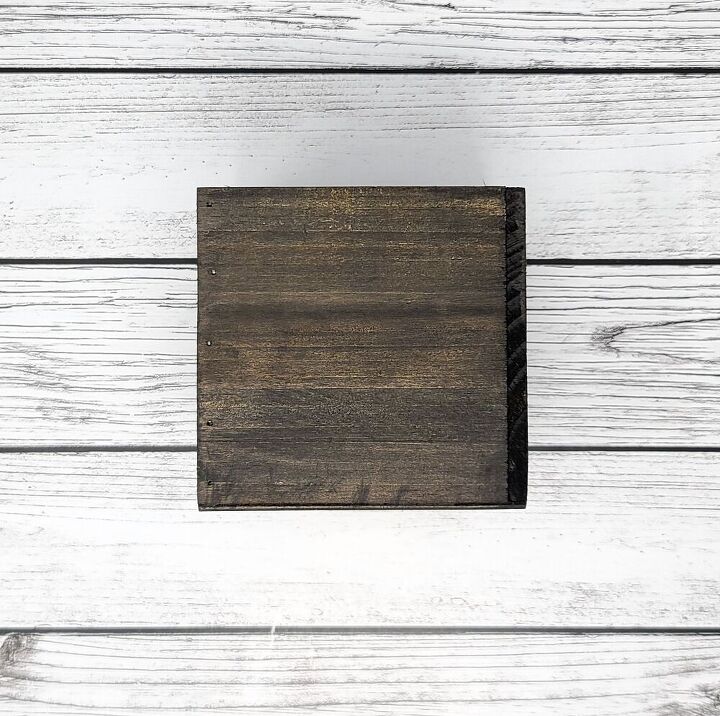
For this piece, I wanted a darker wood container. To create this look, I did a black wash!
To get this look, take black craft acrylic paint and mix it with a little water. Next, dip a paintbrush (I went with a flat, thick brush but you can also use a foam brush) into the mixture and apply it to one side of the container. Once it is on, take a paper towel or baby wipe and wipe the paint in the direction of the wood grain. It will darken up the wood quite a bit but you will still be able to see the grain with the black wash effect. Repeat this on all sides of the wood container.
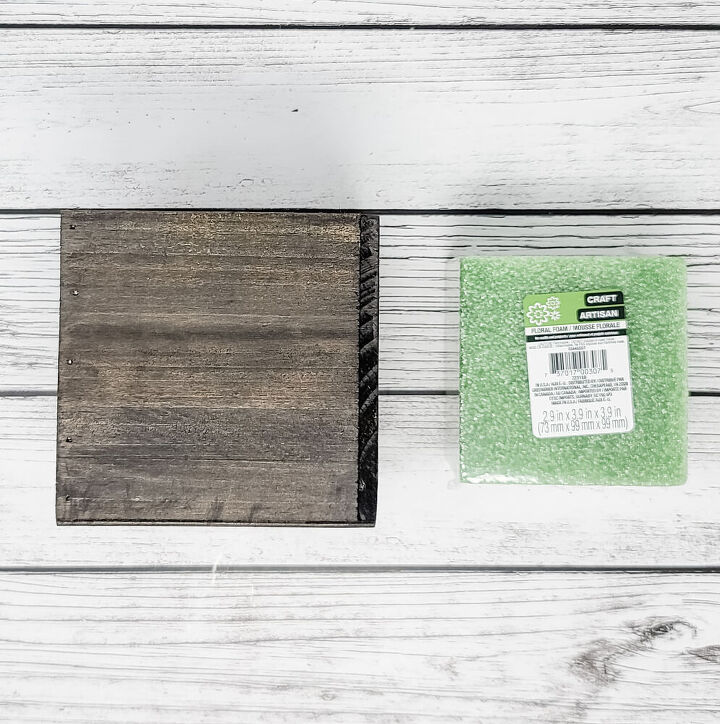
I found these square craft foam blocks at the dollar store and they are a perfect size for the 5"x5" wood box! Add some hot glue to inside bottom of the box and pop the foam right in.
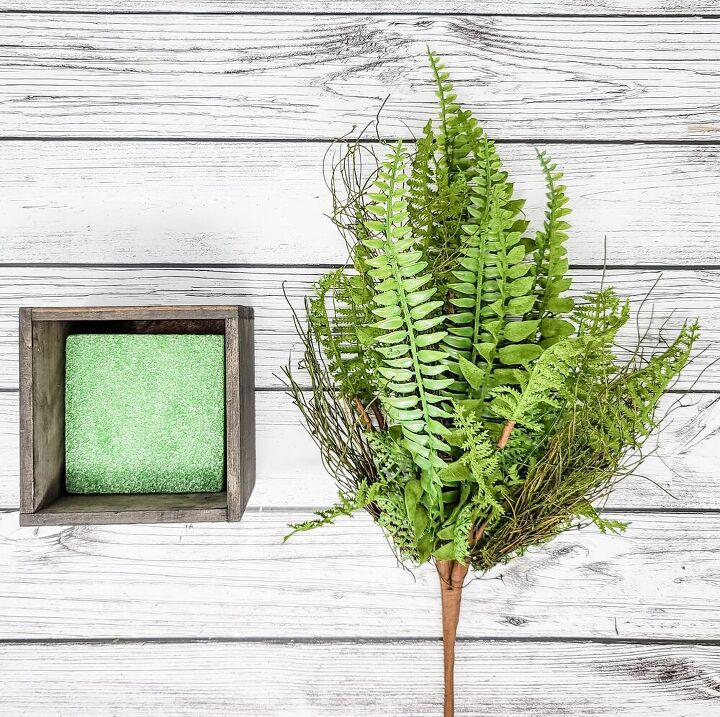
Poppies have leaves that are almost a fern-type shape. So to make this as realistic of an arrangement as possible, I went with a mixed fern bundle. What I love most about this mix is that there are a few different shapes, sizes and textures to create a beautiful scene in our arrangement.
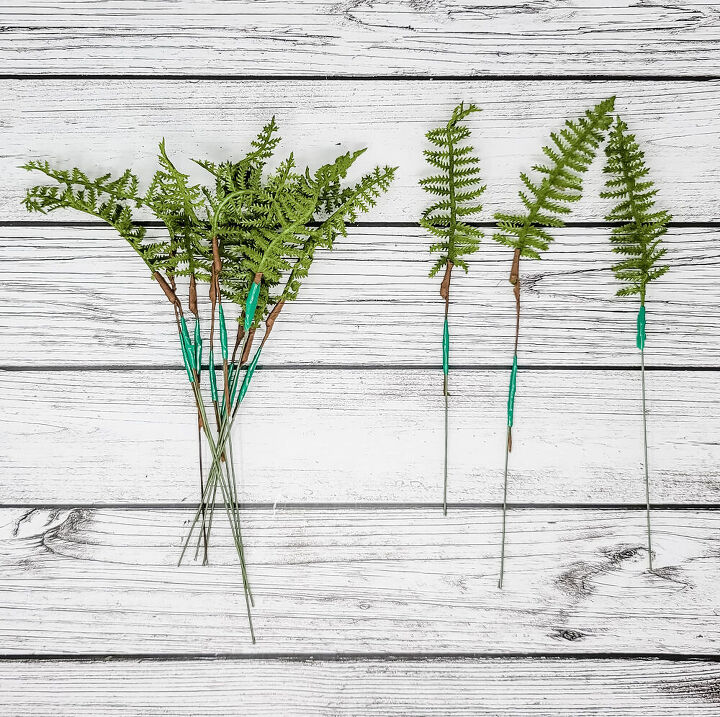
To start, I completely disassembled the fern mix and separated all of the pieces into similar piles. For the smaller fern pieces, I added an 18 gauge wire stem using green vinyl tape to add more height!

I wanted this piece to have a wild but intentional feel to it so I placed the grass/stick pieces in the four corners of our box first. Next, I added the larger ferns towards the back of the container to bring in height and create the back of the arrangement. Last, I put the smaller fern pieces that we individually stemmed all throughout the piece.
After adding in all of the greenery, there were some open spots where you can see the foam when looking from above. The flowers will cover these spots but if you are worried about any foam poking through, you can add moss to those holes at this point in the process.
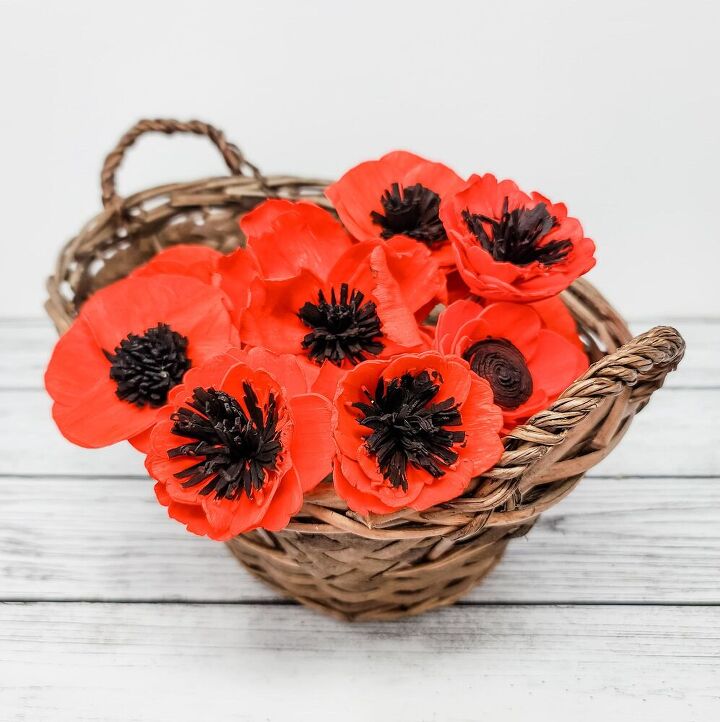
We have a few varieties of wood flowers in our shop that can be transformed into poppies. For this arrangement, I used one Charleston and a few of both Mona Lisas and Mature Poppies to create these beautiful flowers.
Quick tips:
- Use the dip dye method to get your red base (this color is FolkArt "Lipstick Red")
- Hand paint the center black using a slightly watered down crafty acrylic paint (you can use the paint mixture from the container black wash for this!)
Once the flowers are painted and dry, add a dab of hot glue to the back and stem them with 18 gauge floral wire.
My favorite part is when we add the flowers!
To get this more modern feel, create a slope of flower heights with the highest flowers in the back left corner and the lowest point in the near right corner. For the most intrigue and interest, vary your flower sizes throughout.
Once you are happy with the shape and flow of the flowers within the arrangement, you are ready to place it in your home or gift it as a tribute to those you remember.
Resources for this project:
See all materials


Comments
Join the conversation
-
Love this! ❤ Turned out beautiful. TFS 🌺🌿


Frequently asked questions
Have a question about this project?