


Framed Shiplap Gallery Wall

If you don't have the space for a true gallery wall or you are like me and like to change things around every month (or week) this might be the solution for you!
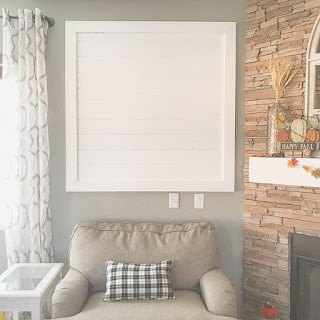
We had this blank wall (that we filled with a clock) for over a year and I was ready to commit to something, I just wasn’t sure yet. That is until I stumbled upon the Instagram account of Erin_Sunnysideup . Her home is not only but according to my Pinterest boards I’ve been low key creeping on her home for the past few years and didn’t know it 😬. So I saw that she had this perfect shiplap framed area in her home that she uses as a photo wall and it was love at first sight! This is my Husband and I’s recreation; I couldn't be happier with how it turned out. It’s definitely one of my favorite projects we have done and I can’t wait to see how I use this over time!
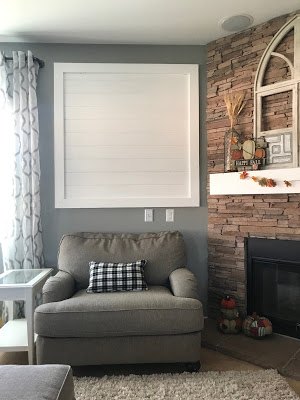
After
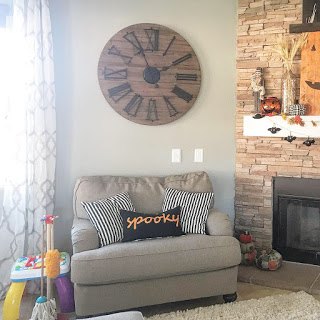
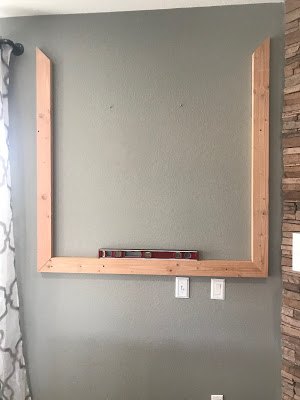
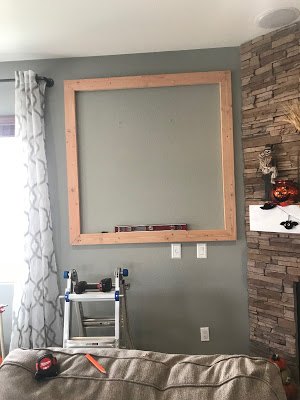
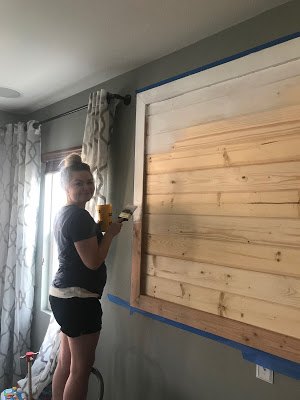
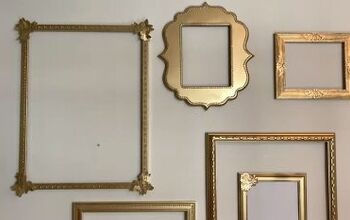
Before
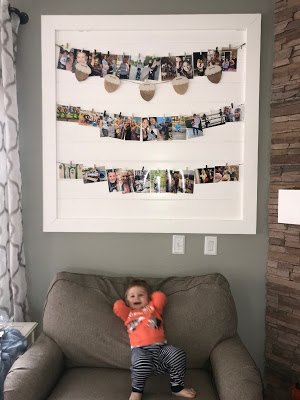
The little guy loves it too!
Since this is something you will customize to your space I won't be giving exact measurements or the number of each material needed. If you would like more detail or measurements of mine please just comment and I'll do my best to ask the Hubby to get those for me ;)
Ours is 4'x4' when measuring from inside the frame.
Materials/Supplies:
- 2x4's (for the frame)
- Shiplap (we used the tongue and grove shiplap)
- Some sort of saw (table or skill) (or a person at the place you buy lumber)
- Level
- Measuring Tape
- Nail gun
- Nails
- Screws
- Rubber Mallet (optional)
- Wood Putty
- Caulk
- Paint or Stain
- Heavy Duty Wall hanger (if building as one piece and not to the wall)
Directions:
Building the frame:
1. Cut your 2x4's to desired length while cutting each end at a 45 degree angle (you don't have to do the angle cuts if you don't want, we just prefer that look)
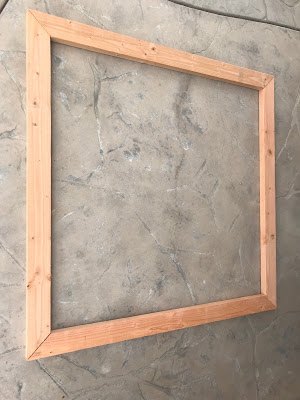
2. Lay your frame out on the floor to make sure everything lines up and you like the frame. *If we were doing this again* during this step I would also measure or lay out the shiplap in the frame to make sure they fit as WHOLE boards. We did not do this and had to cut the last board in half to make it fit the frame and it was not the easiest thing and its the one thing that bugs me when I look at it.
3. Sand the 2x4's (and your shiplap boards if needed)
4. If you are building this on the wall you will then screw each board into your wall separately and level each 2x4 as you go. Please try to get this into the studs and if you can't I would suggest building as one piece.

5. The frame is done
Adding the Shiplap:
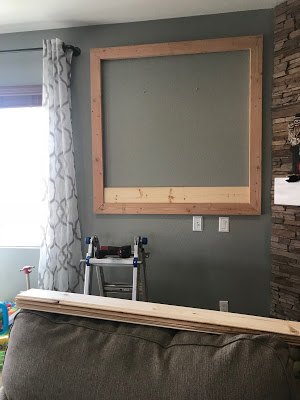
1. Cut each board to size (this should be done as you cut the wood for the frame so you can make sure it will all fit like mentioned above)
2. Place the first board at the BOTTOM of the frame. (if using tongue and grove you'll want the tongue to be at the top)
3. Nail into place (we used about 4 per board)
4. Add the next piece, we would use a rubber mallet to gently secure each board to the connecting one
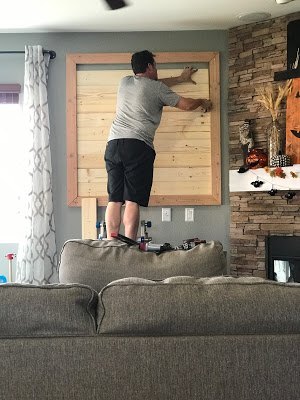
5. Repeat until all boards are in the frame.

6. Fill in all screw/nail holes, seams of the frame and imperfections with wood putty (let dry) then sand.
7. Paint or stain
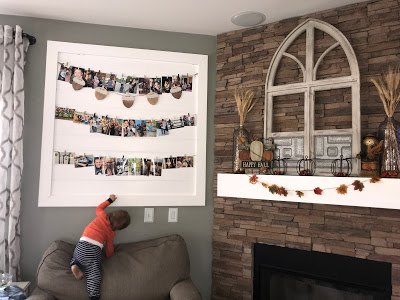
8. Done and time to decorate!
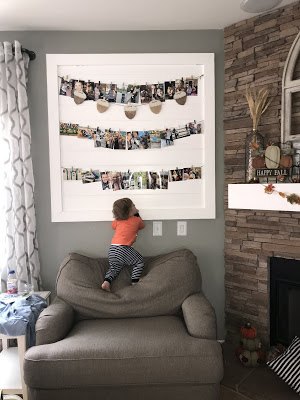
(note the junk filled side table and child about to destroy everything...
Tips/If I could go back in time:
- If building this as one piece I would suggest building it all on a piece of plywood or some type of wood so you can have something to secure everything to and follow the same steps
- You may be able to add the top piece of the frame at the very last once your shiplap is in place (Scott did have to realllly try to get that last board in)
- This is the type of hanger I'd use if we did it as one piece, we have a few heavy items on our walls with this type of hanger and we haven't had an issue. We purchased ours from The Home Depot but this will give you an idea (amazon link): Heavy Duty Wall Hanger [if it falls off your wall I am in no way responsible, please use what you think is best. I am in no way an expert lol.]
- I wish I stained the frame instead of painting it white
- We did not fill the seams of the frame with wood putty and over time there are little gaps so I'd definitely fill that in with something, we will be caulking those areas when we have time
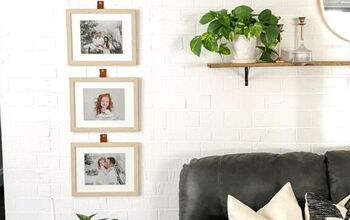
- I used command hooks on the inside sides of the frame to add string to and use little clothes pins to hang photos from, they didn't stay. I'd use color match nails instead. (pictured below)
- I've seen washi tape, painters tape on the backs, I'm just using scotch tape on the back of photos at the moment.


Comments
Join the conversation
-
I love this idea, I have a suggestion, Use a big picture frame if you do not want to destroy your wall. I also used some mini lights on mine to hang the photos.
- See 2 previous
-
This is a fantastic way of displaying some of your favorite photos, especially if you do not have a lot of wall space for individual framed pictures. This would make such a great gift to grandparents show-casing all their grandchildren. LOVE IT.


Frequently asked questions
Have a question about this project?