


Quick Denim Quilt (Improv Quilt With Instructions)
This quick denim quilt project is one I made to get myself out of a sewing ‘rut’.
It uses old jeans and leftover fabric strips.
I lost my drive and confidence with quilting and sewing projects a bit after I’d finished the mountains of sewn Christmas gifts I made this past year.
I had started loads of different projects after the New Year but I kept reaching a point with them where I would look at it and say ‘this is awful – I don’t want to finish it’.
So with this denim quilt what I did was start it intentionally as something I HAD TO FINISH.
It did not turn out perfect, but it did get finished! And as an exercise in unsticking me from my sewing slump it absolutely worked!
Here is how I made it.
Materials Used – Quick Improv Denim Quilt
- 54 7″ squares of reclaimed denim jeans (I bought these pre-cut from a seller on ebay)
- some additional denim from 1 pair of jeans to fill in some gaps in my ‘design’ (see below for where these were used)
- Moda Scrap Bag jelly roll strips – roughly 10-12 for the main quilt and another 7 or 8 for the binding
- Batting
- Quilt back (I used one side of an old duvet cover)
Scroll down for full written instructions or watch the video run through here:

Step 1: Adding some colour
I started with a stack of 7″ denim squares from old jeans.
I actually bought them pre-cut from someone else who was destashing on ebay (I haunt ebay for this sort of thing!).
As I said this project was an exercise in doing something quickly without second guessing myself too much.
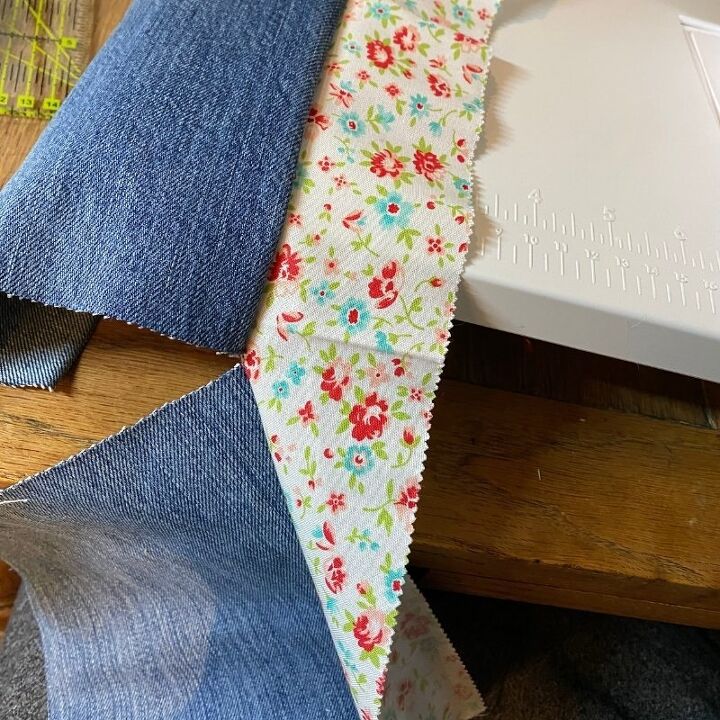
So I grabbed some jelly roll strips from my stash – they were from a Moda Scrap Bag – and chain pieced the pile of 7″ denim squares so that there was a strip of patterned fabric on one side of each square.
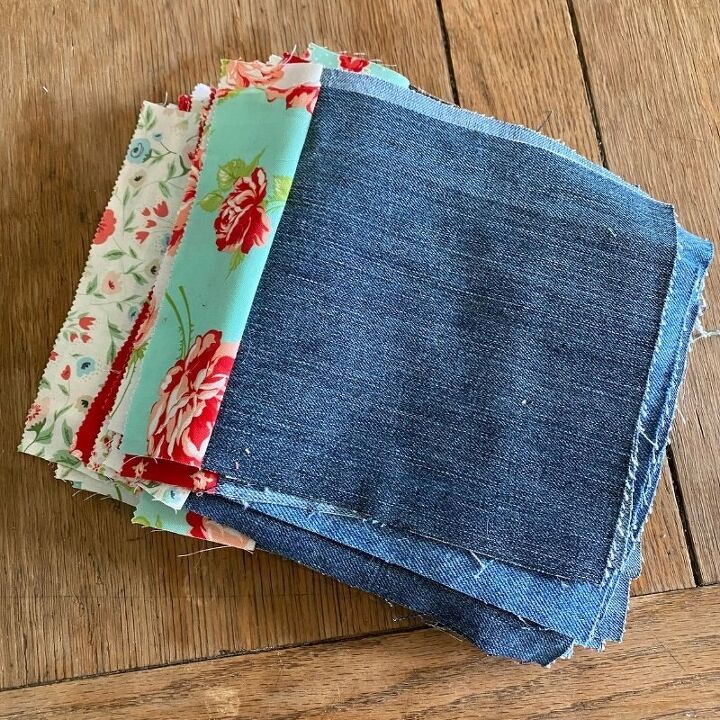
I went for bright aquas and reds with some coordinating lighter strips thrown in too.
I ended up using 54 squares plus some extra denim to fill in some gaps in my layout (see below).
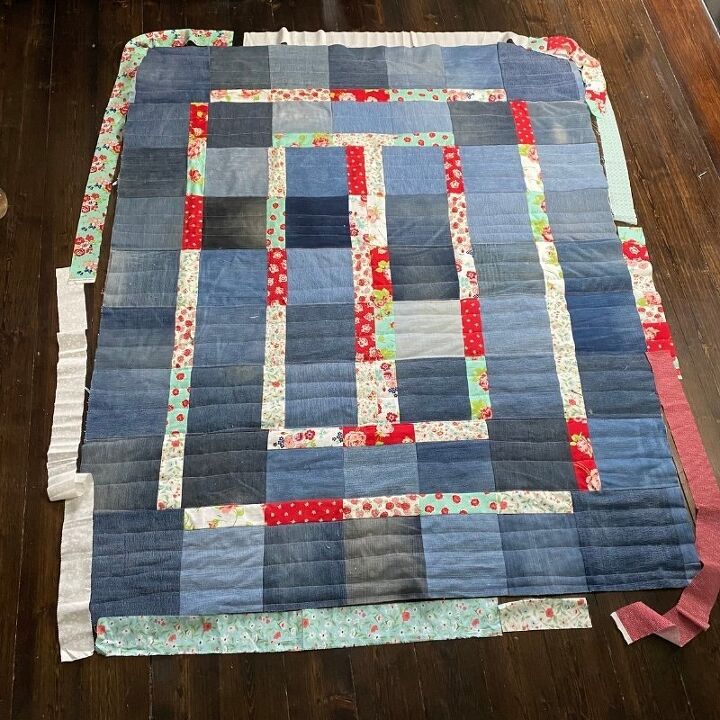
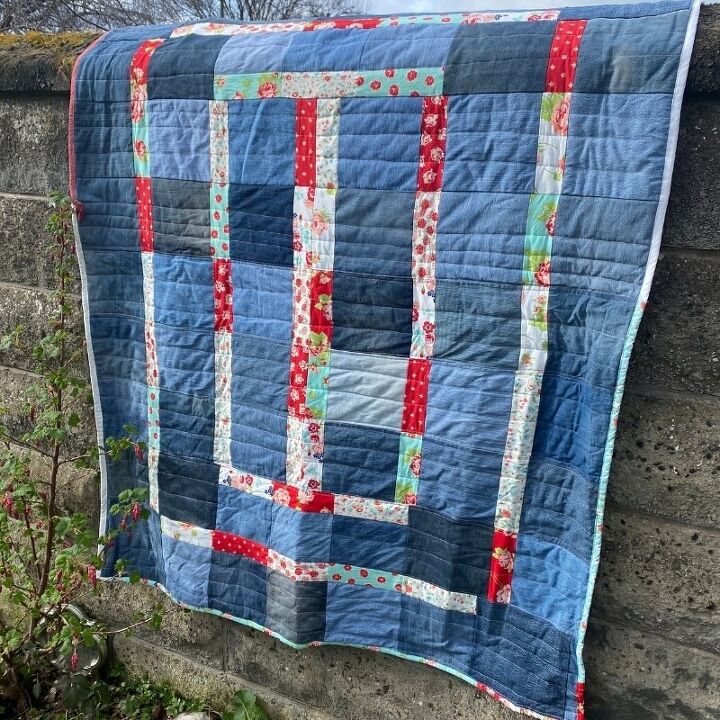
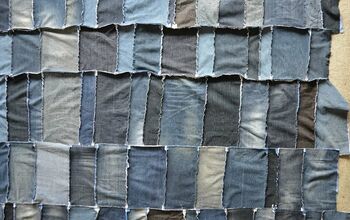
Step 2: Layout
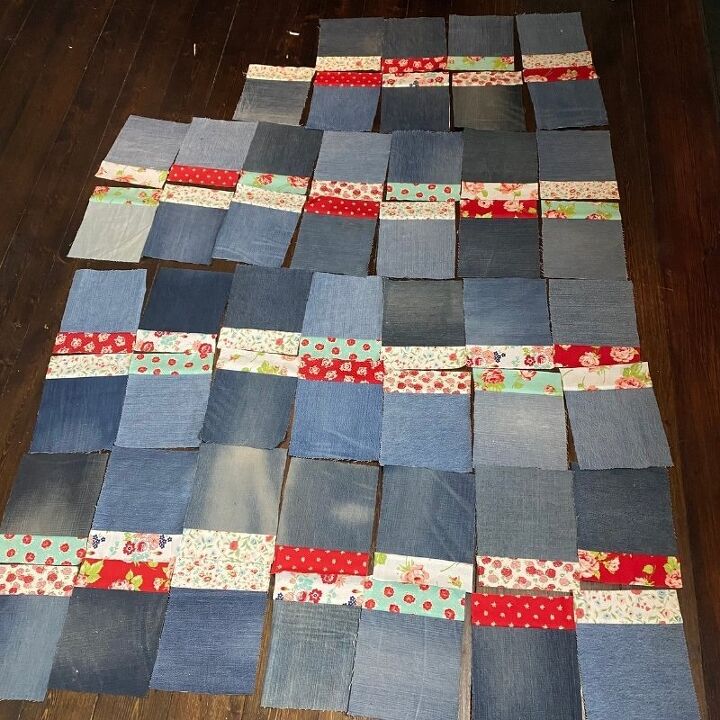
Once I’d added my strips to all my squares I tried various layouts on the floor.
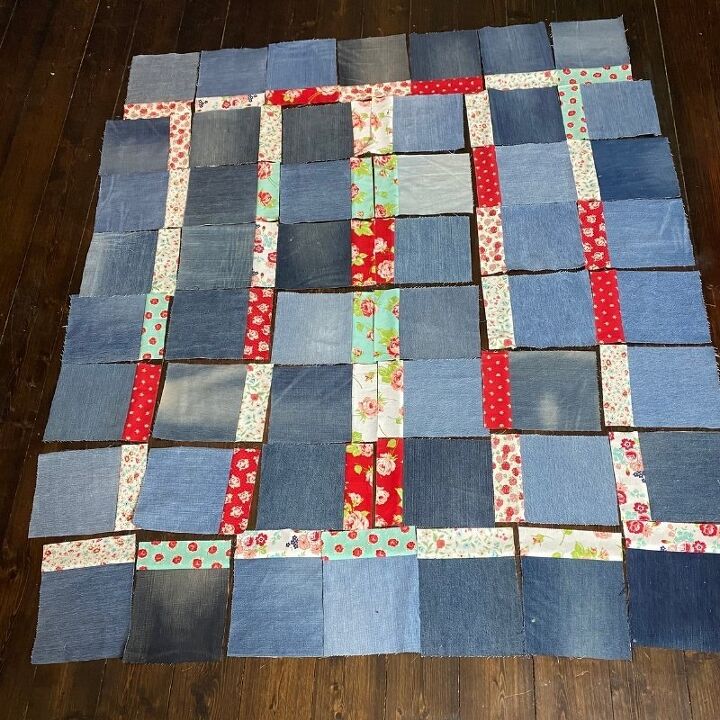
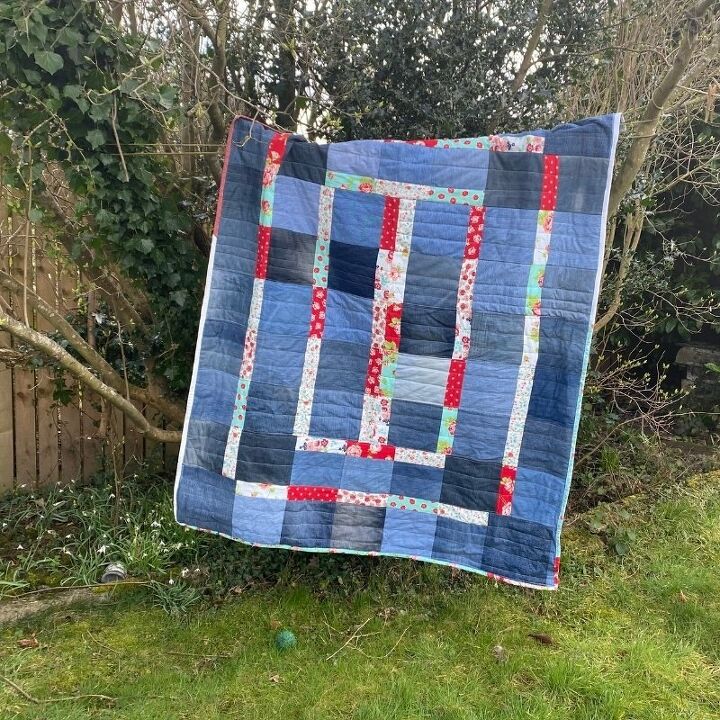
I could have gone super simple and just sewed them in rows with the strips all facing once direction but I ended up liking how it looked when I laid them out to create a double line of colour through the middle and two rectangles of colour outside that.
That layout left me with some empty spots however where I needed to fill in some more denim.
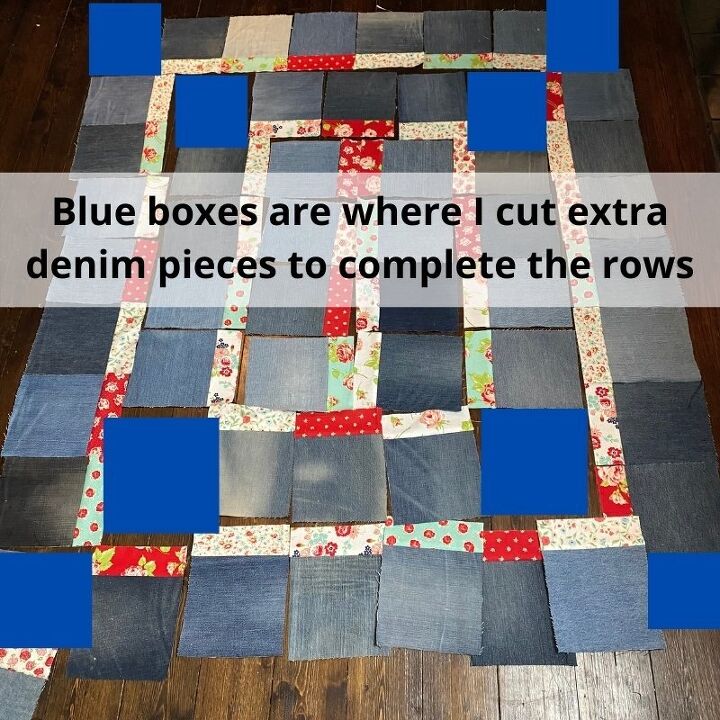
Step 3: Sewing Rows & Filling Gaps
I sewed my rows together as per the layout I had decided on but stopped where I was missing a square of plain denim to fill up the gaps.
I laid out all my rows and part rows and then measured the gaps.
I added a 1/4 seam all around and cut out the pieces of denim I needed to fill it in.
Then I added that on to my rows in the appropriate spots.
My coloured strip rectangles didn’t quite join up but they were close enough so I decided not to stress over it and just get it finished!
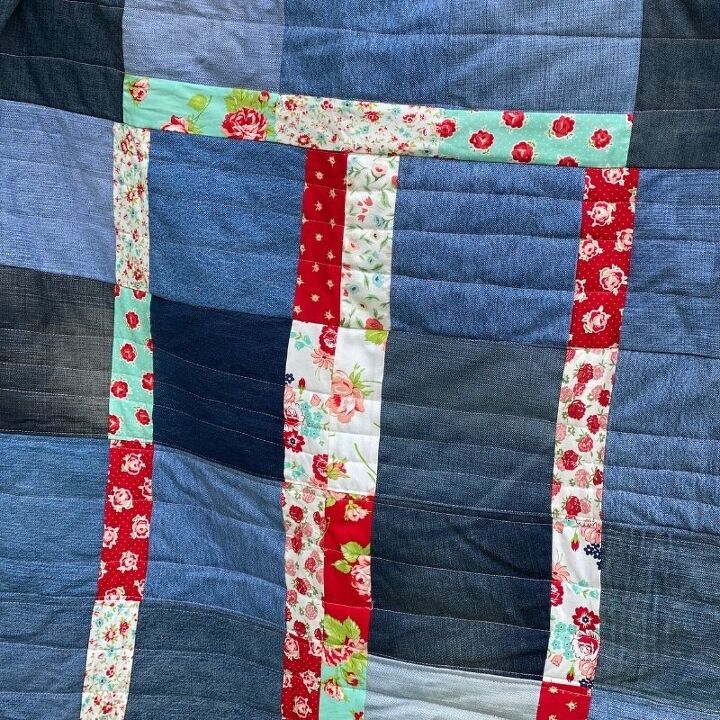
Step 4: Quilting
I used my walking foot and a denim needle and quilted straight horizontal lines across my quilt.
I purposely made the distance between them random so some gaps are bigger than others.
This meant I didn’t need to stress about it and the quilting got done super quick!
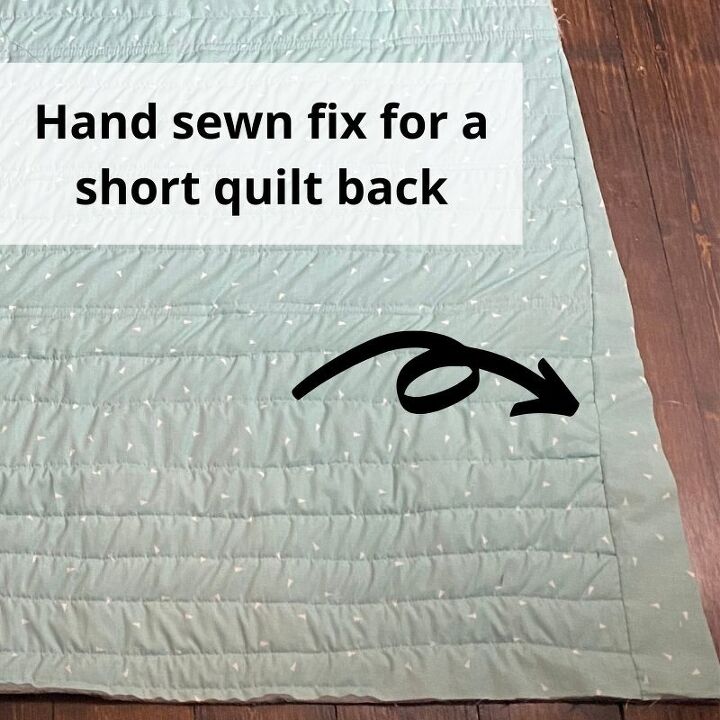
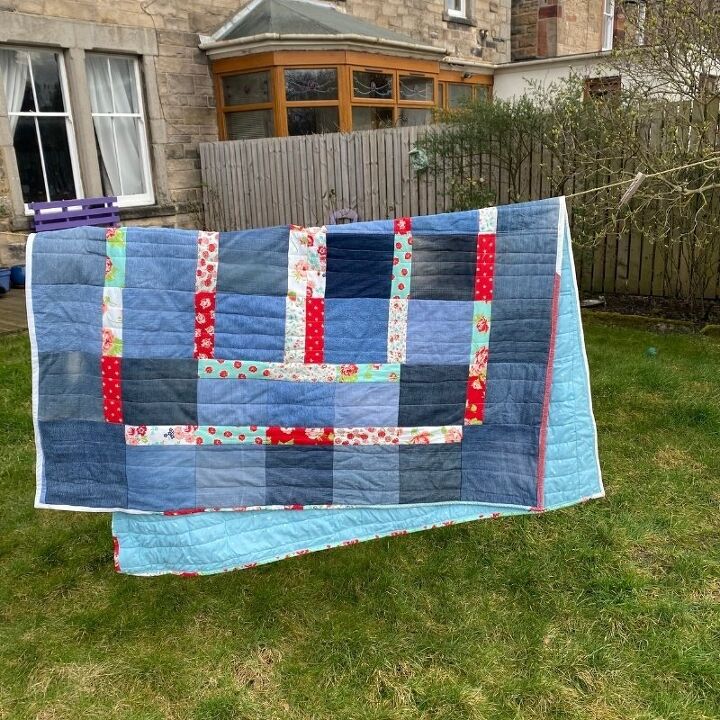
Step 5: Fix for a short Quilt Back
I know the rule about making sure your quilt back is larger than your quilt top and batting because of the shrinkage that happens when you quilt.
BUT….I had this old duvet cover that was just the right colour and nearly the right size for the back of this quilt so I decided to chance it!
It ended up being too short on one side down about half of the quilt. Not by much but enough.
I had a couple of choices – one to cut off that whole side of the quilt which would have made the design on the front lopsided or focus on fixing the back.
In the end I used the offcuts of the backing from the top of the quilt and hand sewed it down to cover the exposed batting. This was done after the quilting and before the binding.
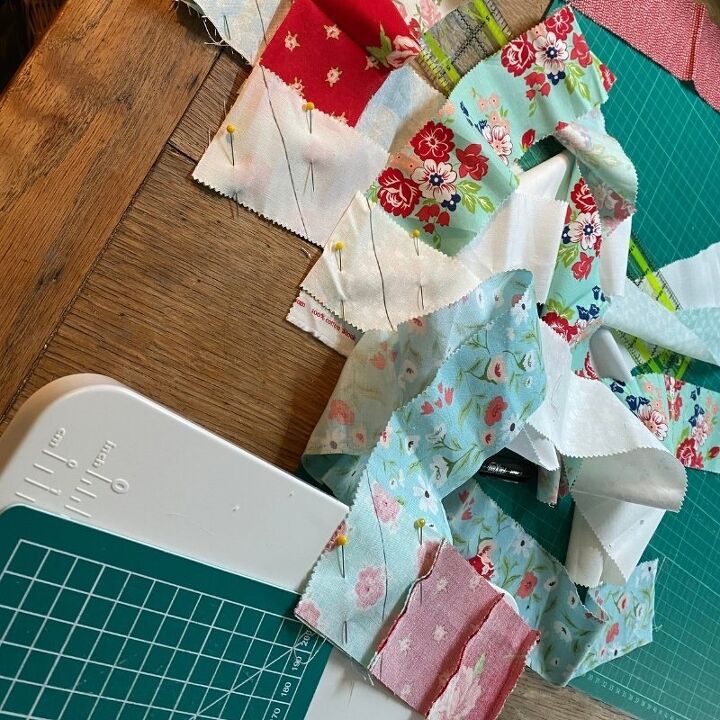
Step 6: Scrappy Binding
Next I laid out some more coordinating moda scrap bag strips around the edge of my finished quilt. I also joined the offcuts from the strips I’d used previously so I was using up every last scrap in the binding.
I lay them out like this to see how the colours will go and to get a rough idea how many strips I will need for my binding.
It’s always a good idea to add an extra strip at the end just in case you are short.
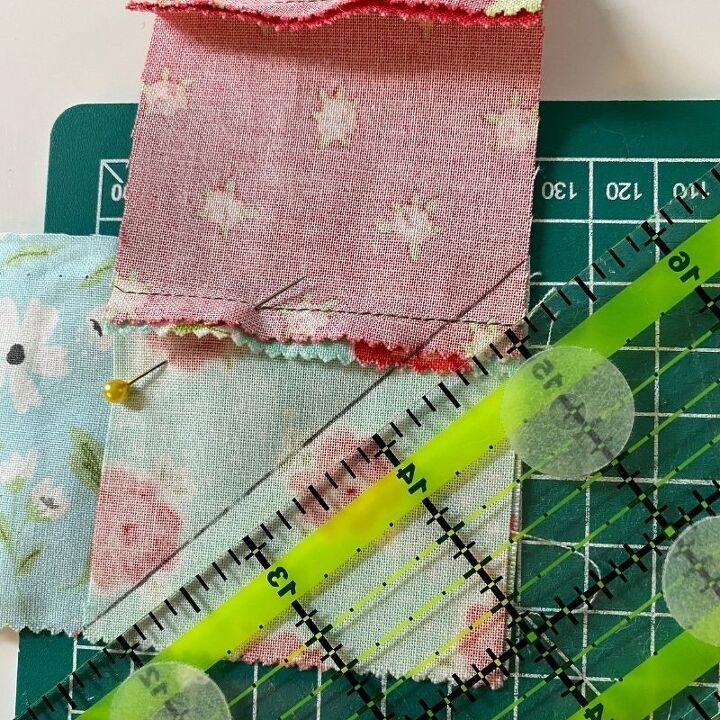
I joined my strips as you would any binding strips at right angles from corner to corner.
I alternated strips by colour. I was trying to get a good contrast of lighter strips beside medium/darker strips.

I chain pieced them to get it done quicker.
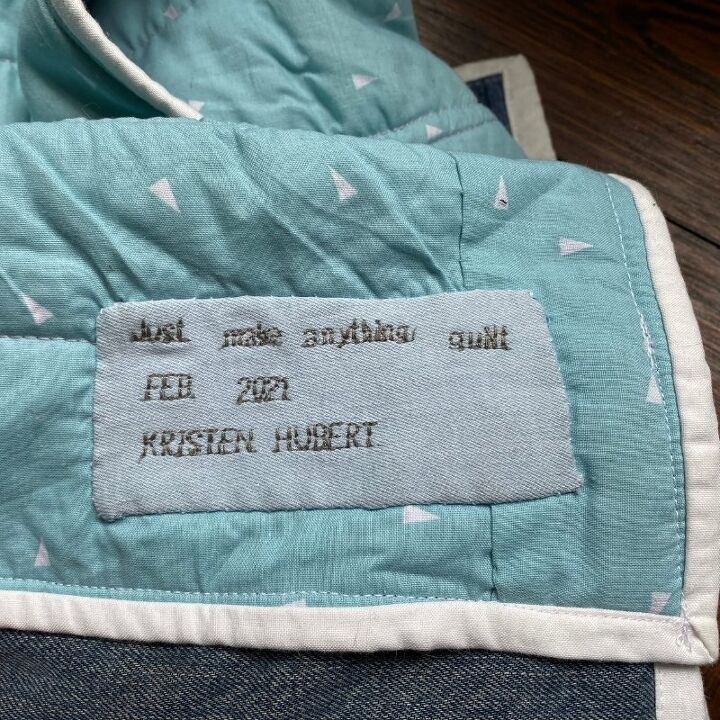
Step 7: Adding a Label
I added a label using a leftover bit of denim and the embroidery lettering on my sewing machine. I called it the ‘Just make anything quilt’.
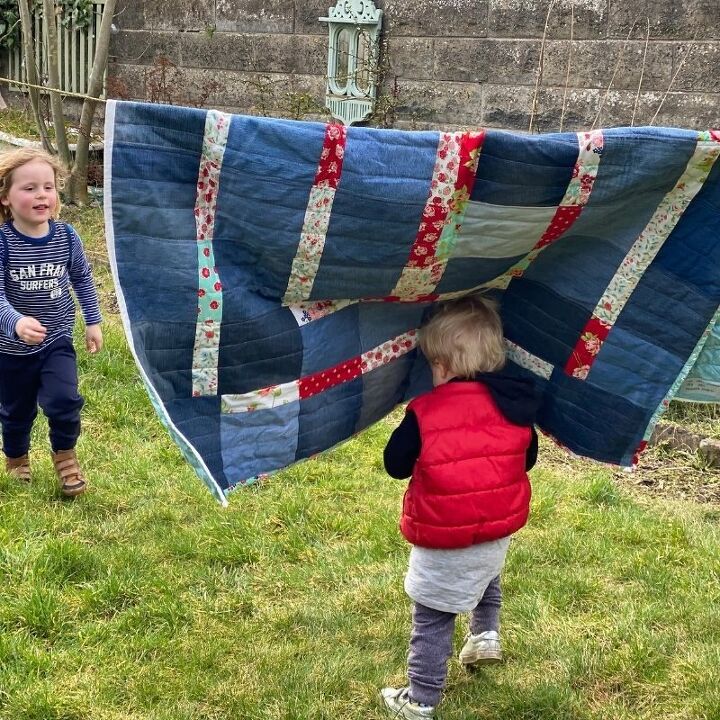
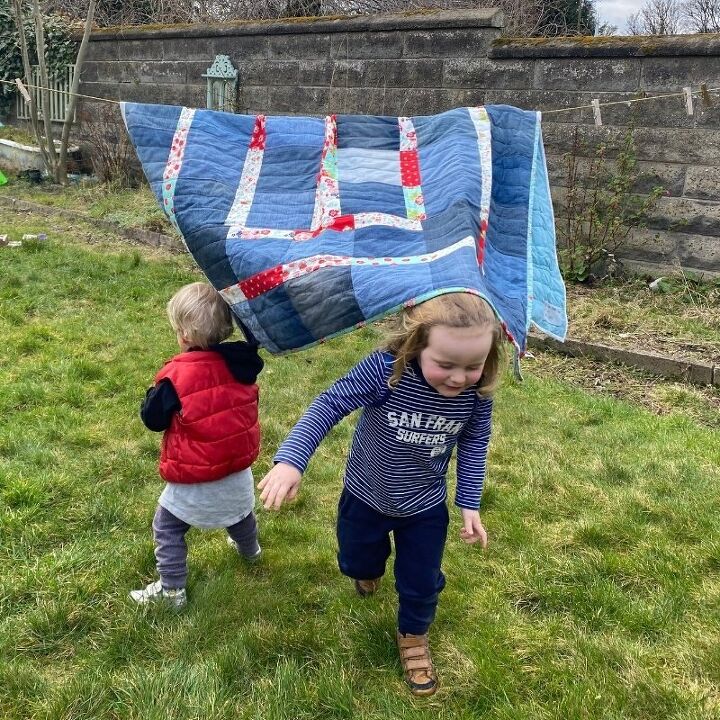
Finished: Quick Denim Quilt – Sewing Slump Over!
Lastly I washed it with two colour catchers and put it out to dry!
Now we are all loving cuddling up with it on the sofa. I love the weight of a denim quilt!
The finished bound quilt is 51″ x 61″ – so not a standard size but we use our quilts mostly as throw quilts/cuddle quilts not to fit on a standard bed size.

Resources for this project:
See all materials


Comments
Join the conversation
-
I'm a long-time quilter, and you did a great job!! Now i know what to do with all of my hubs old Levi's!! Thanks for the idea!
-
Just can’t beat denim for just about everything. Your interpretation is so cozy looking. Thanks for sharing


Frequently asked questions
Have a question about this project?