


Tic Tac Toe Board Makeover – Farmhouse Style
My 17-year-old son came home from school and headed to the garbage can…..he was going to throw away this tic tac toe board project he had made in woodworking class. The DIY’er & mom in me could not allow him to do that!!
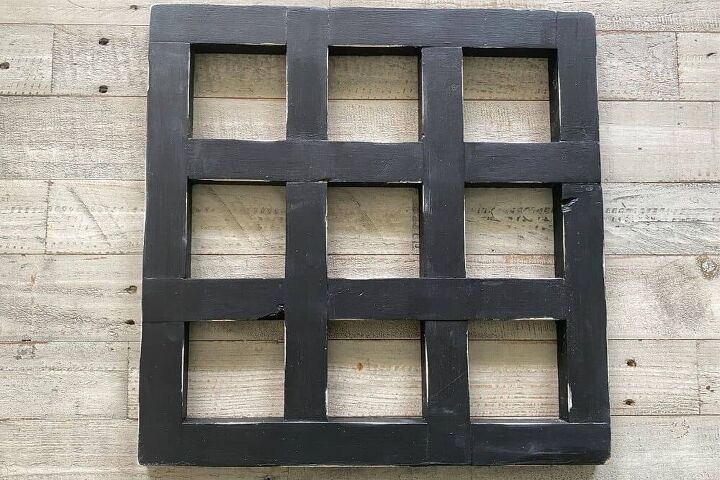
Here’s what it looked like. Not bad, huh?
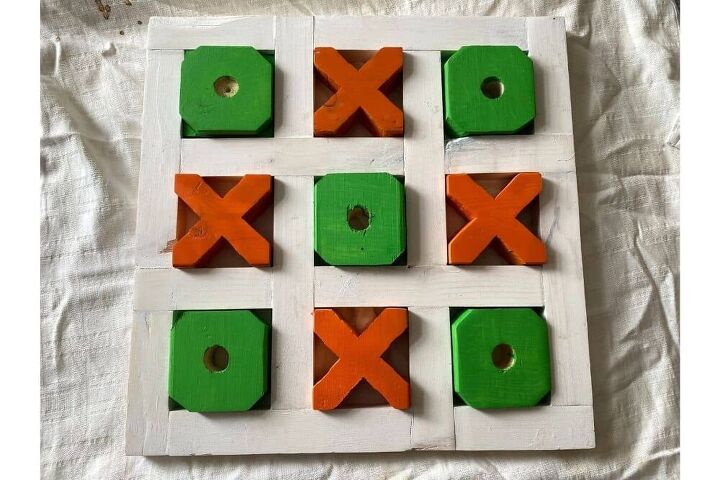
I was so proud of him! Just like a typical teenager, he didn’t care. The project was done he was graded and he had moved on….lol.
I however didn’t want it to get thrown away. Since he didn’t care, I set out to find a way to keep it but have it match my decor a bit more. (sorry green and orange don’t quite go with my decor!)
This post may contain affiliate links, which means I’ll receive a commission if you purchase through my links, at no extra cost to you. Please read full disclosure for more information.
TIC TAC TOE BOARD MAKEOVER
I’ve always wanted a tic tac toe set for the coffee table. In fact, I almost just bought this one last week! Here’s how I updated my son’s handiwork to blend in with my decor.
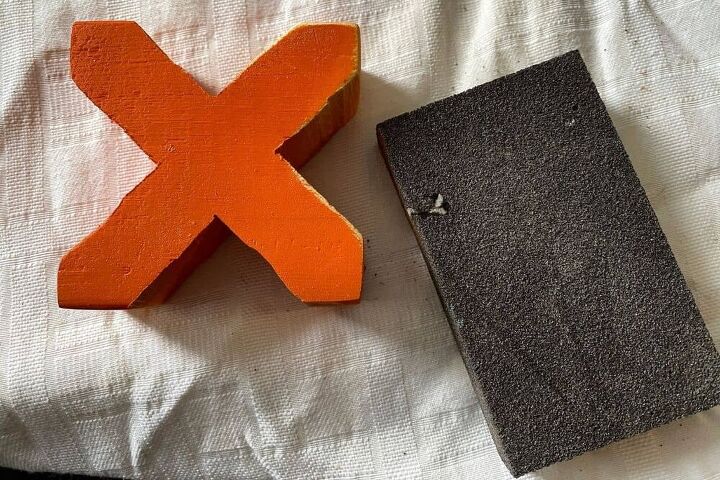
STEP 1 – Sand
The first thing I did was to give the wooden pieces a good sanding. I was able to do a lot of it by hand, but I did need to pull out the sander for a few sections.
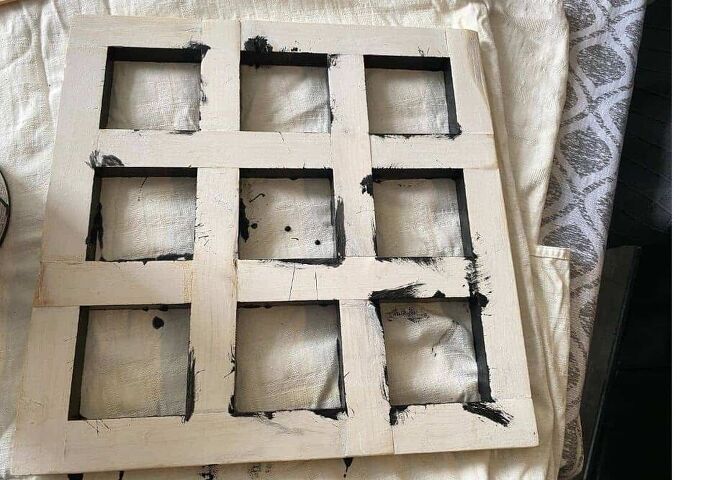
Step 2 – Paint Tic Tac Toe Board
Next, I decided to paint the board black. I made sure to get the inside edges first and then do around the outsides.
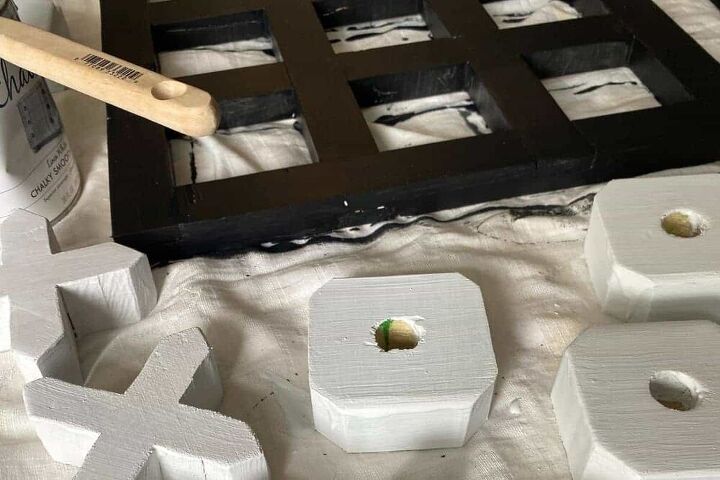
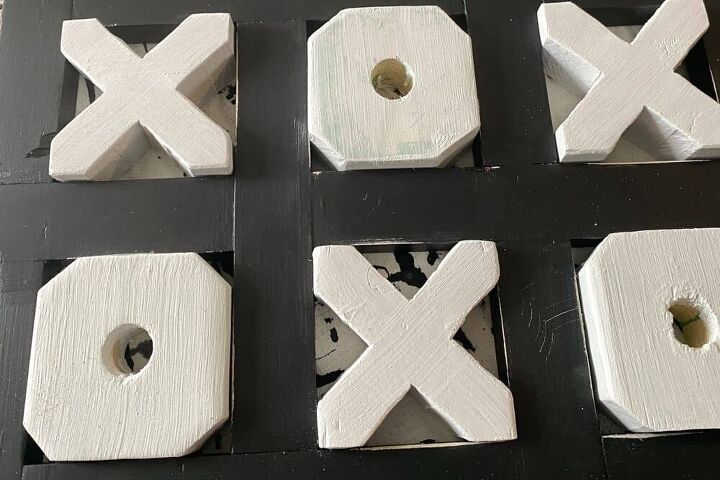
Step 3 – Paint Wooden X’s & O’s
I had some white chalk paint laying around, so I used it! It took a few coats to cover up the orange and green but it went fairly quick.
Step 4- Change your mind
I was not loving how it looked with just the black and white. My house is mostly farmhouse style, but it just wasn’t working for me.
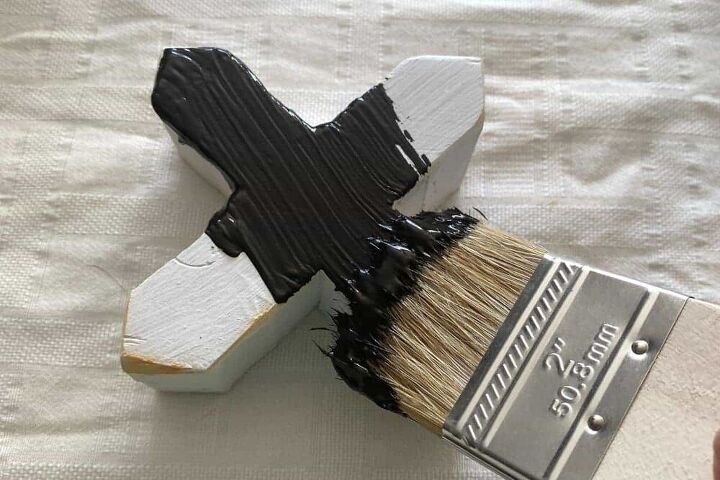
I wished I had sanded down the wooden X’s completely and went with a stain. Can you stain over paint? I was about to find out….
Step 5 – Stain Over Paint
What could it hurt to try? I grabbed some Kona Stain I had leftover and gave it a try, what’s the worst that could happen?
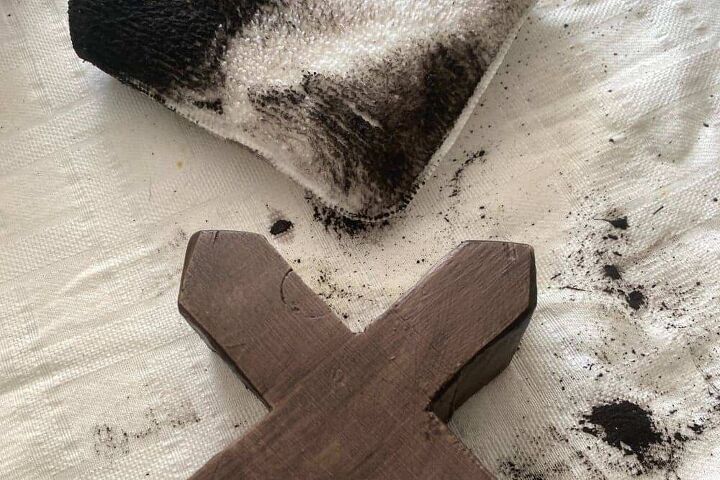
I was pleasantly surprised that the stain took great! Also, it only took one coat! This was already looking so much better.
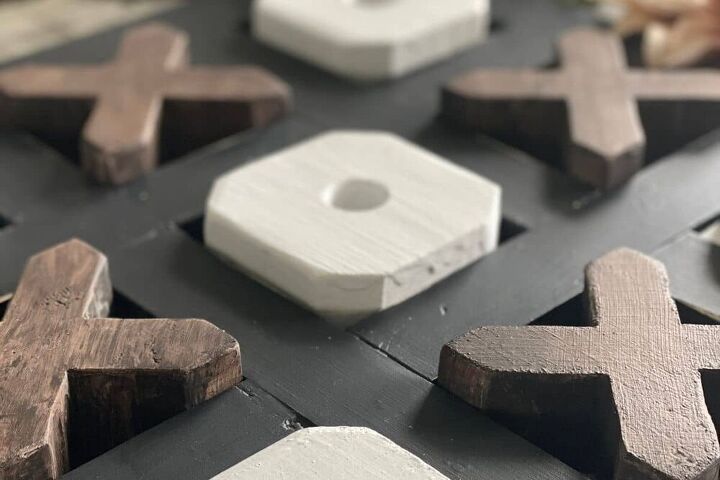
Step 6 – Sand a bit more
I took some sandpaper and just went back over everything to smooth out any bumps from the paint and stain.
Step 7 – Distress Black Tic Tac Toe Board
The black tic tac toe board was too clean for my taste. I wanted to give it more of a rustic farmhouse vibe.
So I took some sandpaper and just roughed up the edges here and there to distress it. It looks so much better now!

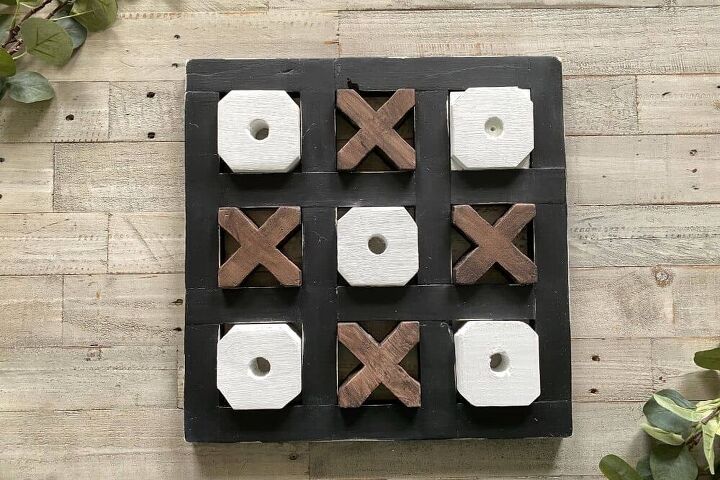
Step 8 – Add X’s & O’s and start playing
After everything had dried, it was time to put the pieces back in and enjoy! I love the way it turned out, but even more I love that my son made it. This will be enjoyed for years to come.
Head over to the blog to see the complete plans on how he made it in case you want to give it a try!
How do you think it turned out?! I’m all about decorating on a budget so this fits right in with my style 🙂

Comments
Join the conversation
-
worth keeping :-) he did a nice job!


Frequently asked questions
Have a question about this project?