


A DIY to Create Beautiful French Botanical Books- Wm Design House
A DIY TUTORIAL TO CREATE THESE LOVELY BOTANICAL BOOKS FOR YOUR SHELVES
I have a real love for books, not only do I love to read, but I love to decorate with books. They can add so much to a space. You can use books to create a visually pleasing display or use the books as a conversation piece, the possibilities are truly endless.
In this tutorial I teach you how to create a lovely stack of vintage looking botanical books.
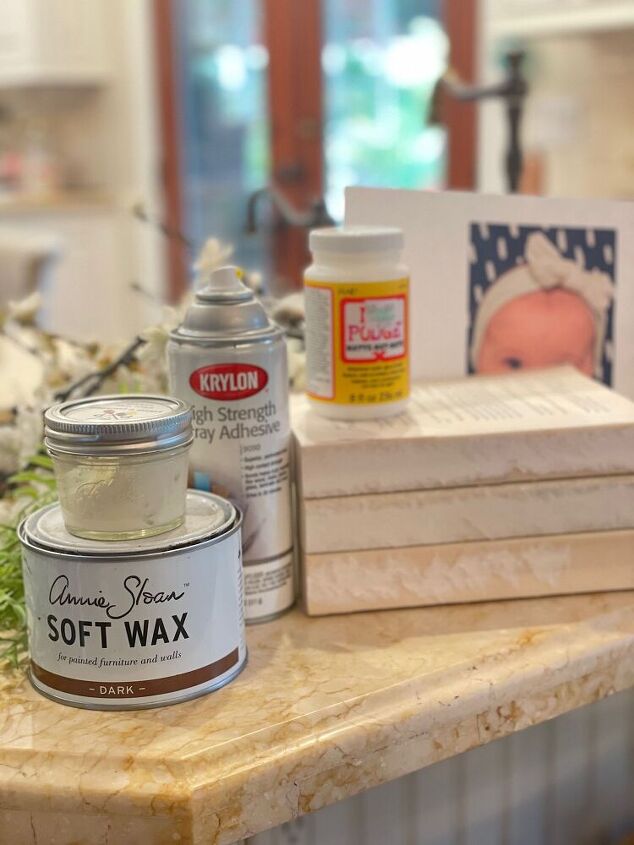
You will need the following supplies for this craft:
- A stack of paper back book ( 3-4) the same size
- Images printed on a laser printer
- Mod Podge
- Spray Adhesive
- Dark Wax
- Clear Wax
- Chip Brush
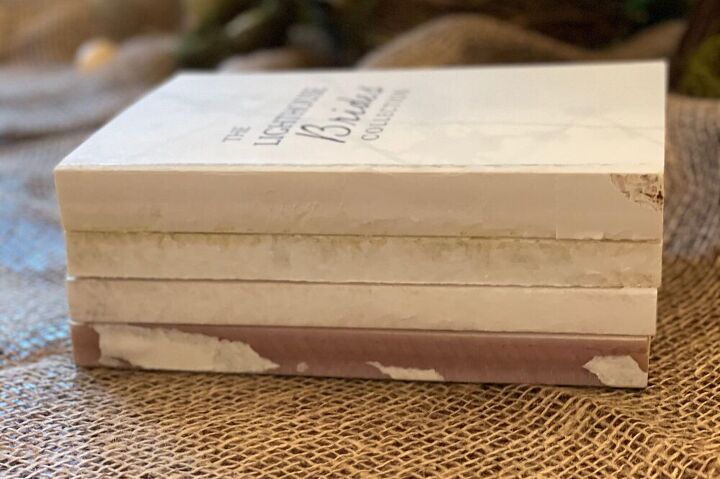
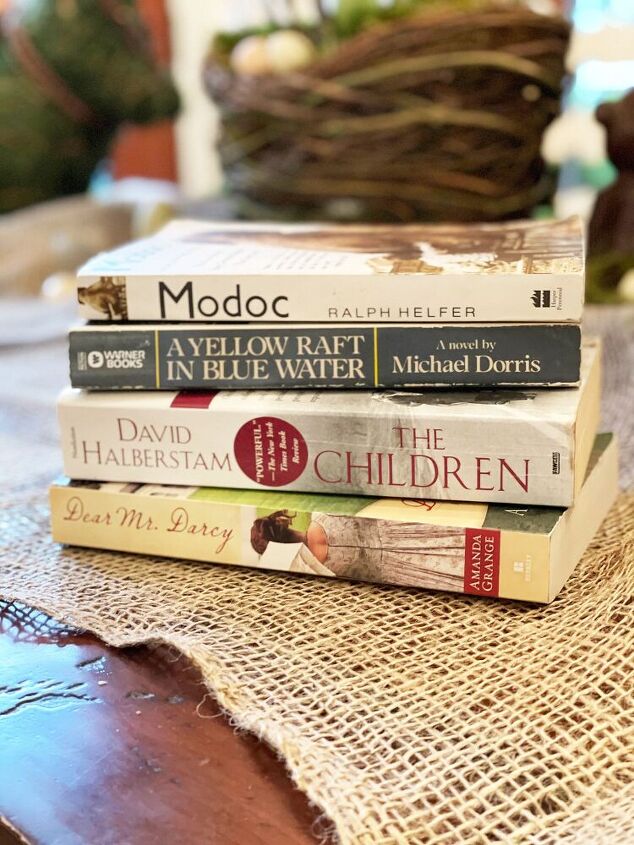
Start with a stack of three to four books that are approx. the same size and willfit your image you want to use. Tear off the covers.
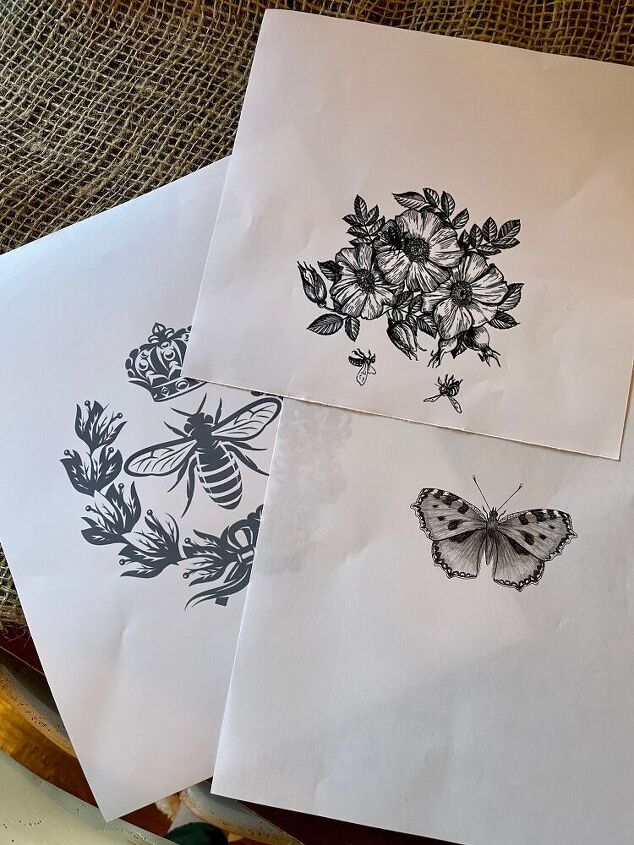
Print an image you would like to adhere to the binding of your books for display. (You want to use a laser printer so the ink does not bleed) Adjust the size of the image to the size of your books before printing.
I chose to use a french botanical theme with insects and a rabbit, I even put my sweet granddaughter on one stack.
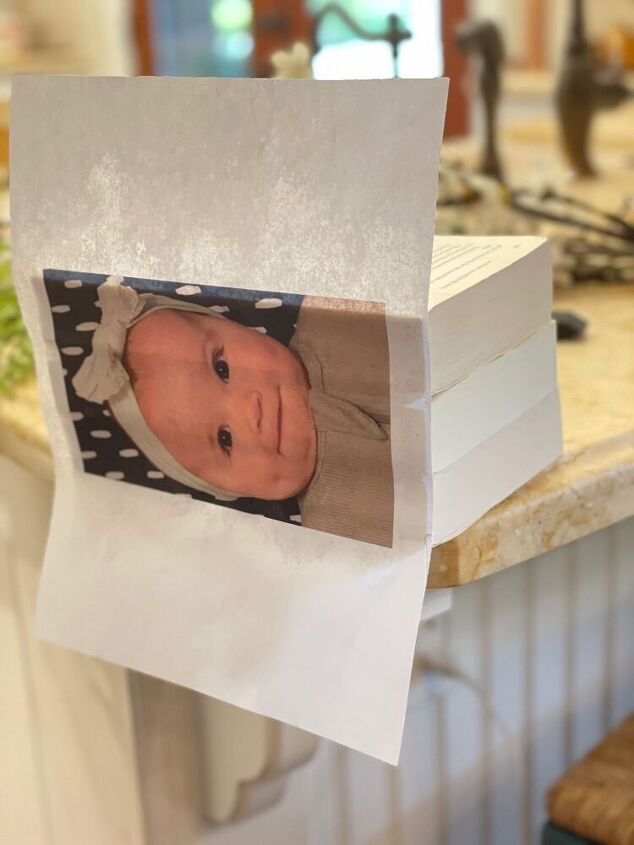
I used a glue gun to attach the books together, then spray glued the image onto the binding of the books.Let this dry for about 30 min.
Do not hot glue the image onto the binding of the books, only spray glue.
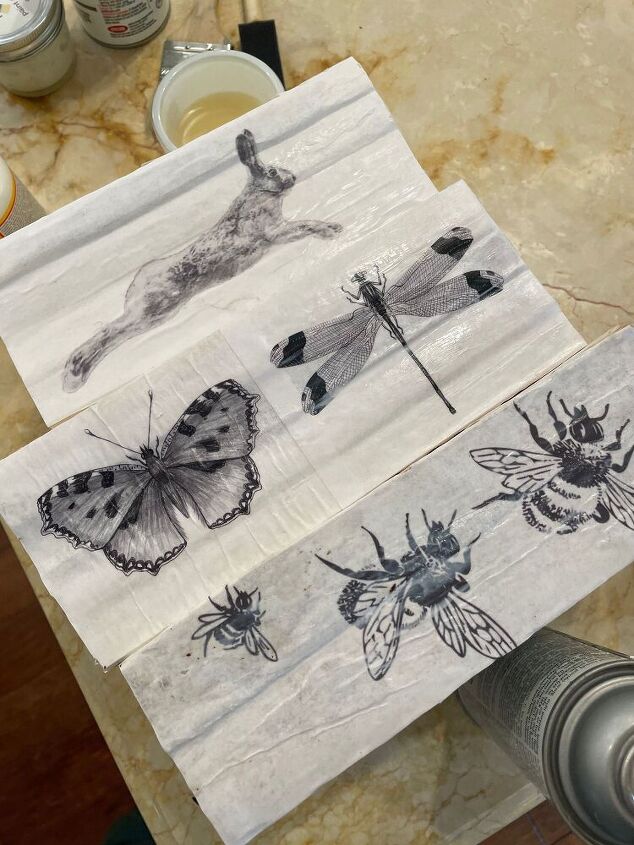
Then modge podge over the image, let this dry for a few hours.
You may see you can get a few bubbles, just rub them with your fingers, I find when the books are finally dry, the bubbles mostly go away. ( you can trim the excess paper on both ends after it dries).
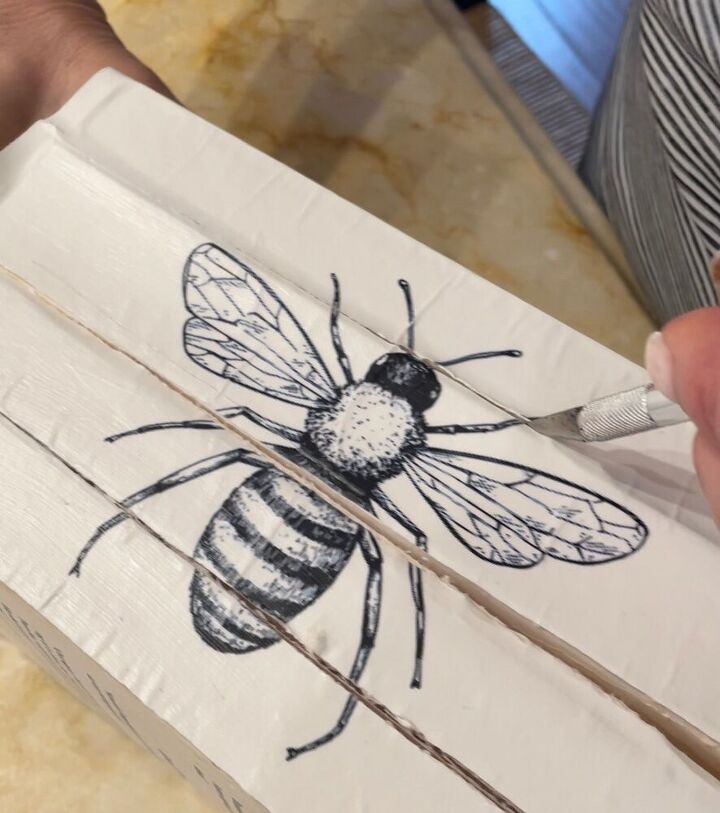
Using a very shape Exacto knife, cut in between each book. Push the edges of the paper into the creases of the books and add another layer of modge podge.
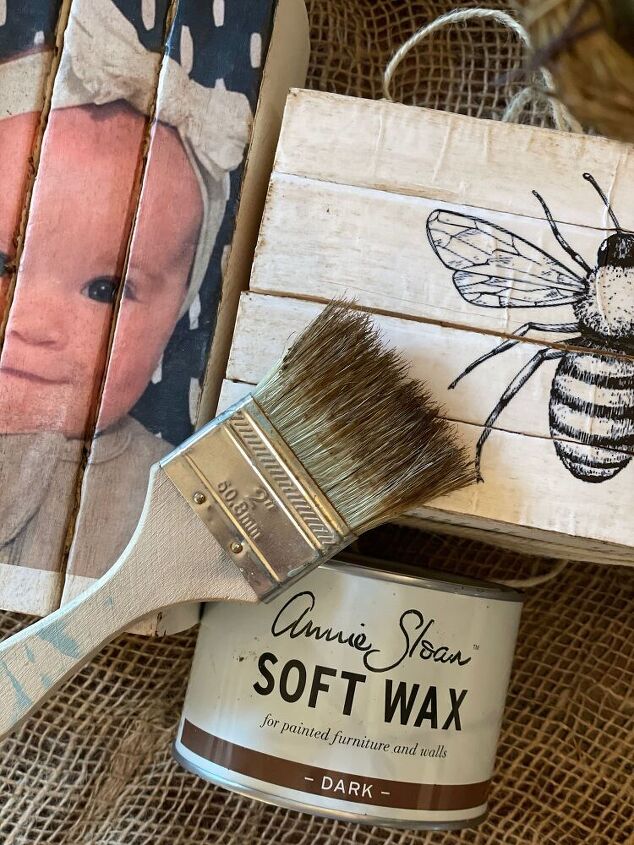
Using Annie Sloan dark wax, brush a light coat onto the books edge and rub off any excess or unwanted wax with a soft rag. This will dry overnight. If they are too dark, you can also add some clear wax to the dark wax for a lighter look. You also can take clear wax on a rag to remove some of the dark wax if you get too much. Start with a little and work your way up.
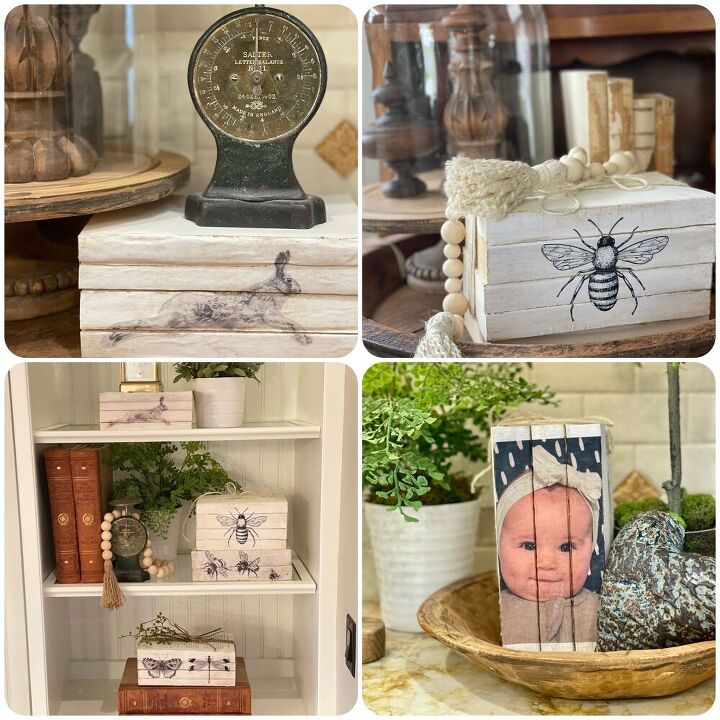
Lastly I wrapped the books with twine and added a few branches with greenery for decor on the top of a few. Use your creativity when decorating your books to make them fit into your home decor.
Resources for this project:
See all materials


Comments
Join the conversation
-
Great idea.
-
Adorable! Another possible use? Have them stand upright to use for knives to be inserted.


Frequently asked questions
Have a question about this project?
Couldn't you use blocks of wood instead of books and just copy your image?
If you have an ink jet printer instead of a laser one, would it work to seal your image with the mod podge before you glue it to keep it from running?
Hi,
There is a translation into Spanish only. What about french please ?
Thank You,
Rose