


Budget Built-in

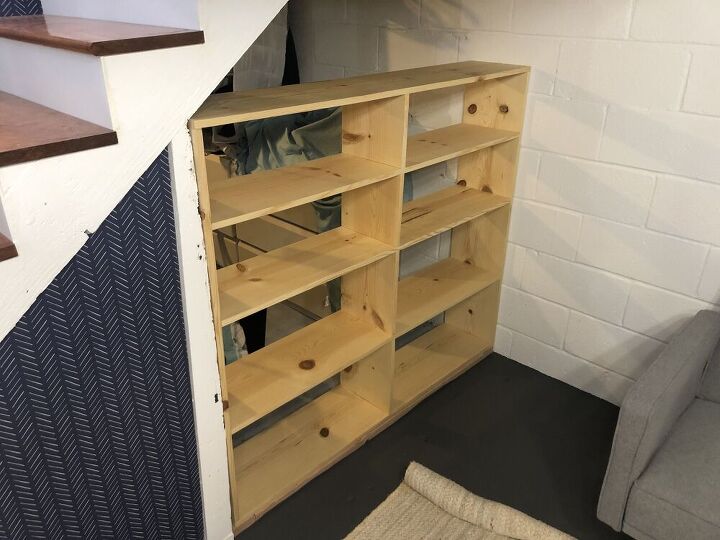
We've spent some time working on a very budget-friendly basement makeover. I'm talking paint and a few upgrades. No carpet or wood floors, no drywall, just making a useable space with a few fun additions. One of those additions was making use of the "wasted" space under the steps by building a built-in bookshelf.
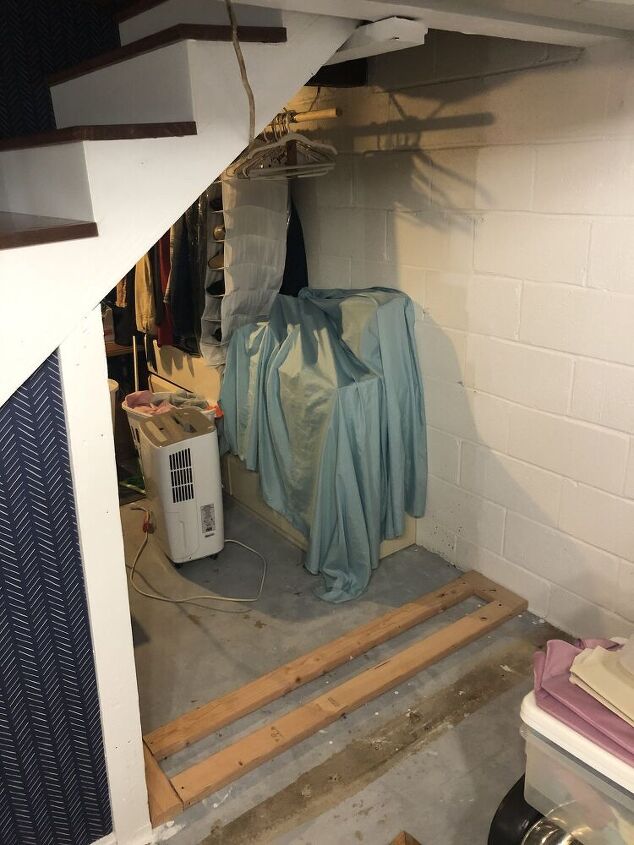
The first thing I did was build a base for the shelf with 2x4s on the cement floor. I used cement nails to anchor the base. It was the first time I'd used them. It wasn't great, but they did enough to anchor the base down. This photo also gives you a good look at the area we're fitting the shelf into.
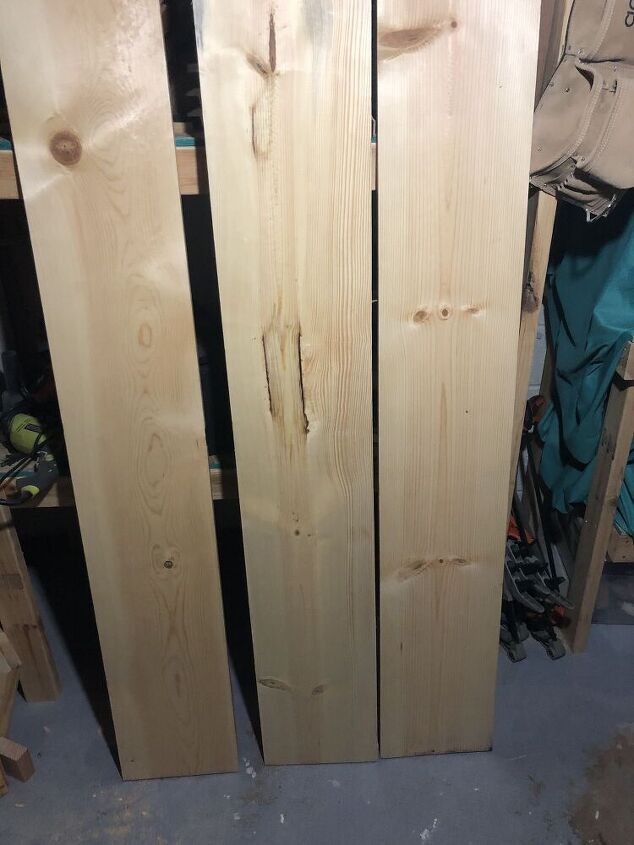
I used basic, cheap, pine 1x12s for the shelf. We're talking the cheap stuff with knots included. You could elevate a simple shelf like this easily by using oak, but we wanted to keep the budget down and also liked the light color.
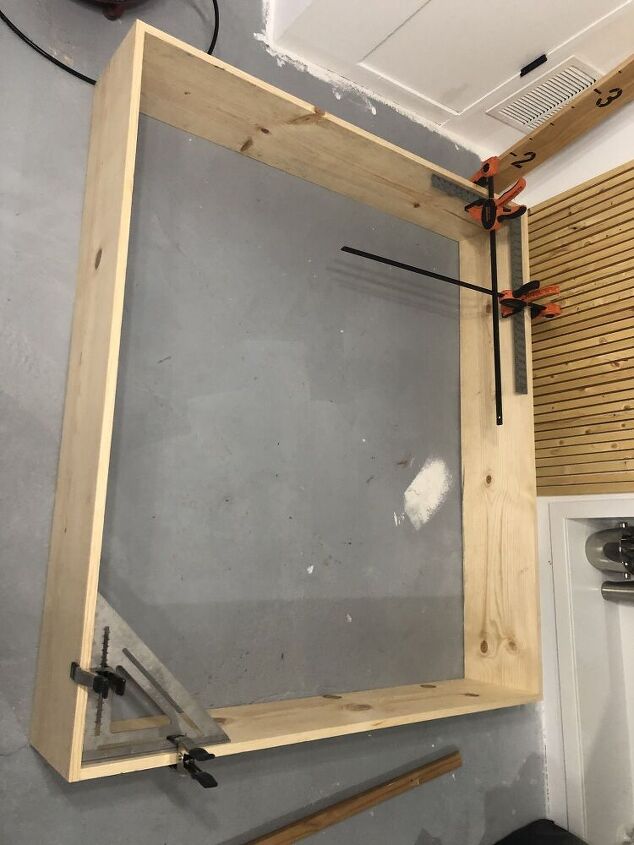
I started by making a square box the size of the bottom area of the shelf. I decided I'd worry about the angles on the top half later.
Because no one will be seeing the outside of the shelf, I used a nail gun and wood glue to secure the shelves and didn't worry about filling nail holes.
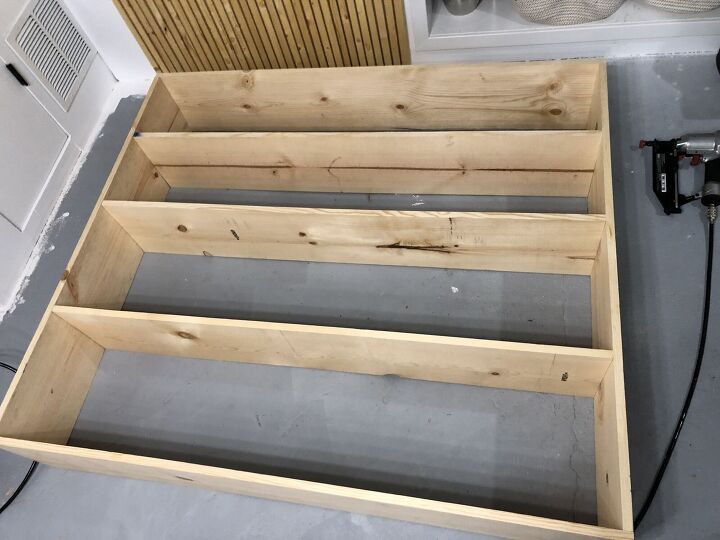
I used pocket holes and wood glue to secure the center supports between each shelf. We determined the shelf height based specifically on what we wanted to use this shelf for. The bottom two shelves were 15" apart (to store baskets bull of kids toys) and then we just split the difference for the top shelf. I used Danish Oil to treat the entire shelf before putting it in place. We liked the light color, so just wanted a little protection that wouldn't change the look.
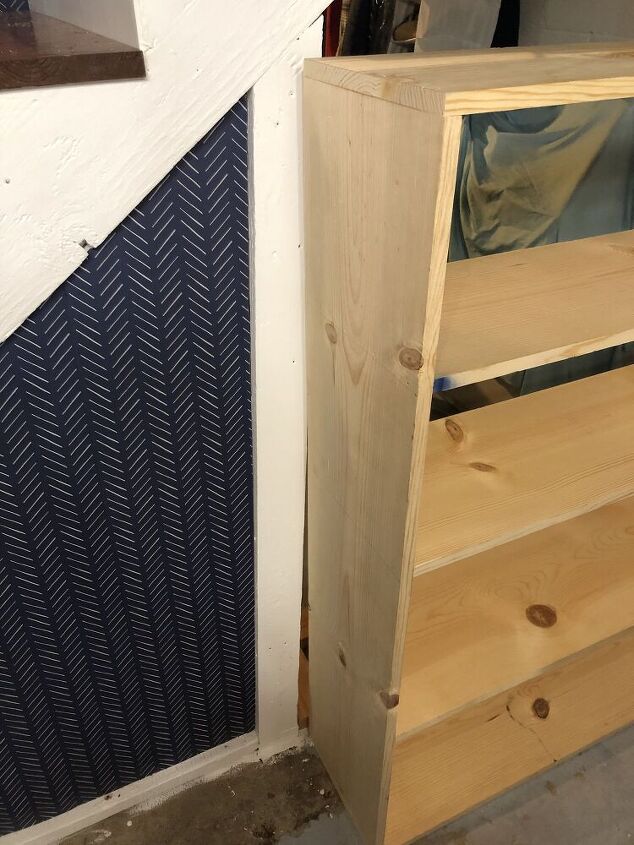
I also learned the hard way (again!) about making assumptions when building something for an old house. The stair support wasn't even close to plum/square, so I had to trim and reposition it - which was the least fun part of this project.
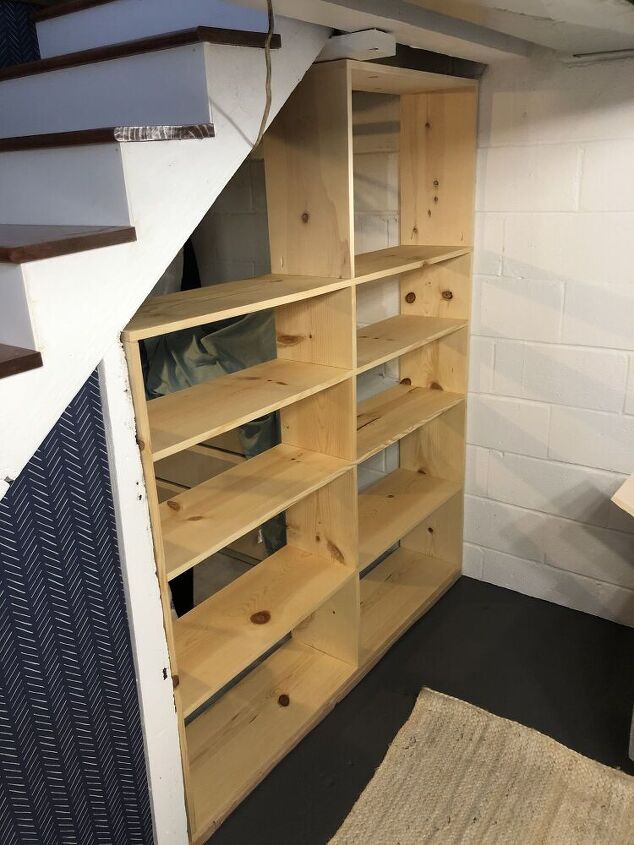
Next, I began building the top section of the shelf right in place. I started with the upper right square portion. First, I build the two sides and top piece and secured it together with nails and wood glue. Then, I used pocket holes to secure what was essentially that upside-down U-shaped piece to the larger shelf. Then, I added one more shelf into that area and secured it with pocket holes. I added a final angled top piece (not pictured) to complete the angled section. This was the toughest part of the build. I'd like to say I had a great plan and cut the angles precisely, but it ended up being a lot of trial and error.
I secured the entire built-in with two screws on the bottom that I drove into that 2x4 base and two screws into the wood beam above the shelf. Then, I used some white mouldings to case in the top, side and bottom of the shelf to finish it off from the front.
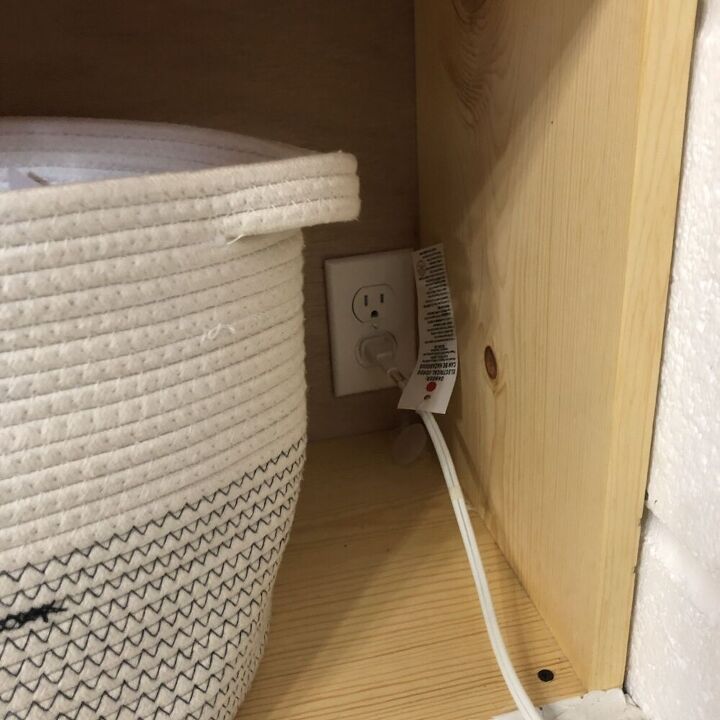
I used 1/8" plywood to cover the back of the shelf and secured it with a few panel nails. I also installed an outlet in the corner of the bottom shelf. There was already an outlet wired into this area, so I just bought a new box to mount it in a different place.
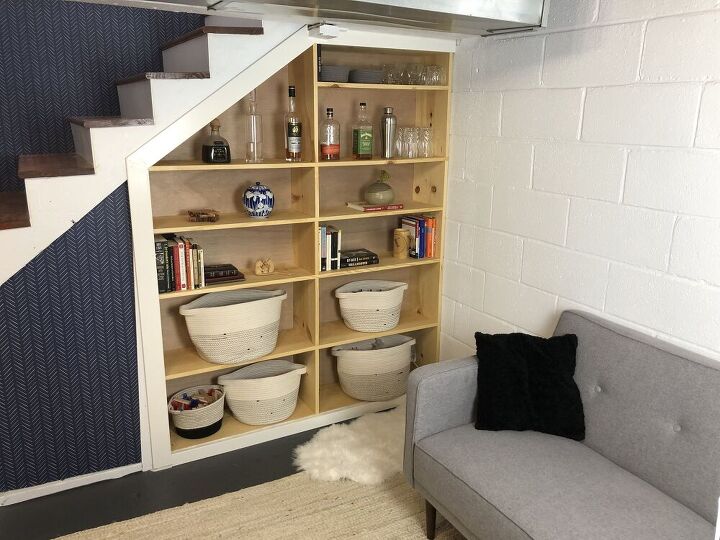
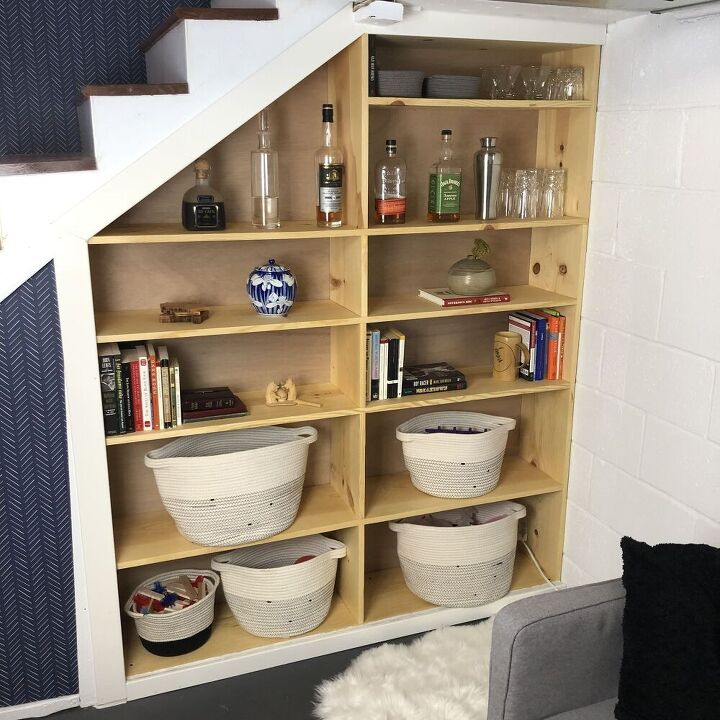
Here is the finished product! It's nothing too special or fancy, but it's been awesome to have some storage in what was previously mostly wasted space. It also makes a basement TV area with concrete floors and walls look a bit more finished and polished.

Follow me on Instagram at @woodyworking for more woodworking DIY or home improvement projects. Happy building!
Resources for this project:
See all materials


Comments
Join the conversation
-
Nice
-
Awesome idea!


Frequently asked questions
Have a question about this project?