


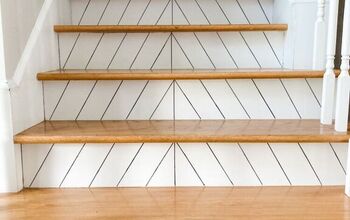
Sharpie Shiplap
Do you love the look of shiplap, but you don’t love the price? Maybe you don’t have access to all the tools to cut the wood boards and attach them to the walls. Well, I have a hack for you! And the tools are all easy to find, easy to buy and store.
First- you’ll want to gather your materials!
You’ll need:
•white paint (farmhouse white by Behr)
•primer (if the color you are covering is a medium or dark color)
•6” wide x 24” long clear quilt ruler
•black sharpie marker
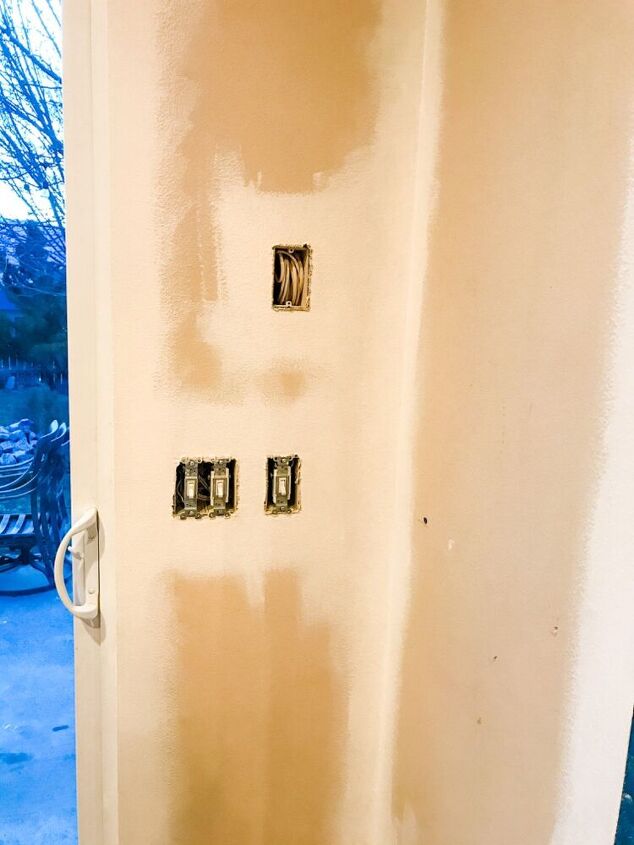
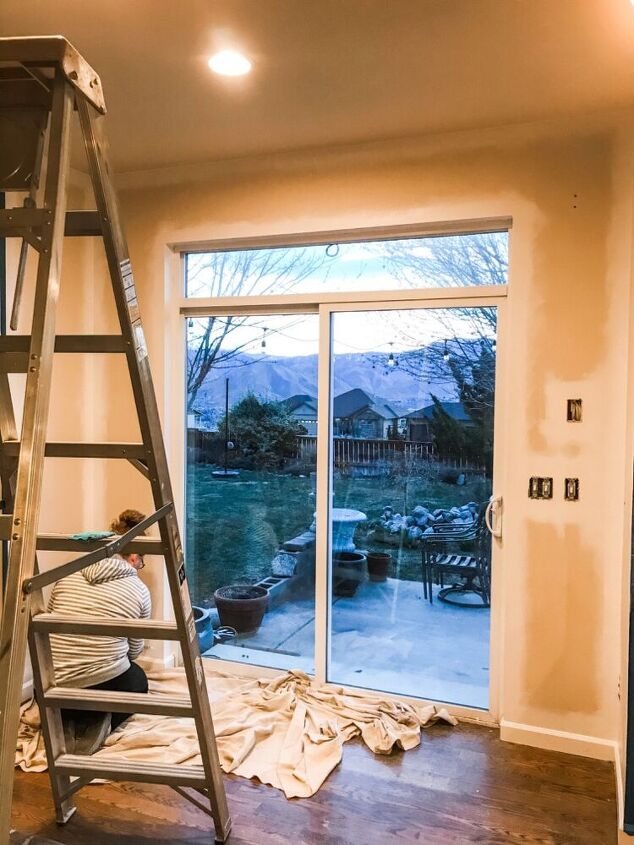
When painting my walls- I always remove the curtains, rods and hardware first. Then I remove all the light and outlet covers and wipe down the walls. Now I’m ready to “cut” the walls. Cutting is the painter’s term for painting all the edges and areas that cannot be easily rolled.
Prime first if you need too.
Then apply the paint. We used farmhouse white by Behr.
After you have primed, cut and rolled your walls, let the paint dry 24 to 48 hours or until the paint is no longer tacky and dry. You don’t want the paint to be soft, tacky or wet when you go to use the sharpie marker.
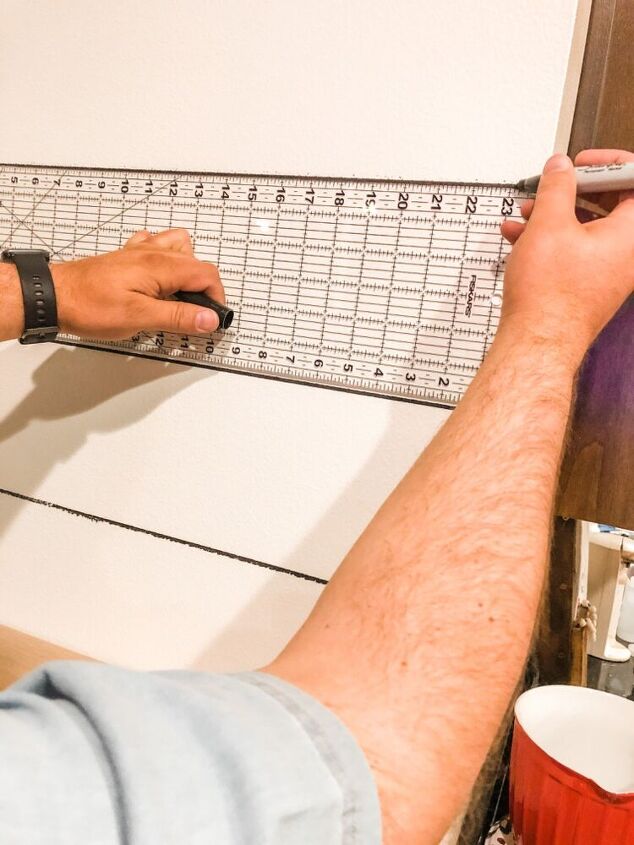
The next step is to take your 6”x24” quilter’s ruler and your black Sharpie marker to draw the lines on the wall. We started at the bottom of the wall and moved up row by row. Depending on on how tall your walls are, will depend on how many rows you’ll end up with.

Once you are finished with your lines; you’ll reattach your light and outlet cover plates, your curtain hardware and rods. Hang your curtains, shelves, pictures or signs. Style your space. And you’re finished. This was an easy way to add the shiplap look without huge price tag. With the rising prices of lumber- I found this was a practical hack for our small area.
One tip I have-
I think that this looks great on small surface walls. I haven’t tried it on a large or wide wall. I think it would be difficult (not impossible) to keep the lines level and from being wavy.
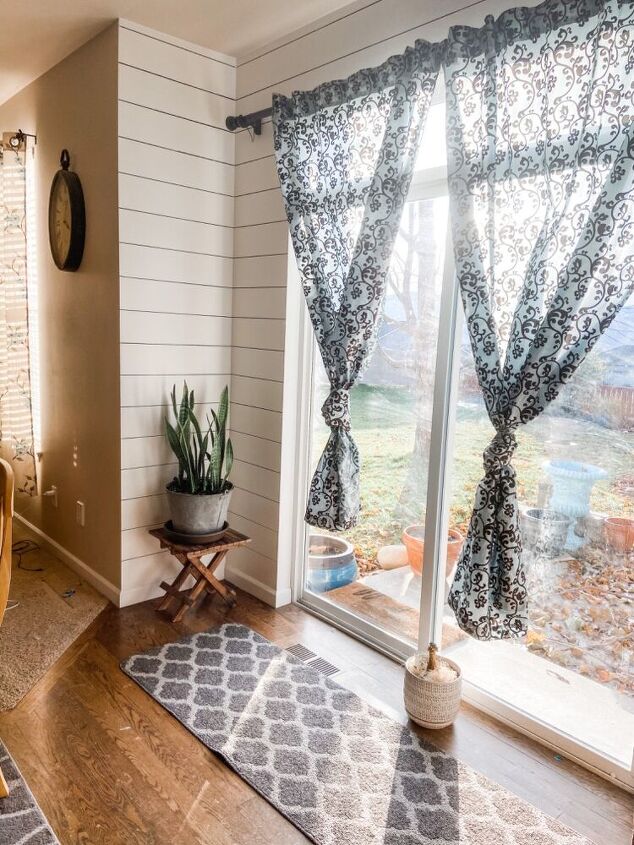
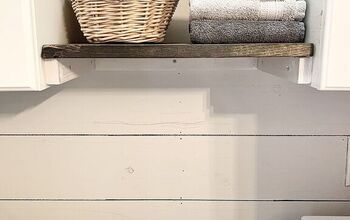
This little space has been given a face lift. It’s brightened our kitchen space a lot without breaking our bank. It’s added character and to me looks very similar to shiplap. I like to have accent walls throughout our house and I’m so happy with how it turned out.
Resources for this project:
See all materials


Comments
Join the conversation
-
Yes, I would
-
LOVE THIS


Frequently asked questions
Have a question about this project?
Where did you find the curtains?
The markers lines don't run?
I want to make a bookshelf under my tv hanging on the wall and maybe come up on either side of tv and fit my kitty cat clock in between a shelf all using palletwood. Any ideas?