


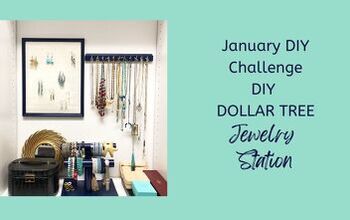
DIY Idea Fun Jewelry Earrings Organizer | Dollar Tree Diy
Good Morning!
Today I am sharing a fun new diy project! (Using a Grill Pan?)😆
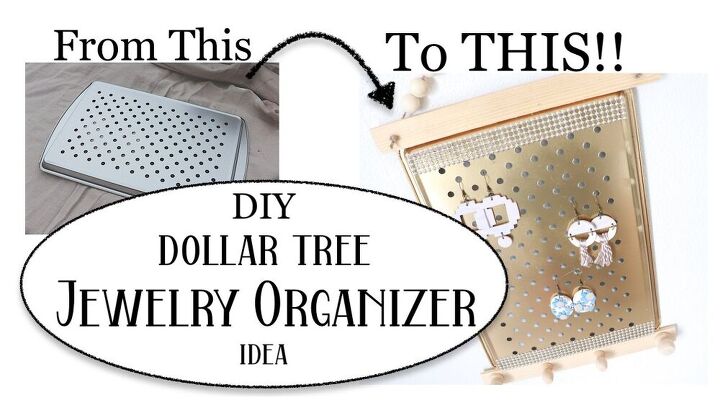
I took a grill pan from Dollar Tree and turned it into a fun jewelry organizer for my daughter, she has been making a lot of fun earrings lately and I thought it would be nice to come up with something that she could use to display and organize some of them.
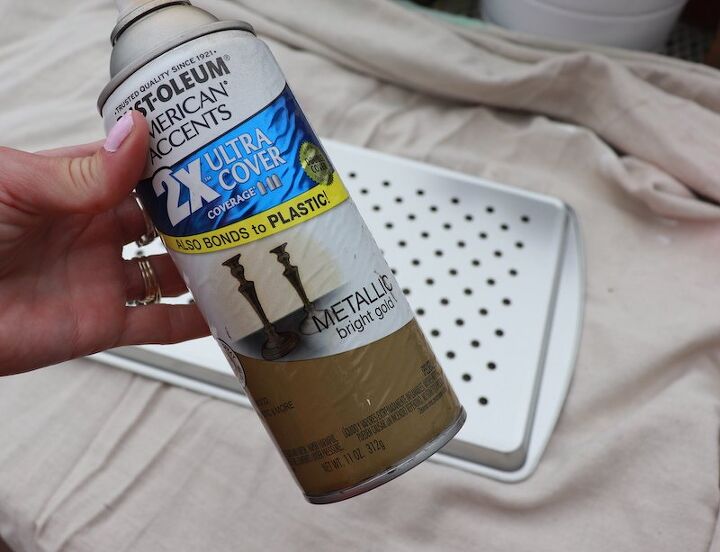
So I started by taking the grill pan outdoors and giving it a coat of spray paint.

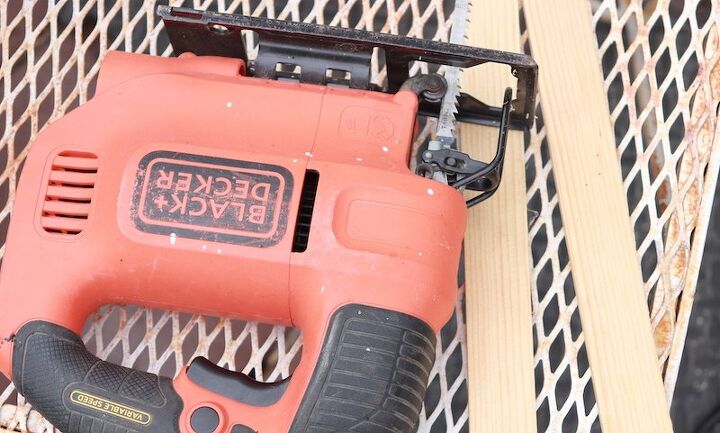
I knew I wanted some sort of frame so I ended up decided to place a wood strip on the top and bottom of the grill pan and found a piece of scrap wood in my wood pile.
It measures 1/4" x just over 1" (basically the same size as a wood yard stick which could be an option if you like this look and want to try to make something similar)
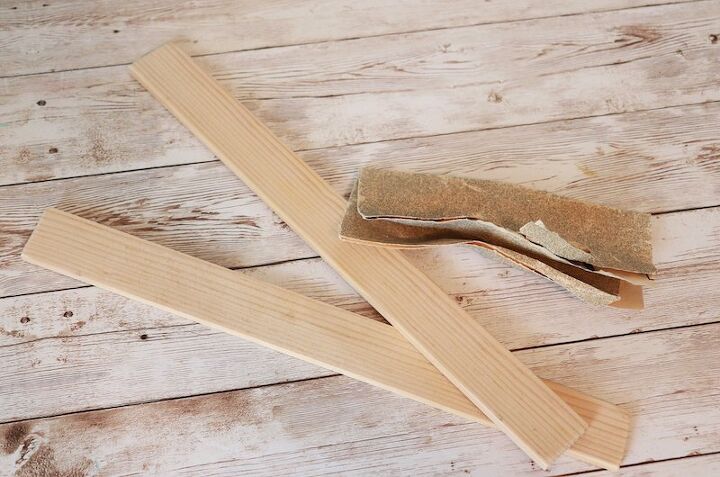
So I cut the wood down to the size I wanted, then used some sandpaper to smooth out the edges.
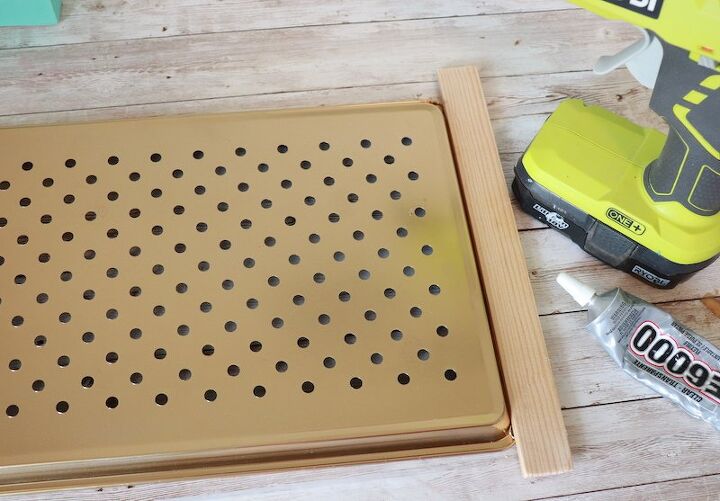
To attach the wood to the pan I used quite a bit of e6000 adhesive and some drops of hot glue.
The hot glue basically will help secure the wood into place while the e6000 which will be much more secure has a chance to cure/dry.
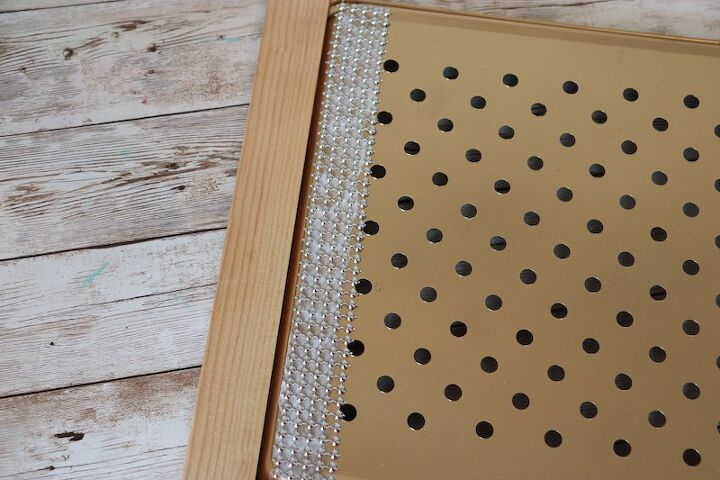
I wanted to dress it up a bit so I used some ribbon that I had purchased at dollar tree and tacky glue to attach it at the top and bottom of the pan.
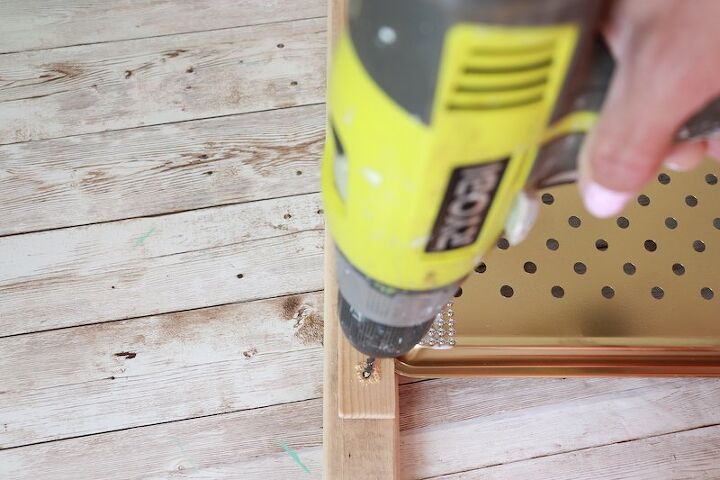
I also needed to add a way to hang the new organizer, so I used a 5/64" bit to drill 2 holes so that I can add some jute twine.
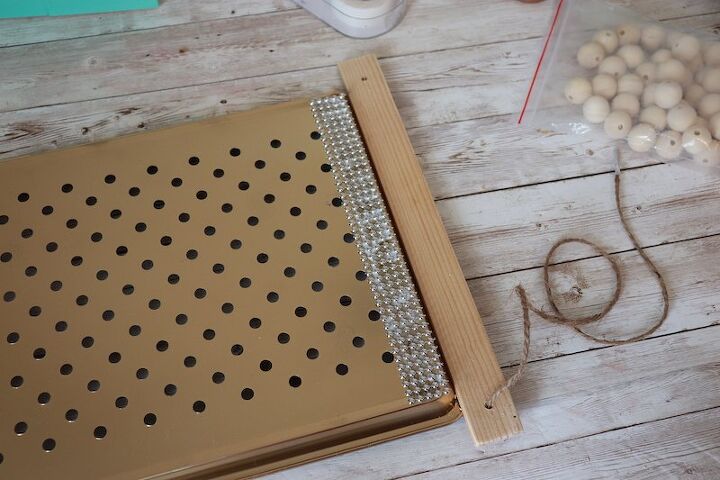
I strung the jute through one hole, then added a piece of scotch tape to the end so it would be easier to string on some wood beads.
I purchased the wood beads online and I will have them linked below if you'd like to check them out.
Then I added the beads that I wanted til I had the look that I liked and secured the jute through the other hole by tying a triple knot.
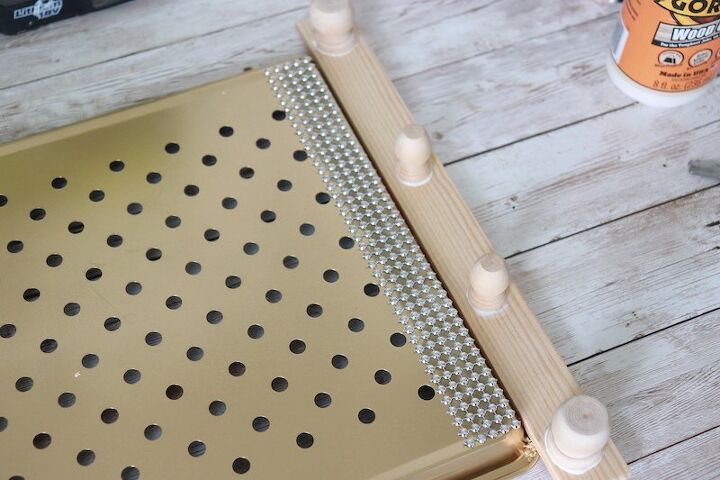
To add even more options I used some wood glue and wood caps and placed them along the bottom piece of wood.
I thought it dressed it up even more plus adds some options for hanging necklaces and bracelets.
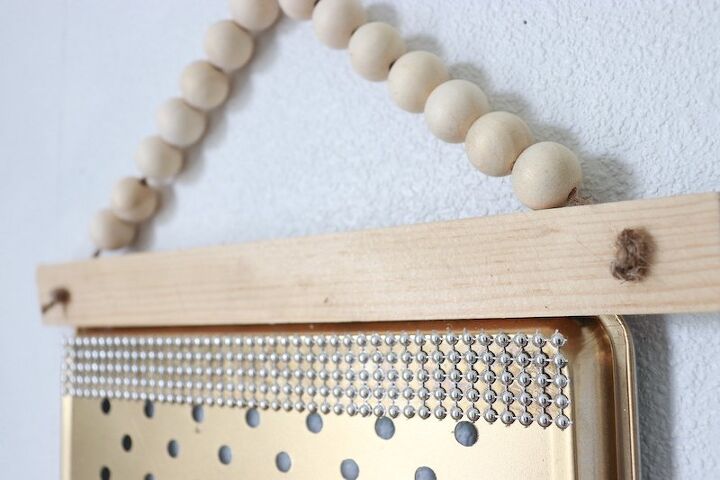
When I went to hang it up it I didn't really like how it was hanging on the wall, so I actually changed the hanger by reversing it and so now the knots are on the front of the organizer and it is hanging much nicer on the wall now.
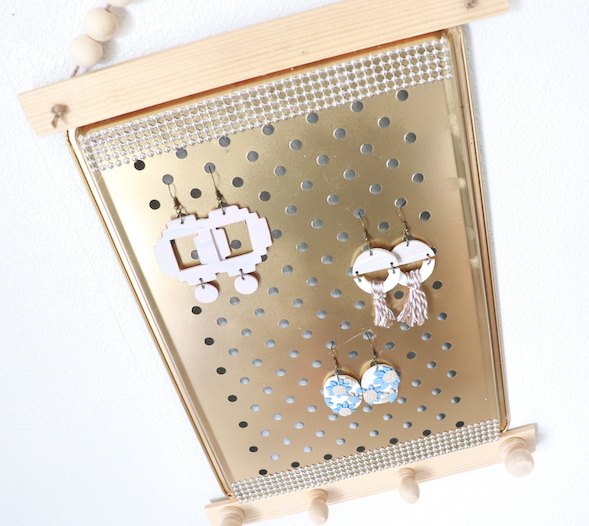
There are so many ways to dress this up, but I really liked the natural wood tones with this one but I hope it gives some inspiration!

Such a fun (and budget friendly) transformation and so many different ways that this could be changed up!
Resources for this project:
See all materials


Comments
Join the conversation
-
BRAVO!! 🎉 You are one lucky mom, that your daughter appreciates you, and your daughter is lucky to have such a creative and fun mom! But are you a cool mom? 😎 I’m kidding, always better to be, mom first. If, friends fall into place, that is a nice benefit.💕🌸😘😃
-
Nice !


Frequently asked questions
Have a question about this project?
Would paint stirring sticks work, in place of a yard stick or scrap wood? I believe it is Menard’s which had the bomb diggity of paint stirring sticks. Could be Lowe’s! I boycotted Home Depot, except for truck rental needs. It is personal and political!
What type hooks are you using to hang jewelry on