


Dollar Tree DIY Simple Wood Desk Organizer and an Updated Vase
Today I am sharing how I turned some inexpensive dollar tree wood boxes into a pretty desk organizer as well as updated a simple glass vase to a much more high end look!
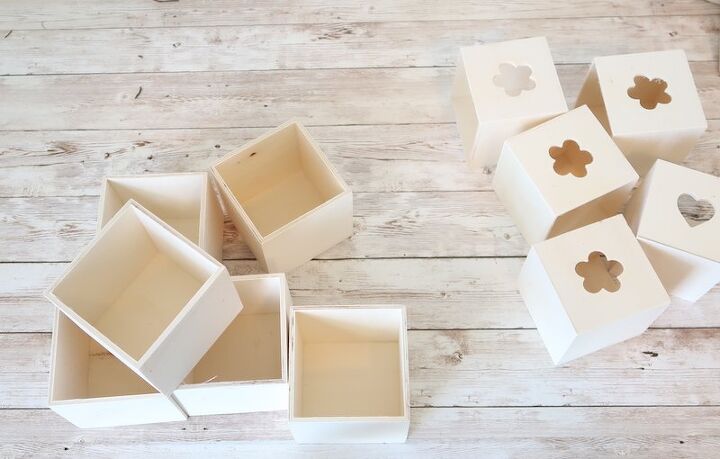
I wanted to create a fun organizer for my desk space and decided to use some of these wood boxes that I had purchased at dollar tree to see what I could come up with.
I started by removing all the boxes from the packaging and taking out the wooden drawers.
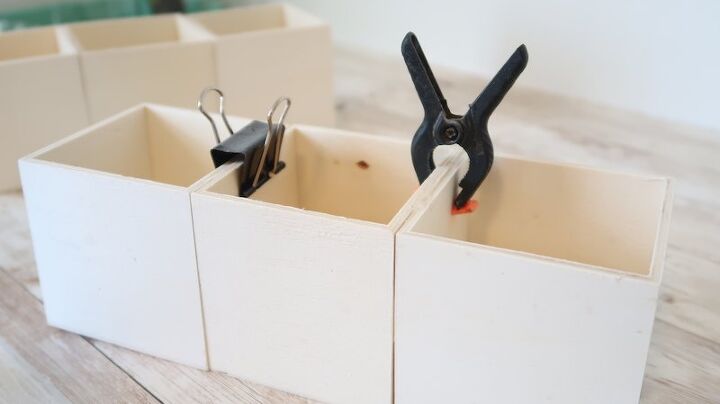
Then I used some wood glue to glue 3 of the wood boxes together.I wanted 2 sets of 3 of the boxes so I used a total of 6 of the wood boxes from dollar tree.
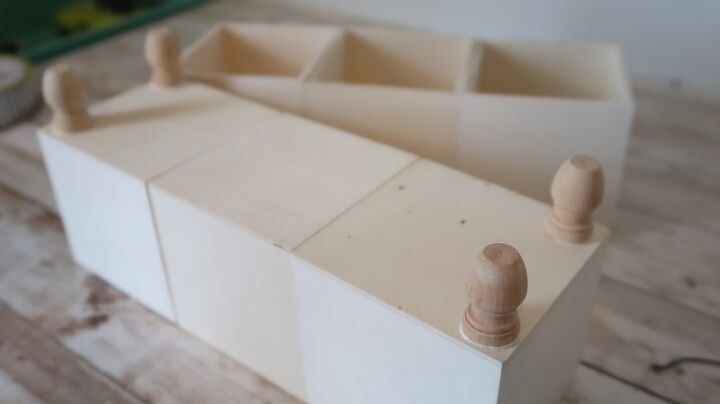
After the glue had dried, I wanted to place the 2 sets together however I wanted the back section to sit up higher than the front so I glued some wood caps to the bottom for feet.

After the glue dried I placed the front and back section together using wood glue as well.

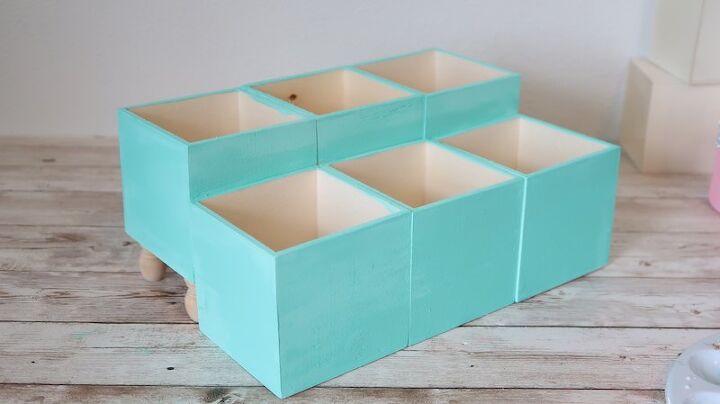
I went back and forth on if I wanted to paint my new organizer or leave it natural.I eventually chose to paint it, however I left the interior and the wood feet in the natural wood color and I think it turned out so pretty.
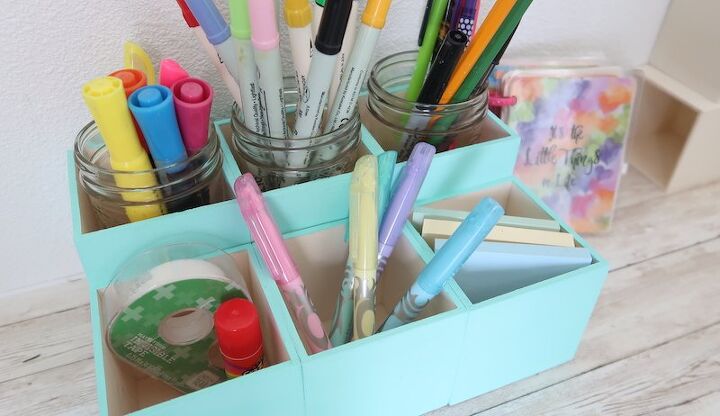
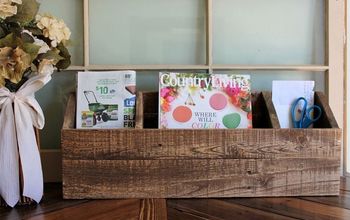
Then it was time to load it up and put it to use.
Small mason jars fit perfectly into the square sections so I chose to use them in the back for some taller items.
In the front I put some of my post it notes, scotch tape, and the highlighters that I use for my bible.
After I had my items in my new organizer, I chose to dress it up even more with this fun rhinestone look ribbon and I am really loving how it turned out.
That just elevated it so much!
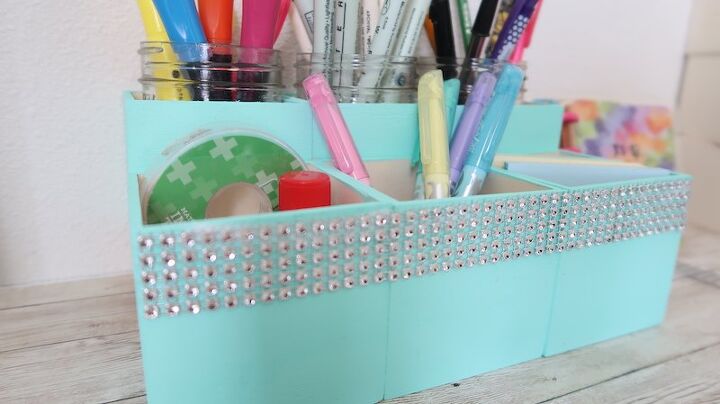
So Pretty!
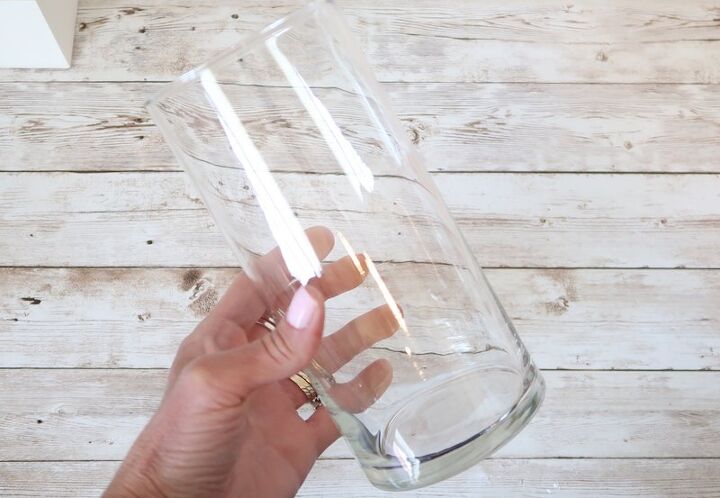
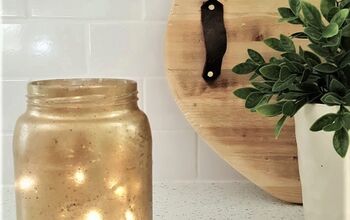
I also wanted to give a new look to a simple glass vase and I knew I wanted to use spray paint.
So I simply taped off the top with a piece of card stock and painters tape to protect the portion of the vase that I didn't want to paint.
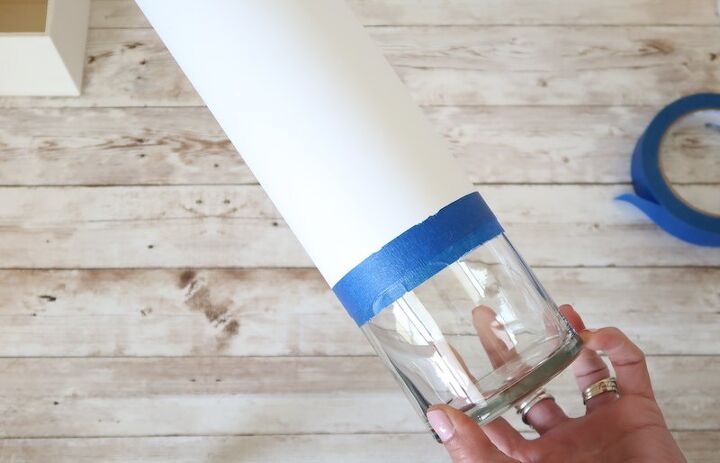
Then I took it outside and gave it a couple coats of paint in a pretty shade of pink.
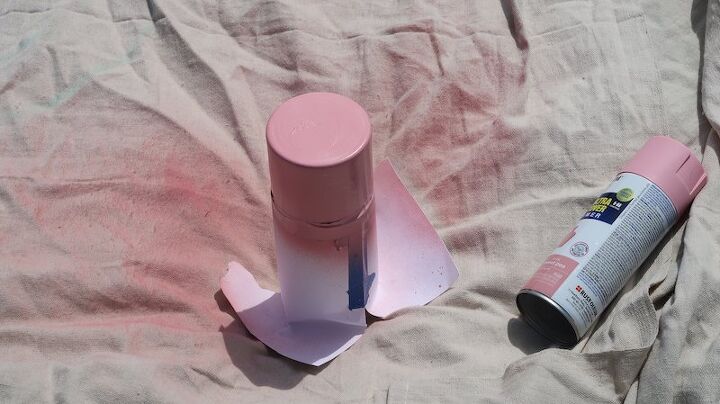
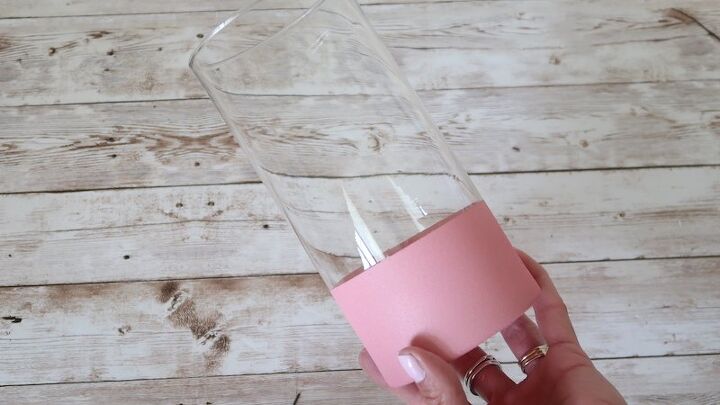
When the paint had dried I took it inside and removed the card stock/tape and I think it turned out so pretty just like it was but of course I wanted to dress it up even more.
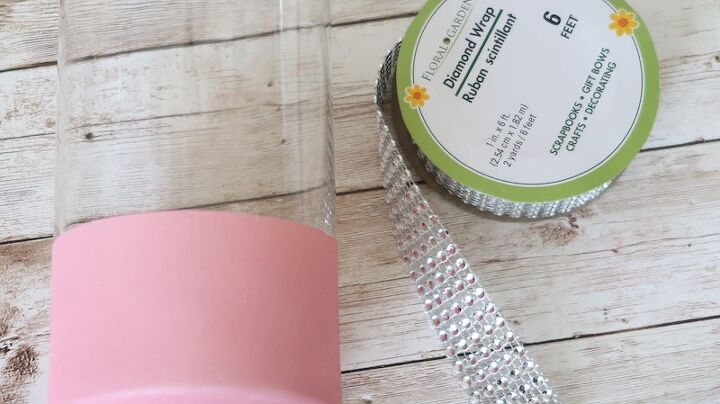
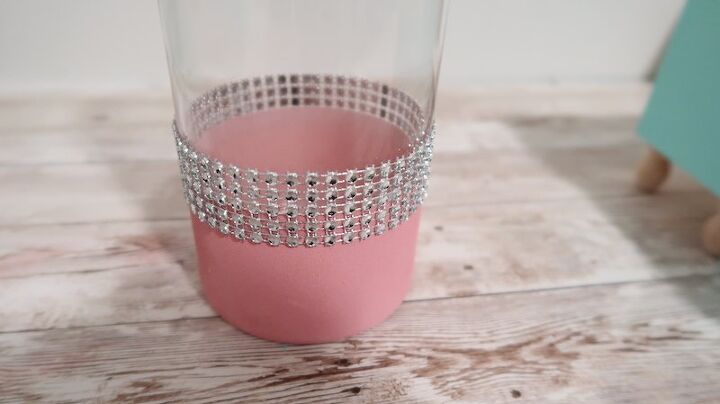
I used the pretty rhinestone ribbon around the vase with some tacky glue and I absolutely love howthis vase turned out!
In fact I wanted to use it right away so I went outside and found some pretty blooms from my yard to display in my new vase.

I may have to make more of those because I decided to put this one in my kitchen instead of on my desk. lol. 😉
Resources for this project:
See all materials


Comments
Join the conversation
-
love it, right up my alley
-
Nice!!


Frequently asked questions
Have a question about this project?