


Dining Chair Make Over

I don’t know about you but my dining chairs get hammered. I blame the kids. Ketchup, ice cream, a baked bean or 3. It was definitely time for another makeover for the seat pads. Something that was easy to clean & less obvious of the suspicious looking smears they are bound to face along the way.
Disclaimer - I AM NOT AN EXPERT at this! I'm a have a go and see what happens type of girl.  What is the worst that can happen?
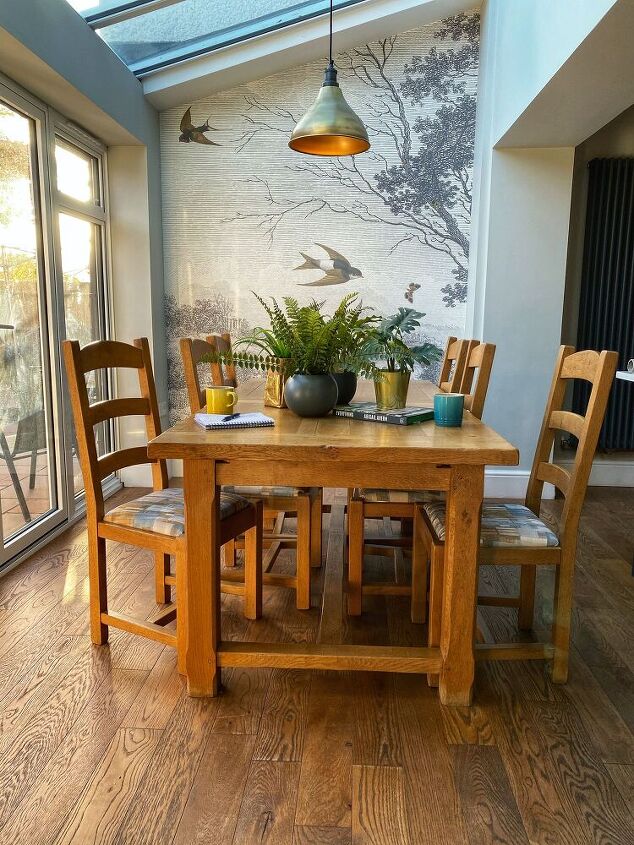
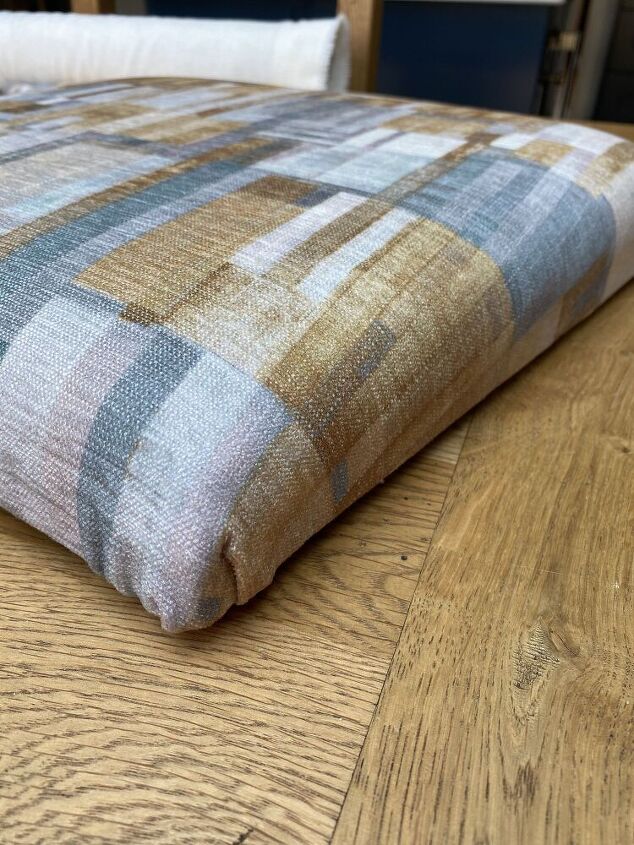
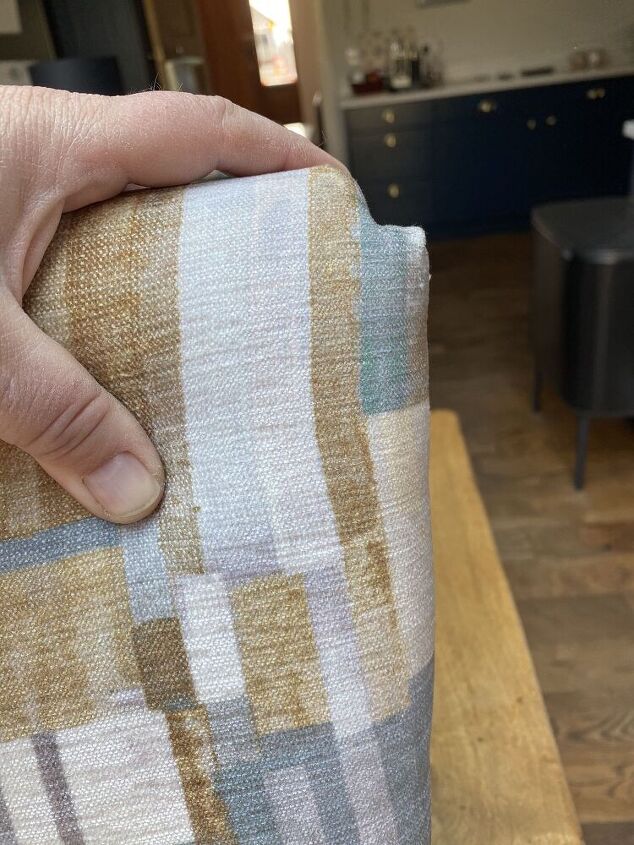
This fabric hit the spot, colours reflecting the walls & decor, upholstery friendly, super soft & patterned enough to hide the odd gravy splodge.
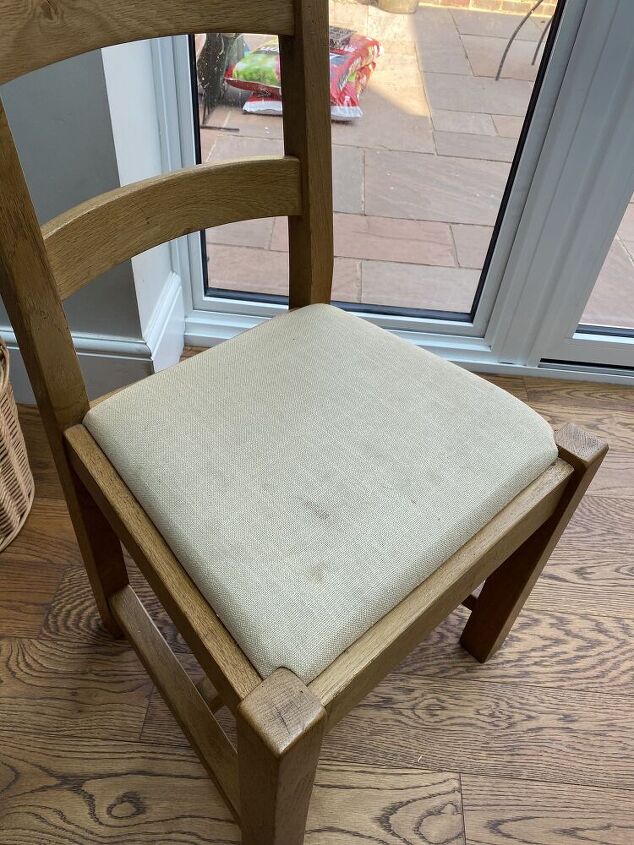
This is the state of my chair before. I couldn't look at stains on them anymore and decided a makeover was called for!
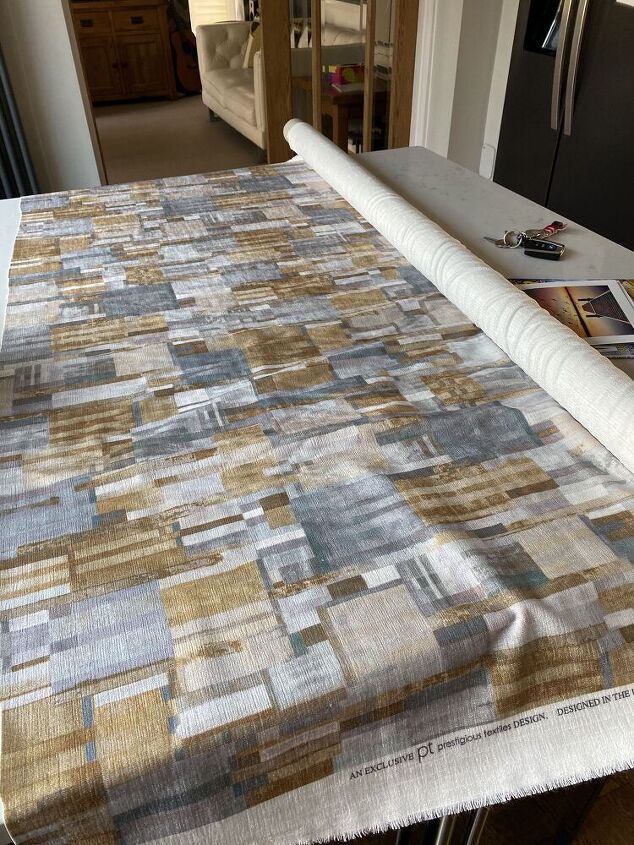
Choose a fabric suitable for Upholstery. Not all are suitable. If you choose a patterned fabric you are going to have to take care to keep the pattern straight when you upholster it. It's very easy to have a pattern that slopes off slightly to one side. If you don't want to risk it, choose a plain fabric for your first attempt!

Each chair is different so I can only speak for mine. All I had to do to remove the cushion was to unscrew the 4 screws underneath to release it from the chair frame.

Make sure to keep all the screws safe as you will need them to secure the pad again at the end.
You should find your seat pad has a hard frame around it where the fabric can be secured to. Have a look at how it is currently upholstered and feel around for yourself so you can plan how you will secure your fabric.
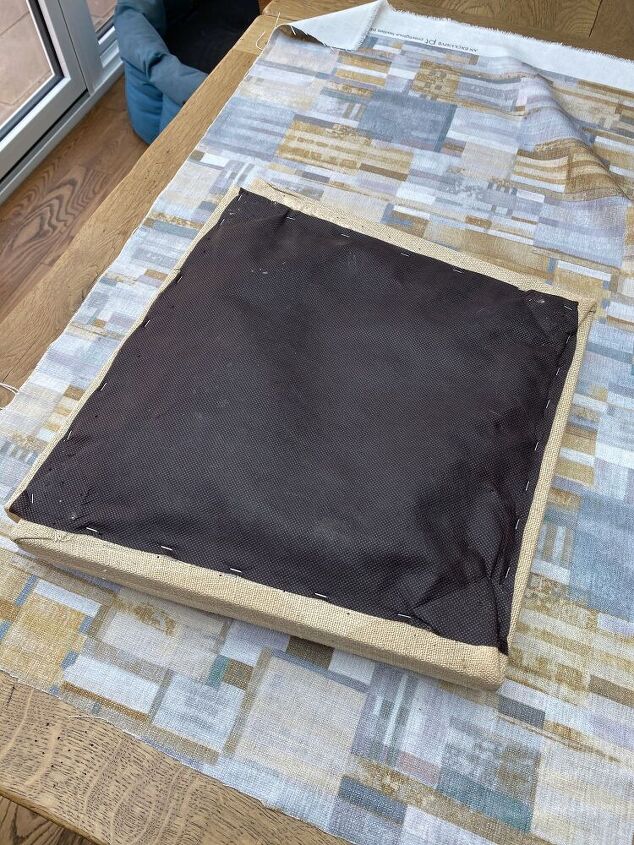
Lay the cushion on to the fabric. If it is patterned, I like to have the pattern upwards to I can check it is laying straight,
You need to allow enough of an edge to ensure that it can pull up around the edges and secure again on the bottom.
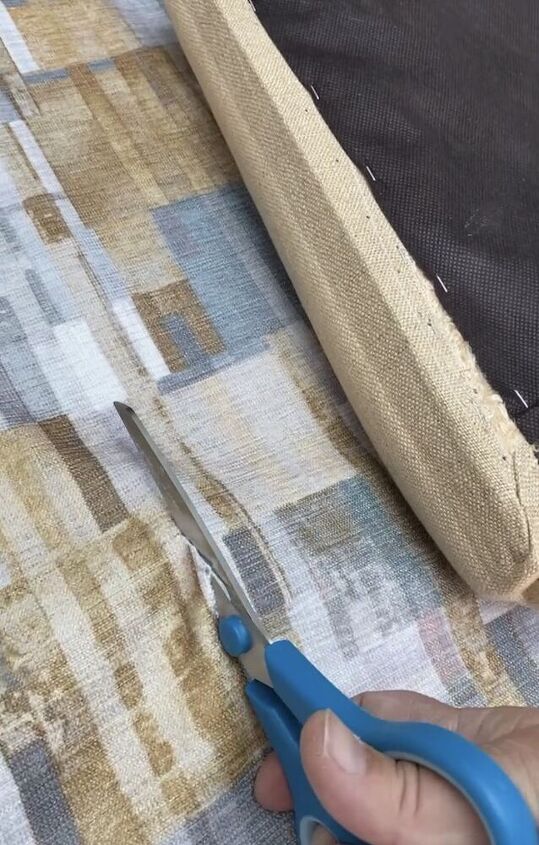
Ensure you have sharp, clean scissors. Upholstery scissors really are the best tool for the job. Cut as straight as possible for a neater finish.
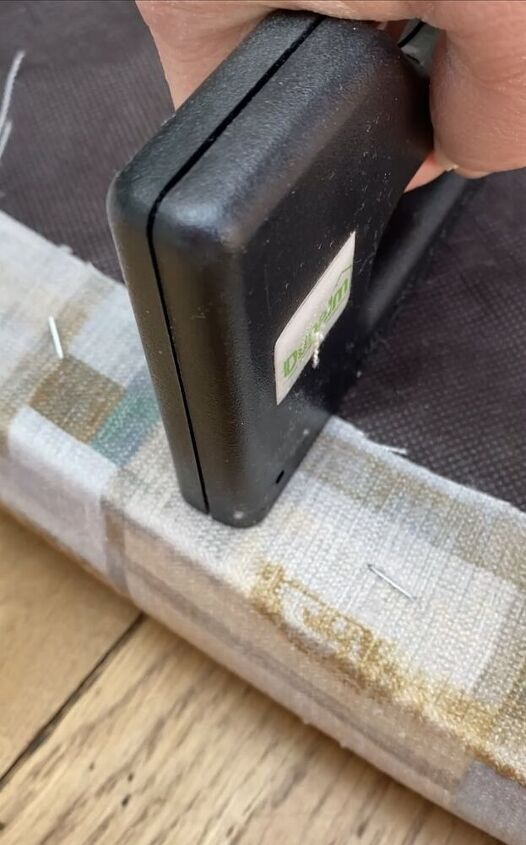
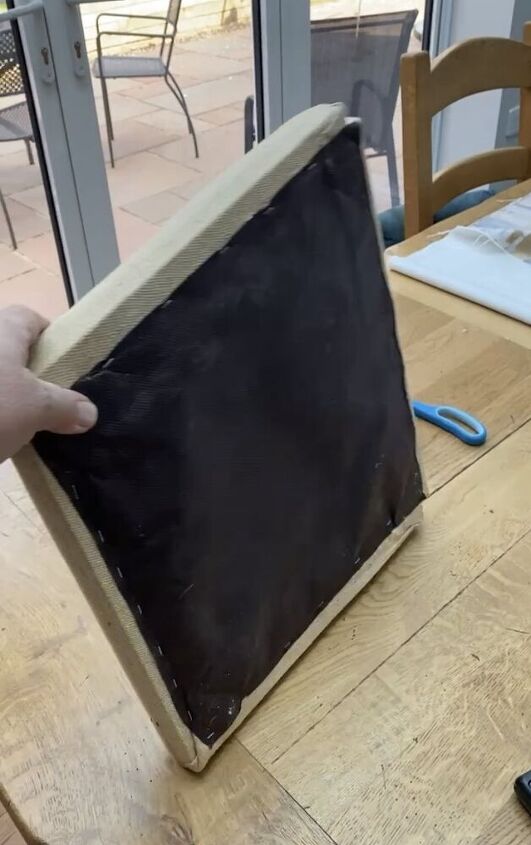
Work around the cushion carefully to pull the fabric tight and secure to the edges. You can use upholstery tacks but I prefer an upholstery staple gun as I find it is easier.
Carefully fold the edges as if you were wrapping a present to create a neat fold. Ensure you pull these very tight so the edges don't get too thick and clumpy with the amount of fabric. If it is very bulky, you can carefully cut away the top corner and use folds to hide and neaten it without the excess fabric.
If you have any edges that aren't square, you will need to play around with the fabric to get the neatest solution. Remember, you don't want to have excess fabric otherwise you will struggle to fit it back in to the frame. You may need to remove a little if necessary.
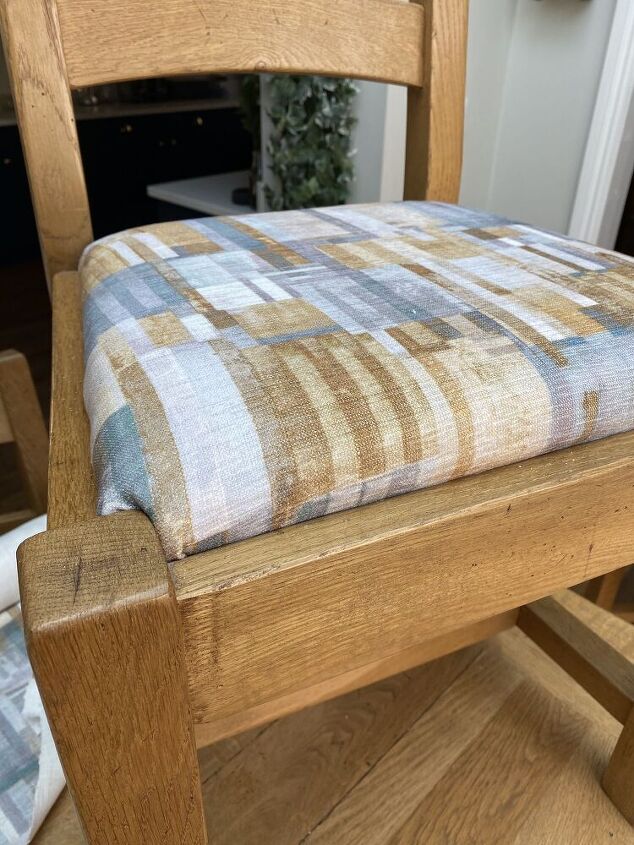
Push the pad back in to the chair frame. If you have any excess wrinkles, you can stretch out and re staple.
I am not an expert upholster so for me, it doesn't matter too much if the underside of the pad is not perfectly neat, no one will see it!
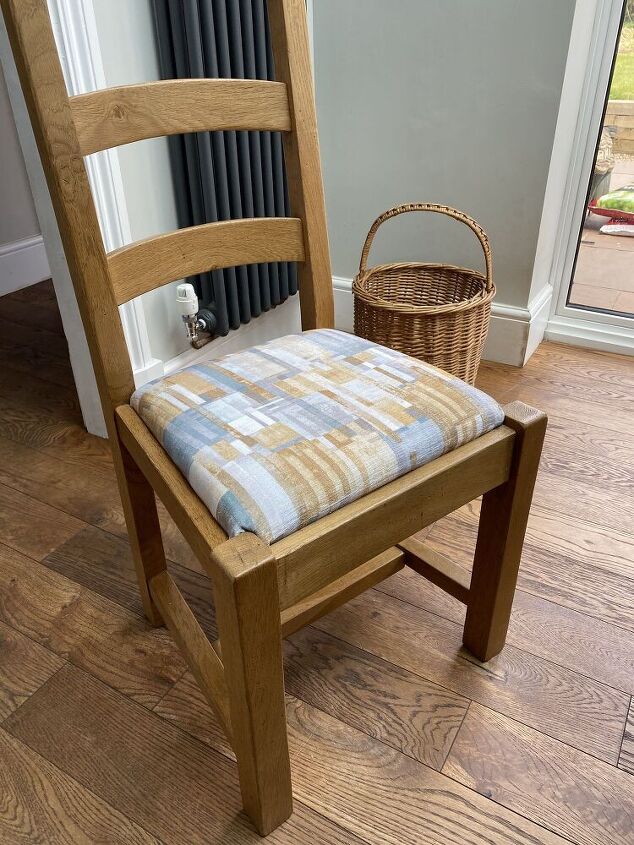
Repeat the process around the chairs and then stand back and admire how much nicer they look minus the baked bean splodges over them!
I hope that has inspired you to give it a go for yourself?
If you like my style and what I do, follow me on Instagram @thenewfrontwall for my tips and insp.
Jo x


Comments
Join the conversation
-
Thank you 😊
-
You did an amazing job!


Frequently asked questions
Have a question about this project?
I love your fabric choice. Where is the wallpaper from? LOVE IT!
How can I refres my cupboards