


Easy DIY Mountain Bookends
This mountain-themed DIY bookend could be used in a cabin, a kid’s room or so many other places. This is a very simple project that can be completed in a day or two. Let’s get to it! Below are the super simple steps to create these bookends and thereby, have a personalized gift for someone at the very last minute!
Sign up here to always stay updated on my latest easy home DIY projects!
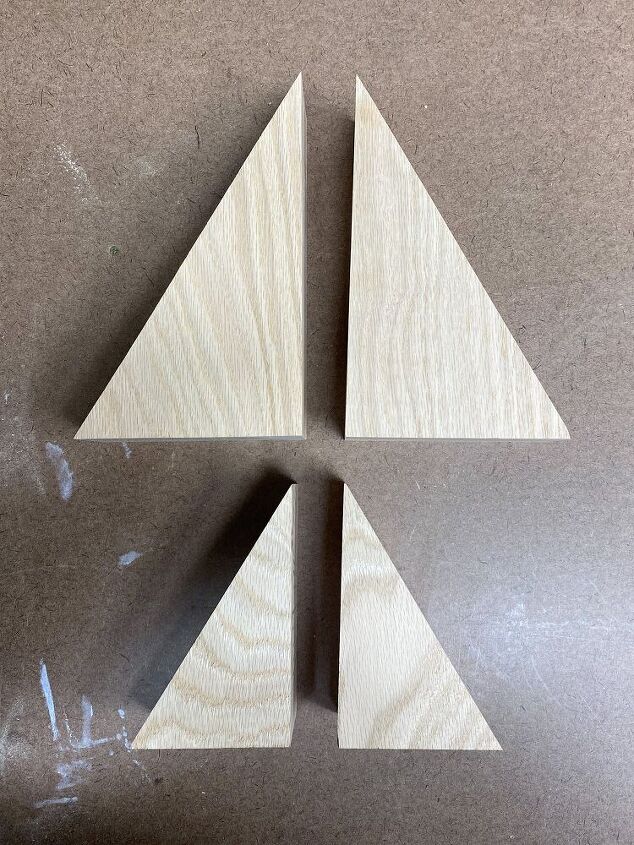
STEP 1: Cut wood using a miter saw.
Cut 4 triangles from a 2″ thick piece of oak. Two triangles should be 8″ tall with the side opposite the right angle cut at a 31-degree angle. The other two triangles should be 5″ tall with the side opposite the right angle cut at a 31-degree angle.
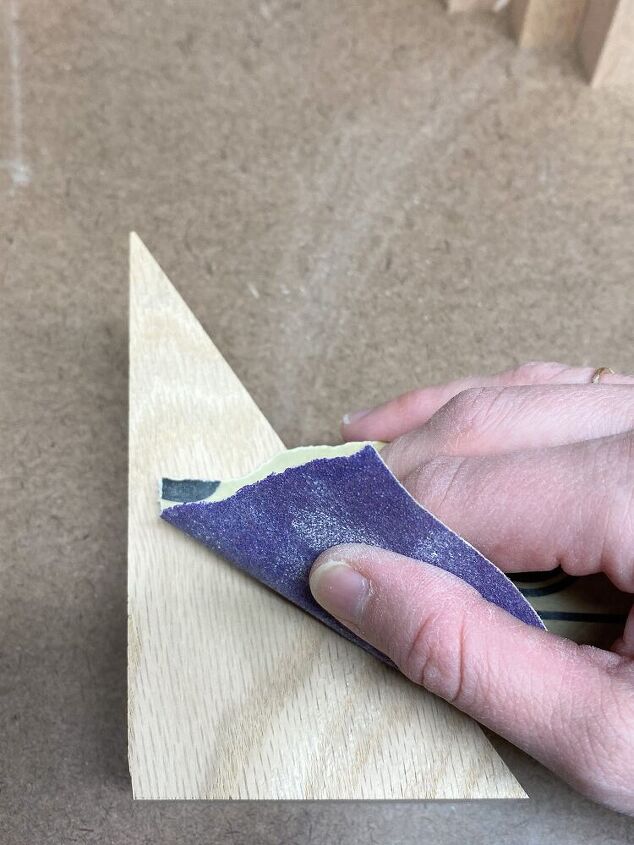
STEP 2: Sand the wood and use a tack cloth to remove any sawdust
My wood was a little rough in some places so I first used 100 grit sandpaper and then moved on to 220 grit sandpaper to make it really smooth.
I then used a tack cloth to remove any dust from the wood.
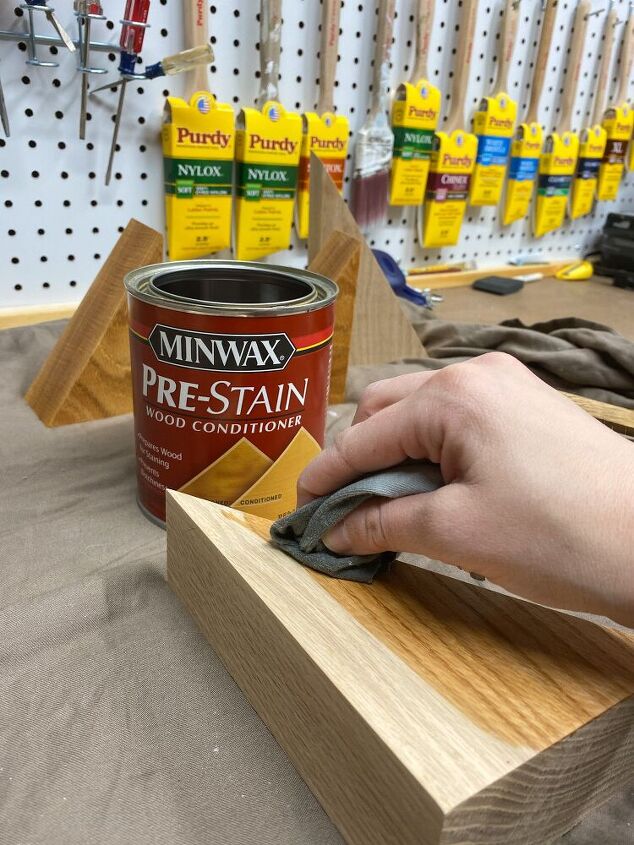
STEP 3: Apply Minwax Pre-Stain Wood Conditioner using a rag
After 5-15 minutes, remove any excess using a rag.
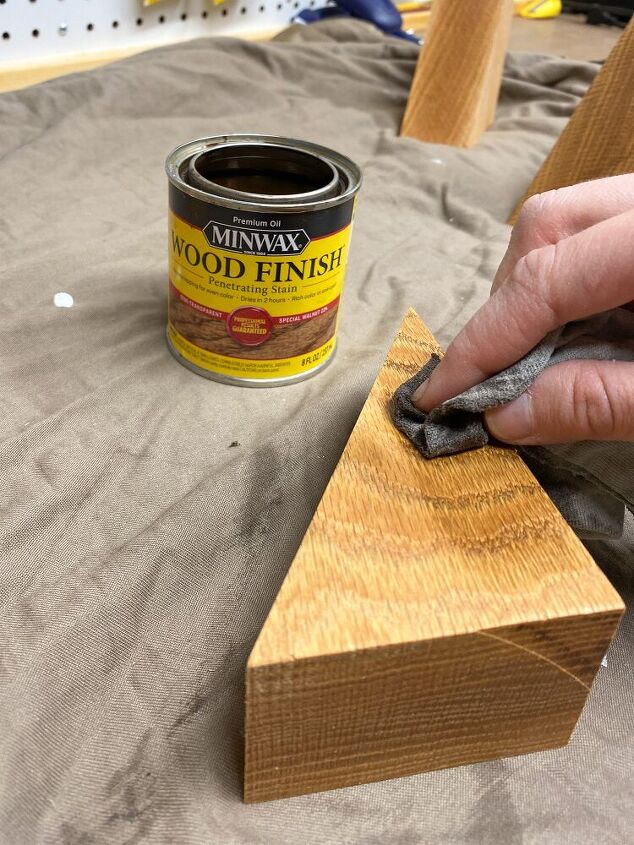
STEP 4: Within 2 hours, apply Minwax Wood Finish in Special Walnut.
Apply it with a rag.
STEP 5:
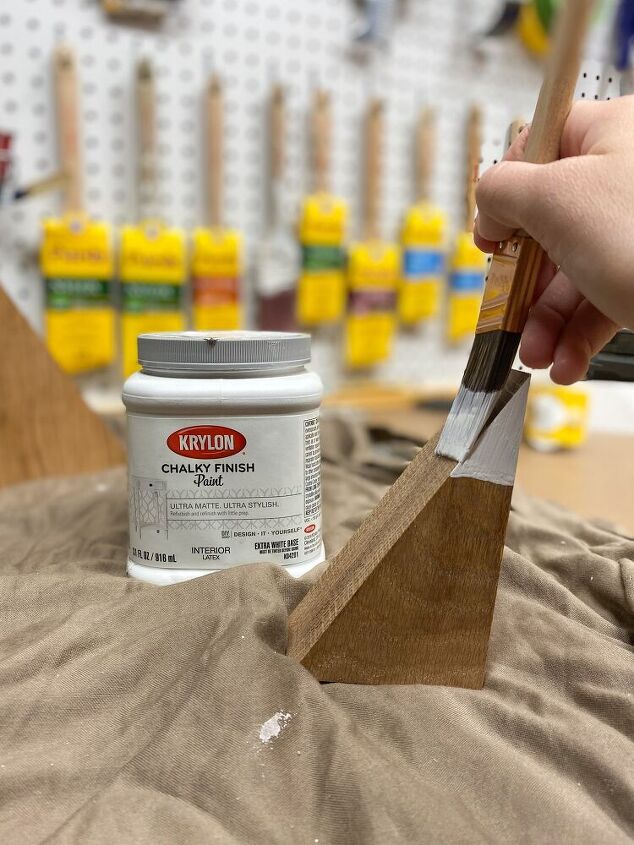
Once the stain is dry, add snow to your mountains by painting the tops with Krylon Chalky Finish Paint. I applied two coats to ensure really good coverage.
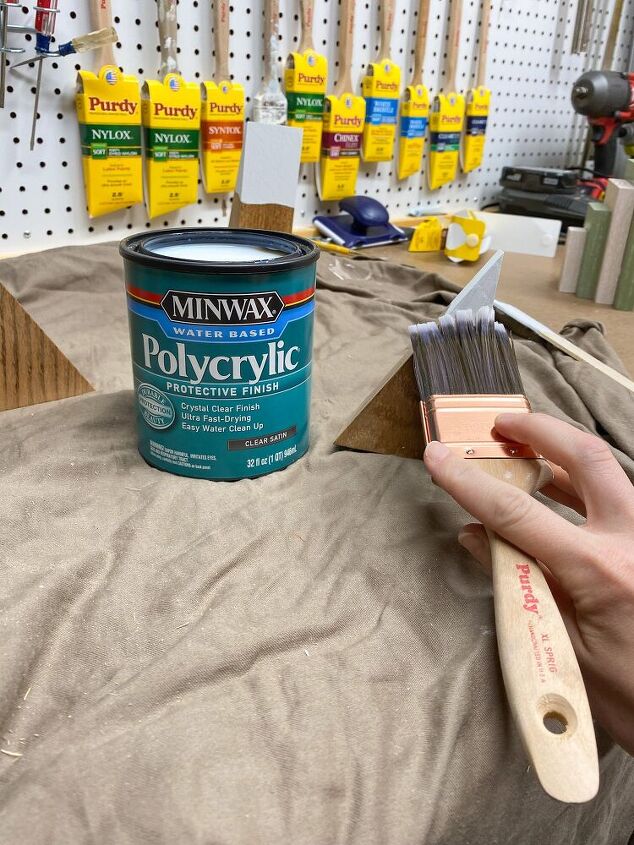
STEP 6: Apply Minwax Polycrylic Protective Finish with a Purdy 2” XL Sprig Paintbrush.
I only applied one coat but you could apply two coats if you
would like them to be extra protected and durable. If you choose to apply more than one coat, lightly sand with 220 grit sandpaper in between coats.
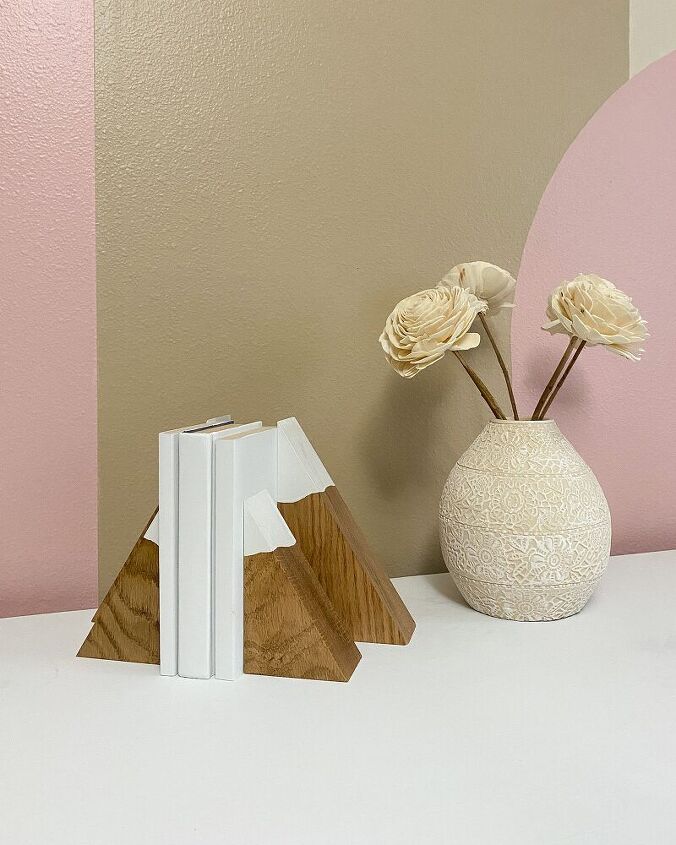
The Finished Bookends!
Now you have beautiful mountain-style bookends that you could
use in your own home or give to someone else as a gift. There are so many great options for DIY bookends that are both functional and beautiful!
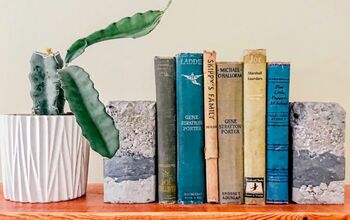
Interested in more easy DIY projects? Head here to learn how to make modern style bookends!
Resources for this project:
See all materials


Comments
Join the conversation
-
SUPER cute!
-
Gosh THAT is soooooo cute!


Frequently asked questions
Have a question about this project?