


How to Repair Your Patio Door & Window Screens

As a homeowner you have to do home maintenance and repairs from time to time. Our patio door gets a lot of wear & tear since it leads out onto our deck and it was time to replace the screen. After I tackled the patio door, I decided it was time to change out all the window screens in our home too. This is an easy DIY project that you will be happy you took care of.
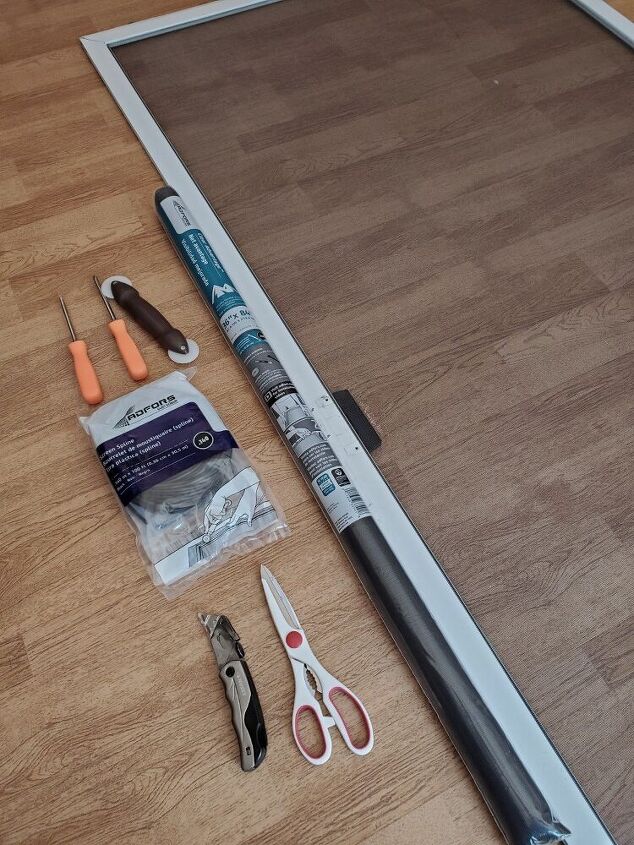
Material List:
- 36"x84" screen (This one piece was the perfect size for my patio door)
- .140 black spline (I purchased 100ft length of spline so I could do all the window screens in my home)
- Scissors
- Sharp utility knife
- Screwdrivers (Both Philips and flat heads)
- Screen tool (Sets the spline in the track)
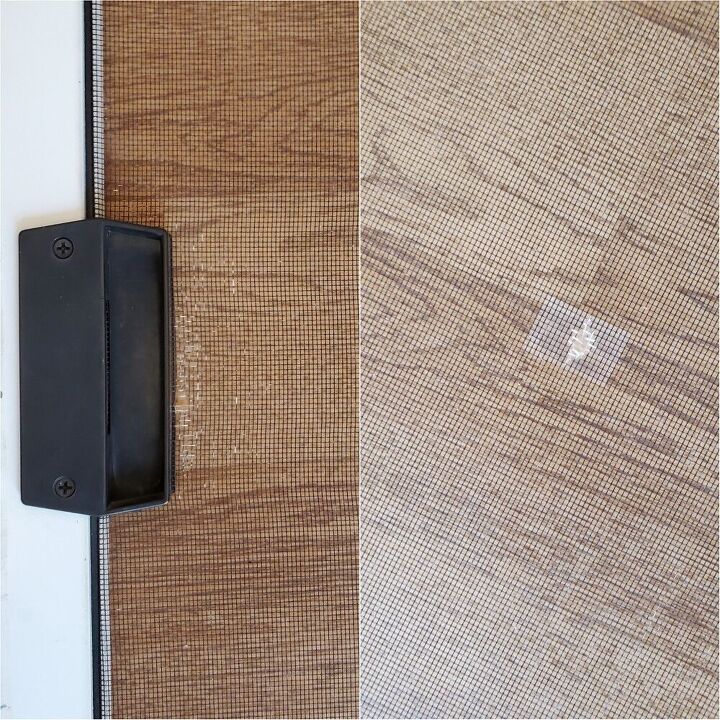
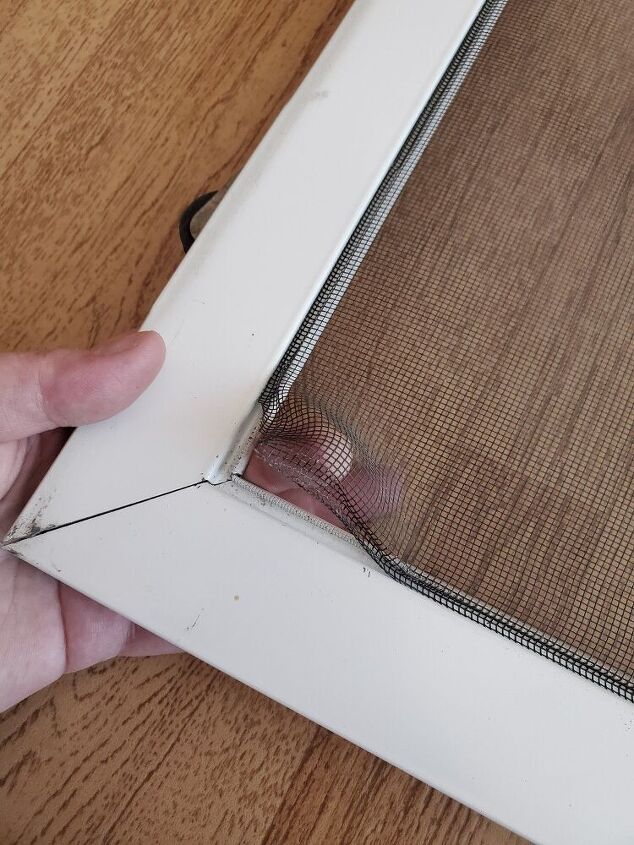
Here is the BEFORE close up of the wear and holes in my screen door. Our "new" home is now 17 years old and I don't want its age to show.
This door needed repair years ago but it's just one of those things you say, you'll get to it....and never do.
Until now 😉...
To start removing the old screen you need to remove the old spline. I started to pull the spline out using a flat screwdriver.
Once the removal of the old spline has started you can just hold down the frame of the door and pull it out.
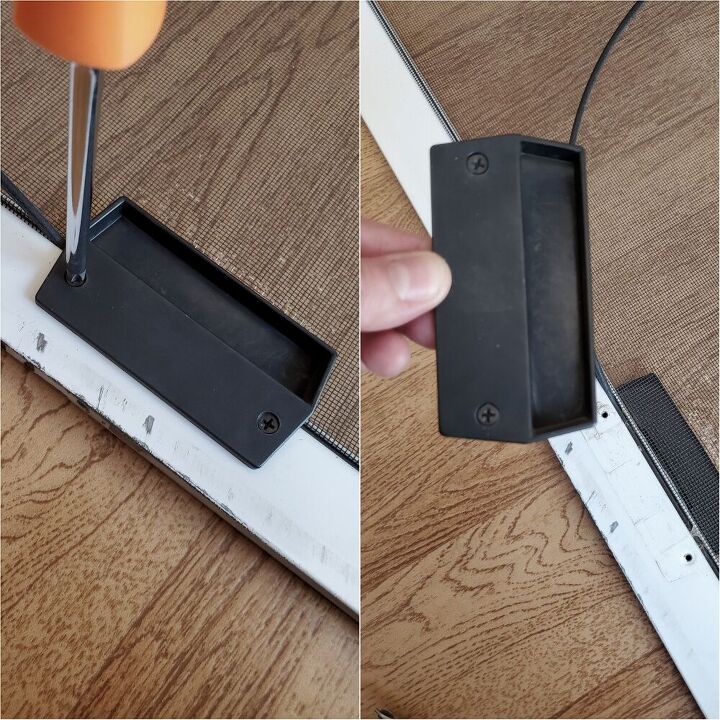
My screen door has a handle on it that needed to be removed to fully remove the old spline. I used a philips screwdriver and put the handle to the side.
Once the spline is out, your screen is still kinda stuck in the track. At least mine was....it was in place for 17 years. 😉
It easily comes out once you pry it up from the underside.
Once I had the screen lifted out it was easily removed.
Once the old screen was out, I cleaned the screen door and the track the spline will go in.
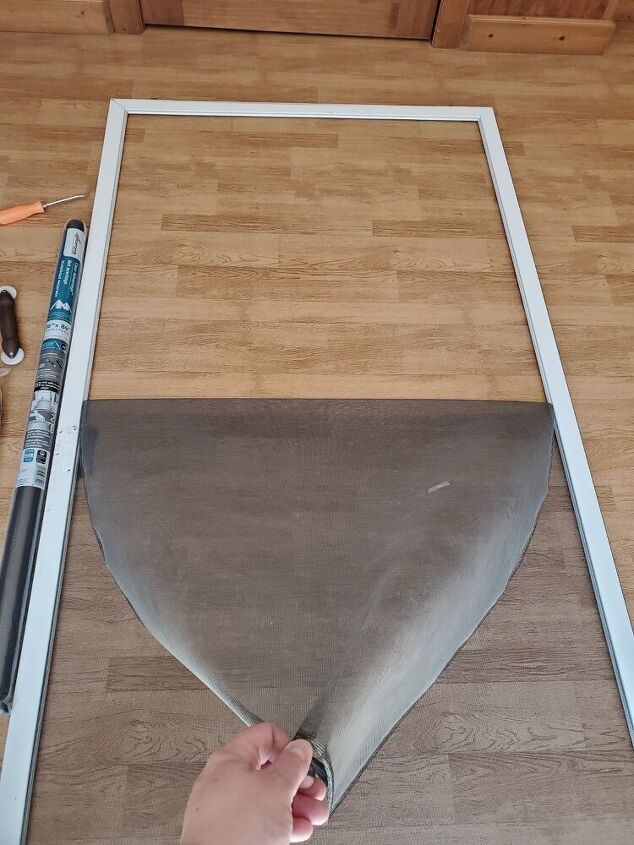
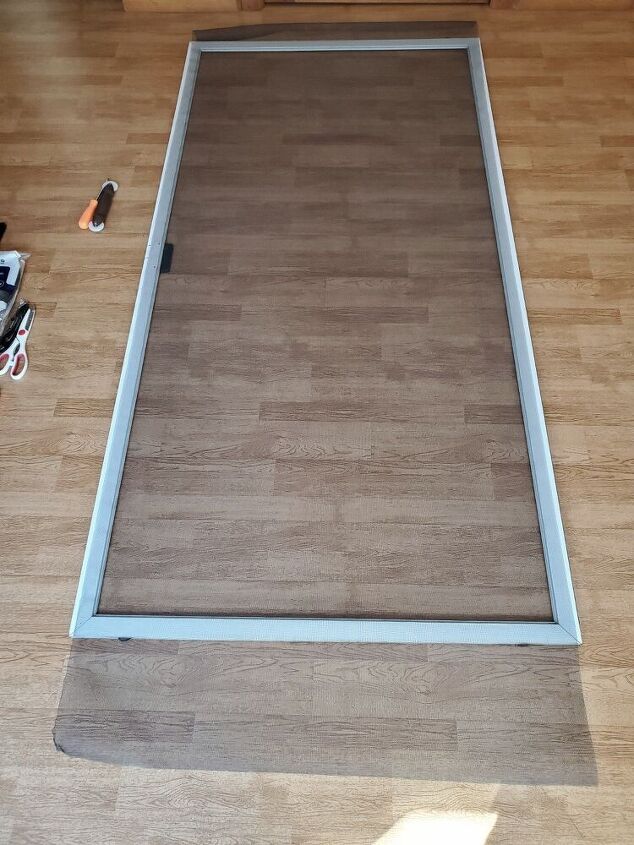
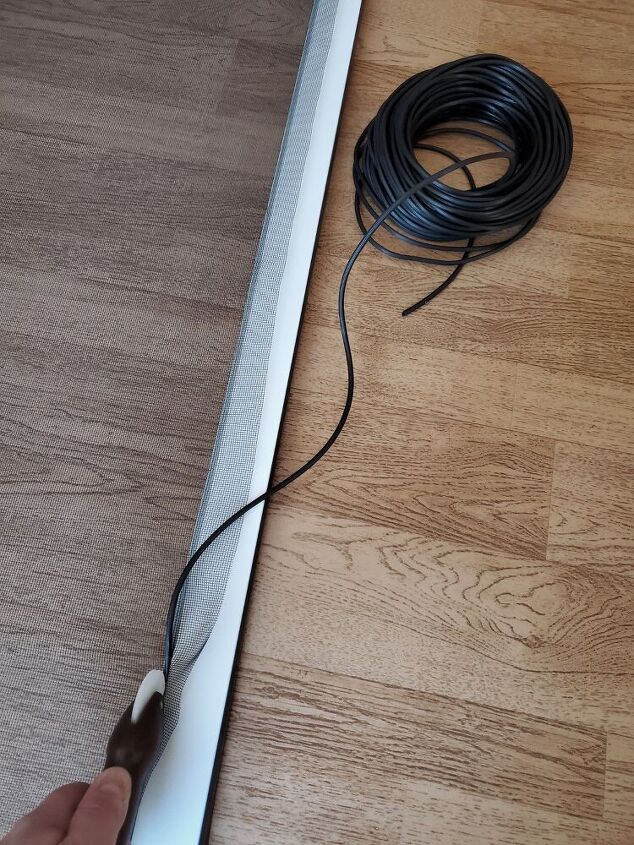
Then I laid the new screen on top of the door frame. I left even amounts of screen on all sides.

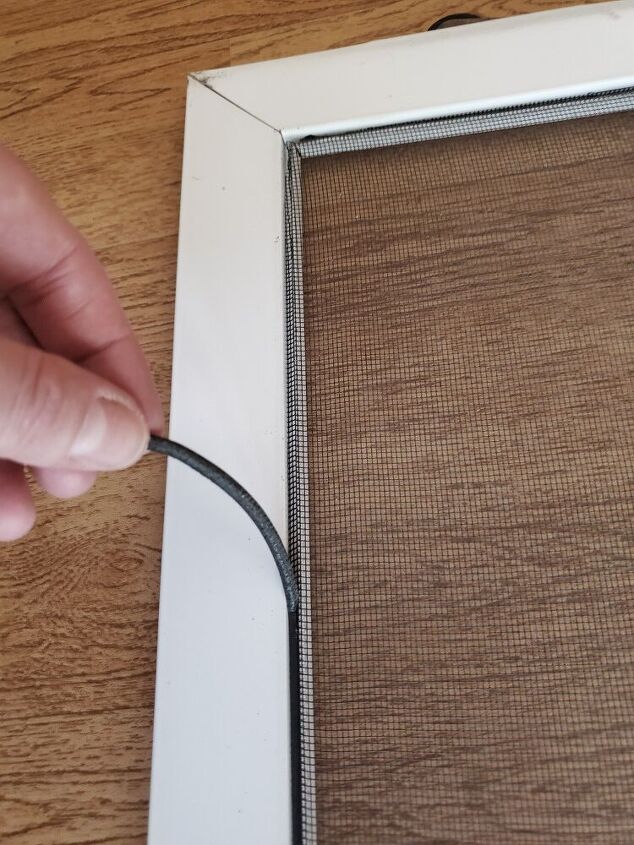
To start replacing the screen, I laid the new spline in the track and held it with my finger.
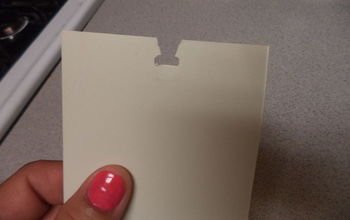
*NOTE* To find your spline size I removed a small piece and took it to the store with me. At the store, the spline display had samples attached to the corresponding packages and I matched my old spline to the new and found my spline size that way.
I also measured the screen area I needed to cover and made sure it was bigger than the section needed.
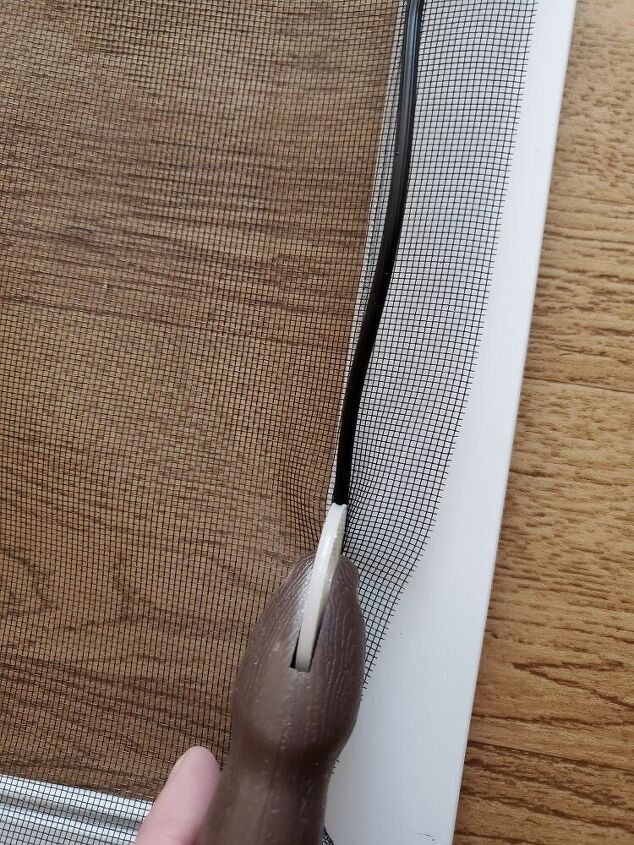
Once the spline was laid on top of the track, I used my spline tool and pushed/rolled it into the track.
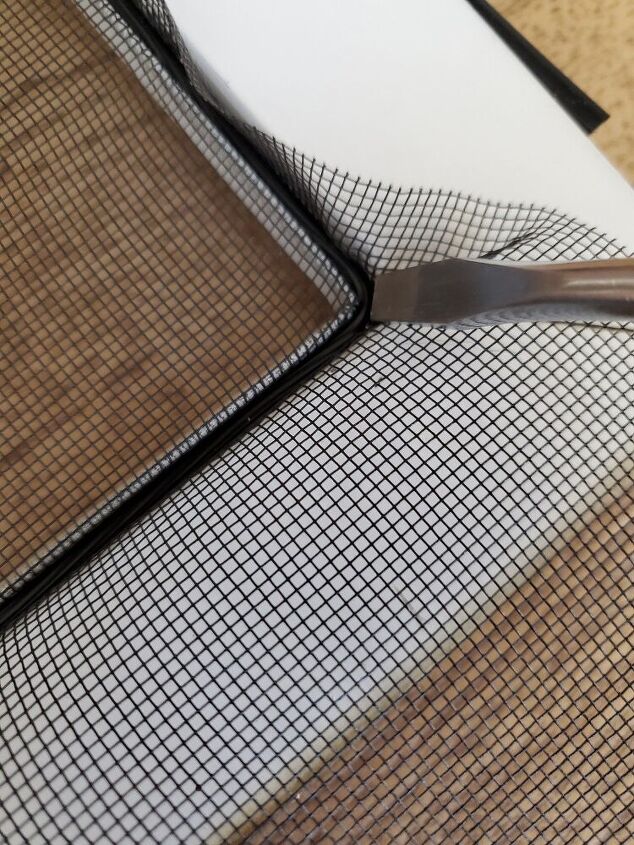
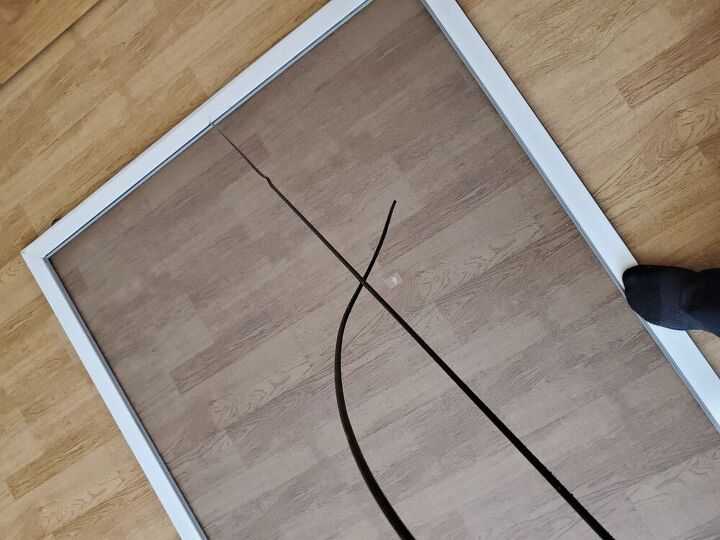
I decided to do a continuous spline vs cutting it at each corner and having 4 pieces. Either way works and has the same results.
Since I did the continuous piece, I used a flat screw driver to tuck the very corner part of the spline into the track.
Remember to pull on the screen with one hand and use the spline tool in the other hand to keep the screen tight.
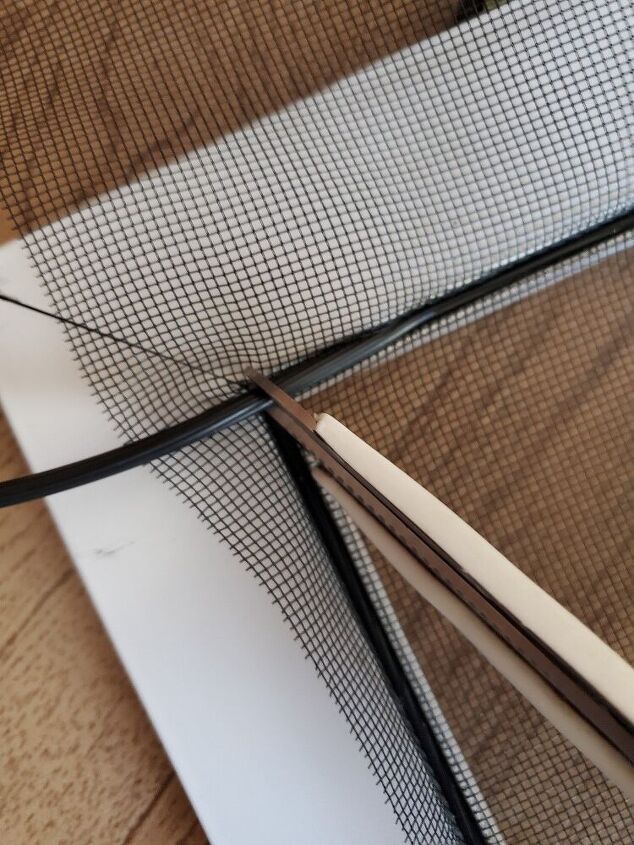
Once I was at the end of the track and my pieces met up together, I snipped the end of my spline with scissors and tucked it in with the flat screwdriver.
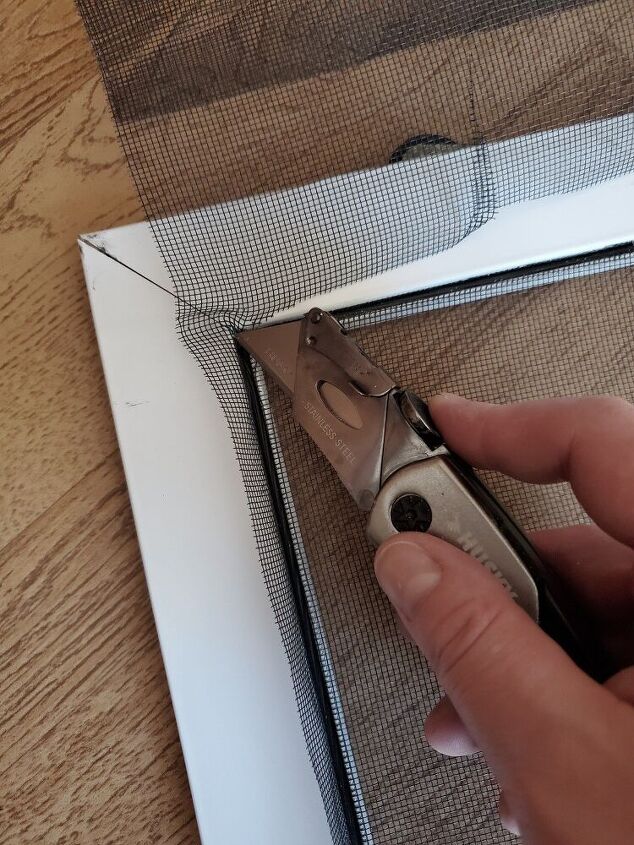
After the screen is tight and secure it's time to trim the excess screen off using a sharp utility knife.
*Note* Take your time and go slow. You don't want to cut a hole in your new screen.
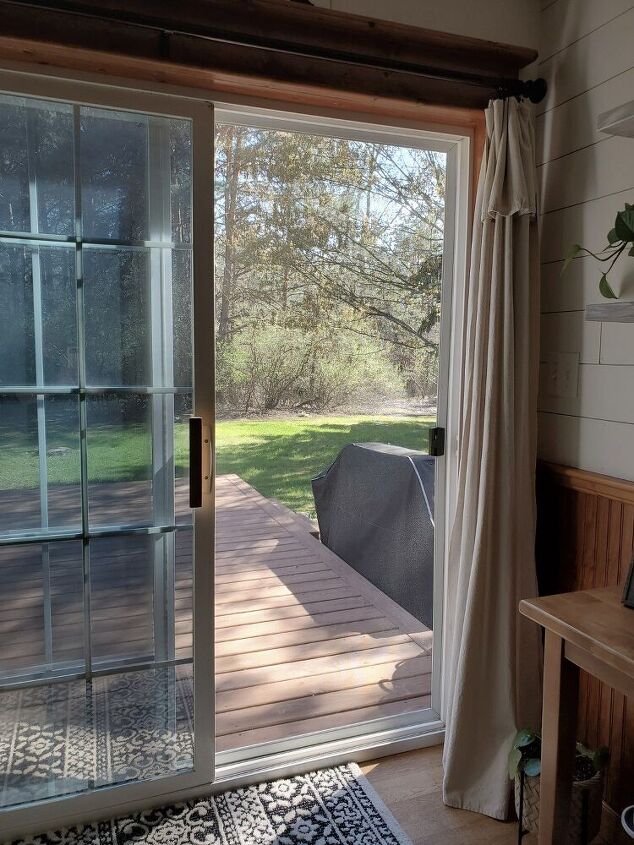
The new screen door is back up and this is the view! I love it!!
*NOTE* There are many varieties of screen replacements to choose from. I chose a "clear advantage" view. That gave me the clearest view through a screen. They also have screens that keep out small insects or are heavy duty for households with pets. Choose a screen that fits your lifestyle and needs!
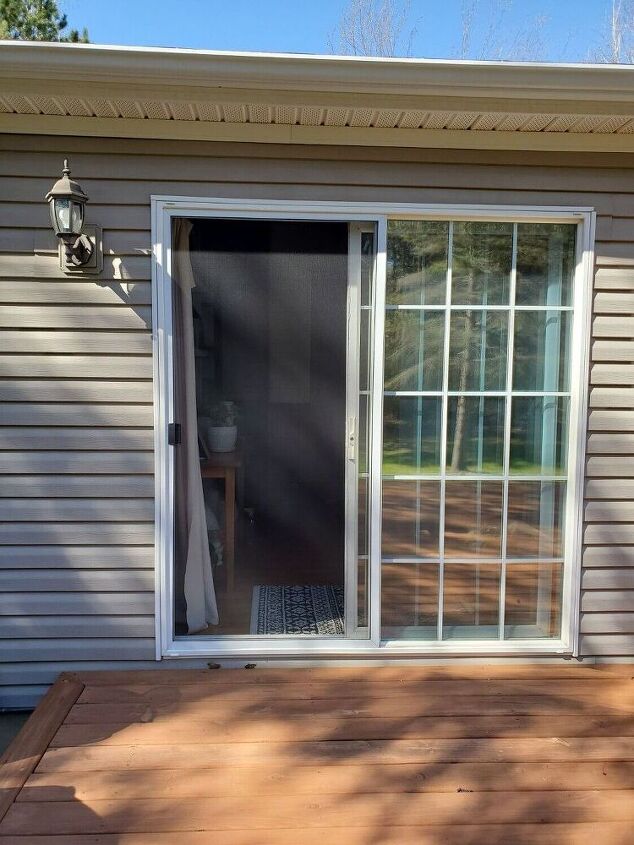
It looks nice & clear from the outside as well!
Resources for this project:
See all materials


Comments
Join the conversation
-
there are stick on patches to cover small rips in screens that can't be taken down & laid flat & it might also be possible to weave a fine gauge wire -or even black sewing thread back & forth to patch small rips or holes - not too cosmetic but suffices to keep bugs out!
-
IAM trying to repair one for my kitchen entrance. Tremendous idea when I read your way to repair. Maybe I can try. Thanks


Frequently asked questions
Have a question about this project?
Do you have any suggestions for replacing a screen that cannot be lain down to repair?
So happy to see this DIY! Nearly every screen needs to be replaced in the house I just bought. What a cost savings! Thank you.
Is there a video on how to remove those sliding screen doors?