


How to Build a Batting Cage in Your Backyard
In this tutorial, I show you how to build a DIY batting cage with wood posts and useful tips to save you time and money.
There are many things which are difficult to explain with words and images, so be sure to checkout the video tutorial.
Be sure to subscribe to my YouTube channel for more DIY tutorials.
Wood List
Before you purchase the wood for your DIY batting cage, I encourage you to read through this article to make sure my design fits your needs and your cage. Either way, you can easily adjust the amount of wood to fit your needs. Keep in mind, the lumber I used for this backyard batting cage design is pressure treated and ready for outdoor use.
- Posts: 4″x4″x12′ – Qty. 8
- Runners: 2’x6’x12′ – Qty. 4
- Cross Boards: 2’x6’x16′ – Qty. 3
- Support Braces: 2’x6’x8′ – Qty. 3
Dimensions
My homemade batting cage sits adjacent to my detached garage/workshop. This location is perfect for a batting cage for the following reasons:
- The detached garage blocks the afternoon sun.
- My neighbor’s massive 200 year old oak tree blocks the morning sun.
- This location fits my future plans to cover the batting cage with an attached lean-to roof.
In total, the total area I had to work with was 65.5 feet x 21 feet (L x W). I had 10 extra feet in length, but I didn’t want the batting cage to be that long.
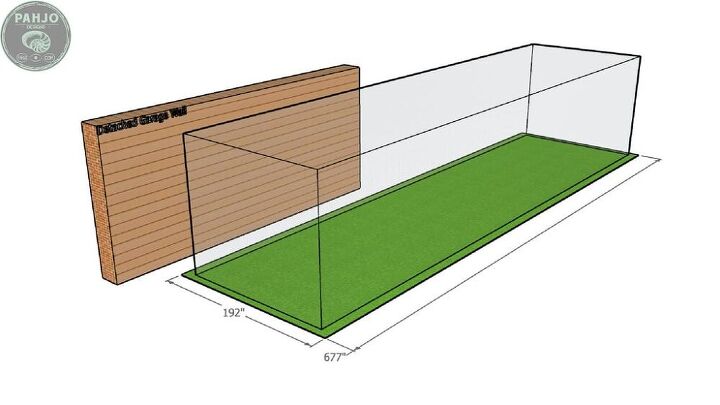
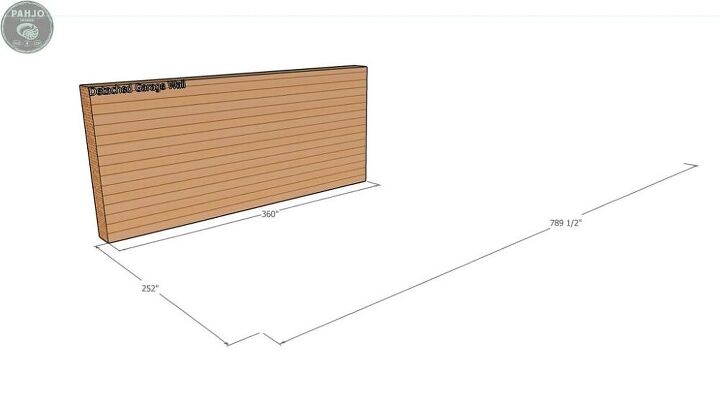
Batting Cage Size
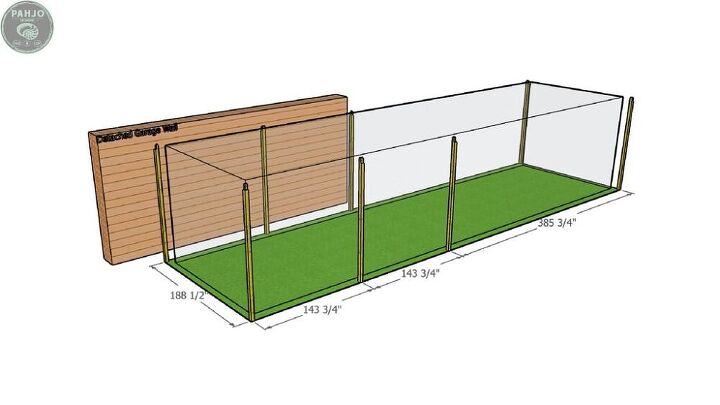
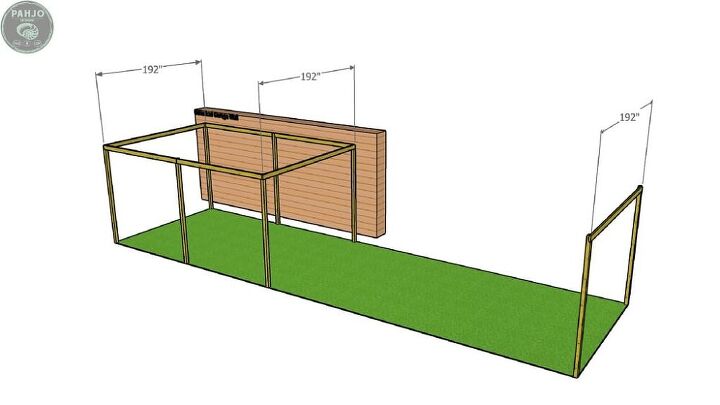
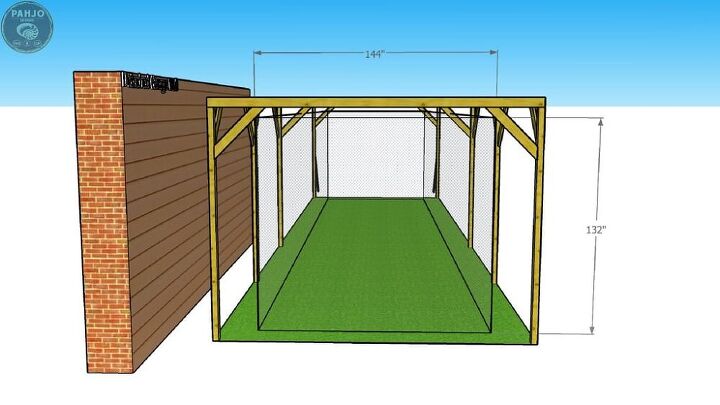
So, I decided to purchase a 12 ft (Height) x 14 ft (Width) x 55 ft (Length) backyard batting cage.As a result, I marked an area 16 ft wide and roughly 56.5 ft long. The diagram below shows the area and the batting cage area.
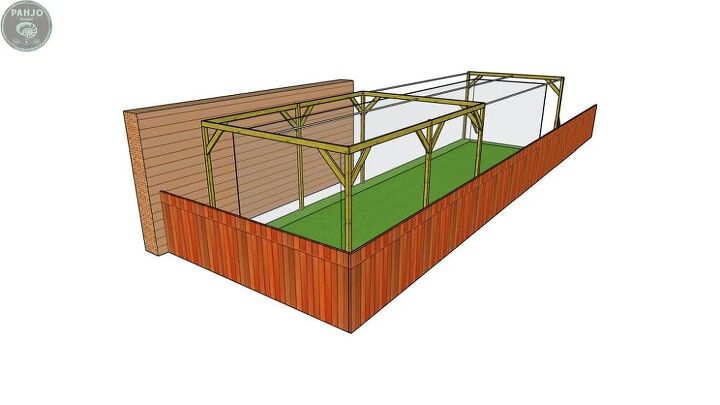
Frame Overview
The batting cage frame consists of 8 posts, 4 runners, 3 cross bars, and support braces. Also, part of the batting cage frame sits adjacent to my detached garage. Eventually, I plan to pour a concrete slab in this area and cover it with a lean-to roof.
Mark Post Locations
The batting cage with wood posts frame dimensions comprise a simple rectangle.
First, I marked the post locations. The measurements in the diagram below are on center and require a 12 foot 2 x 6 to connect them – no cutting necessary. One of the benefits of designing a batting cage frame before the build is reducing material waste and minimizing labor.
Dig Post Holes
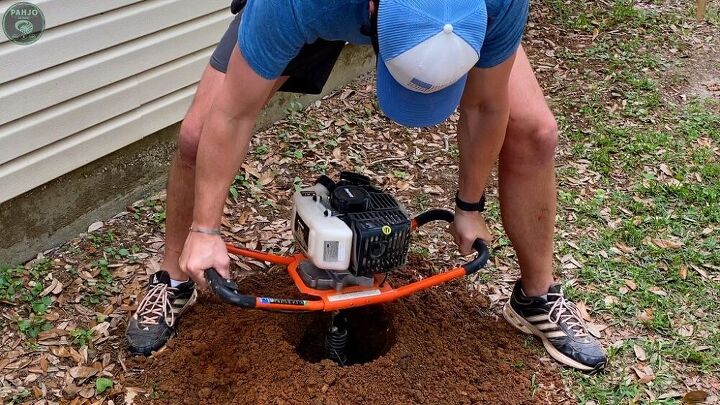
Once I laid out the post hole locations, I used my post hole auger to dig post holes. You can also dig these manually. I bought this post hole auger a few years ago to build a fence in my backyard. I use it very often for planting shrubs and for odd projects such as this backyard batting cage.
Next, I placed a concrete round form in each post hole and used 2 bags of concrete to fill each hole.
After I poured the concrete, I placed an anchor bolt in the middle of the concrete. Also known as a J-Bolt, the concrete anchor allows me to secure a post base to the concrete. More on this later.
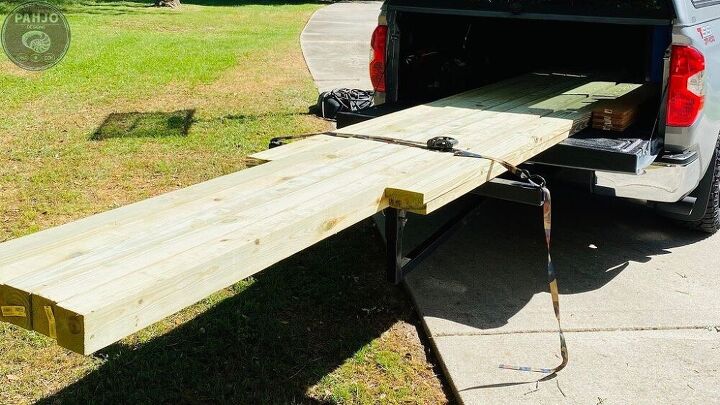
Cut Wood Posts
While the concrete dried, I cut the 4×4 posts to size. I cross cut each post with a jigsaw.
Post Half Lap Joint
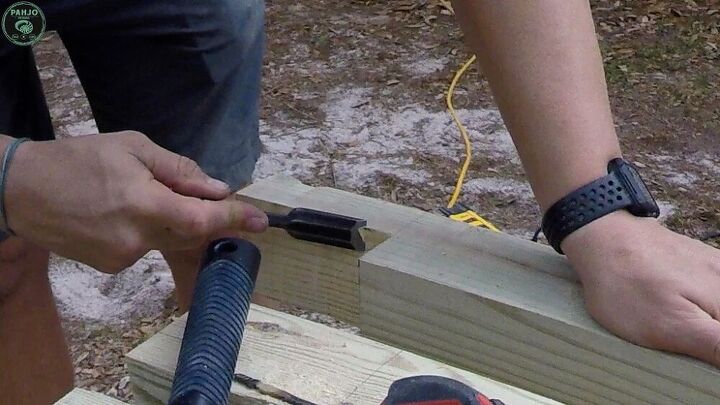
Then, I used my speed square to mark the cut lines for the half lap joint.Keep in mind, the 4×4 post measures 3.5” x 3.5” and a 2 x 6 measures 1.5” x 5.5”.
So, I marked the half lap joint 5.5” from the top and 1.5” from the side. Then, I used my jigsaw to cut along the lines. A hand saw works well to make these cuts if you don’t own a jigsaw.
I like using half lap joints with posts. The weight of the boards attached to the post gets distributed through the entire post.If boards are simply fastened to the post with bolts, the bolts bear the weight.
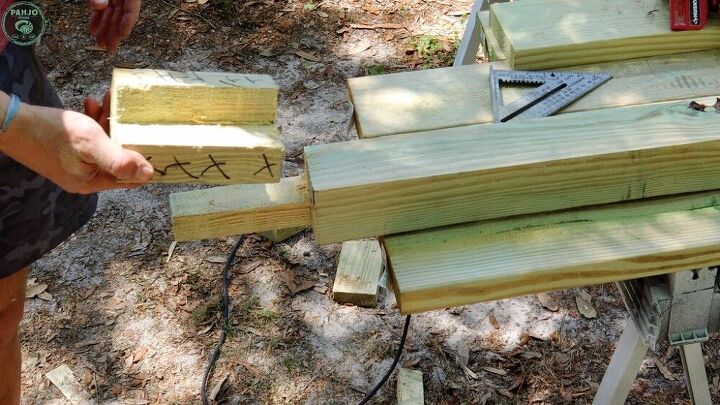
Tricky Corner Post
The half lap joints for the corner posts require one more cut.Ultimately, the corner posts will have a runner attached to it as well as a cross board.Refer to the diagram below. As I marked my lines, I wrote an ‘x’ on the area of the wood post I needed to discard and a ‘check’ for the area I needed to keep.

Install Post Base
Instead of mounting the 4×4 posts in concrete, I chose to use an adjustable post base.Plus, concrete is permanent and I didn’t know if I would need to move the post in the future.Maybe I’ll need to move it to adhere to a building code for the lean-to roof I plan to build.
First, I placed the base on the anchor and hand-tightened a washer and nut to secure it. Then, I repeated this process for all post holes and checked for square when complete with a string.
Once all anchors were in place, I tightened the nut with a wrench.
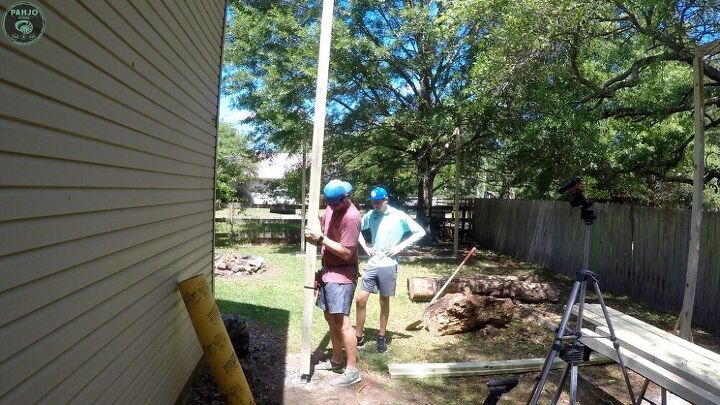
Level Posts
Next, I placed a 4×4 post with a post level on the base. Then, I used 2 boards to hold the post in place and secured the base to the post with structural screws.
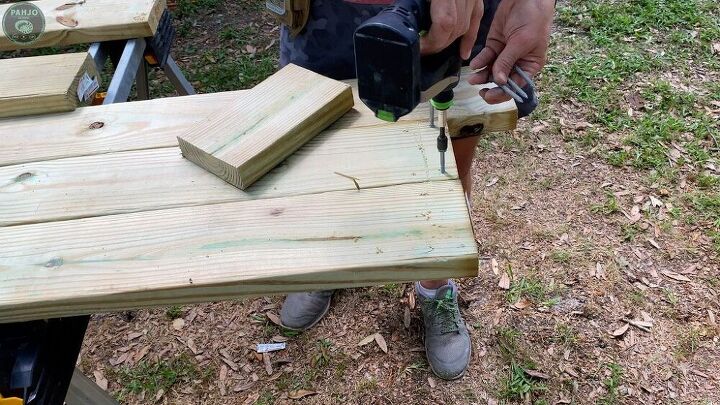
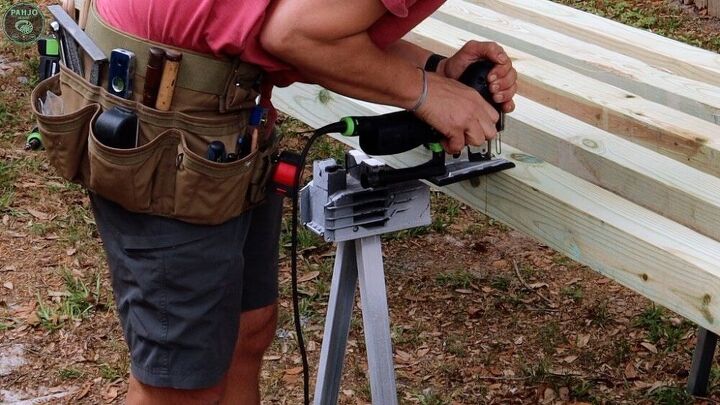
Pre-Drill Holes in Runners
I drilled pilot holes in the runners and cross boards and drilled the structural screws halfway.Obviously, it is much easier to do this while the 2×6 boards are on the ground rather than in the air.
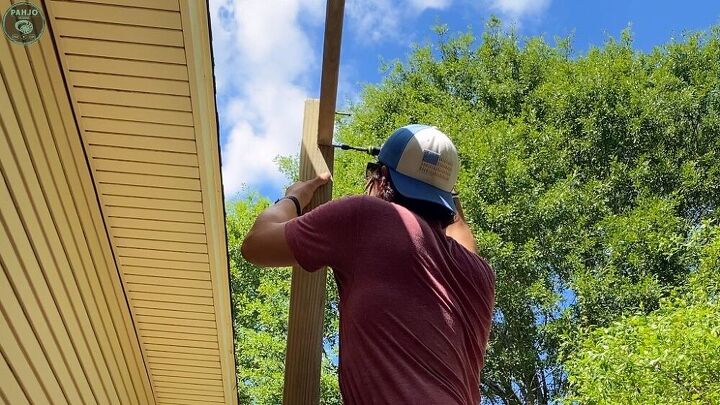
Install Runners
Next, I installed the 4 2×6 runners on center on each post.As I mentioned previously, the half lap joints allow the posts to distribute the weight of the batting cage frame.
Cross Boards
Each end of each cross board requires 4 structural screws.So, two screws attach to the post and two screws attach to the runner.
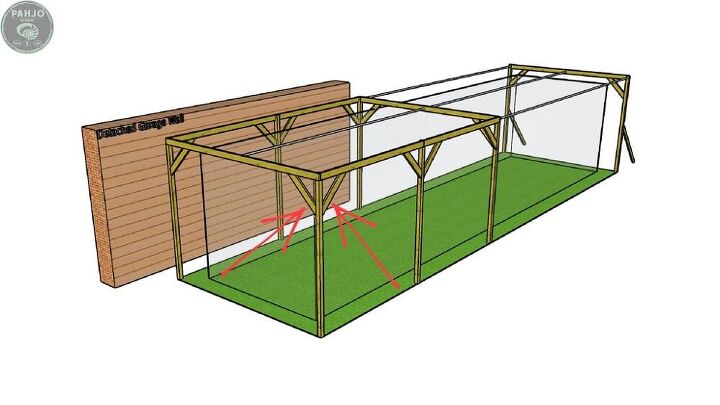
Frame Supports
To further support the rear batting cage wood frame as well as the frame adjacent to my workshop, I installed 2×6 supports. Also, the batting cage support cable will pull on the rear frame. So, I felt it was a good idea to anchor it.
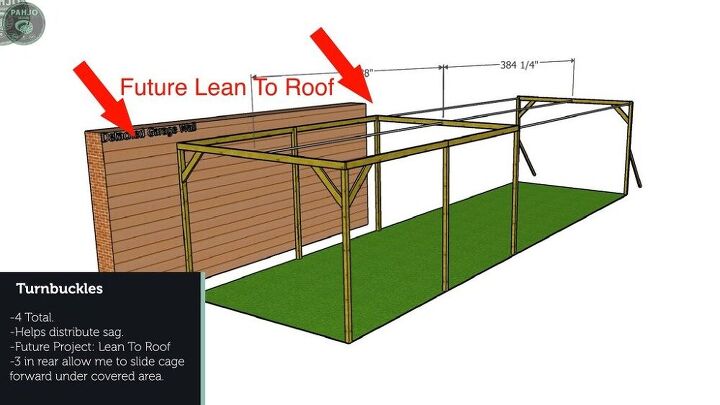
Turnbuckle Cable Kits
To support the batting cage evenly, I installed 4 turnbuckle cable kits. Additionally, the 3 cables allow me to slide the back of the batting cage up to the back of my detached garage. This will allow my 2 sons to use the cage in the rain.
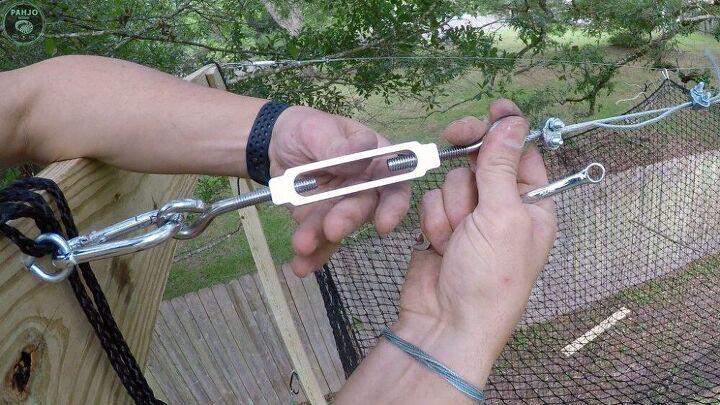
Install Turnbuckle Kits
First, I installed two eye bolts, the cable, and secured the turnbuckles. Next, I tightened the turnbuckles until the cable was taut. To further tighten the turnbuckles, I used a wrench. Once I dropped my wrench, I used my hand. :)
Keep in mind, the turnbuckle kit came with everything I needed to install the cable.
Batting Cage Net
First, this batting cage is 12’ H, 14’ W, 55’ L.
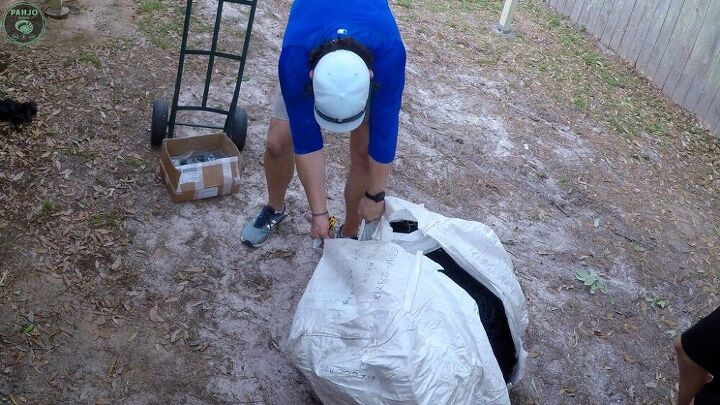
The batting cage arrived rolled up in a package and I used my dolly to move it to the batting cage location. Obviously, this batting cage is heavy – very heavy.
I elected to get the KVX200 batting cage net instead of the HDPE batting cage.
HDPE is the standard outdoor cage and stands for High Density Polyethylene. Additionally, it has a UV stabilized coating and holds up well to the outdoor elements.
So, I chose to purchase the KVX200 batting cage net for a few hundred dollars more. The KVX200 net has embedded UV inhibitors directly into the fibers of the net. Plus, the carbon based dye adds additional UV protection.
Hang Batting Cage Net
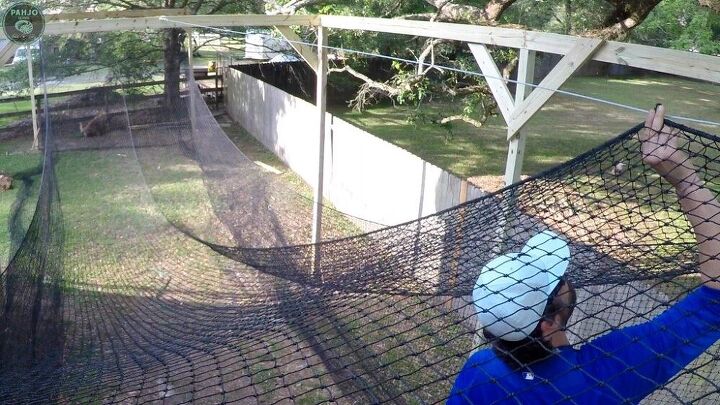
My son and I located the front and rear of the net.
Next, we stretched out the batting cage net and tied each corner to the batting cage frame.
Then, I evenly spaced batting cage hangers along the front, back, and sides of the net.
I attached the hangers to the cables and adjusted as needed.The picture below shows me using a clip directly attached to the batting cage net, but this was a temporary solution until the batting cage hangers arrived.
Batting Cage Sag
After experimenting for a short time, I concluded the batting cage should sag roughly 12 inches to 18 inches in order to absorb the baseballs and softballs.
If the cage is too tight, balls bounce off the net. However, the balls will hit the posts if too much sag is in place.
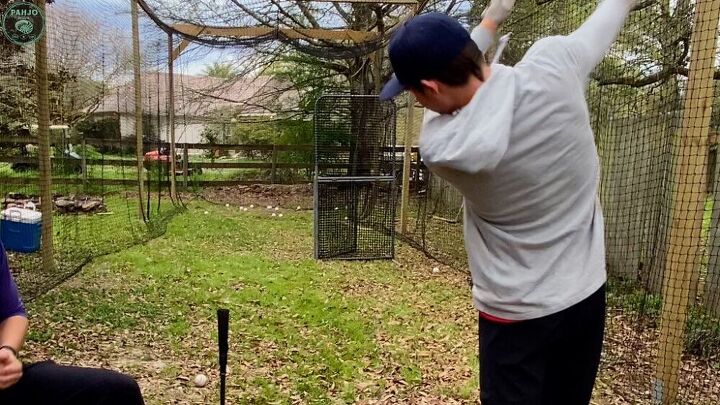
After I hung my batting cage, the size shrunk a little to 12 feet wide and 11′ tall. Also, the pictures show the batting cage with sag.
In summary, I hope my backyard DIY batting cage with wood posts tutorial helped you. Additionally, this is a great project to do with your baseball or softball player to spend quality time playing in the backyard.
In closing, I hope this HT tutorial provided you with value and the tips/techniques help you. Visit my blog for more DIY tutorials.


Comments
Join the conversation
-
Nice build and when you get tired of the cage you can go out get some nice hurricane fencing and make a dog run for the dogs you want lol. :)
-
Awesome job


Frequently asked questions
Have a question about this project?