


How to Paint a Plastic Mirror
Hi Friends,
I’m back from my mini vaca! It doesn’t feel like I have been on vaca, lol. I have been working on smalls, lots of painting and selling on Marketplace. I have been trying to clean the clutter around here and focusing on getting things repaired or painted on whatever needs to be done.
I also have a free printable for the first day of spring at the end of this post if you are interested! Thank you so much for following me!
So let’s get started.
When I moved all the old windows out, I found quite a few mirrors. 7 to be exact. Sometimes I think I am a hoarder! I am, however, getting projects done and sold. Always a great feeling.
Sorry, back to the story. In my stash of mirrors was a large, very heavy one. After I bought it, I put it away to come back to later. And I did, lol, many many years later.
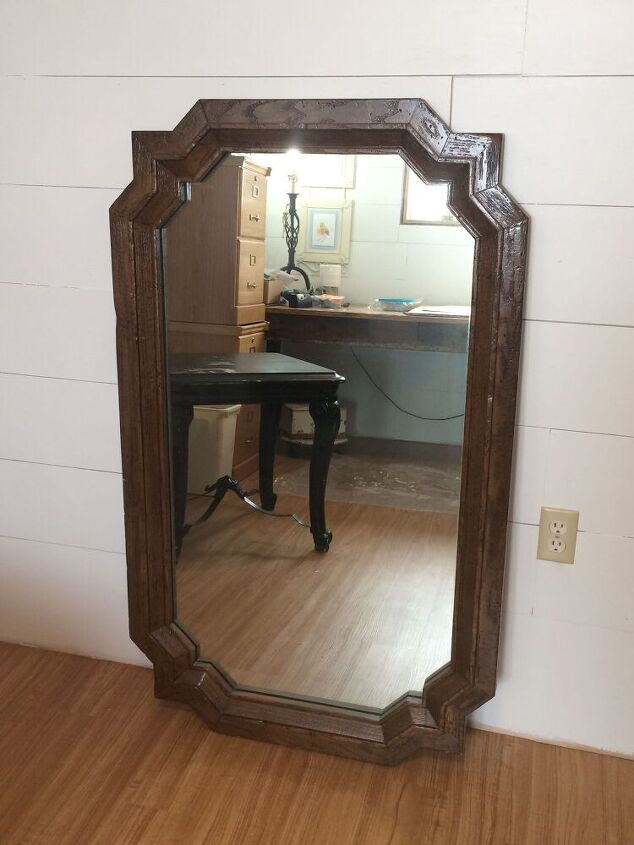
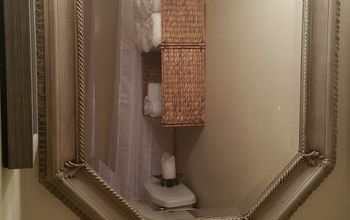
It’s an outdated mirror for sure, made of heavy plastic but it was a very simple project! I just needed to clean it and paint it!
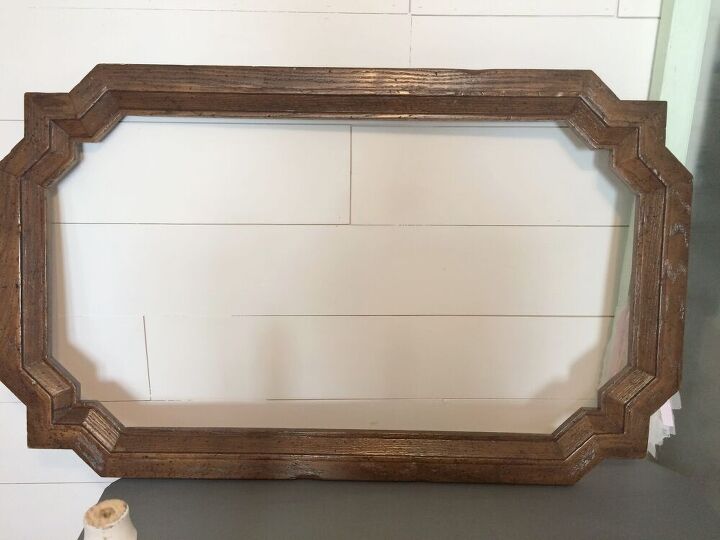
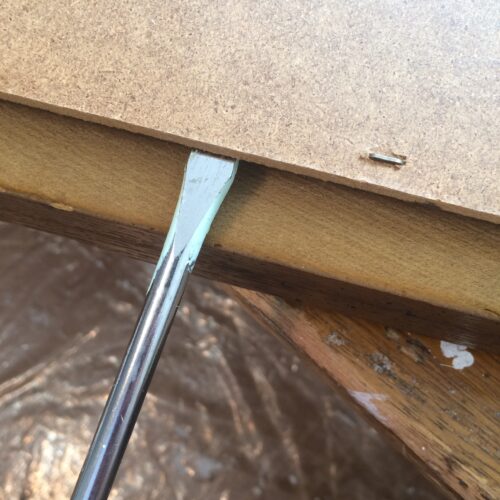
I took the backing off, cleaned the frame and the mirror.
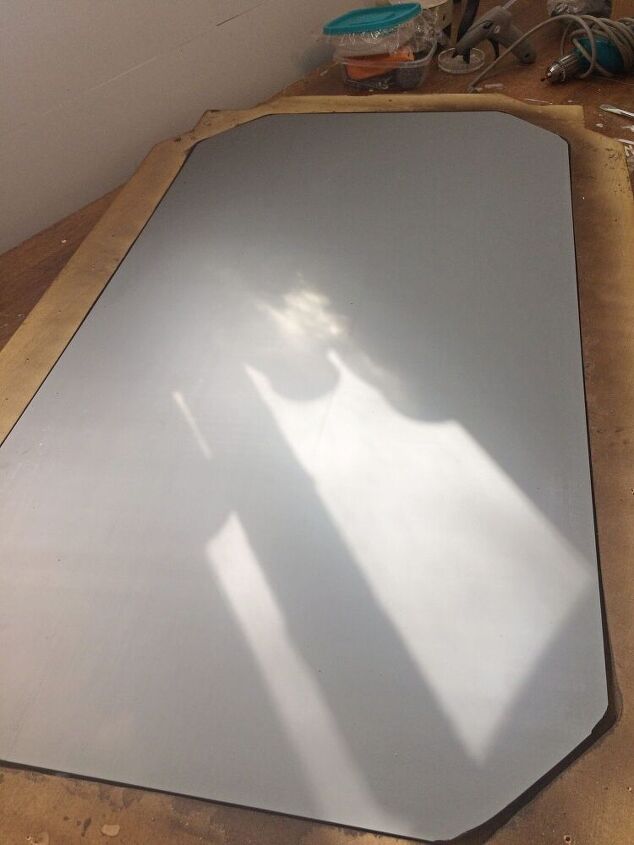
That mirror was so heavy.
So easy to take the backing off. I just marked the top on both the mirror and the frame so I could put it back exactly the way it came off.
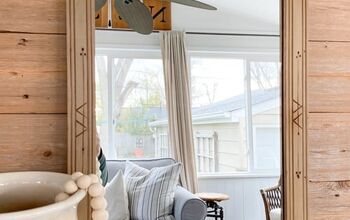
I’m not a fan of the brown, and you guessed it, I painted it white!
I hate sanding, so after I cleaned the frame, I painted it with Rust-oleum chalk paint in Linen White. It sticks to everything. I painted only one coat and let it dry.

Once that was dry I came back and used ColorPlace in White from Walmart. I had this paint and Rust-oleum on hand so I didn’t have to buy any!
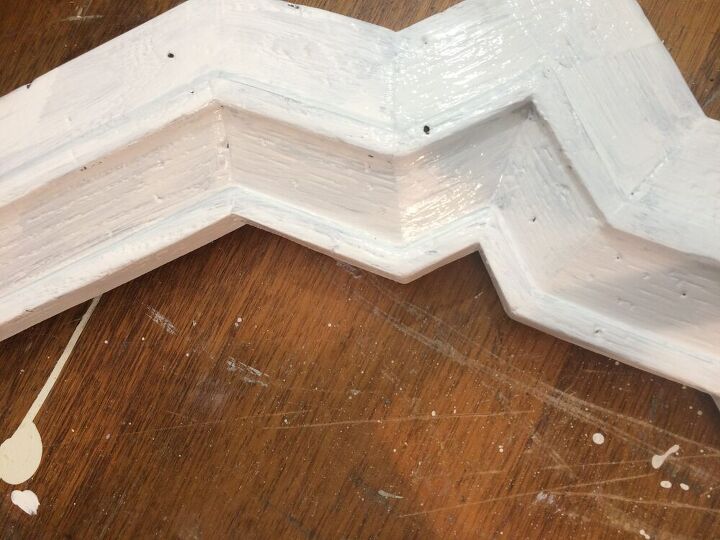
I didn’t have to worry about the brush strokes because this frame has a texture to it! I applied two full coats to the frame and still had to go back and touch up some spots.
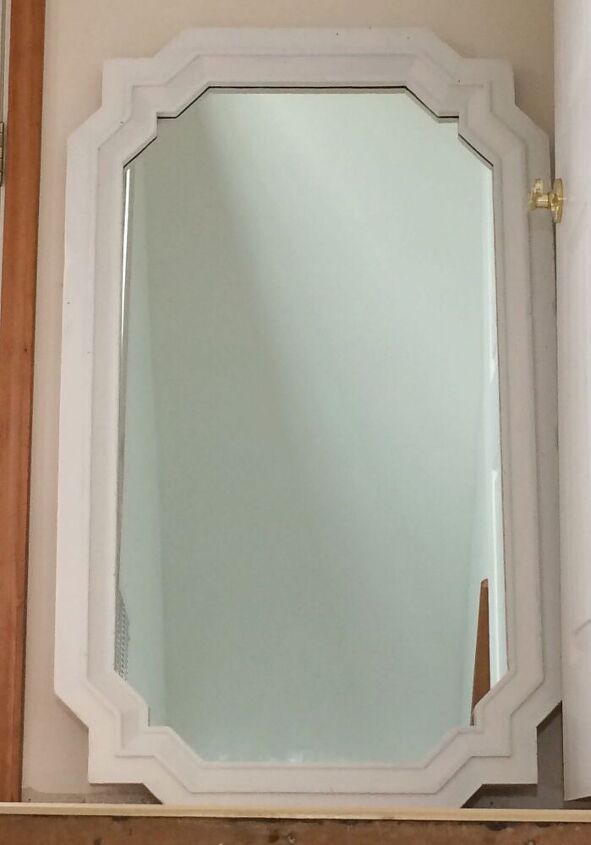
Now you could go in and distress it or add something to the mirror, like a transfer or so many other possibilities but I just painted it white and left it at that. My daughter and I didn’t think it would look good distressed so we left it as is.
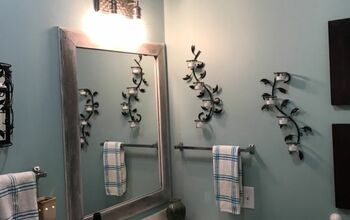
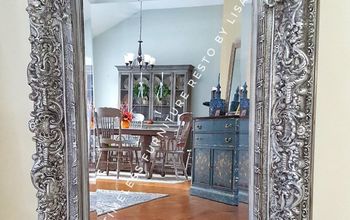
I didn’t want to hide it away again where we wouldn’t see it or wait for my daughter to get a place of her own, so we found a place at the top of our stairs. It brings in a lot of light and I love it!

It has a hanger on the back but I plan on putting another project above this mirror. You can read that project here. I didn’t want to take a chance on it falling, so I put a couple of heavy-duty felt pads down on the floor.
Now that the mirror is on the landing you can tell the wall behind it needs to be painted and I still need to put trim up and finish the stairs.
A little side note: I was telling my daughter that I was going to take the backing off the mirror so I could paint it all white and it wouldn’t show the brown color through the mirror. I finished it and put the backing on. Took a couple of days to figure out where we could put it and had my daughter come check it out. Guess what. I painted the frame white but I didn’t paint the very back of the frame which is where you can see the brown come through. Sigh. My daughter said not to worry about it because it still looked good.
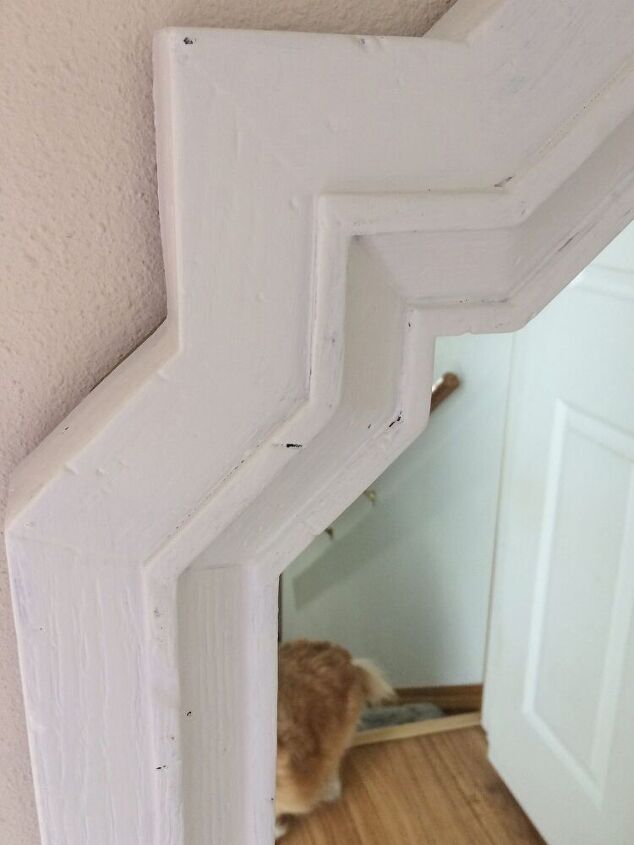
I like the texture coming through.
So keep that in mind if you don’t want to see the original color of the frame come through, you will need to paint the back also. It doesn’t bother me, too much, lol.


Frequently asked questions
Have a question about this project?