


Tips for DIY Cutting Plexiglass
Hi, I'm Liz from Simple Decorating Tips, a DIY and decorating blog.
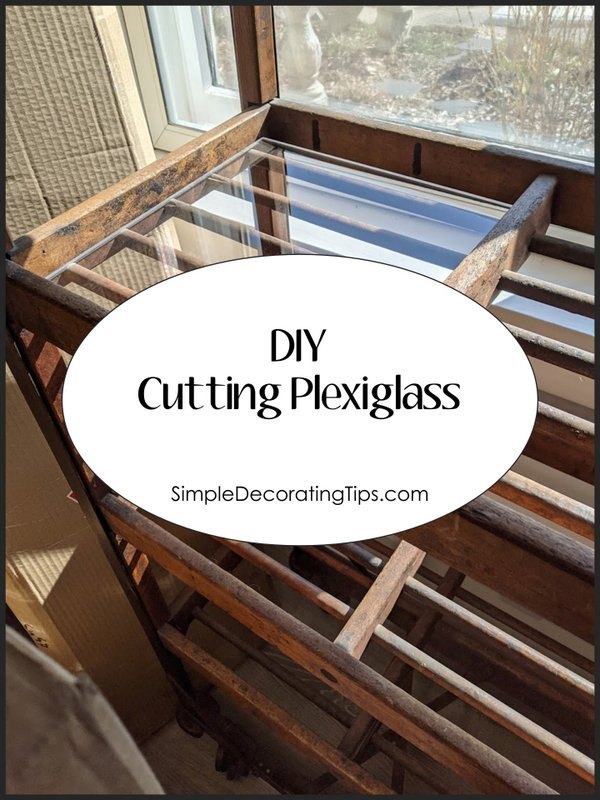
Have you priced custom sized plexiglass sheets? I was shocked when I got a quote from the local glass supply store to line these 4 shelves with 1/4″ plexiglass cut to size! Instead, I went about figuring out how to do it myself… Here are some tips for DIY cutting plexiglass, it worked out great!
This cute antique shoerack really came from a shoe factory. I knew a gal that bought a stash of these from a shoe factory long after they closed. I bought it from her for less than $20!
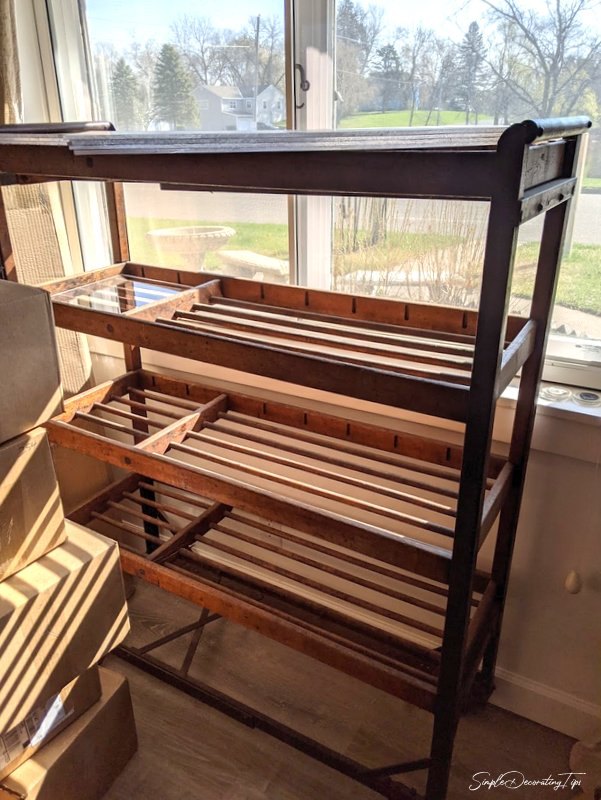
That was like 30 plus years ago… We’ve used it for keeping shoes on as well as multiple different storage purposes.
But…
it always had an issue…
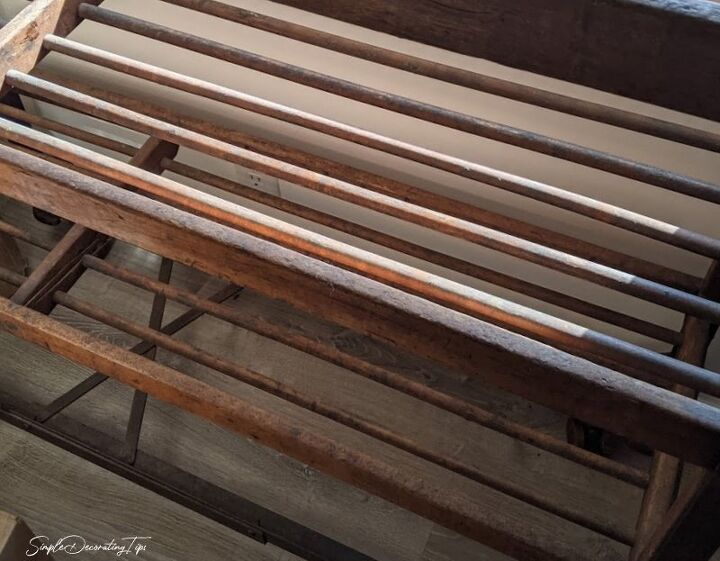
The wooden dowels that comprise the shelves have large gaps in between them, causing things to drop through or sit cattywampus.
My new purpose for this shoe rack demanded nice flat shelving. (See further down for what that new purpose is, I’m super excited about it!!)
I love the look of the dowels, so didn’t want to just lay wood shelving or something across them and lose that charming look of the dowel shelving. That’s where plexiglass came it.
However, when I called the local glass company for a price, I about fell off my chair! They wanted almost $400 to cut the pieces to fit in these 4 shelves. YIKES!
Next thought…
Look online…
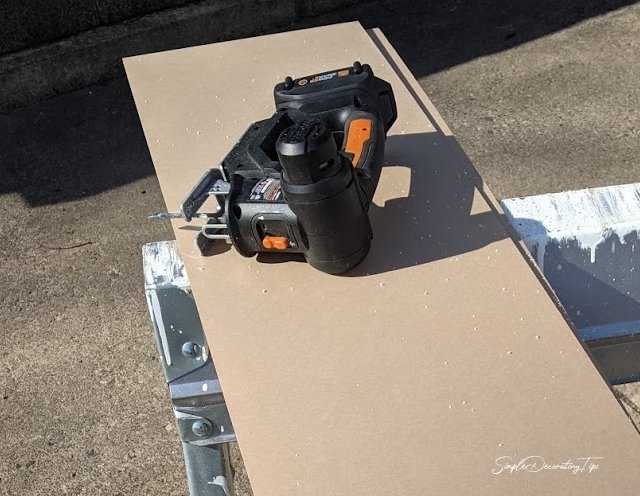
I found 12″ wide pieces that I could buy in lengths a little longer than I needed for my shelves. I just needed a way to cut them to the exact right length. The plexiglass I wanted is super sturdy 1/4″ thick, so it won’t bow and bend on the shelves.
With some research I found the special jigsaw blade specifically for cutting plexiglass.
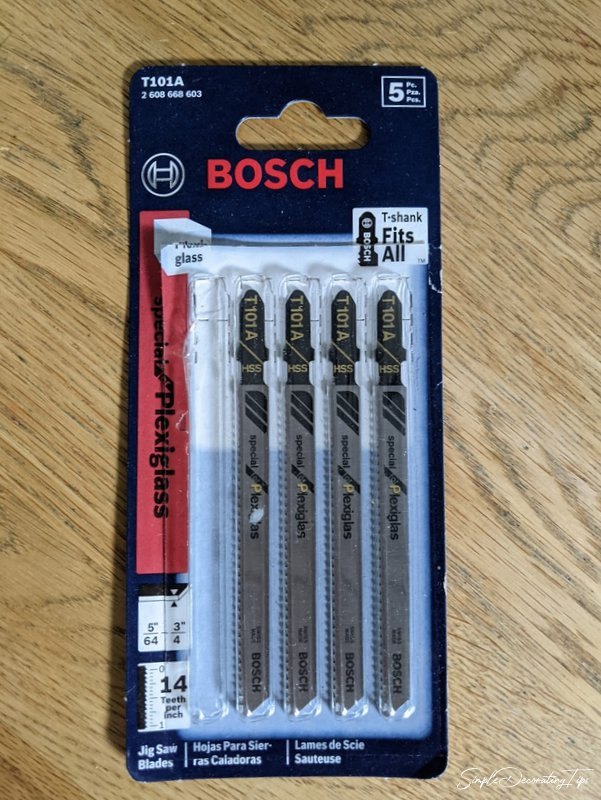
The plexiglass was shipped with a plastic and paper liner on both sides to protect it from scratches in shipment. We left that on when we cut it.
After measuring and marking the plexiglass, (super easy to just mark right on the paper), the battery operated jigsaw with the special plexiglass cutting blade inserted, cut through it really well.
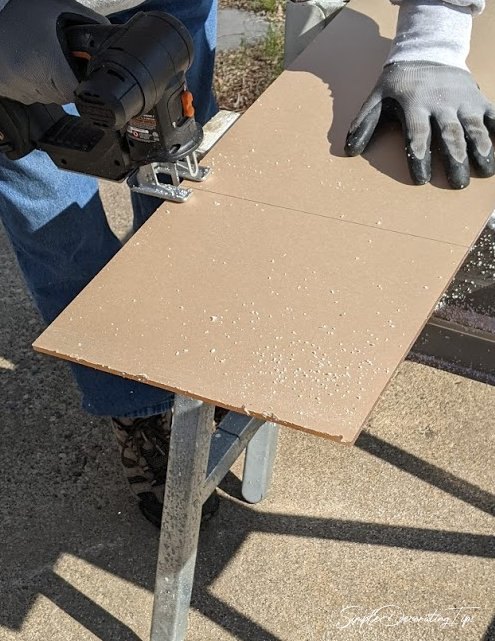
The hardest part is to get the cutting line started.
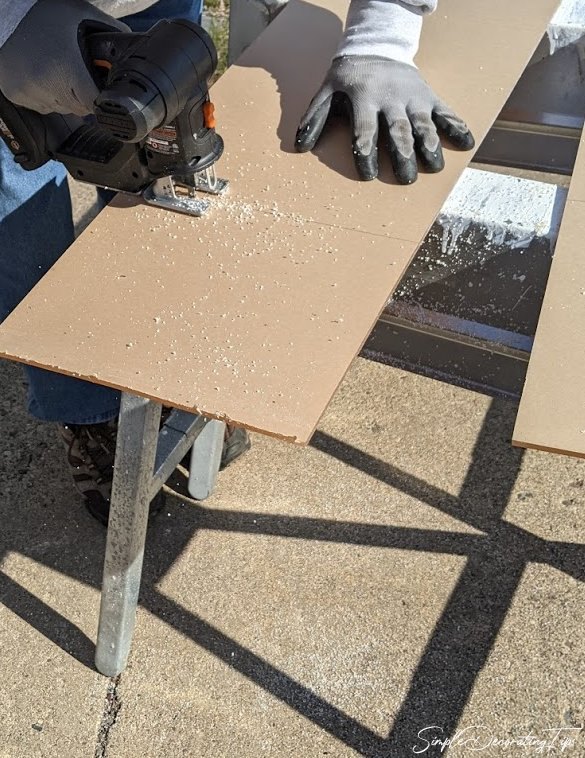
Then just following the line it zipped through, and left a fairly clean cut. For my purpose, the plexiglass edges are concealed inside the wooden edge. If the plexiglass edges were more exposed, I could easily file them to remove the sharp edge.
Want to see how easy it was to cut through? I couldn't post it here, so you'll need to pop over to Simple Decorating Tips to see it on the post there.
After the plexiglass was cut, I just had to peel off the paper/plastic liner.
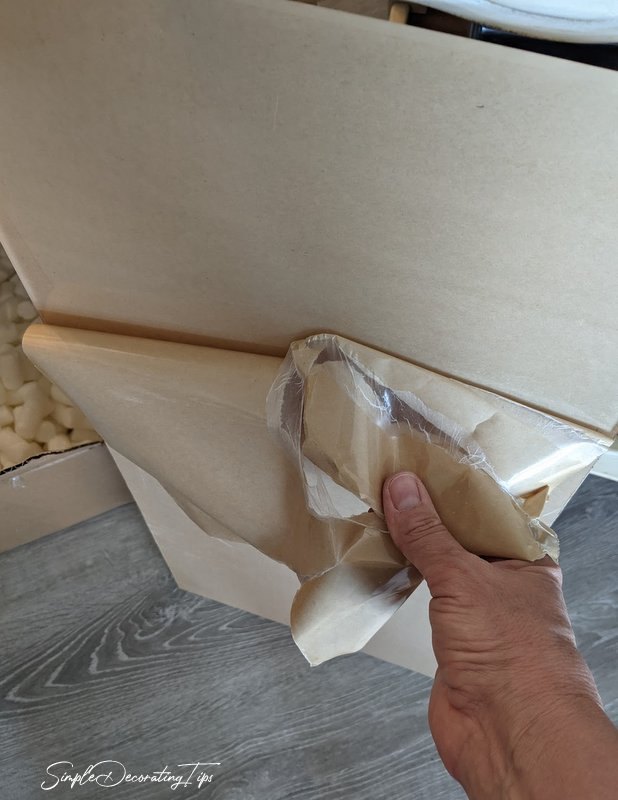
It was stuck on pretty good, but not too hard to pull off. The directions did say that if it is too difficult to remove, you could soak the plexiglass in water for a bit to loosen the liner.
So…
What am I going to be using these shelves for???
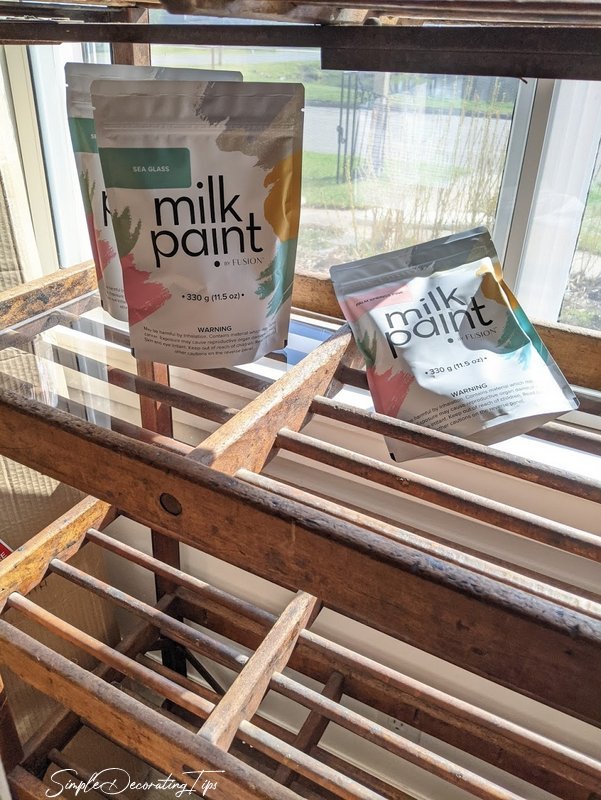
To display the pouches of Milk Paint by Fusion I am now stocking in my Frame and Frills studio! This picture above shows how the packets fell through the spacing, but sit nicely on the plexiglass.
Along with Fusion Mineral Paint, Milk Paint by Fusion is amazing! Inside each pouch is the milk paint powder, you just add water to mix up the amount you need, and can seal up the remaining powder in the pouch indefinitely until you need it for another project.
There are so many amazing things about Fusion’s milk paint. The color is derived from highest quality finely ground minerals! It’s natural, no VOCs, good inside and outside, and it won’t peel, or fade from the sun. You simply mix it with water to create paint 1:1, or to create a stain, 3 parts of water to 1 part of milk paint powder to create a natural water based stain!
No priming necessary! Milk paint goes directly on raw wood and concrete. It actually bonds with the wood fibers and becomes one with it. You can paint it over previously painted things too, but the ability it has to really absorb into the wood and never peel is amazing! No brush strokes either.
You can top coat milk paint with any type of finish you like. For inside, waxes, hemp oil, water based poly are all great. Outside, tung oil is a terrific option for a top coat.
I’ll be sharing a milk paint project with you in the next few weeks! Something I’ve been working on in the studio!
Want to see all the colors I have in stock for milk paint? You can check all the Fusion Mineral Paint products I have stocked in the studio and online HERE at my business website FrameandFrills.com. (I have Mint Decoupage Papers now too!)
.

Comments
Join the conversation
-
The more teeth the blade has the finer the cut. I have use a jig saw. The secret with cutting anything with a jig saw is to let the saw do the cut. Don't force it, apply slight even force. I also use a band saw for cutting plexiglass. I found over time a fine tooth blade BACKWARDS in a table saw will do the trick. For sharp edges that won't be seen just run some sandpaper with one pass. If you want clear polished cut edges use the heat, not flame, of a propane torch. Pass the heat over quickly so not to melt the plexi


Frequently asked questions
Have a question about this project?