


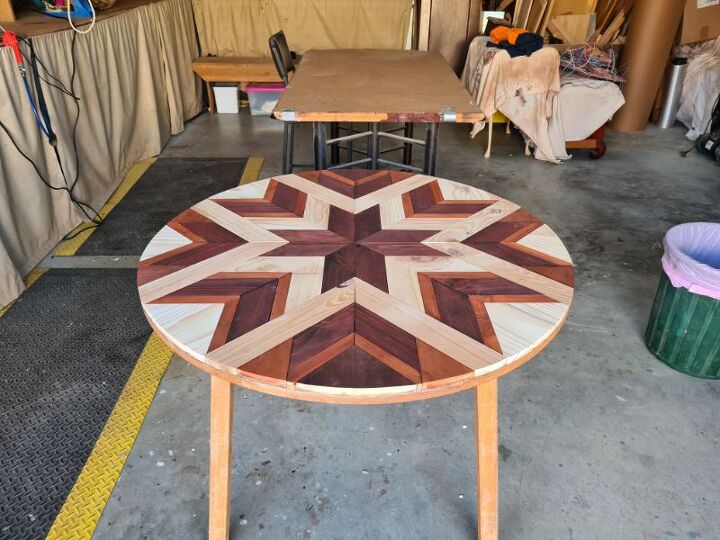
Round Barn Quilt Table
At the moment my wood scrap heap is getting too big, so I needed to thin it out. Barn quilts are a great project to make to use up your scraps. I had an old round table that I was given and thought it would be good to try a round barn quilt table.
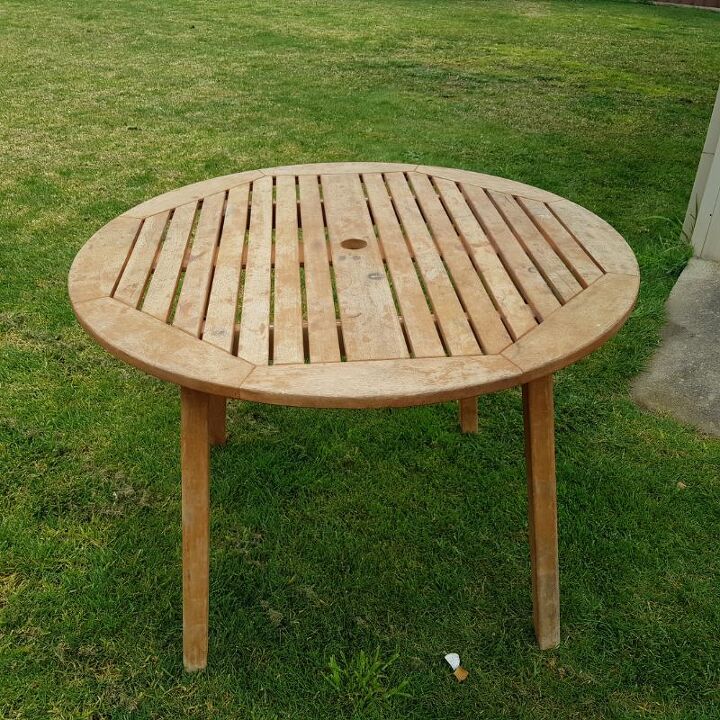
I used this old outdoor table that I was given for free as the base for my table. It had seen a better day but the structure was still good.
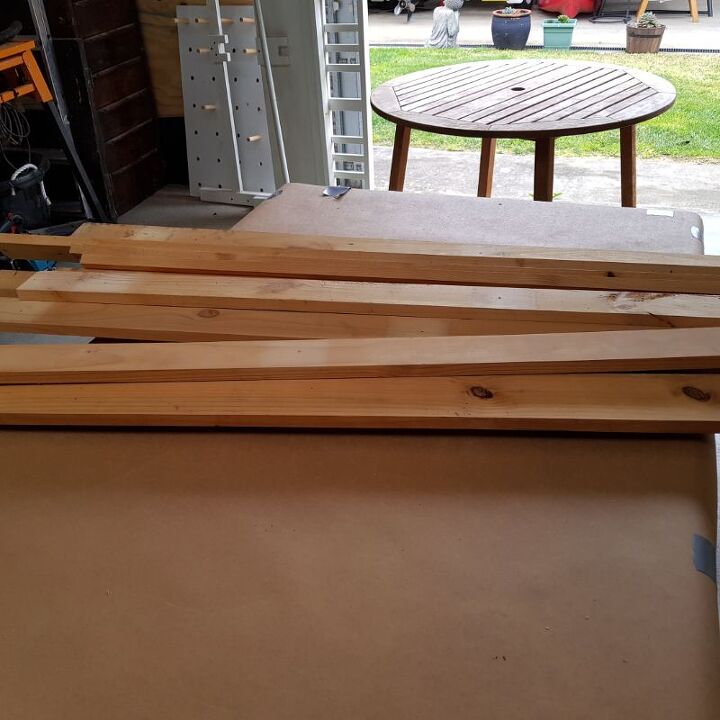
The main wood I used for this project was old bed slats. I did not have enough to do the whole project and did have to add some different wood to fill in the gaps. But once stained it just added to the effect.
Cleaning the wood
If you are lucky enough to have a wood planer this is the best way to clean up your wood fast. A few passes through the wood planer and your wood as good as new and all the same thickness. I would highly recommend that you prepare extra wood from the start, in case you run out. To have all your wood the same thickness is important when making a table because you want your surface to be flat so glasses do not tip over.
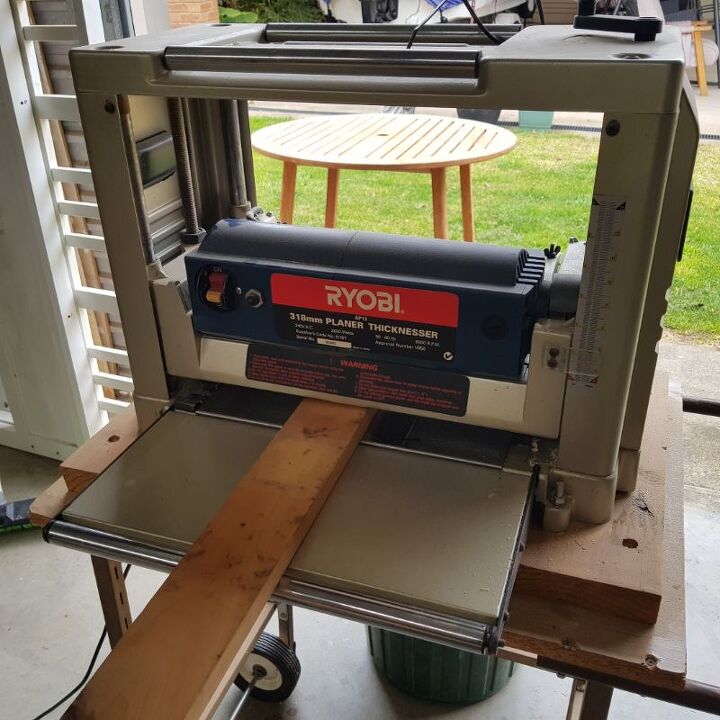
Once all the wood has been put through the planer you can now sand the surface smooth. I tip I pick up, is that it is a good idea to sand both sides of your wood. Because of the angles, you do have to flip them at times to fit. This will save time later.
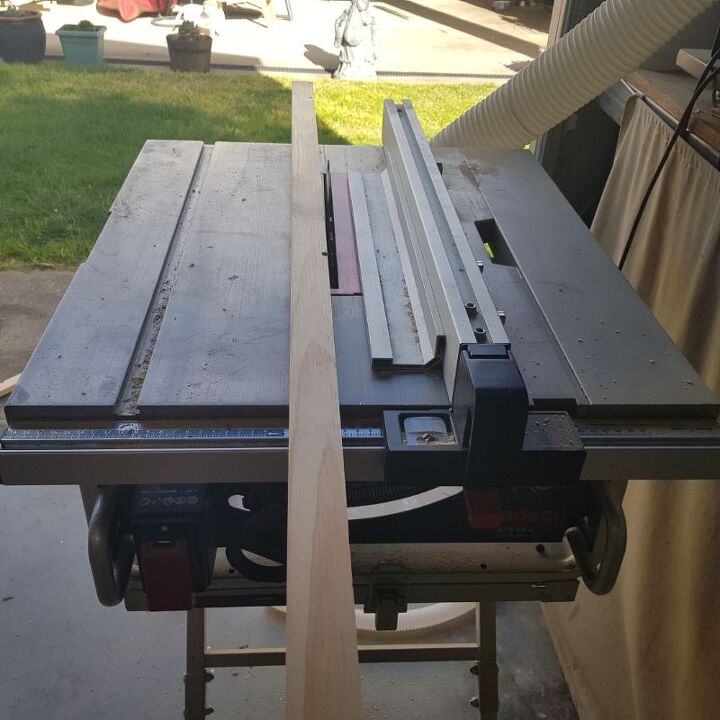
Cutting your wood
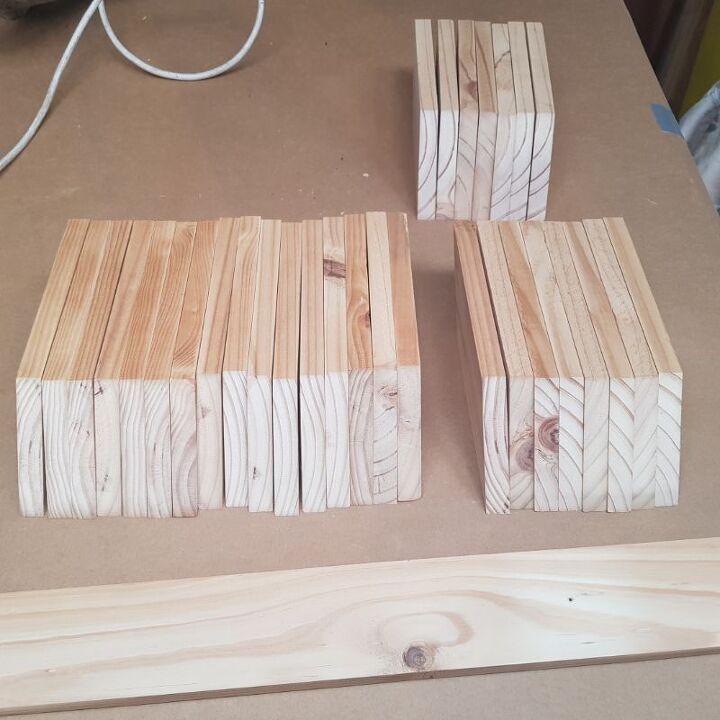
The size you cut your wood will depend on the design you want to create. For a table I would recommend cutting longer and thicker pieces, this will make it easier to keep the surface flat. I cut some of the pieces in half using a table saw. Different sizes will create a more interesting pattern.
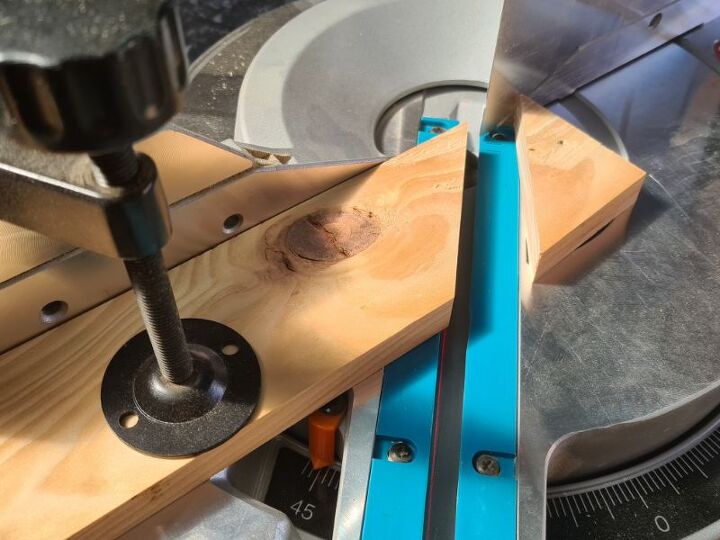
Next, you can cut some of the wood into smaller sizes. At this stage, I only cut a few at a time while I worked out the design I want to create. You can cut the wood at any angle that you choose, but they must all be the same to fit together. I like to do mine at 45 degrees. I used a mitre saw, but this can be done with a hand saw and mitre saw box.
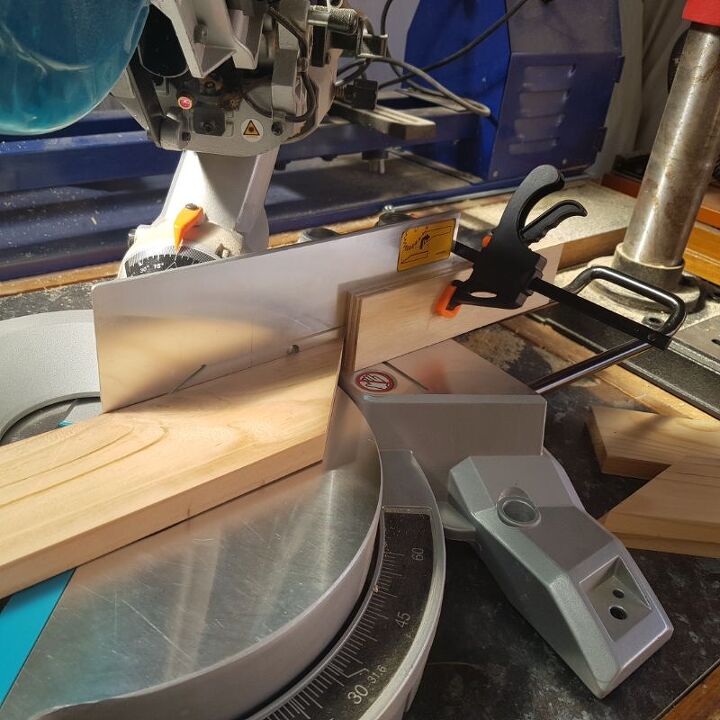
To keep all the wood the same size you can set up a stop block on your drop saw. Another tip is to make a mark in pencil on the saw fence in case you have to go back and cut more pieces.
Once you have your wood cut you can start creating your design.
Create your design
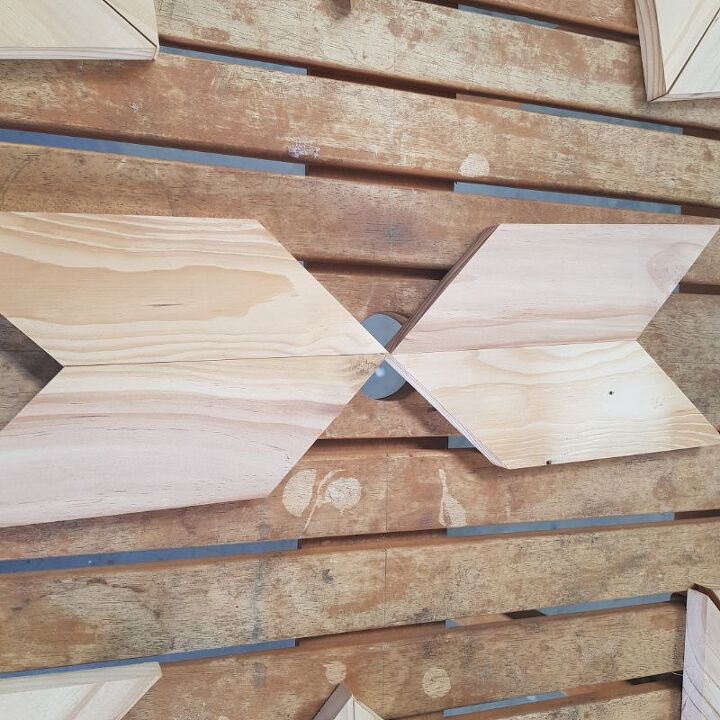
To keep your design straight you need to add guidelines to the table surface. Using a pencil, divide it into 12 “pizza Slices”. These lines will be your guide when creating the design. The easiest way to start your design is by putting two pieces together in an arrow shape. You need four of these to start. Using the lines to line them up. You are not glueing the wood yet, we glue when we have created at least 80% of the design.
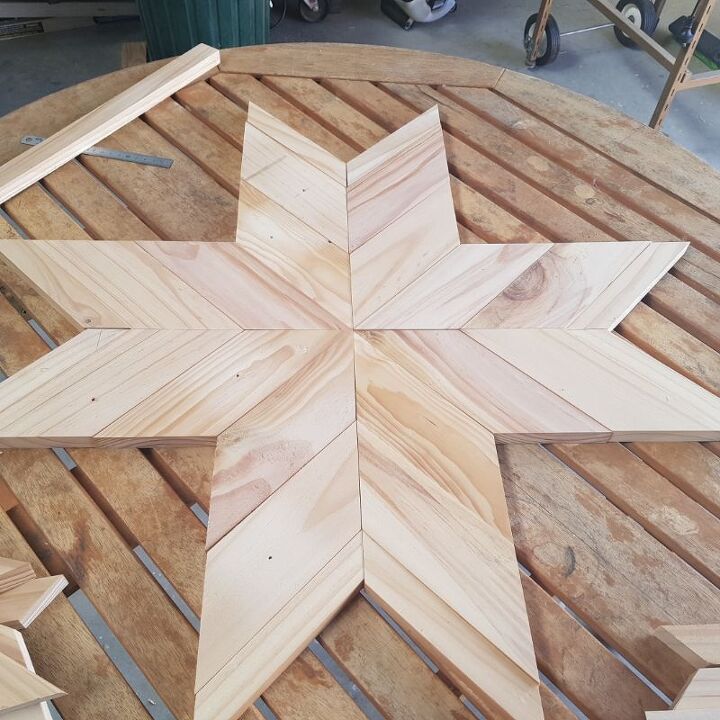
You can make more arrows and add them to the design, as shown below. The width can be any size as long as the angle is the same, they will all slot in together.
I kept moving my design around until I was happy with the pattern. This is a basic design that should be easy to follow from the image above.
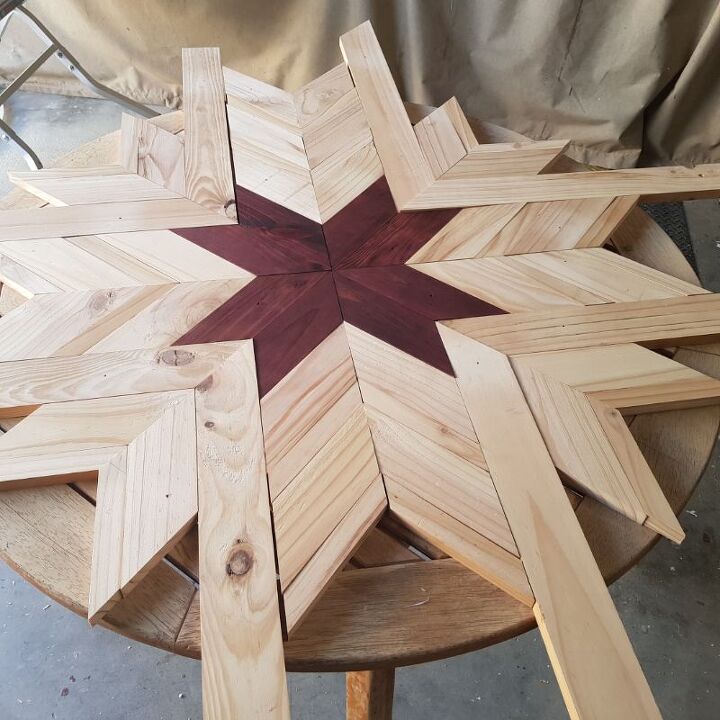
The design will start to get a bit tricker as you come to the edges of the table because of the shape. I left a handover at this stage until the whole design was complete. As careful as I was to keep the design straight, mine still went out a few millimetres at the end. To solve this, I had to cut the wood to the size of the gaps for the last few pieces.
I also ran out of matching wood and had to use a different type to fill in the gaps. This does not cause an issue but will add to the design in the end. It is a good idea to take a photo of your design before you start moving them for glueing, so you know how they go back together.
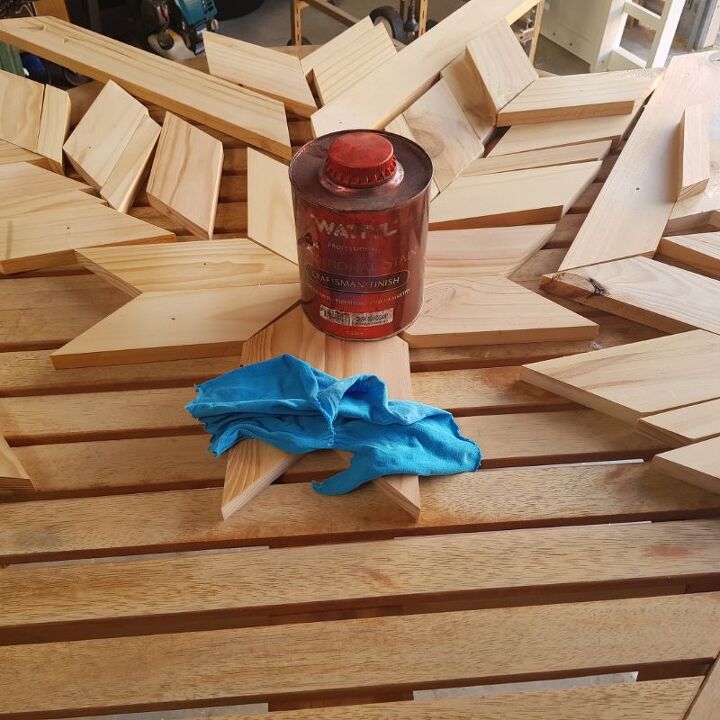
Staining the wood
This is the fun part of the project, and the most creative. Once you start adding the colours you will see the design come together. A good tip is to stain the sides of the wood as well. This will disguise any small gaps you may get.
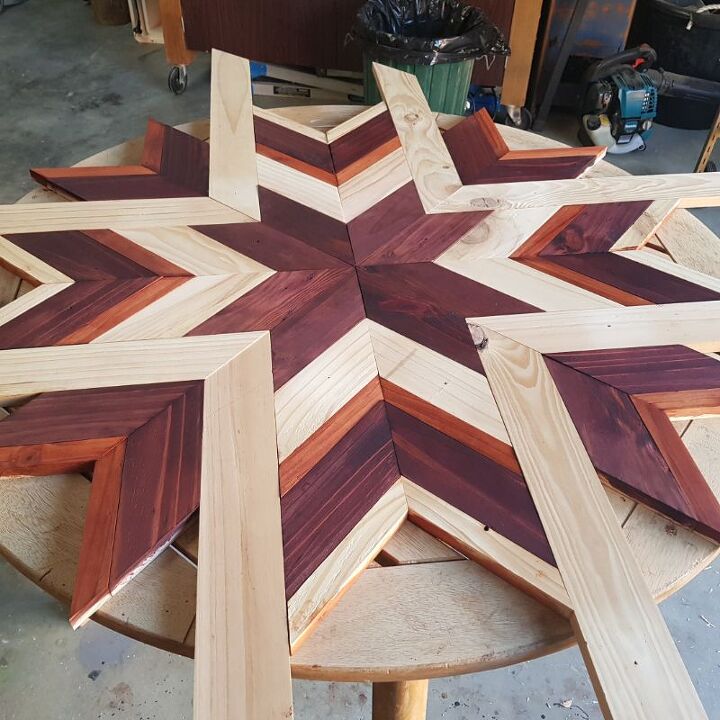
I used dark mahogany, cedar stain and left some wood plain. Start in the middle and glue the wood to the table as you go along using the pencil lines as a guide.
Glueing the barn quilt table
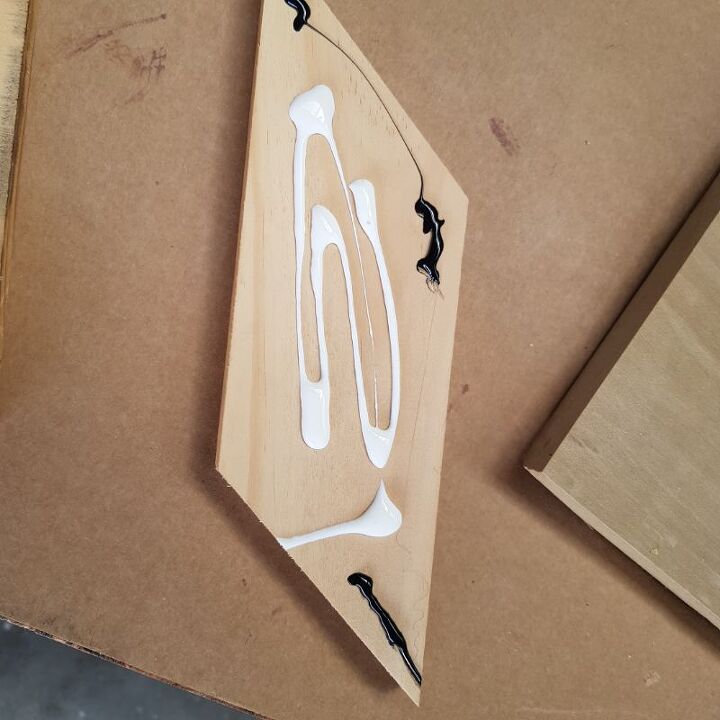
To glue the design I used wood glue with a small amount of hot glue. The hot glue will hold the wood in place while the wood glue dries, so you can continue. You can still change the colour at this stage by flipping the wood over and staining the other side. I did this a lot and it helps that the wood is already sanded.
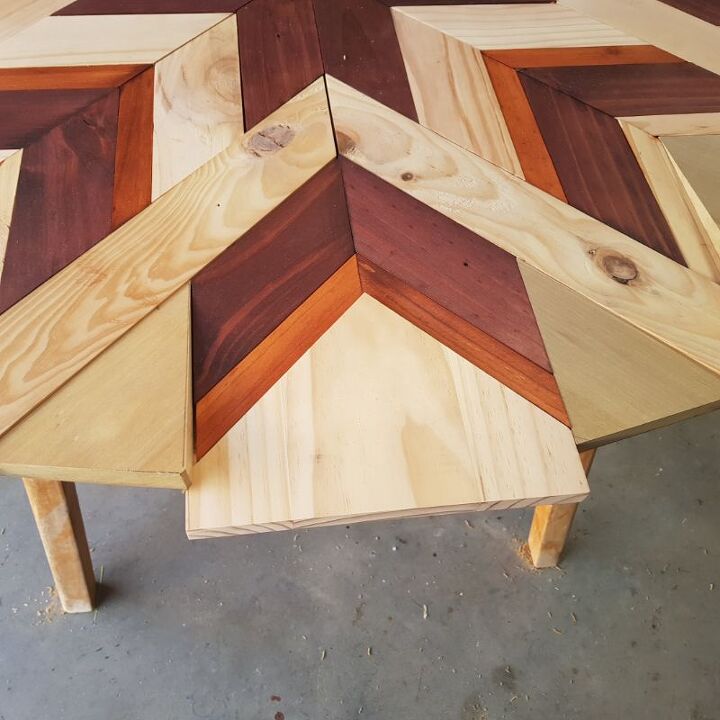
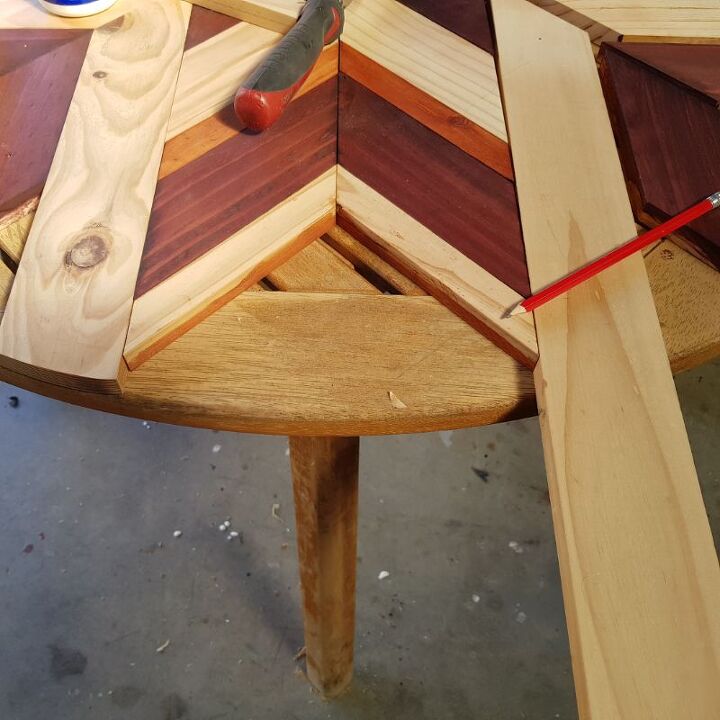
Shaping the last pieces
To get the round curve on the barn quilt table each end piece must be cut to size. Put the piece of wood in place and use a pencil and draw a pencil line on the bottom using the table shape as a guide.
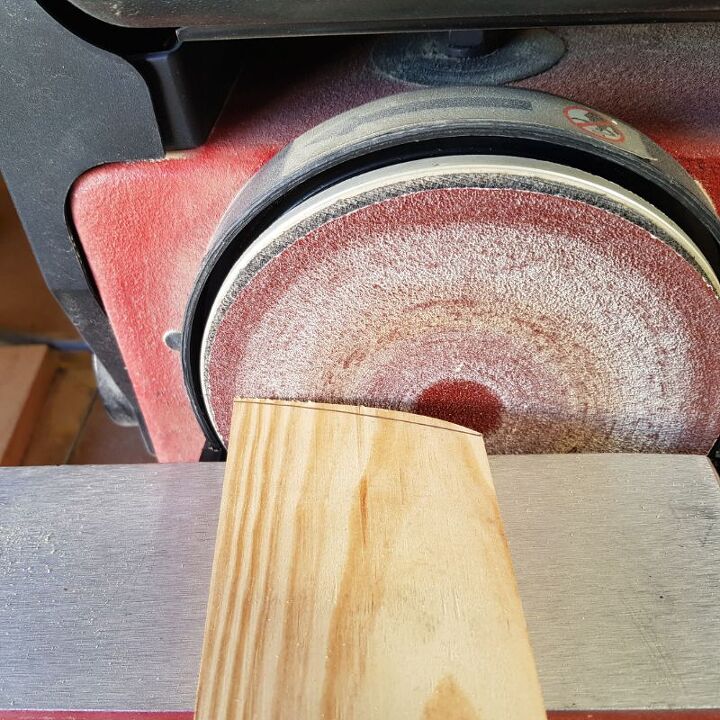
I am really rubbish at cutting straight with a jigsaw, so I cheated and used a benchtop sander. I used the line as a guide and sanded away the excess. If you don’t have a benchtop sander you can use a hand sander.
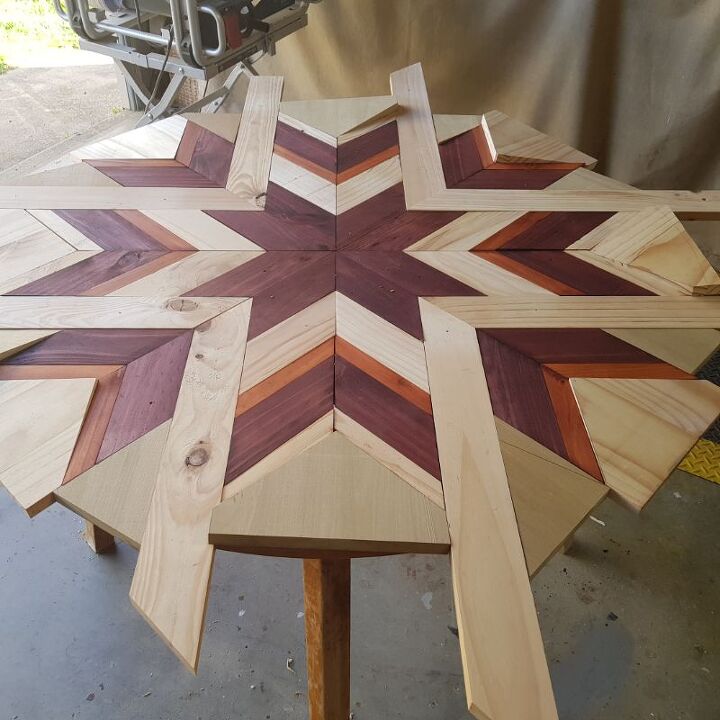
You have to repeat this step with every piece. Please ignore the chaos in my workshop. lol
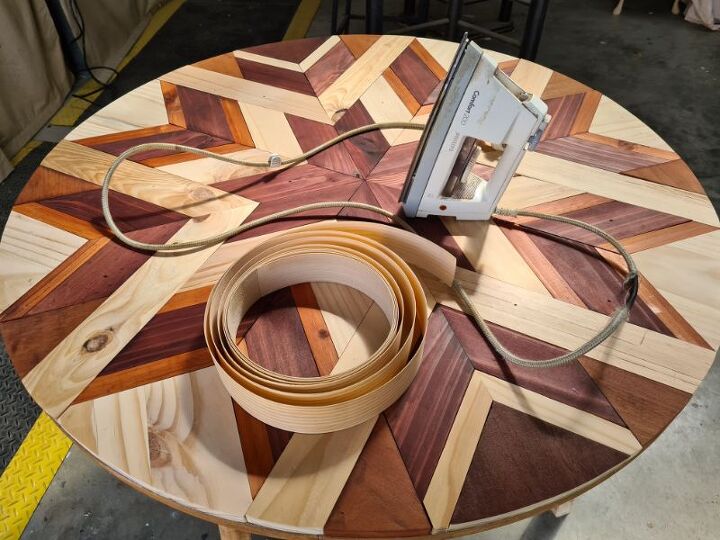
I added veneer tape to the sides to hide the different layers of wood.

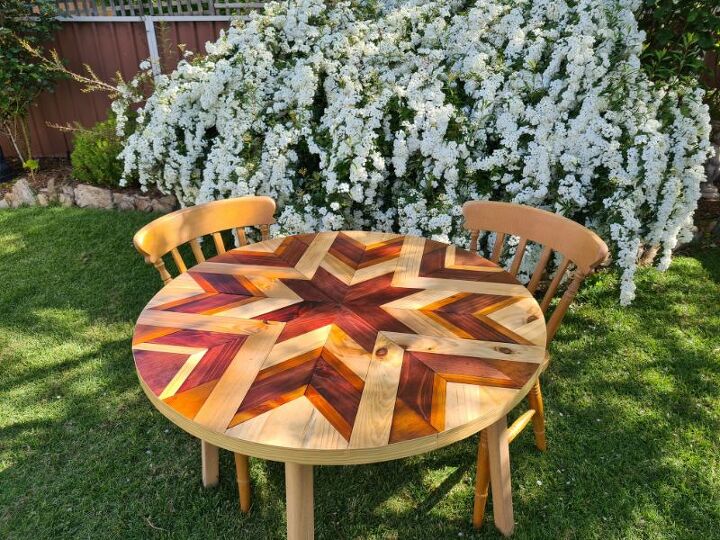
Sealing the barn quilt table
To protect the surface and to make the colours pop, I added 2 coats of oil-based varnish. I sanded and sealed the legs of the table to finish it off.
A more detailed tutorial and more great pictures are available on my website listed below. Your cost to make this project will depend on the materials you have at home.
More project ideas for you
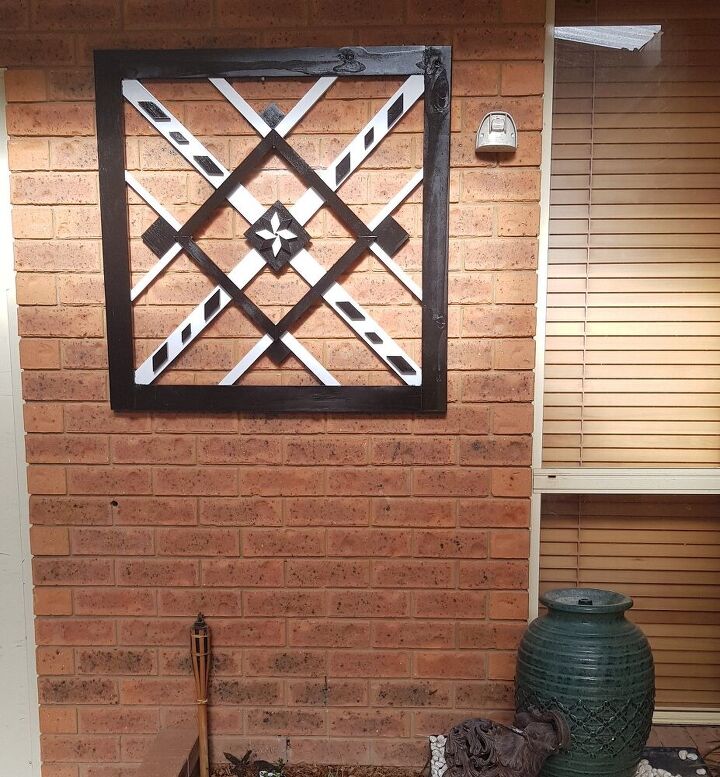
This is another wall hanging made from recycled scrap wood.
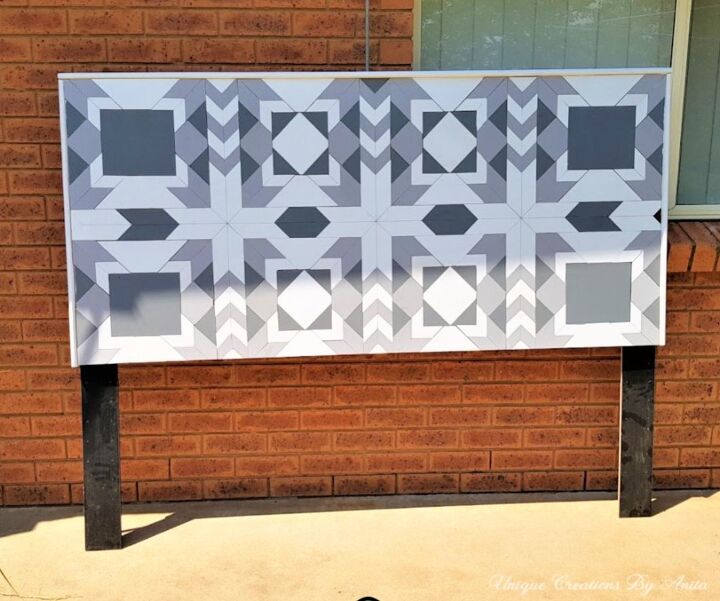
If you want to be more adventurous this barn quilt headboard could be a great project.
Resources for this project:
See all materials


Comments
Join the conversation
-
Phenomenal!
-
Oh my!! How beautiful!! Your project and skills are AMAZING!!! I wonder, if perhaps you have ever done painted quilt squares for barns or other outbuildings?


Frequently asked questions
Have a question about this project?
How much weight did the BEAUTIFUL wood layer add to the table? Did you have to worry about reinforcing the legs or finding the legs sunk into the grass? I am crazy envious of your skills - and your tools.😍