


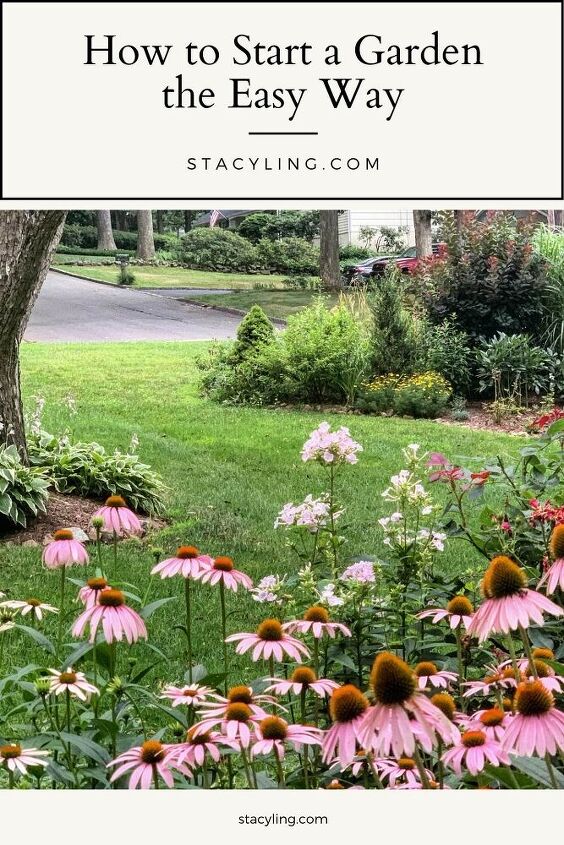
How to Start a Garden the Easy Way
(This post was written in collaboration with Gardener’s Supply but all thoughts and opinions are my own.)
Does the idea of digging out turf and dirt keep you from starting a garden? Me too! But I’ve got a method that will save time and your back. Learn how to start a garden the easy way with these tips.
I’ve never mentioned this before, but several of our garden beds were started with the no-dig method to starting a garden.
Have you ever heard of it before?
It makes starting a new garden so much easier and you can do it for little to no cost, depending on the materials used.
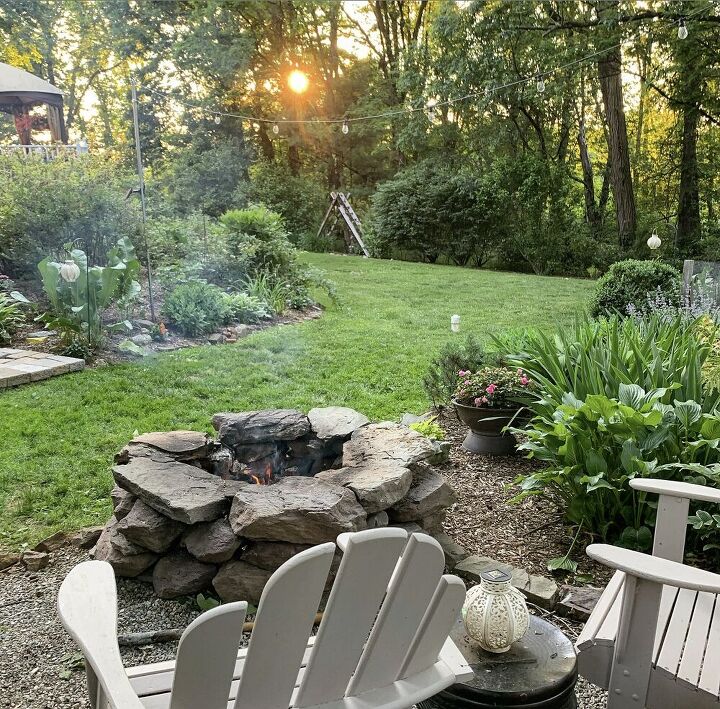
Since I’ve done most of the digging and planting here by myself, I had to find other methods to save my energy for just planting.
Of course, you can start a garden using this method, but I’ve got a way that will save time… and your back.
Here’s how to do it.
How to Start a New Garden the Easy Way
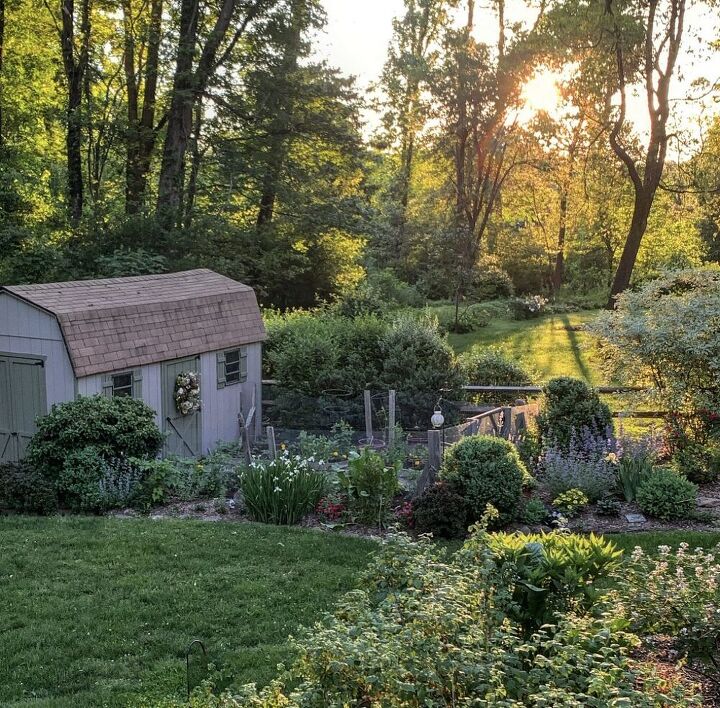
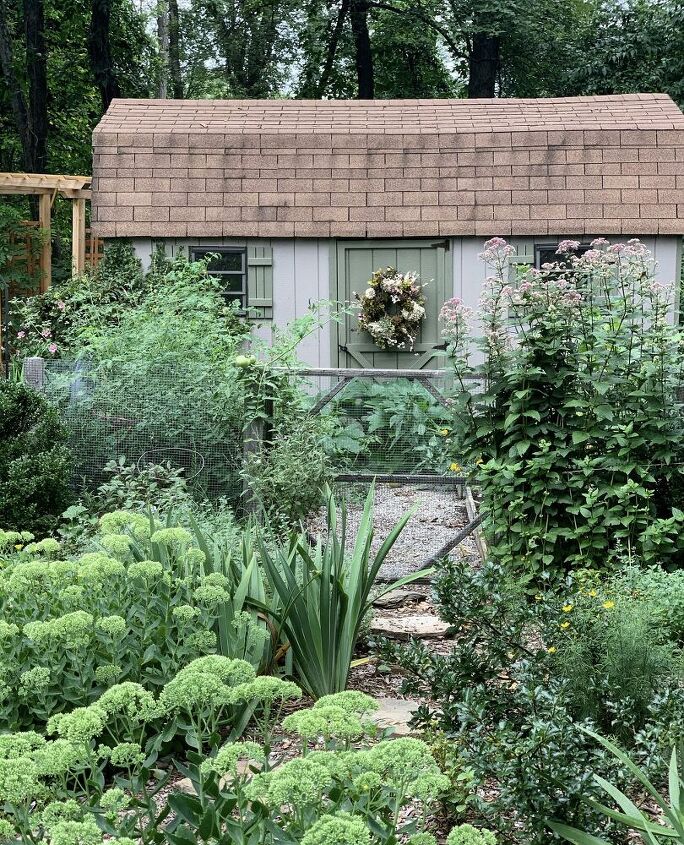
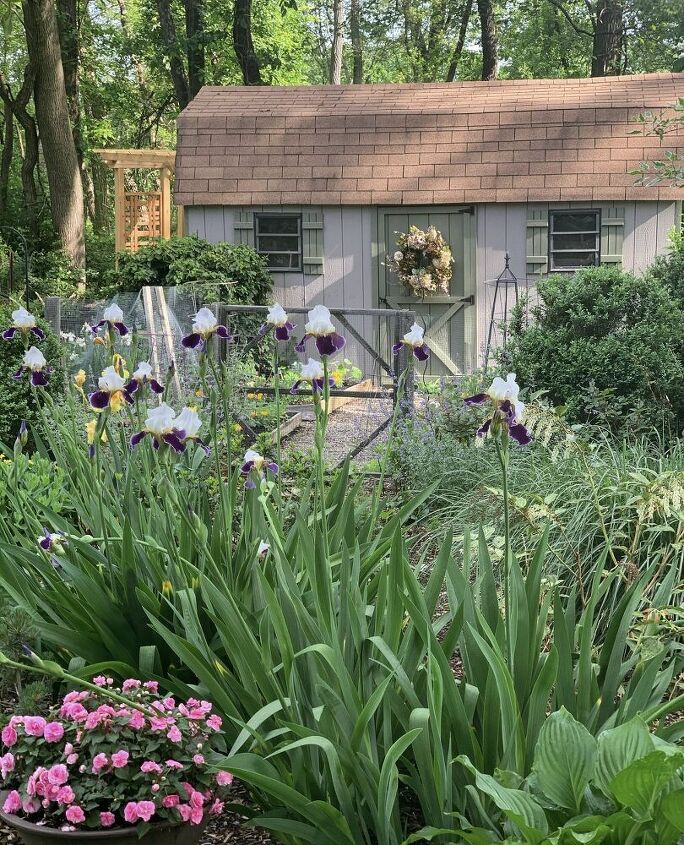
Since we dismantled the vegetable garden a few weeks ago that was in front of the garden shed, we needed to start a garden for the vegetables in another area of the yard.
Find a Location
The location for our new vegetable garden is still in dispute.
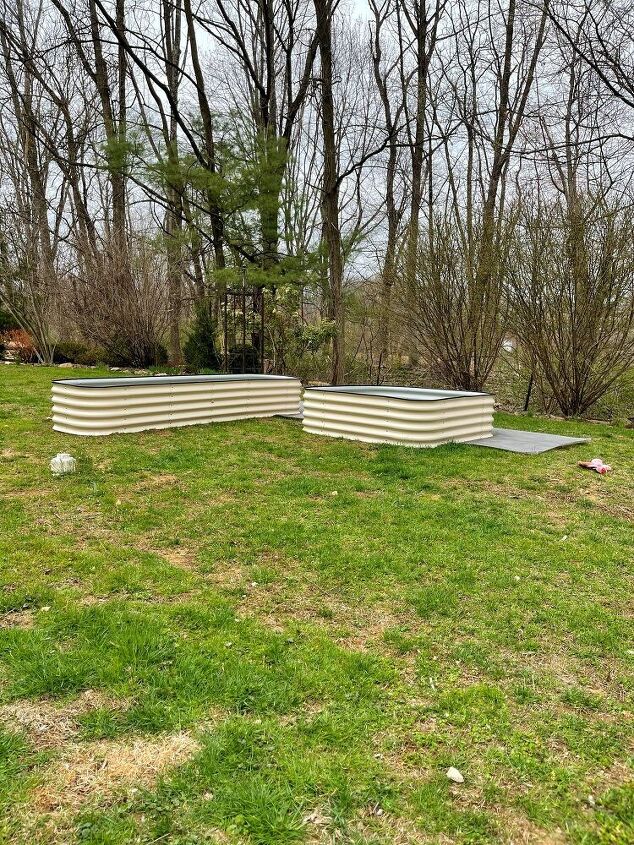
But I decided to site in the middle of our backyard because that is the best spot to receive full sun, it is close to a water source and my kitchen.
And I think it will look best there.
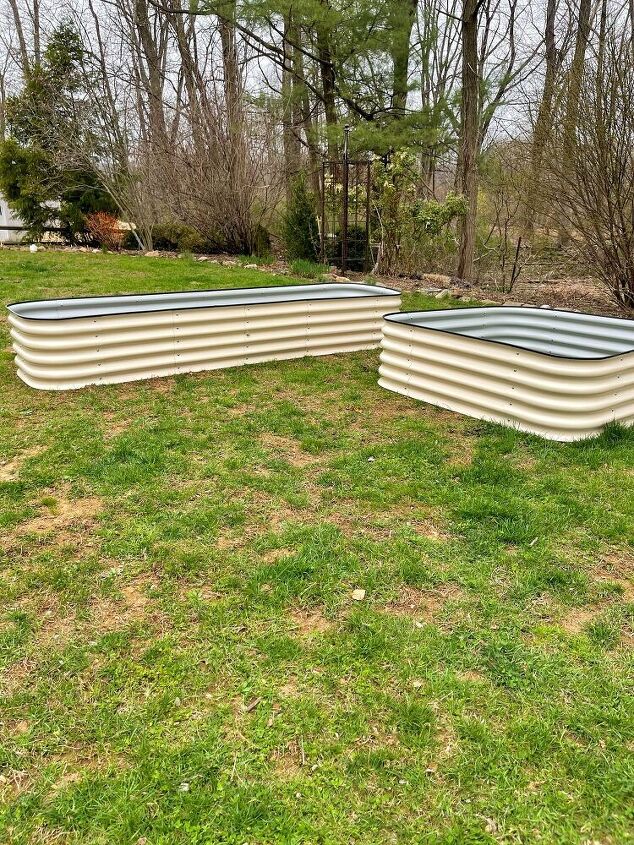
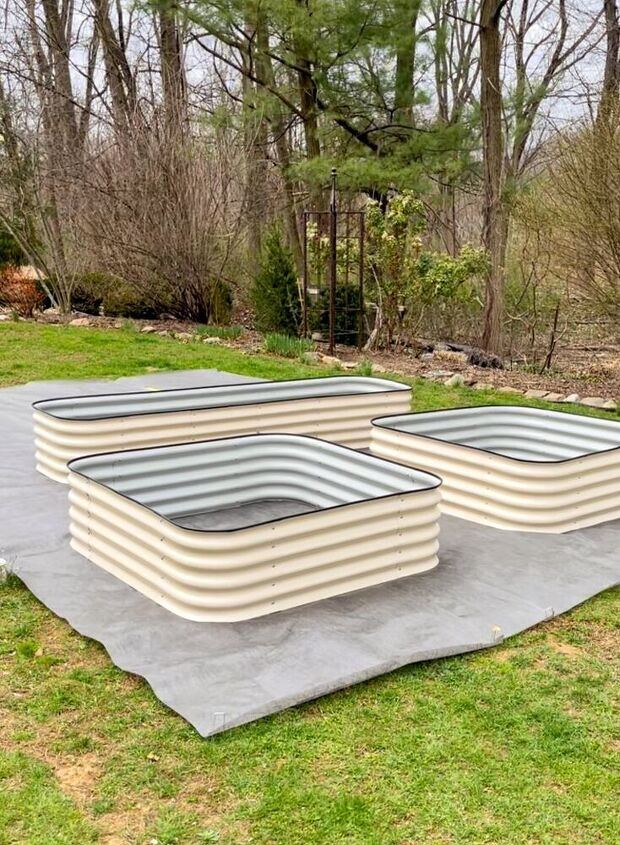
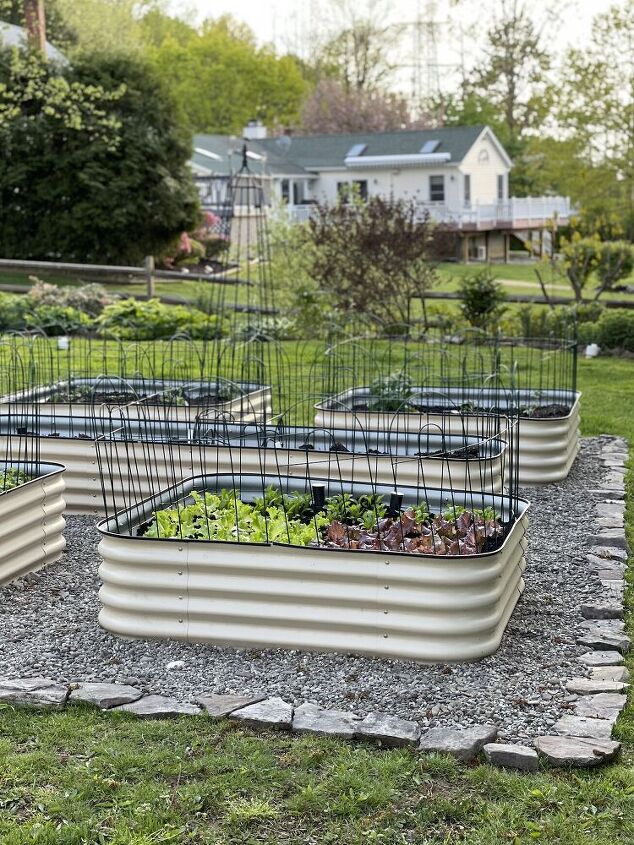
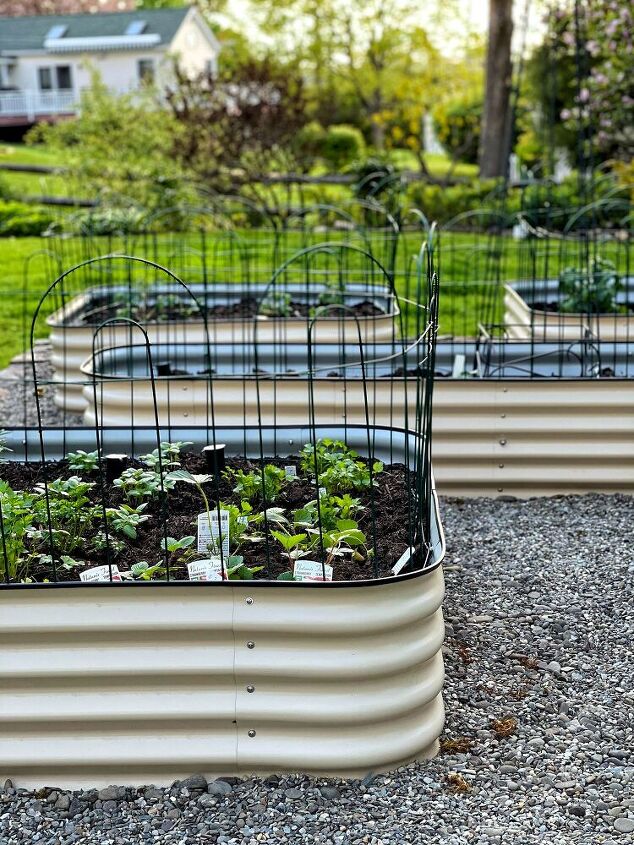
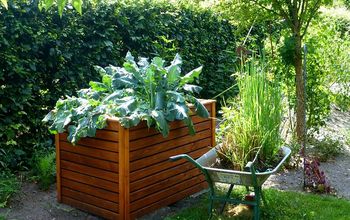
I’ve decided to design a raised bed vegetable garden using these self-watering raised beds by Gardener’s Supply.
Yes, that’s right, they are self-watering.
Isn’t that awesome?
A large majority of the grass in our backyard is on a septic bed.
So we can’t dig a new garden in that area and we’ve really struggled to grow grass there.
And my motto is, if I can’t grow grass then a garden will go in it’s place.
Determine the Size of the New Garden
Since I’m doing pre-made raised beds, we built the beds, left about 18-24″ in between each one, and spaced them out accordingly.
I’ll chat more about these beds in the next blog, but wanted to share them with you while I’m setting up the new garden.
Here’s What You Need to Start a Garden the Easy Way
The supplies needed to start a new garden the easy way is pretty minimal. Depending on the type of garden you are making, you should adjust the materials.
- Newspaper, Cardboard or Weed Fabric
- Mulch, Stone or Pea Gravel
- Scissors
- Hose with Spray Nozzle (if you are using newspaper)
- Landscape Pins (if you are using weed fabric)
- Wheelbarrow
So Why Do the Supplies Matter?
Having started several gardens using the no-dig method to starting a garden, I have an opinion.
And it’s based on the goals of the garden.
If the goal is to start a flower or cottage garden, then use newspaper or cardboard because both will kill the grass, suppress weeds while allowing for easier planting and self-sowing later.
On the other hand, if the goal is to smother the grass, suppress weeds and cover it with mulch, stone, or gravel to get a clean look, then weed fabric may be better to use because it will last longer than newspaper or cardboard.
At the end of the day, it’s a matter of preference.
I have done shrub borders using weed fabric and it is a huge pain to dig new holes in that fabric.
It’s much easier to use newspaper or cardboard in flower, shrub, and vegetable beds.
How to Start a Garden Using the No-Dig Method
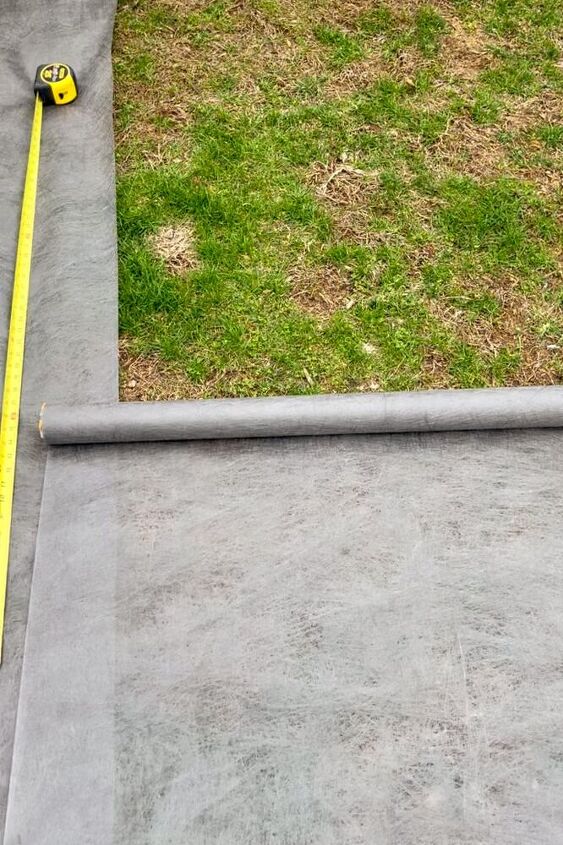
- After you’ve sited and determined the size of the new garden, measure and lay out the area.
- Lay down newspaper, cardboard or weed fabric covering the entire area. If planting in the ground at the same time, dig plants in then put the newspaper and cardboard around the plants.
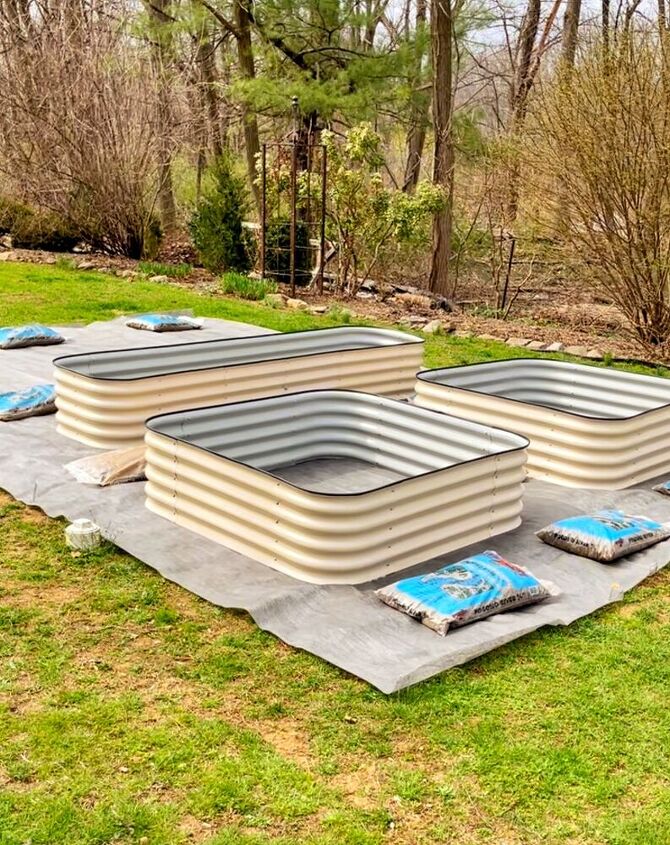
- If using weed fabric, cut to size and tack it down so it doesn’t blow around. But if you are using newspaper, apply several layers down and wet it with a hose so it doesn’t blow around.
- Top off the new beds with mulch, stone or pea gravel.

Tips for Starting a New Garden Using the No-Dig Method
- This method can be used to start a new garden or to suppress weeds yearly between plants. If you want to suppress weeds in the flower garden, I suggest using newspaper or cardboard between plants because they will break down over time and enrich the soil.
- Weed fabric has its place but does not work well in a flower garden. Over time, plants grow, self-sow and reseed themselves, or you may want to change things up, and it’s really a pain to work with for this purpose.
- Apply 4-5 layers of the newspaper when using the newspaper method so it is thick enough to last a while.
And that’s it!
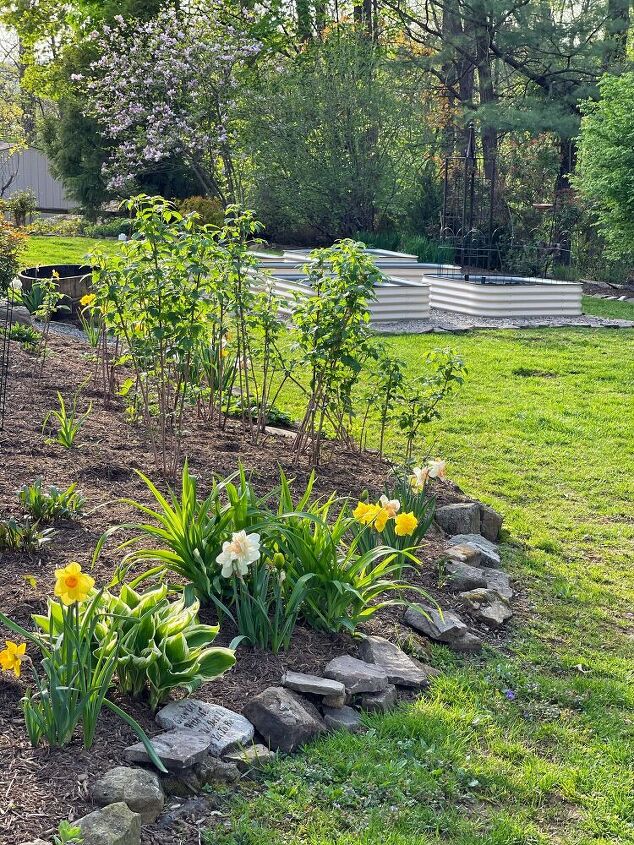
I can’t wait to show you how my new raised vegetable garden beds look in a few weeks.
The next steps are adding the self-watering systems, soil and amendments, plants, and more pea gravel.
Not to mention the other two beds to finish off the new garden. And I think they already shipped so I hope that’s soon!
Happy Gardening!
Pin and Save It For Later
If you like this post, please share and pin it on Pinterest. (If you hover over the image, the Pinterest button will be in the upper left corner.) I’ve created the below-custom pins for this post.
For more gardening tips, tricks and inspiration, CLICK HERE.
Subscribe to the blog and gain access to information not available to the general public.
Thanks for stopping by the blog today!
Enjoy your day! xoxo

If you like this post, please follow me @bricksnblooms on Pinterest, Facebook, Instagram, and Tik Tok. Subscribe to my YouTube Channel. Or join my Facebook Group.
Resources for this project:
See all materials


Comments
Join the conversation
-
Awesome job! Your property is gorgeous!
-
Love your garden. You have certainly done a wonderful job. It is gorgeous!!


Frequently asked questions
Have a question about this project?
Where did you get the fencing around your garden?
Does the watering system come with the containers?
You said your beds are self watering. How does that work??