


Pallet Gate

Hello,
We recently got a new addition to the family and needed to build a gate on our side yard to keep the new little guy in the yard instead of running in the bigger back yard. Take a look and hopefully you get some inspiration from it.
Best,
Steve
Check out this video if you want to see more details on how this all happened. Thank you in advance, Steve.
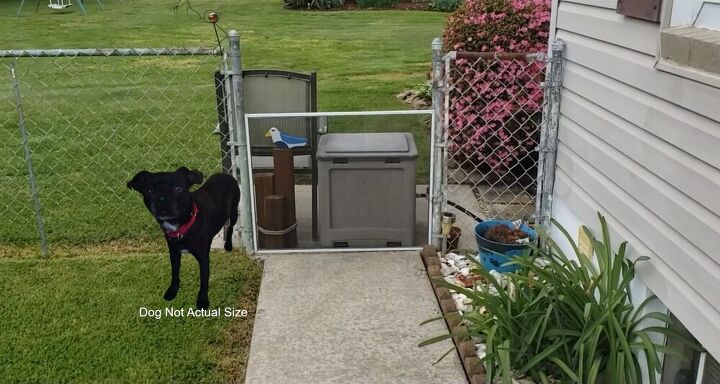
This is the fence that had no gate for a long time. We never really needed one since this is just an opening to get in the back yard and there is another fence & gate behind me in this picture but sometimes we only want this little guy to stay in the side yard.
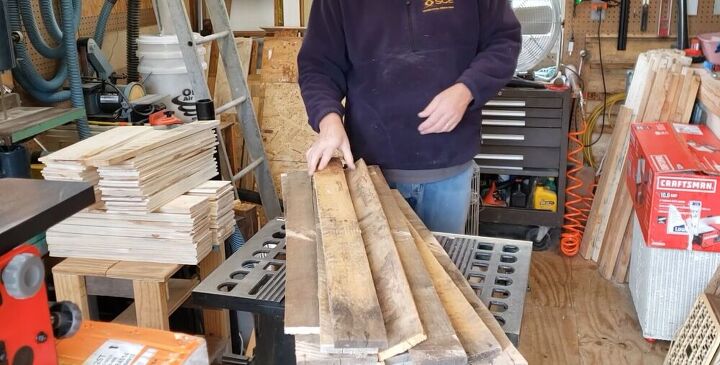
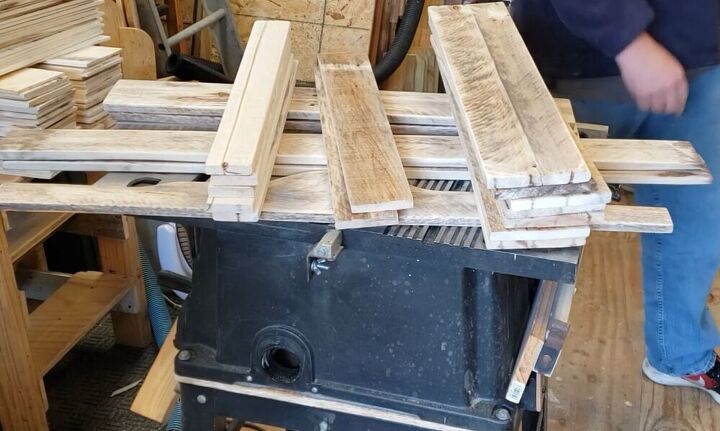
I went through my pallet wood and picked out some pieces that were in pretty good shape. It's just pallet wood so sometimes you have to choose wisely. A little thinking ahead of time helps so you have an idea in your head.
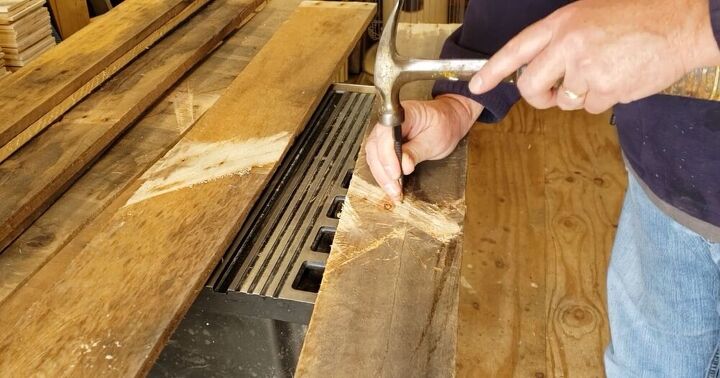
Remove all the nails ahead of time so you don't get any surprise sparks when the cutting takes place. I usually scan the wood with a metal detector to be on the safe side.
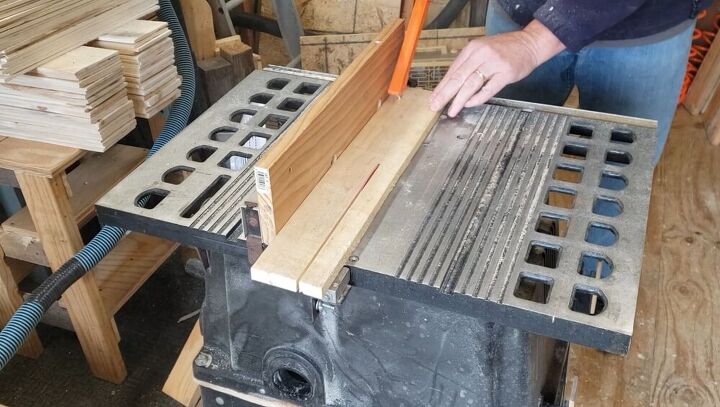
Once you know the size you need to make the gate, cut off the raw edge of your boards first to get them square and then measure from that clean edge to the other end.
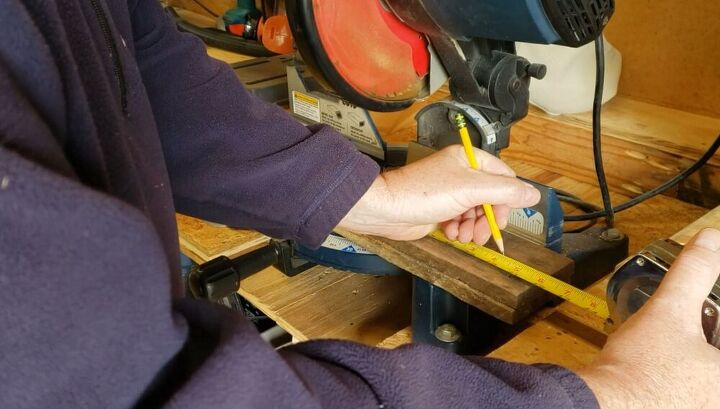
It's a good idea to make a drawing with your dimensions on it so you can get an idea on how many boards you will need and how long to cut them. Here I am measuring the 2 pieces that will be the hinge and latch sides of the gate and then I cut them at the same time so they are the same length.
This step is not necessary but I didn't want gaps between the wood at the bottom of the gate. Here I am running one edge of each bottom board through my Jointer to make it have a nice straight edge.
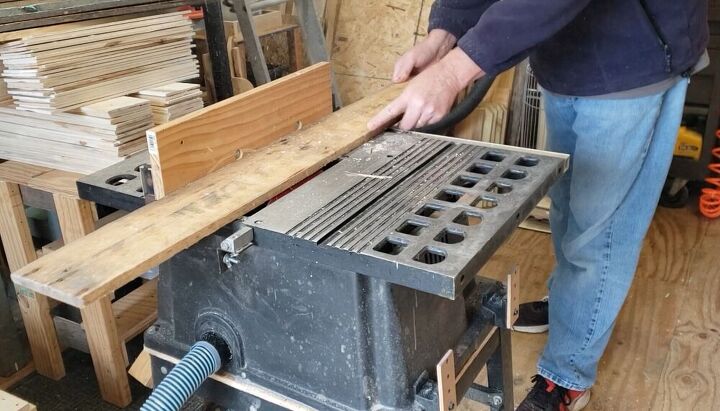
Then I put the jointed edge against the table saw fence and cut them to the width I needed. This puts a nice edge on both edges so you can set the boards up against each other with little or no gaps.
Now I can cut the boards to length that will be the bottom of the gate.
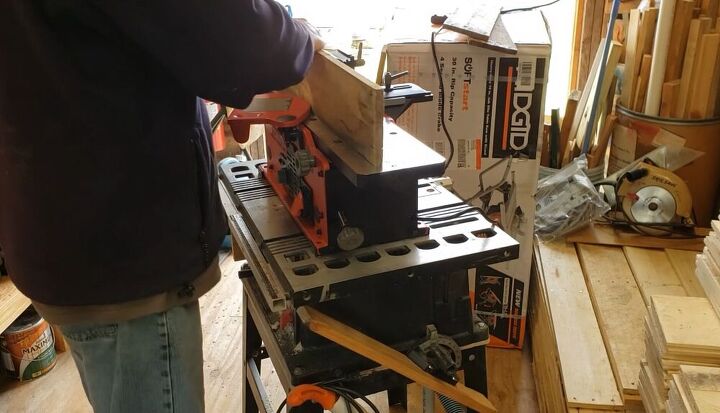
Now it was time to cut the pieces that go at the top of the gate. These are not as wide because the gate has a unique look to it instead of just the same size boards next to each other. Stay tuned to see how it looks!
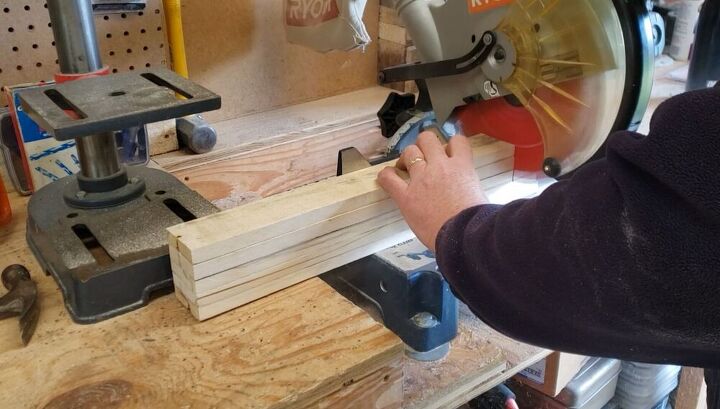
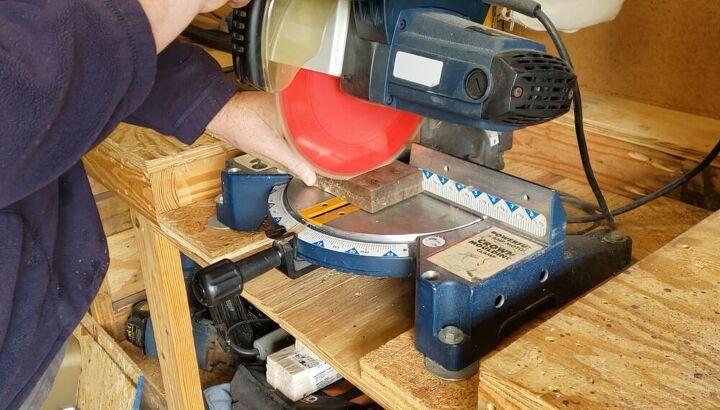
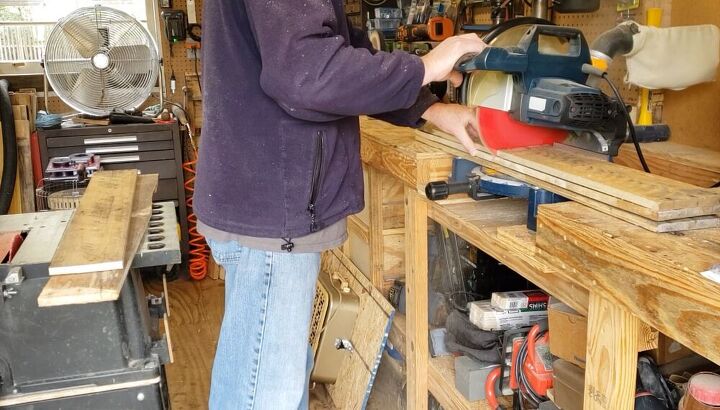
Those 5 pieces were all cut to length at the same time on my Miter Saw. There are some additional pieces I had to cut that run horizontal on the top and bottom and also some filler pieces and you can see them in a picture farther down when I show all the pieces I cut to build this gate or you can check out my video on YouTube.
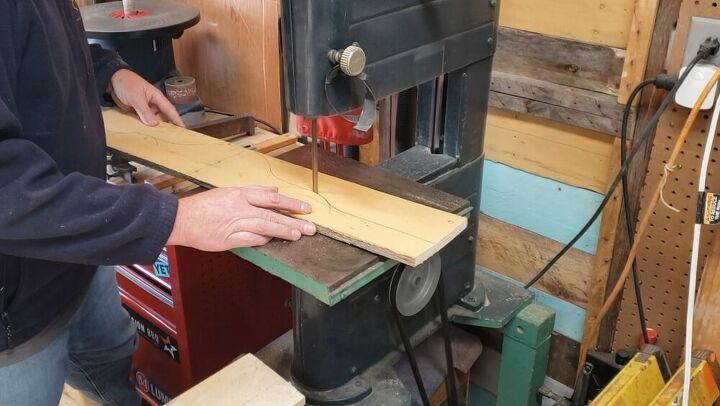
I have a piece of wood running across the top of the gate. I cut it to the width of the gate and then drew a design on the wood and cut it out on the Band Saw.
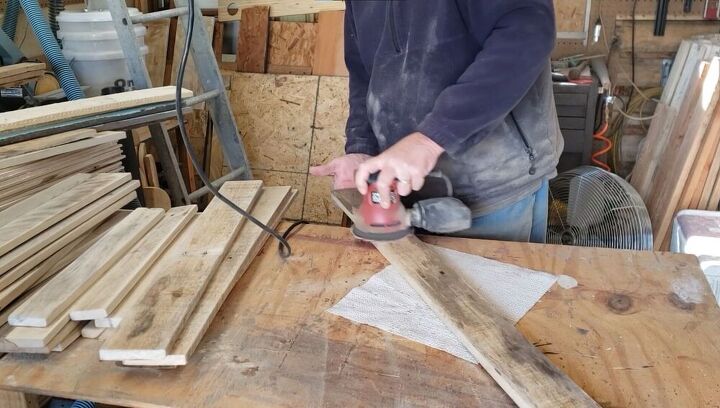
I then gave all the wood a good sanding to clean it up and round over the edges a little.
Here is all the wood cut and sanded and ready to go together.
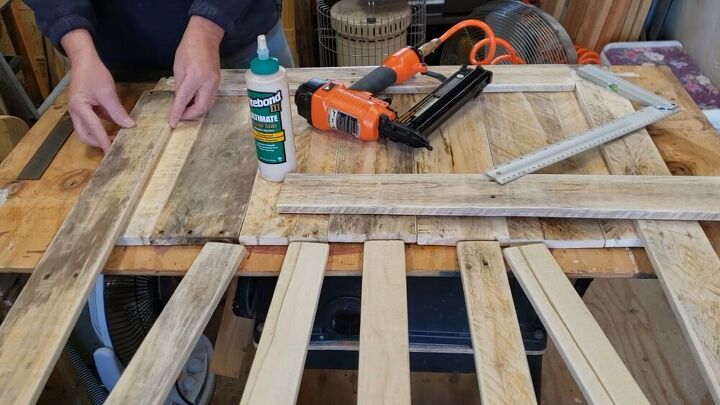
Now it's time to start putting this together. I used waterproof glue and staples to hold it together. This is bottom of the gate getting put together.
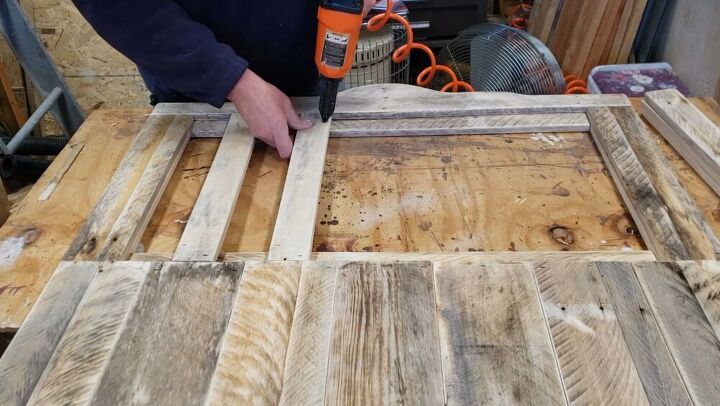
And this is the top of the gate. I finished it up with a set of gate hinges to match what we already had on our chain link fence post.

I then decided to add some the typical X bracing at the bottom. This is more function than aesthetics because if put on in the right location, adds support to the gate to keep it from sagging.
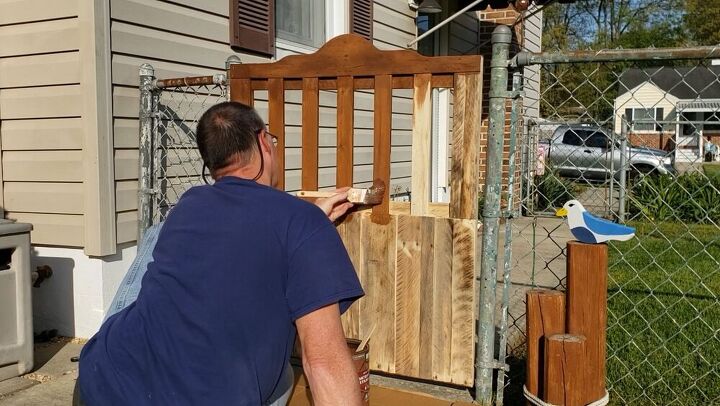
I decided to use a stain on the gate to help make it last longer since it soaks in to the wood better than paint.
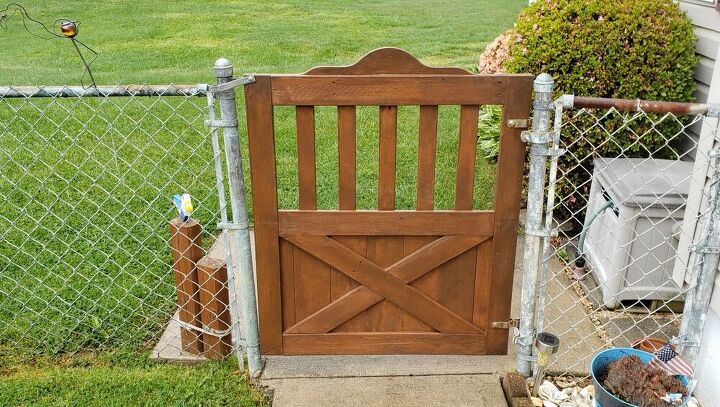
Here is the gate all finished up with a custom latch (only a piece of aluminum I had lying around, nothing special). My existing posts were not plumb so I made it fit the best I could. It serves it's purpose if we don't want the dog to go in the back yard for whatever reason. Hope you like this and take something from it for your own gate idea.
Resources for this project:
See all materials


Comments
Join the conversation
-
Your gate looks very nice. I'm sure it will do a great job keeping your sweet dog inside.
-
well done, I love it


Frequently asked questions
Have a question about this project?
I have an old baby bed that looks very similar to your gate. (See pic below). What could I use to protect it from the weather? Not sure if it’s solid wood until I can get a closer look. Love yours!!
Well done Steven, thank you for sharing your project. I was thinking about the fence post that was no plumb. If the rest of the fence is straight, do you think taking a dead weight hammer and knocking that post straight would work? It might.