


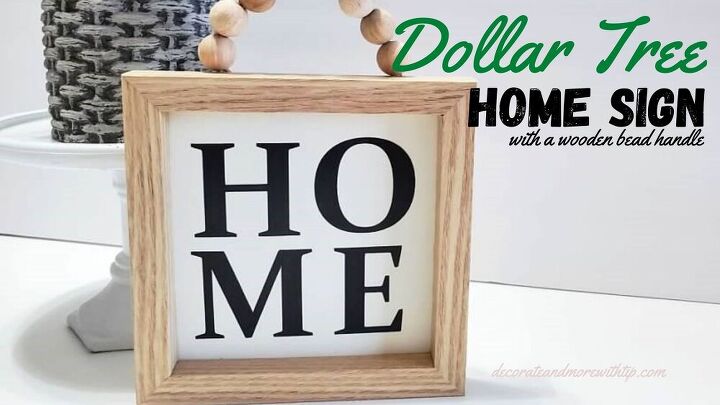
Dollar Tree Home Sign

Hey there! Welcome to Decorate and More with Tip!
This post may contain affiliate links. Click {{ HERE}} for full disclosure.
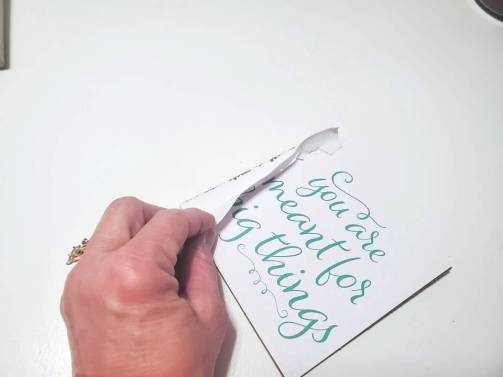
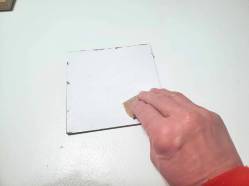
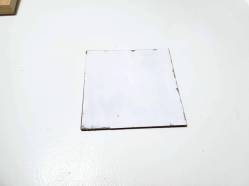
You could sand off the wording, I am pulling the first layer of the paper off and sanding it smooth.
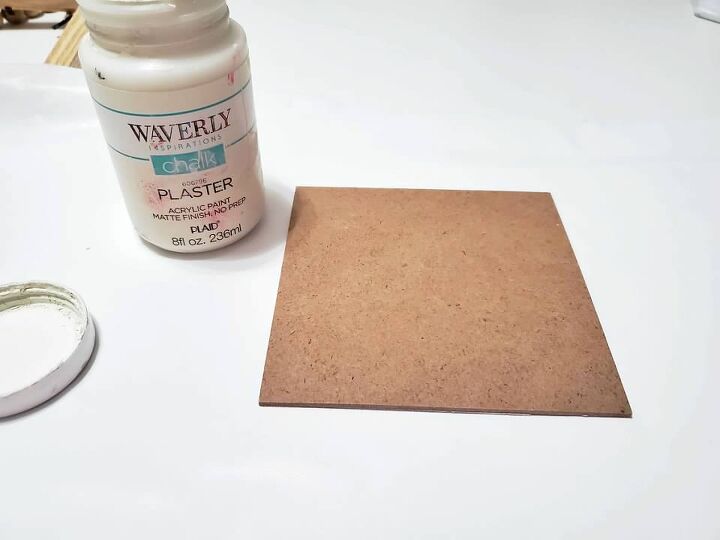
Taking some Waverly chalk paint in plaster and giving the front, sides and back two coats of paint.
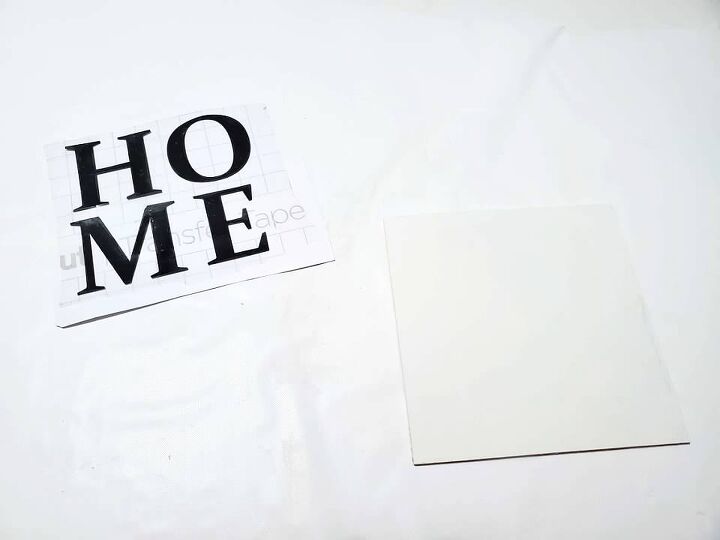
I am using my Cricut to print off the letters HOME to place on my backing.
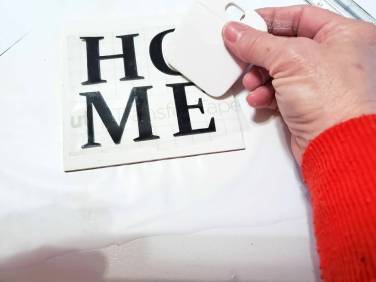
I centered my design on the sign’s backing, rubbed with my Cricut tool and peeled off the transfer paper.

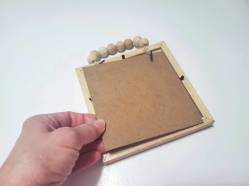
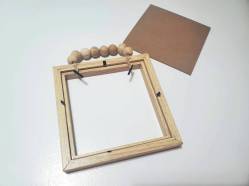
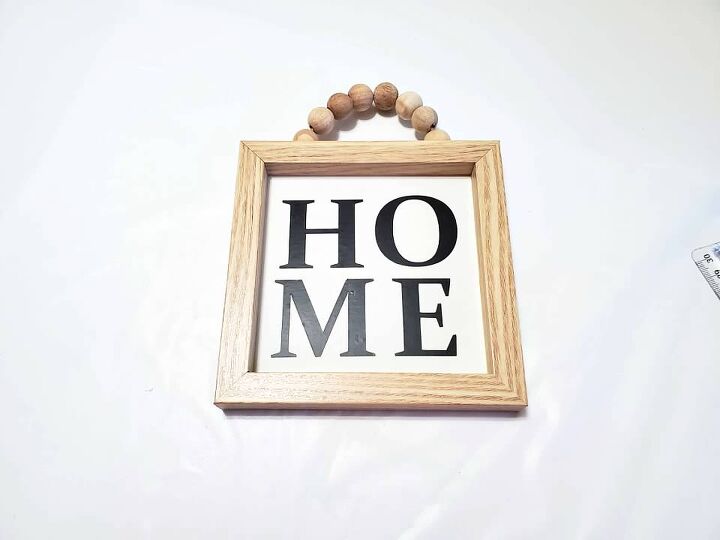
Placed the sign’s backing into the frame.
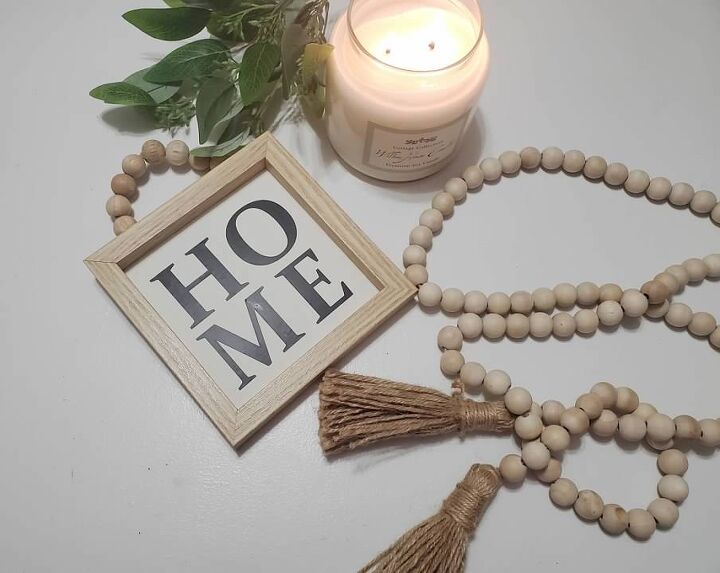
Here’s how it turned out.
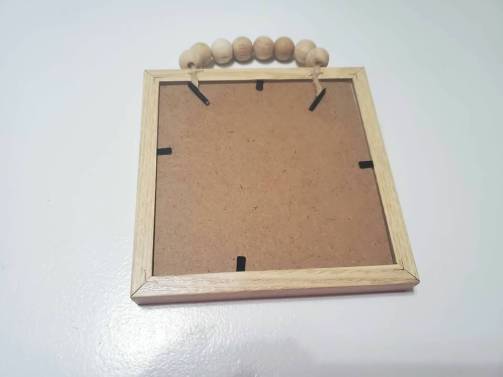
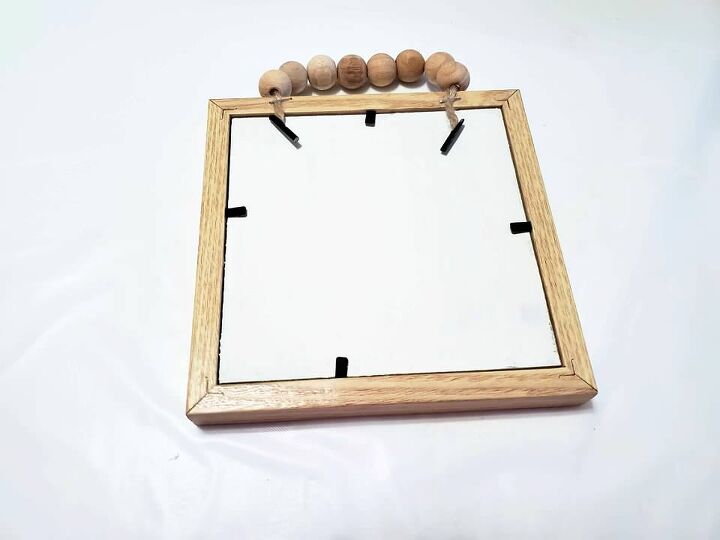
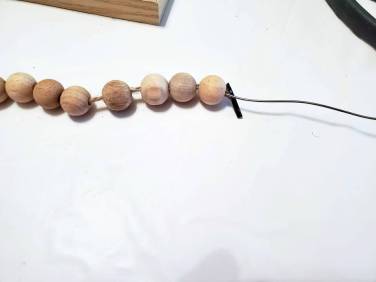
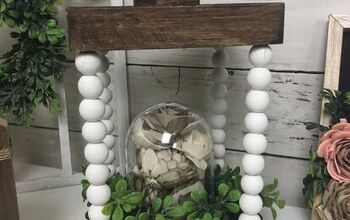
The only part of the sign I do not like is how flimsy the bead handle is. I removed the staples holding the handle. I took a piece of heavy wire and thread it through the beads with the twine and stapled the handle back onto the frame.
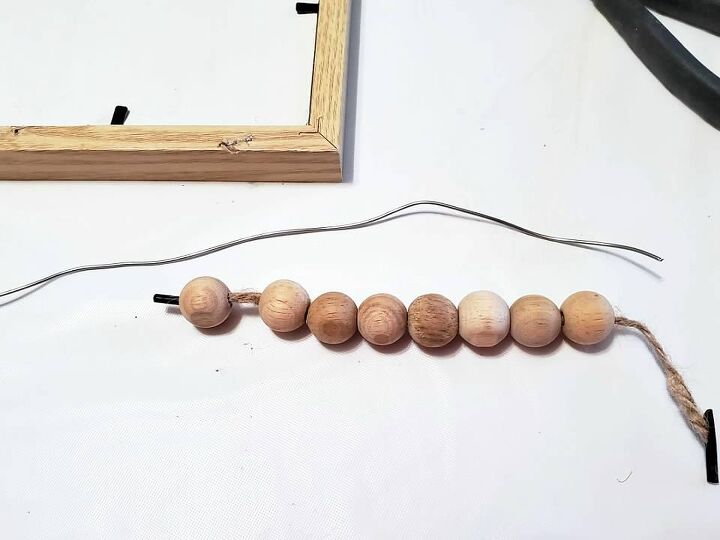
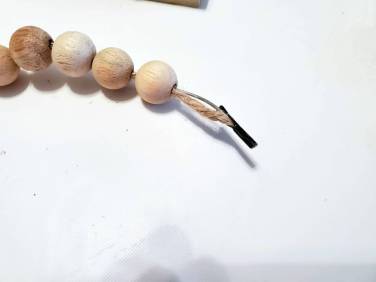
Threaded the wire into the beads, cutting the excess wire off, adding the end of the wire into the end of the twine adding a drop of hot glue to keep it together.
Stapled the handle back onto the sign.
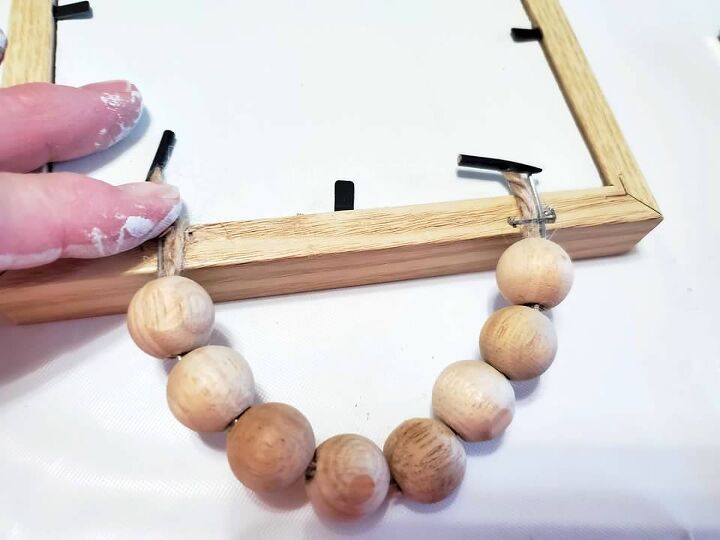
The handle is sturdy and didn’t fall over.

Worked perfectly. I can’t take credit for this creation, I saw this sign on Pinterest and thought it was adorable.
To watch my video tutorial you can see that here → DOLLAR TREE WOODEN BEAD HOME SIGN.


Frequently asked questions
Have a question about this project?