


How to Paint an Aluminium Door or Window
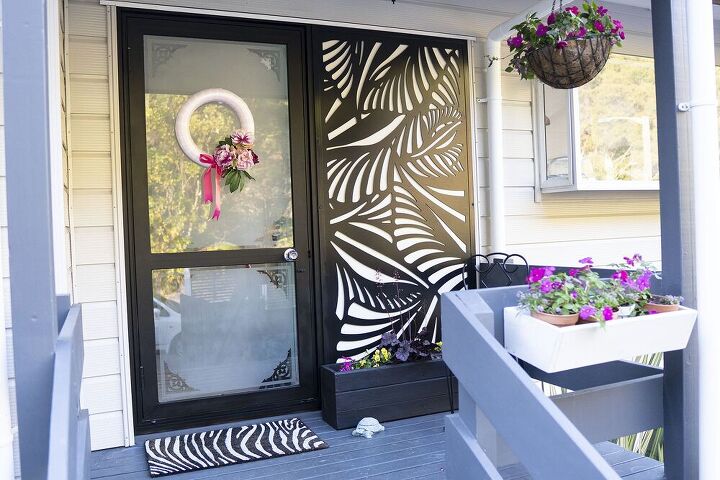
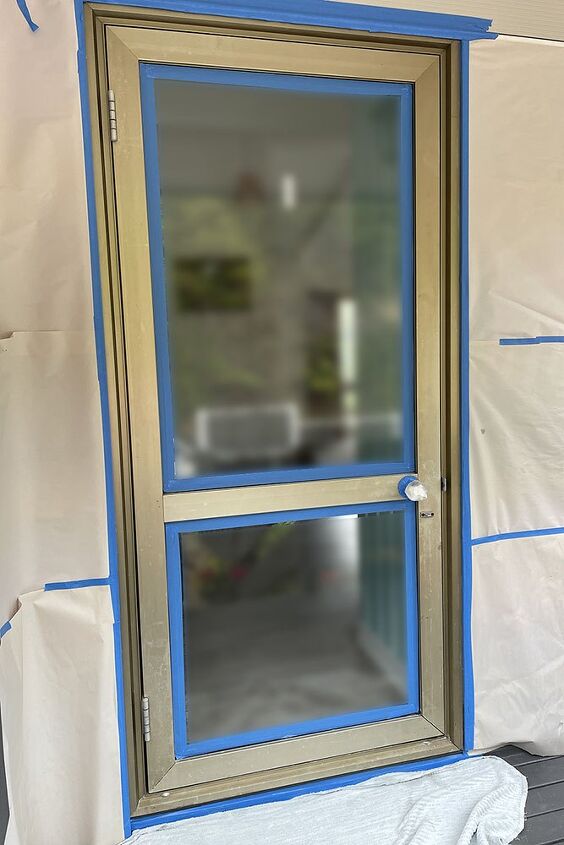
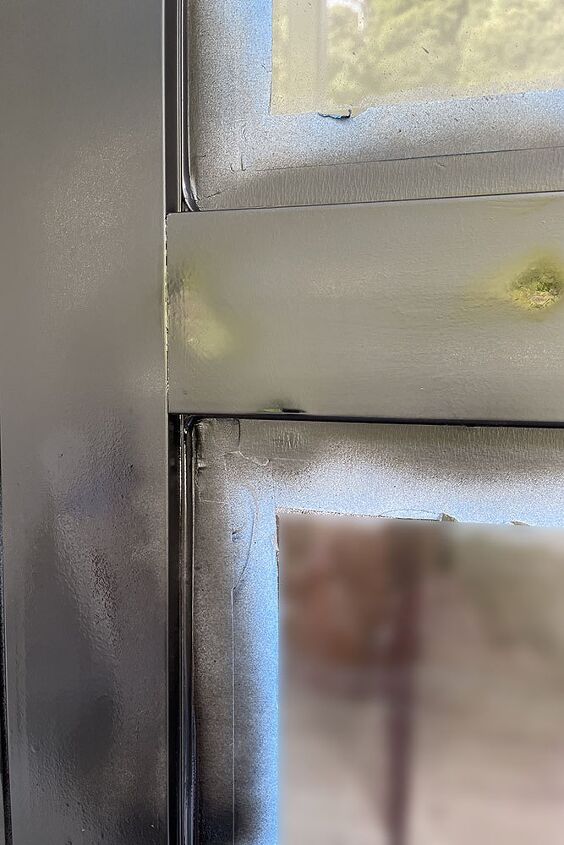
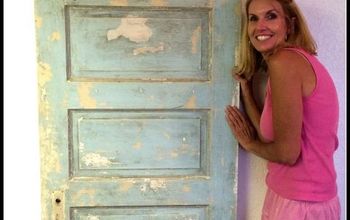
Everyone who has visited us lately has commented on our great new front door. Last week when I shared our front porch makeover, I got some questions about how I painted my aluminium front door. Today, I’m sharing the steps you will need to take to make your aluminium doors and windows look like new.Here’s what my door looked like before. It wasn’t at all pretty and it was in pretty bad shape.
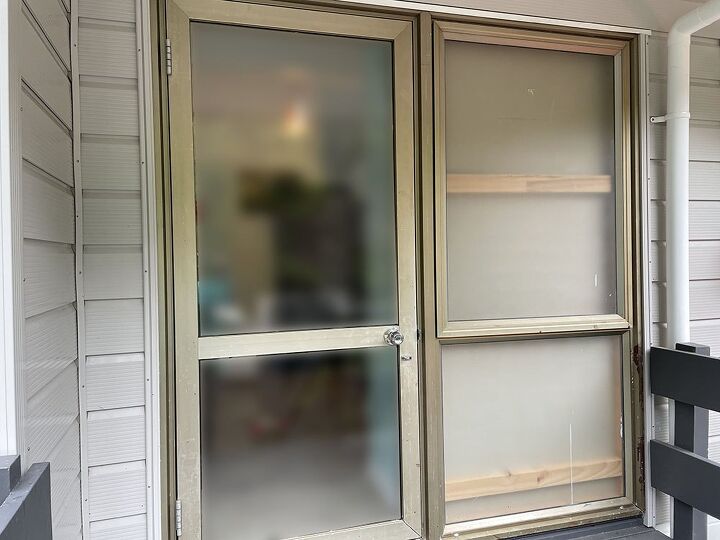
Apart from the horrible bronze colour, it had stains and paint splashes all over it (previous owner didn’t know how to use a drop cloth or masking tape!). We thought about replacing the door but, as you can see, there is a window beside it, which meant we would need to replace both. If you would like to know why there’s a wall behind our window, you can read about that here.
Instead of replacing the door, I decided to give it a makeover with some paint and some frosting. Who doesn’t love frosting.Here’s the steps I used to paint my door.
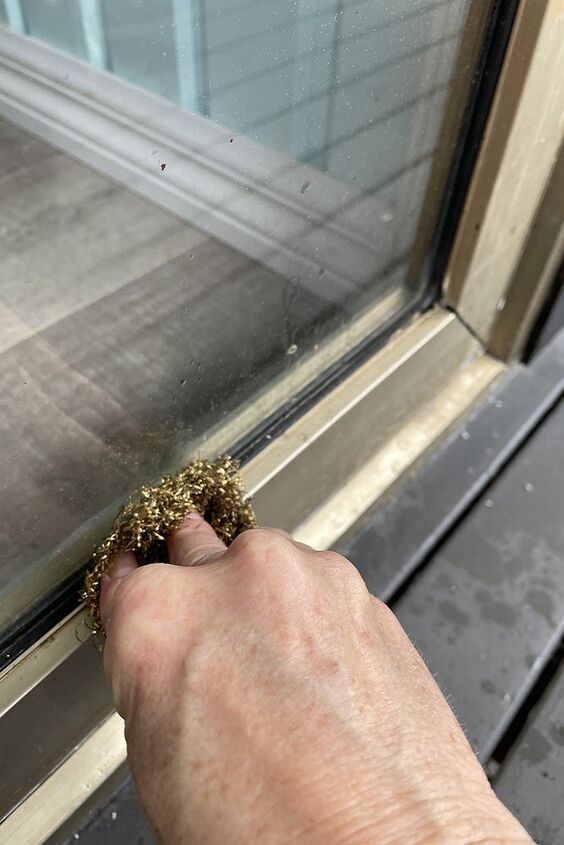
Step 1 – Clean
First, I gave the door a really good clean with hot soapy water and a Scotch-Brite pad. I used the Scotch-Brite pad on the window as well as the frame. There was a little surface rust and this took it right off.
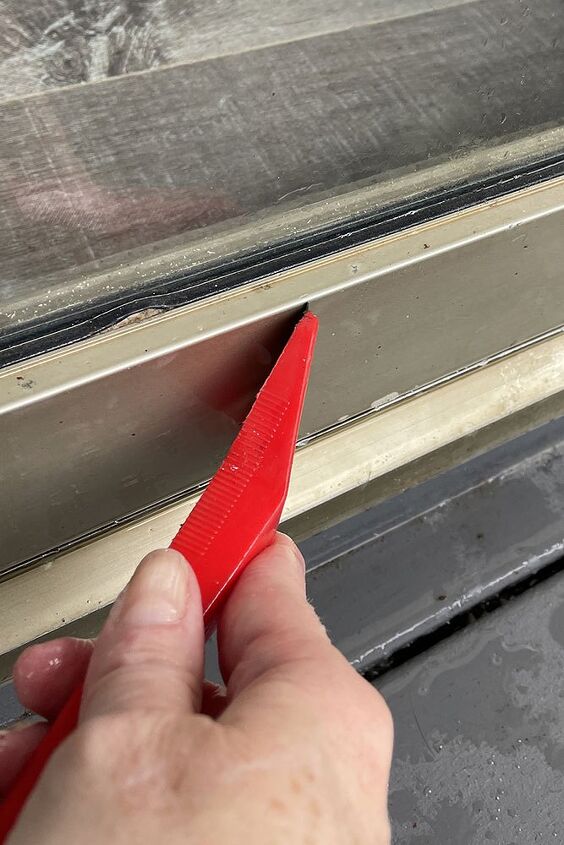
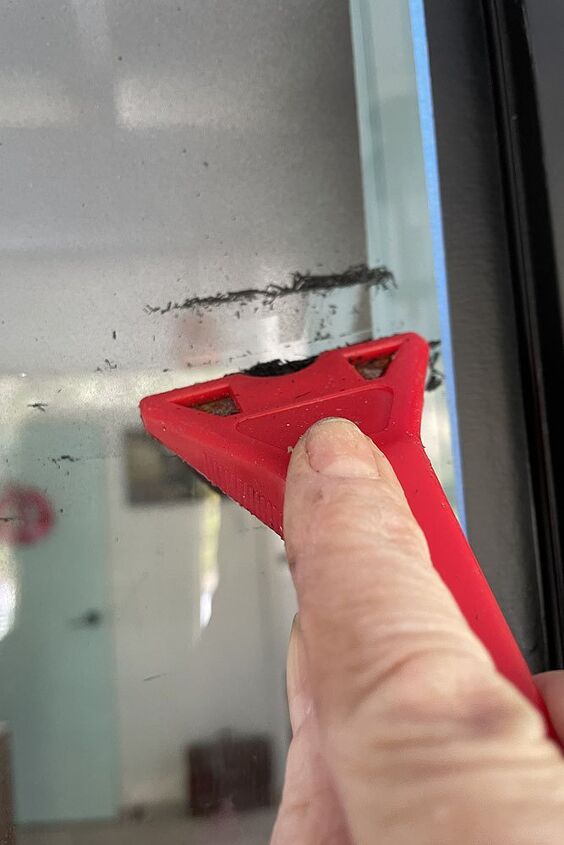
Next, I used a paint scraper to remove any paint spots and splashes. I used this on the frame as well as the window too, being super careful not to scratch the glass.
When I thought I had removed as much grime and debris as possible, I dried it well with a towel and then I let it air dry for a while until it was perfectly dry.
Step 2 – Mask
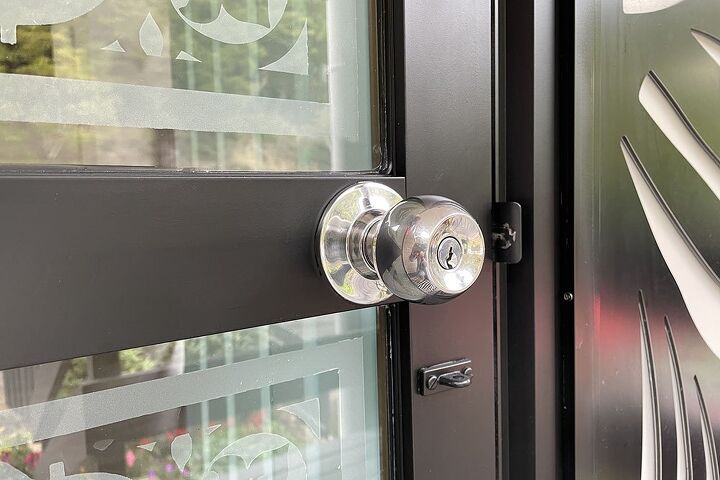
Masking actually took the most time. I wanted to make sure that I didn’t get any overspray on the house, so I used some large paper sheets (you could use newspaper) to cover all the surrounding area. I laid down two strips of tape all around the inside of the door frame on the window.To cover the door handle, I put a latex glove over it and taped it on, ensuring that I got a nice clean line around the outside of the handle.
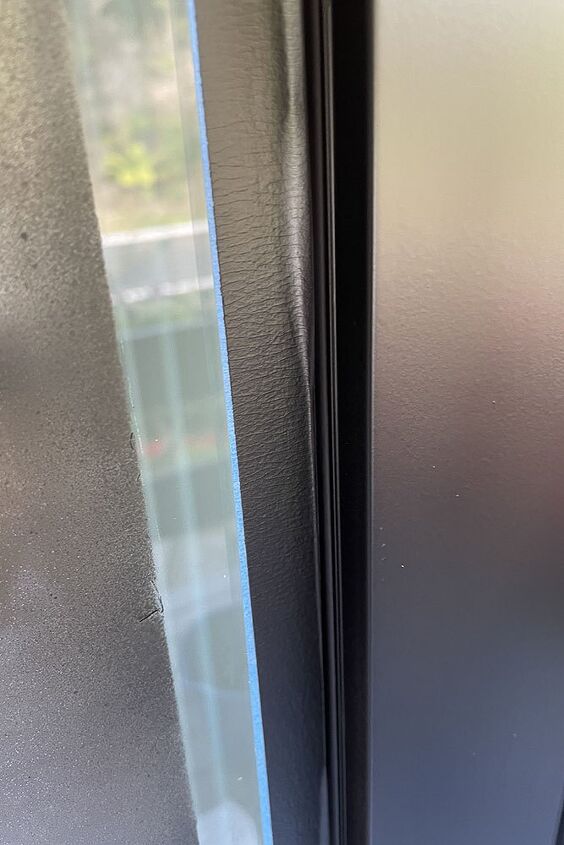
Rubber Seals
You will see in the photo below that I didn’t cover the rubber seals with the masking tape. I made a decision to paint the seals as they were discoloured, although they were in OK condition. In the bathroom, where I painted the window white and the rubber seals were black, I needed to mask off the seals as well and this was a really tedious job. I don’t think I’d do that again – I would just paint them the same colour as the frame.
Lesson Learned
Next time I will also put paper over the glass as I got a bit of overspray which I needed to clean off later.
Step 3 – Prime
Once I was happy that all the surfaces that I wanted to stay unpainted were covered, I started to paint with an etch primer. I used this Dy-Mark Etch Primer but if you don't have access to that one you could use this primer. What you’re looking for here is a primer that etches itself into the metal and prepares the surface for paint. The etch primer will also stop any rust coming through. See my best tips below for the technique.For some reason, I didn’t take any photos of the door once I had put the primer on but it basically I painted it grey.Apply as many coats of primer as you need to until you get a nice smooth finish. I only needed one.
Step 4 – Paint
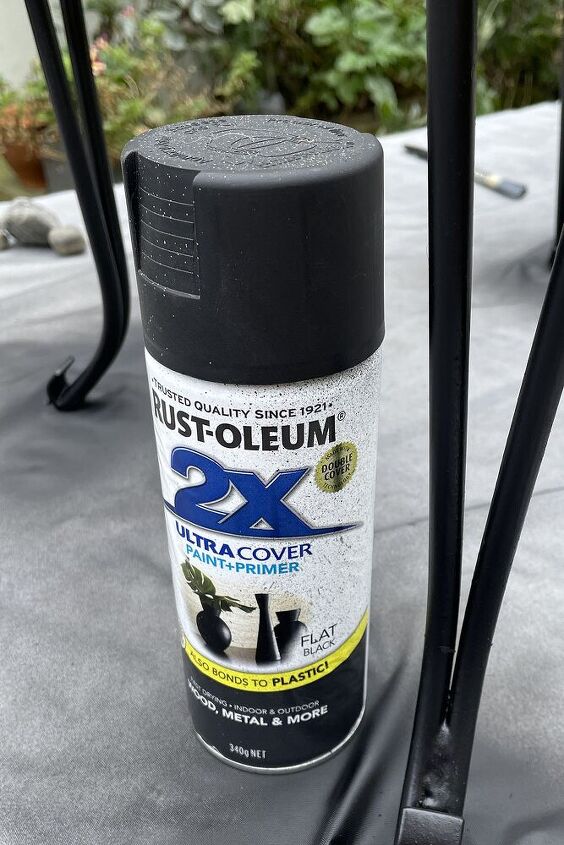
Once the primer is dry (follow the instructions on the can for drying time), you can apply the paint. If you have any drips or runs you can give them a sand to smooth them out prior to painting. In the past, I have used Rust-Oleum Flat Black 2x Ultra Cover (you can buy it on Amazon , or at Bunnings) which works amazingly well. This time I used Dulux Dura Max. While the Dulux did a good job, the Rust-Oleum provided a more even coat as the nozzle seemed to give a more even flow. Next time I would go back to using the Rust-Oleum.
Step 5 – Unmasking
If you learned from my lesson and covered your window you can skip the first part this step.I removed one of the strips of masking tape. In the photo below of the painted door, it looks like I got a lot of overspray but I really didn’t.
I used the scraper to remove any overspray on the glass.
As soon as possible after you have finished painting, remove the tape from the glass. It gives a better finish if you remove the tape quickly (this is true of any masking/painting job).
A Step Further
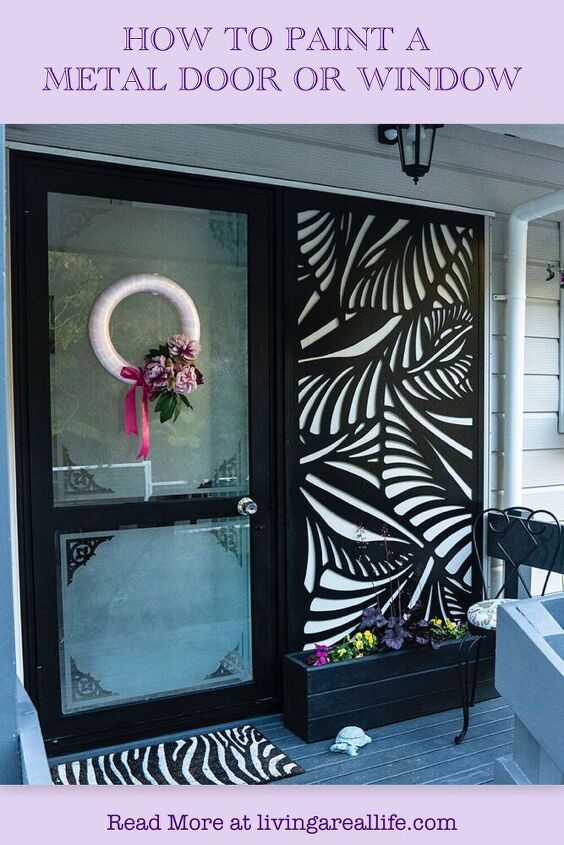
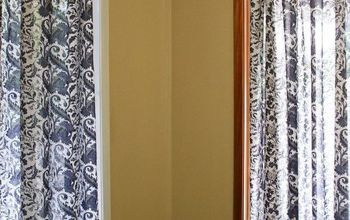
We went a step further with our door and frosted the glass. Here's my post about how we frosted the glass.
My Best Tips for Applying the Primer and Paint
To be perfectly honest with you, I was terrified going into this project. I had previously painted the bathroom window in a white gloss, and I have never been happy with the finish. I needed to apply the lessons learned from that project to get the best possible finish. This is our front door, so it needed to look great. I'm really happy with how this door turned out - I used all the learnings from painting the bathroom window and it paid off. Onward and upward to do all the windows in my home!
Short Even Bursts
To achieve a nice smooth finish, you need to use short even bursts. I was tempted to do long slow passes, but this only resulted in applying too much paint and getting runs. You don’t want that!So be patient, take your time and you’ll be fine. Use short even bursts!
Thinner Coats
It’s best to apply more thinner coats than one heavy coat. This paint dries really fast so by the time I was finished one coat, I could go back and start on the next coat. Even though officially I would say I only applied two coats, I probably applied at least three because I went back and touched up any places that where the paint was too thin, especially after the first coat.T he picture below is of the door with the first coat of paint on. If you look closely you can see there is still some grey primer showing through. The shiny spots are were I applied just a little too much paint (sprayed in one place for too long).
Drips and Runs
Have a super soft paint brush (disposable) on hand so you can quickly deal with any drips or runs if you do get them. If you are applying the paint in short bursts, sparingly, you shouldn’t get any runs but on the off chance, have a soft brush ready to clean them up. Just gently pat the drip to with the soft brush to disperse the paint. You don’t want any brush strokes so use a really gentle hand.

Once all this was done, we have a beautiful front door.
I hope you found these instructions useful. Our bathroom window was painted about two years ago and, being inside the shower, it gets blasted with water every day and stays wet almost all the time. It has survived well. The only place that the paint has worn off is the handle. This paint job should work really well on any internal or external aluminium window or door.Leave me a comment below and let me know what you think and whether you've ever painted an aluminium door. Maybe you've used a different process.
I hope you enjoyed this post and gained some useful information
If so…..
PIN FOR INSPIRATION AND SHARE WITH YOUR FRIENDS!!
⇓ PIN THIS ⇓
Resources for this project:


Comments
Join the conversation
-
Beautiful,
-
I need more information on the fern screen even though it's not likely to match it here in the USA. You've done such a nice job with a difficult situation. Good work!


Frequently asked questions
Have a question about this project?
Is that an insert on the right hand side to look like zebra?
HELLO, Wow this is so pretty will try for sure at my new home
please could you tell me how much bottle of paint and primer you use?
it will give me an idea how much to buy. wondering if it will pass the test of blizzard snow and -30c in winter time...
What product did you use for the glass.