


Puppy Gnome From A Water Bottle

I have made a ton of gnomes in the past but this one is by far one of my favorites! It's so easy and I just used items I had on hand which made it super cheap. Follow along to see how I made this cute puppy gnome!

Materials:
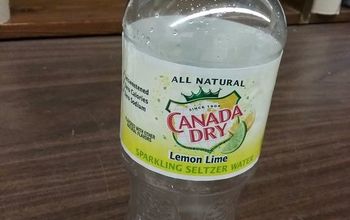
Plastic water bottle
Fur
Hot glue gun
Twine
Scissors
Ribbon for the tongue
Wooden ball or pom pom for the nose
Ribbon for a bow
That's it! I am sure you have most of these supplies in your craft stash already.
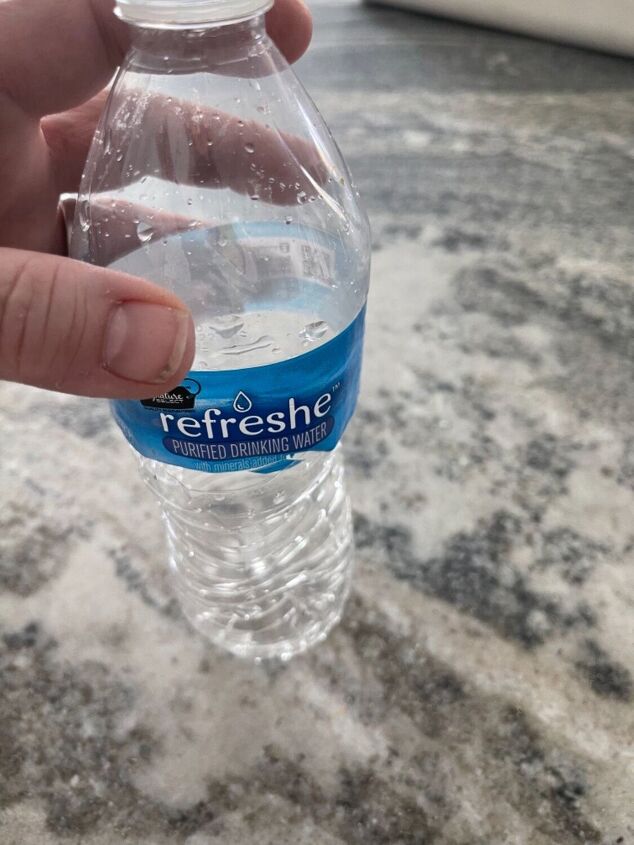
To start with, you will need to cut the top off of your bottle.
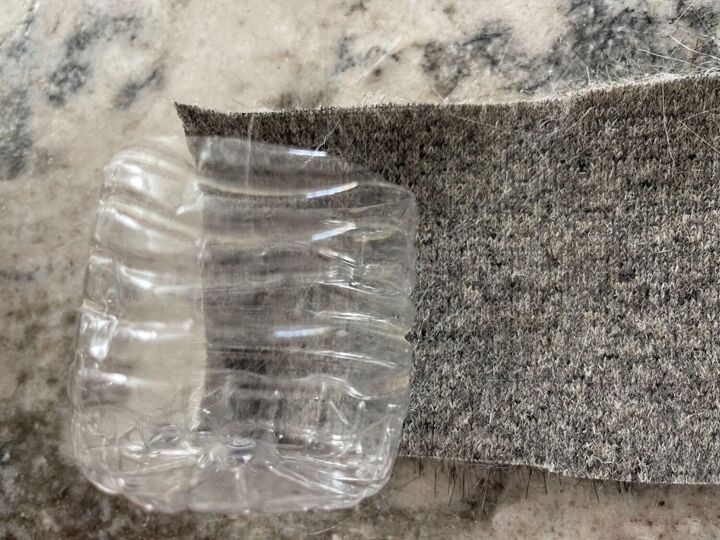
The fur needs to be the same height as the cut bottle, with an extra 2 inches to fold over. You can cut your fur to match the bottle if you need it.
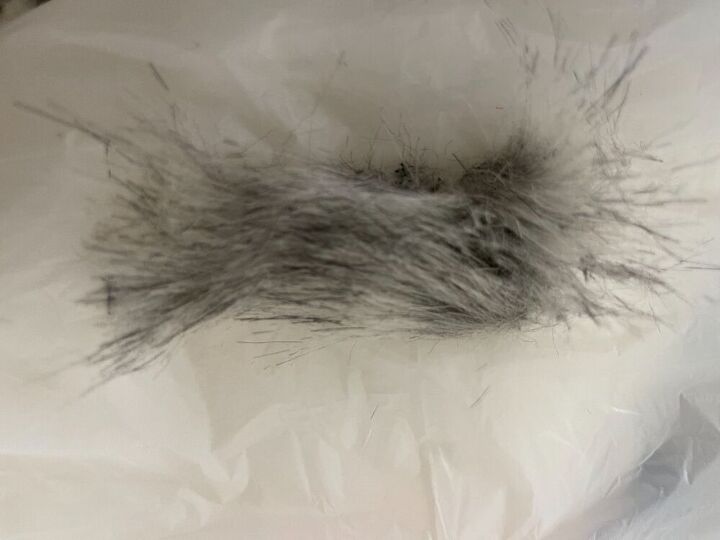
Now, roll the fur around the bottle leaving 2” at the top. Overlap the fur just a bit so you don't see the bottle underneath. Cut the fur once you have measured it around the bottle. It's easy to just make a snip with your scissors and then rip the rest.
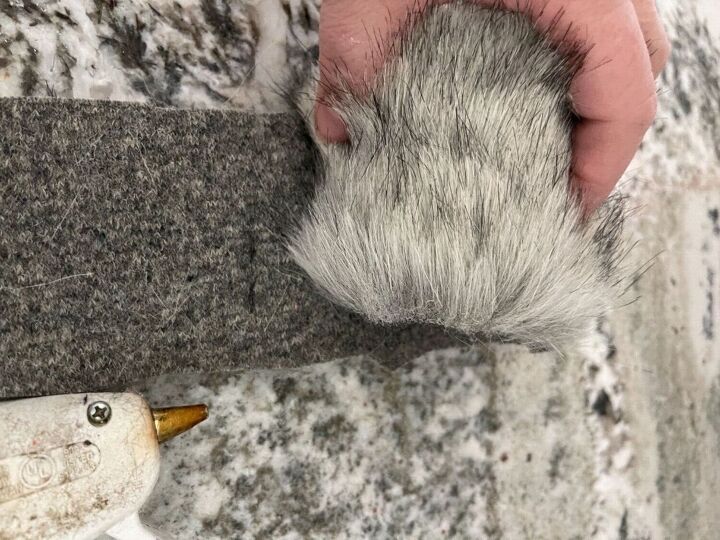
Add some of your hot glue to your bottle and stick the fur on. Add some glue to the fur where it joins up to the other side. This way, you won't be able to see where the seam is.
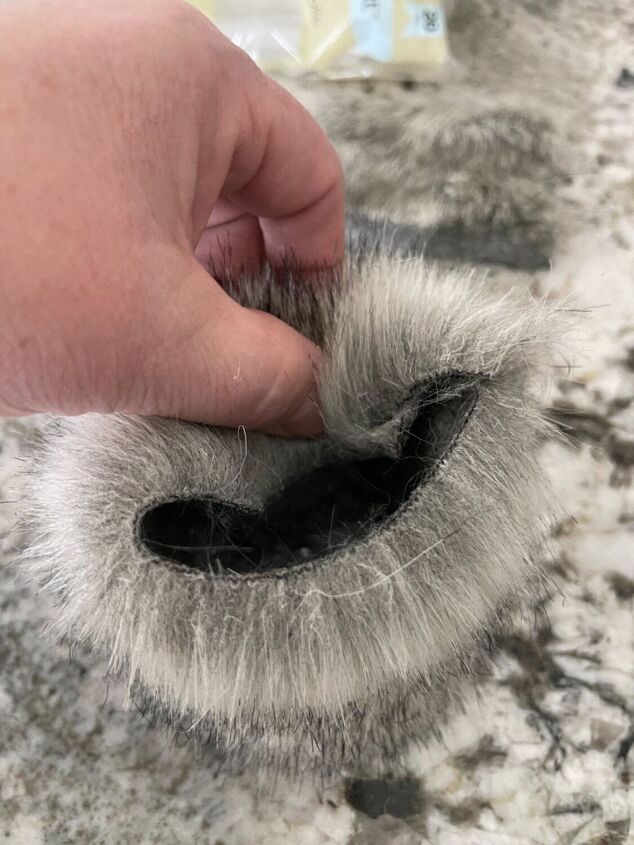
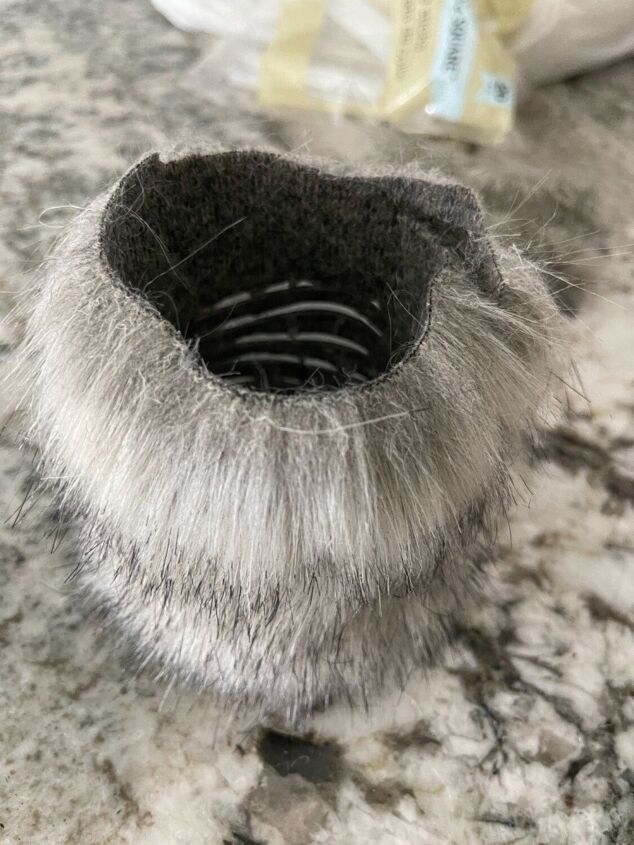
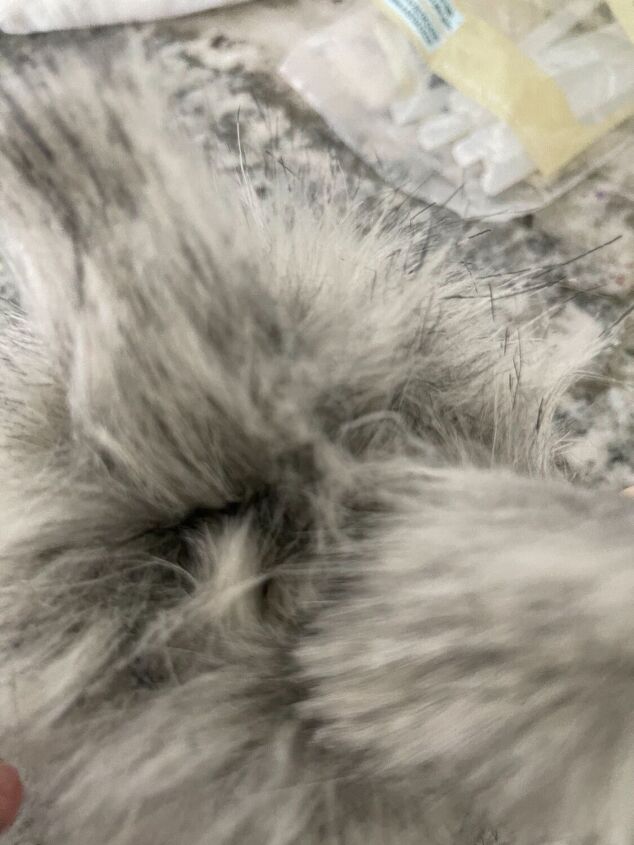
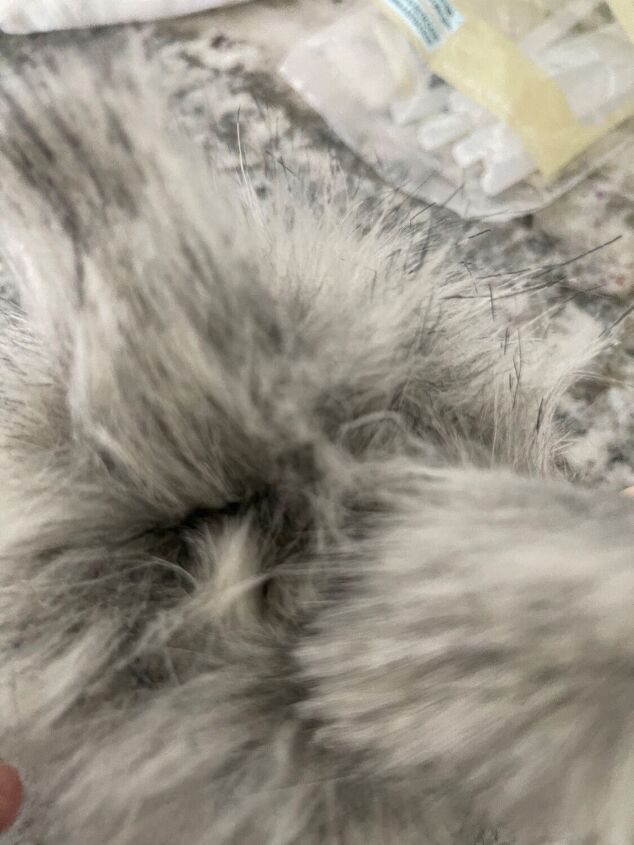
Now, push the extra 2 inches down into the bottle. You can add some glue to secure it if you need.
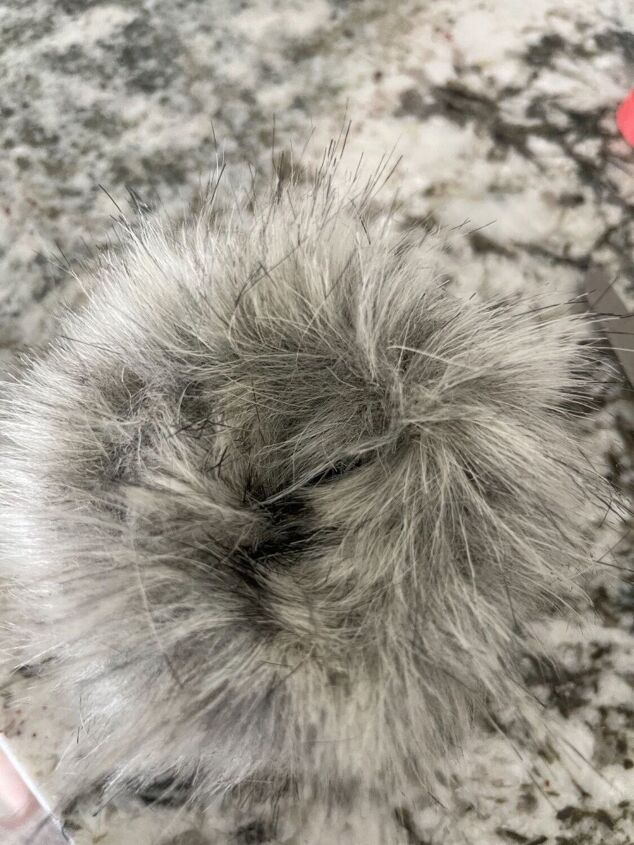
Set it aside for a minute until the glue sets.
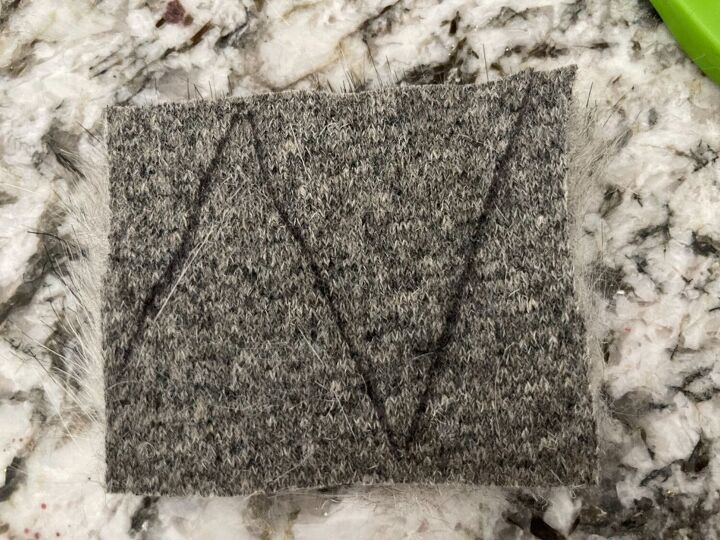
Take some more fur and cut 3 triangles from it. These will be for the ears and for a bow.
My ears were 2” but they would probably be better if they were a bt longer. You can make them however long you like.
Cut out the triangles but try not to cut the fur side so it doesn't have a blunt edge. It's best to cut just from the material on the back. This way, it will stay nice and fluffy.
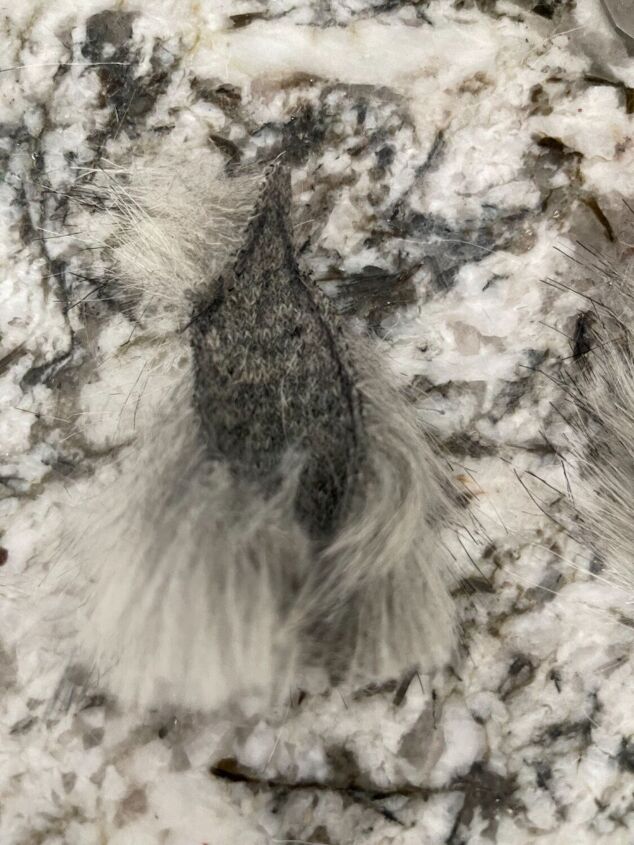
Take the 2 corners at the bottom and glue them together. Do the same for the other ear too.
To make a bow, take your scrap piece of fur and add some glue to the middle. Pinch it in the middle so it sticks together.
You shouldn't be able to see the material at the back.
Glue the 2 ears to the inside of the bottle so they are sticking up. If you do have a seam on the head, make sure it's facing the back.
Now glue on rim on each side to make the ears and the rolled one to the front middle
Add some glue to the front of the bow piece and stick it at the front of your bottle in between the ears.
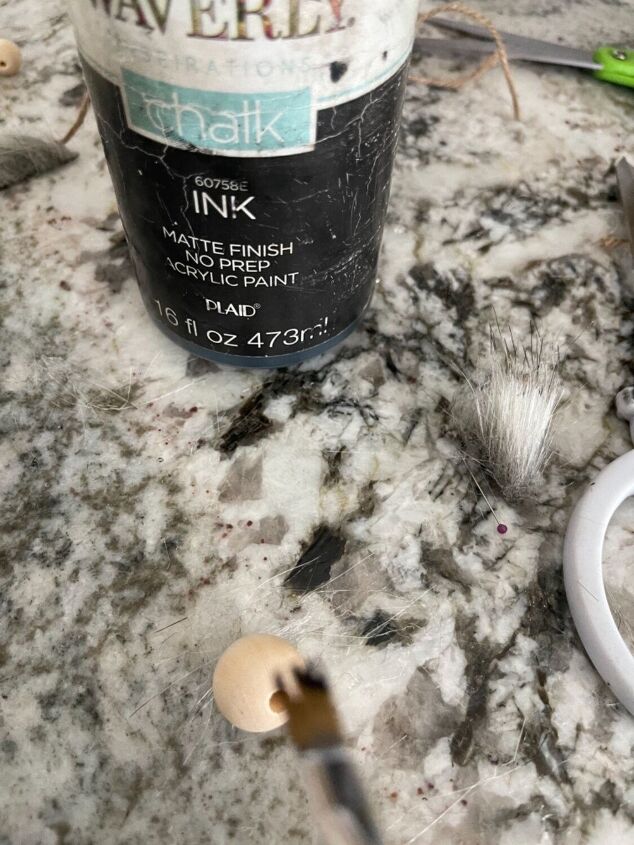
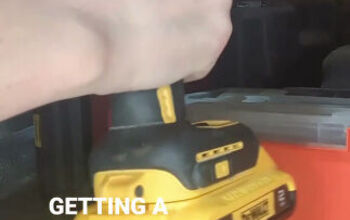
Next, I painted my wooden bead black for the nose and let it dry.
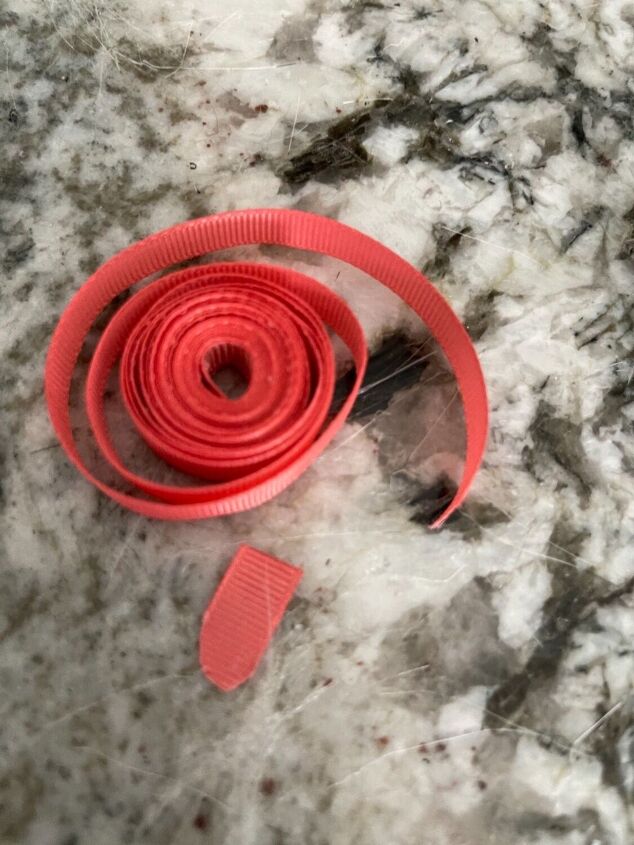
I had some red ribbon which was perfect for the tongue. I cut out a tongue shape from it as you can see above.
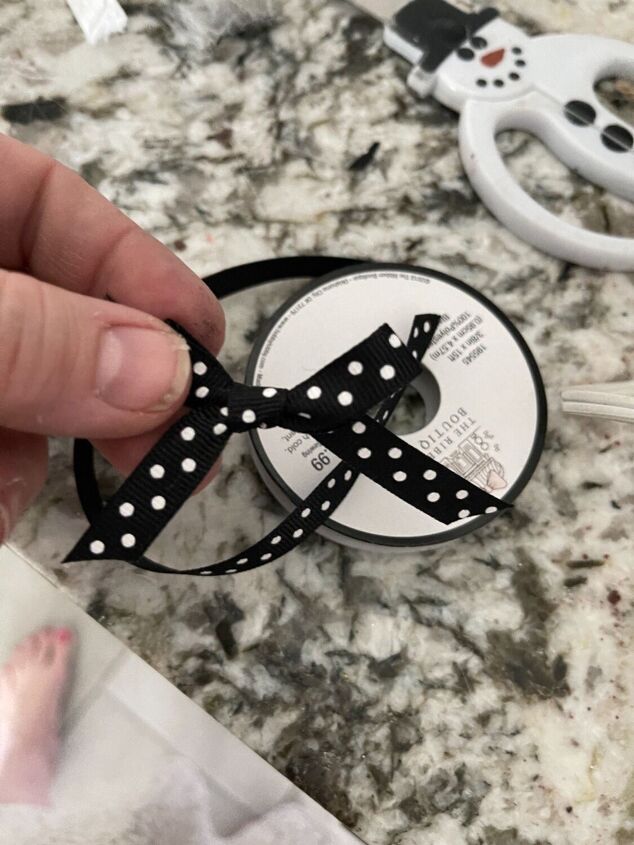
I took some ribbon and made a small bow. I added some glue to it and stuck it to the piece of fur in between the ears.
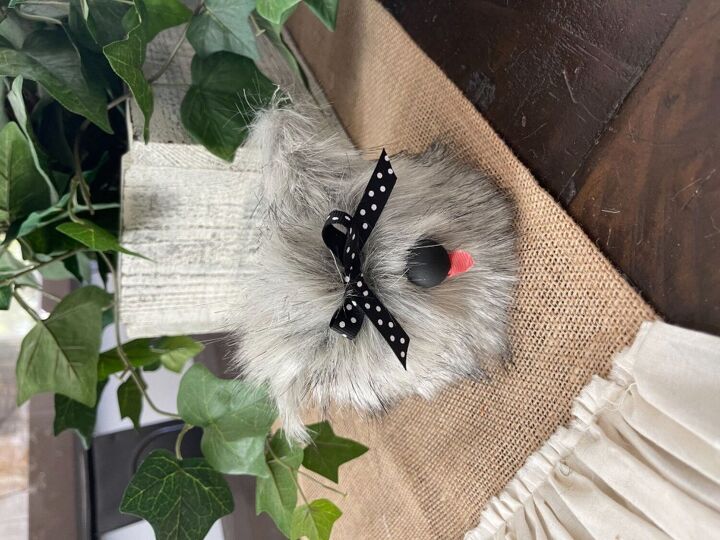
Once the bead was dry, I stuck the tongue piece to the bead and then glued it to the center of the gnome's face.
There you have it! A cute puppy gnome!
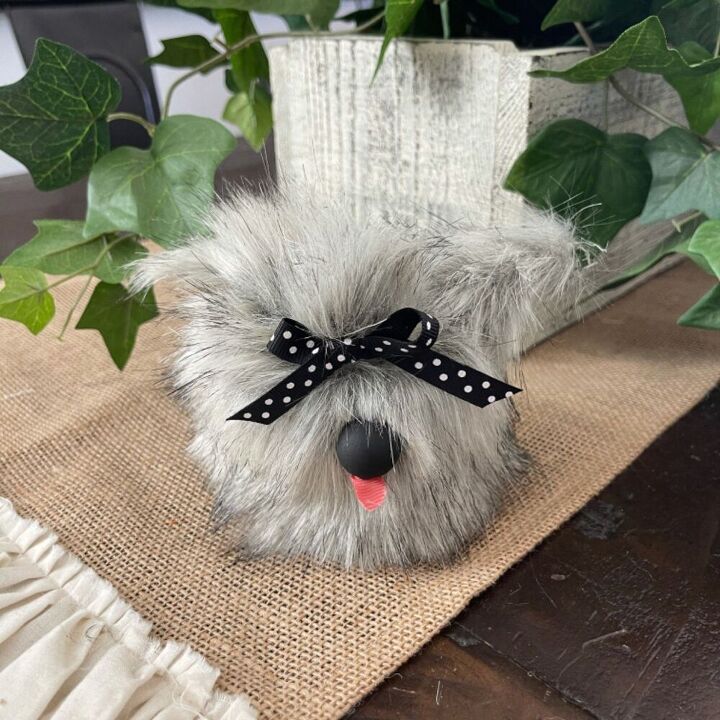
I think it's cute as a button! Tell me what you think and share this cutie 🥰
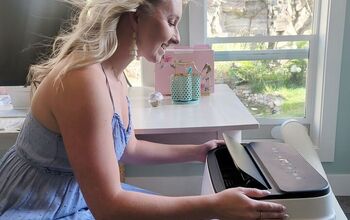
You can watch this video to see the full tutorial.
Find more great DIYs on my Youtube channel Gilbert Marketplace.
Comments
Join the conversation
-
Super adorable 😍
-
Love this!


Frequently asked questions
Have a question about this project?