


Super Easy Planter Upcycle

I really try to be conscious not to create unnecessary waste with the items I purchase but it's difficult simply because of how they're packaged; consequently every week we put SO many items into our recycle bin. Thankfully (or perhaps hopefully) they do actually get recycled into something useful versus a pile of junk in a landfill. I'm making it a point to repurpose as much as I possibly can instead of purchasing more, it's a win win really, for my budget, the environment plus I enjoy a challenge.
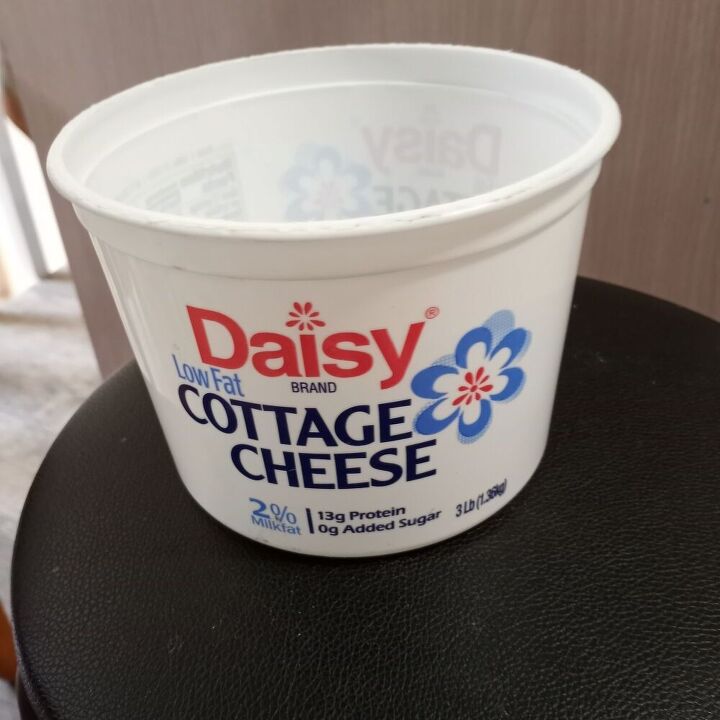
Since I can't work anymore and don't have pets gardening and art are my pastimes. Many of my plants are doing very well and growing like crazy [YAY] so I've been trimming, rooting, repotting and gifting like crazy. I find that my yogurt and cottage cheese containers make for excellent planters. Here is an example of just one style I've been doing as of late.
There really is no right or wrong size container, it just depends on the size & type plant you're using. Make sure you're planter is large enough to hold the soil and roots.
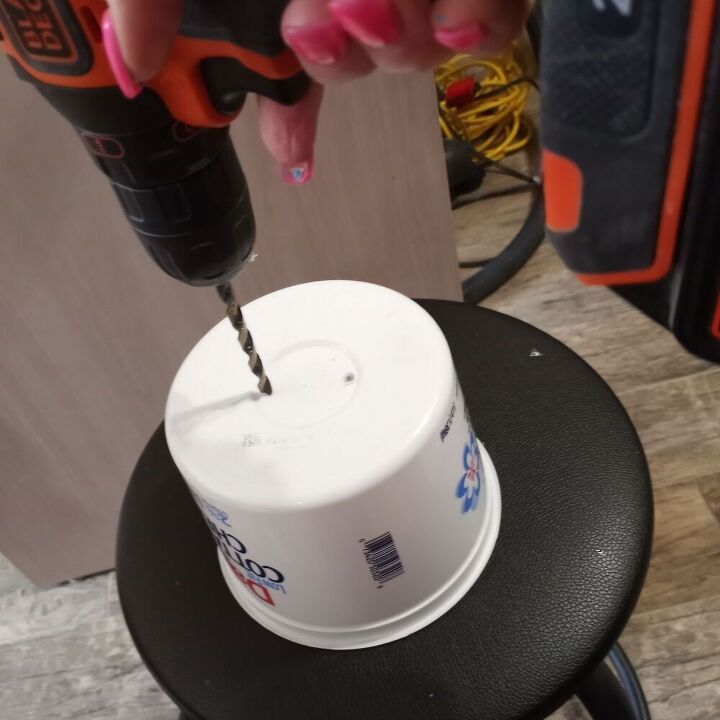
Turn the container over and drill a few holes in the bottom. These will be for drainage. Be sure not to drill them too close to one another otherwise they could tear.
These are some of the materials I used- all of which I already had
- Weldbond multipurpose white glue
- Clamp form Dollar Tree
- Sissors
- Xacto knife
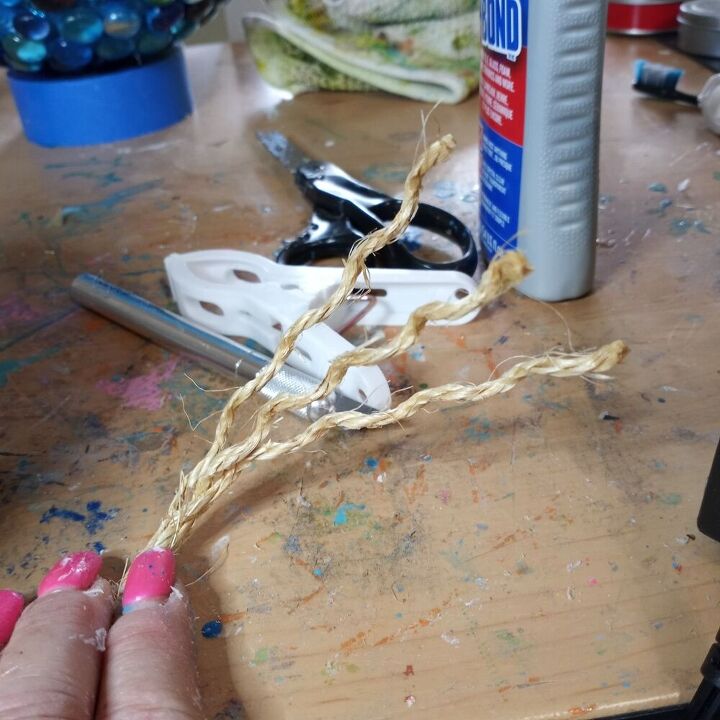
- Brown Rope
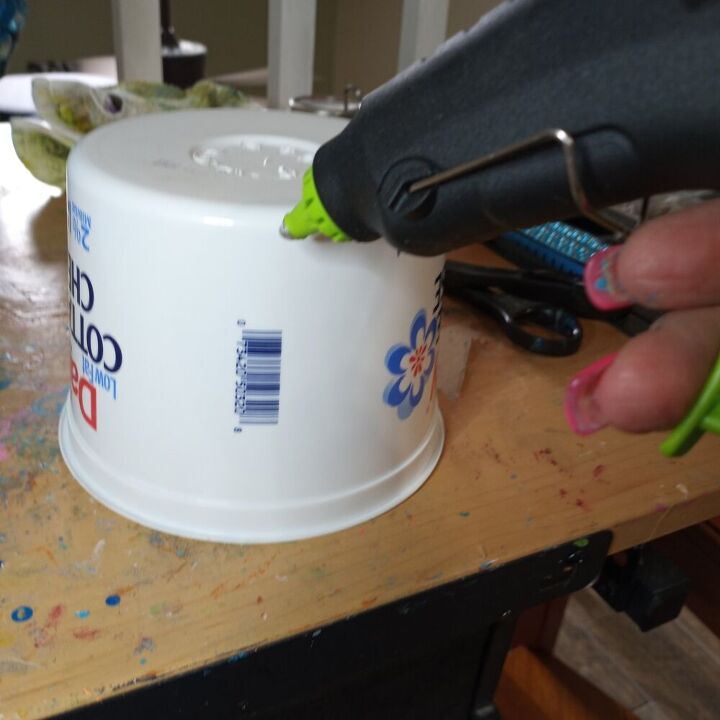
I started at the bottom and worked my way up. Apply a dot of hot glue and press the rope to the surface. Once it's secure, wrap the rope repeatedly around the container and add a dot of Weld Bond periodically as you go. Some may prefer to use hot glue all the way but in my experience hot glue don't adhere to plastic well enough long term.
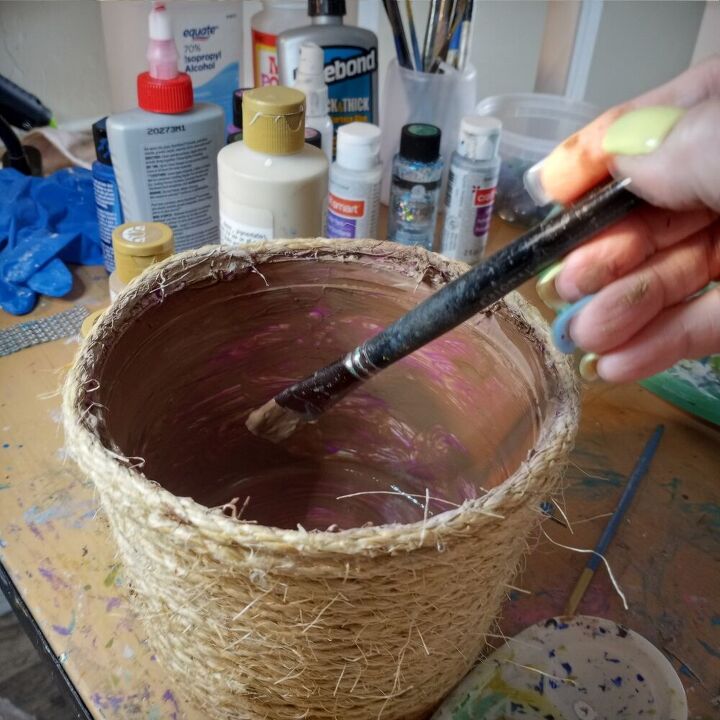
This step is not necessary but I wanted to add a little color to the inside so whatever isn't covered with soil wasn't white.
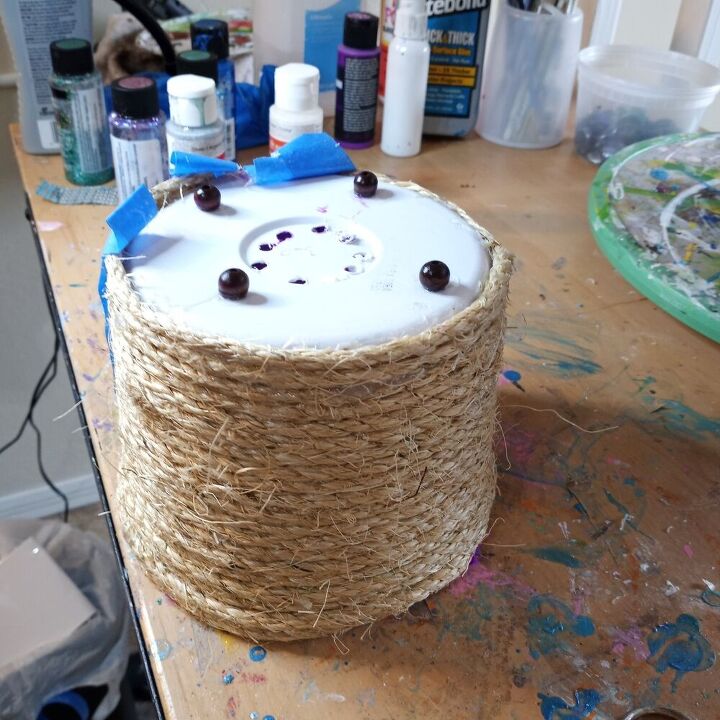
I used painters tape as a precautionary measure to hold the rope in place while the glue was drying. I then turned it over again and glued a few beads on as seen above. These will give the container a little more lift so water can drain more freely
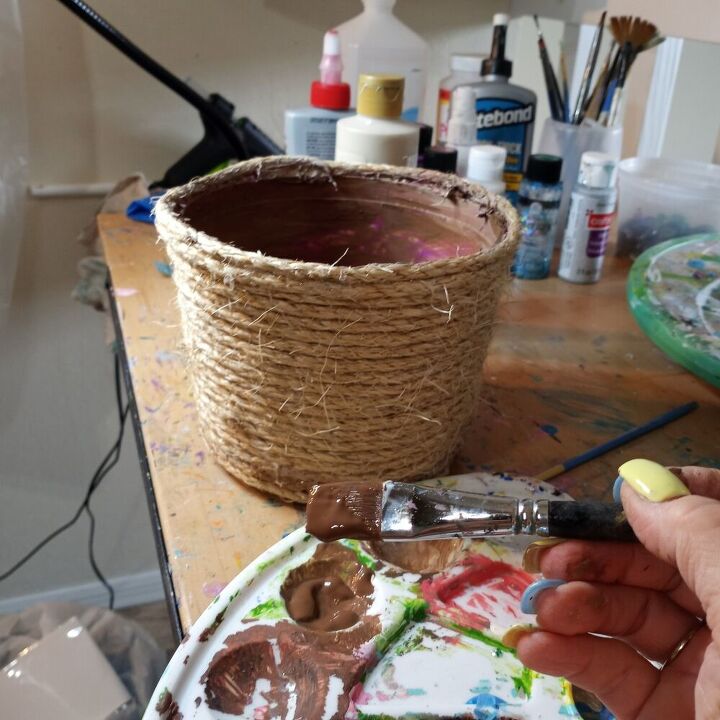
I decided to add a little paint sporadically onto the rope itself. It's completely painted and dry.
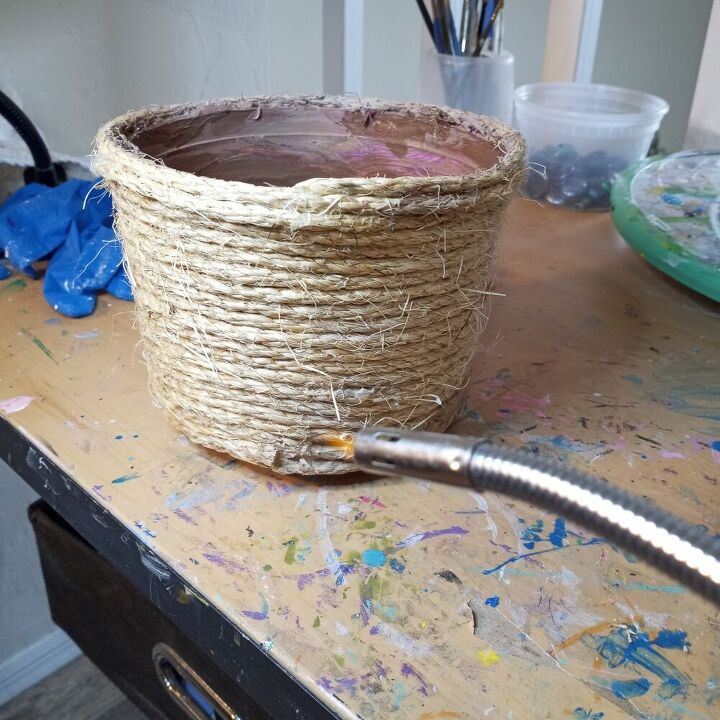
This particular rope we have has a lot of course strings on it and I'm not a fan so I decided to burn some of them off.
** I used items that I already have in my home so your cost could vary. There is no wrong way to do this. You can simply drill holes and be done, paint it, attach fabric etc. Use what you have and have fun!
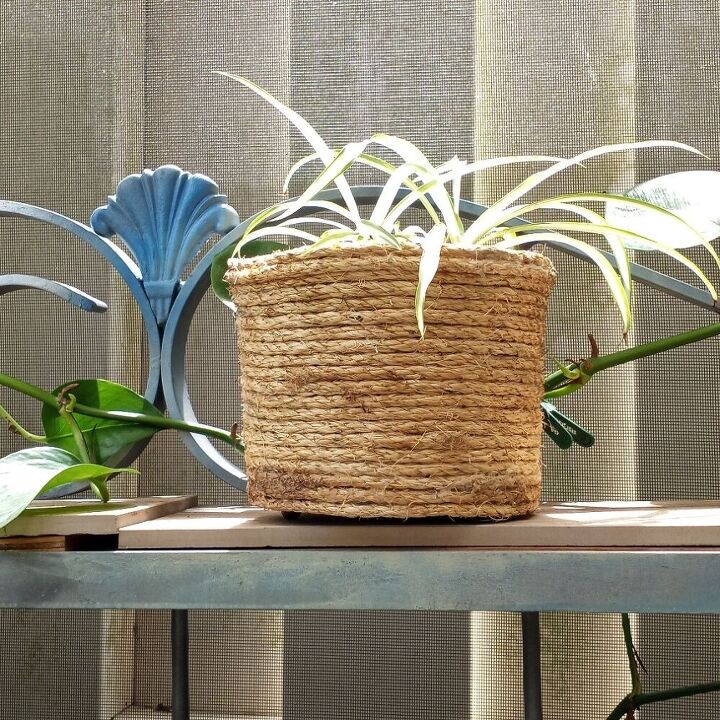
Here it is done and outside on my lanai holding a spider plant. I hope you enjoyed this and got some great ideas. Please share them if you did, I'm always experimenting.
Resources for this project:
See all materials


Comments
Join the conversation
-
Nice! I use these for lots of things but never thought of this one. Great looking pot!
-
Thank you, Trudy!


Frequently asked questions
Have a question about this project?