


Trash to Treasure Mid Century Modern Nightstands
So, I had a pair of nightstands that were destined for the dump. I kept them around for several years with the intention of throwing them out but for some reason I just couldn't part with them. I finally made the decision to give them a second chance!
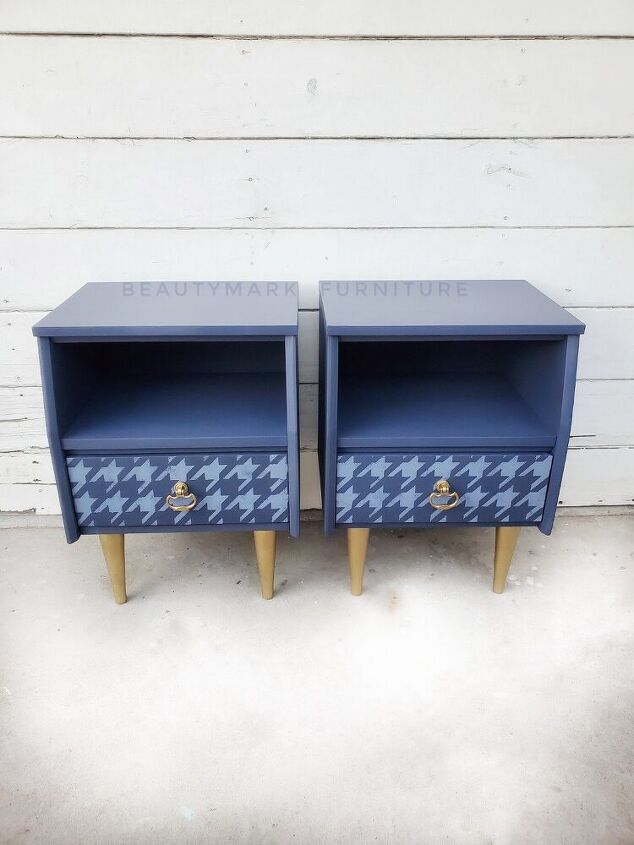
Can you believe that I was so close to trashing these at one point?? I'm so glad I didn't because they definitely proved to be worth saving. It took a little reconstruction and a lot of TLC but I just LOVE them now!
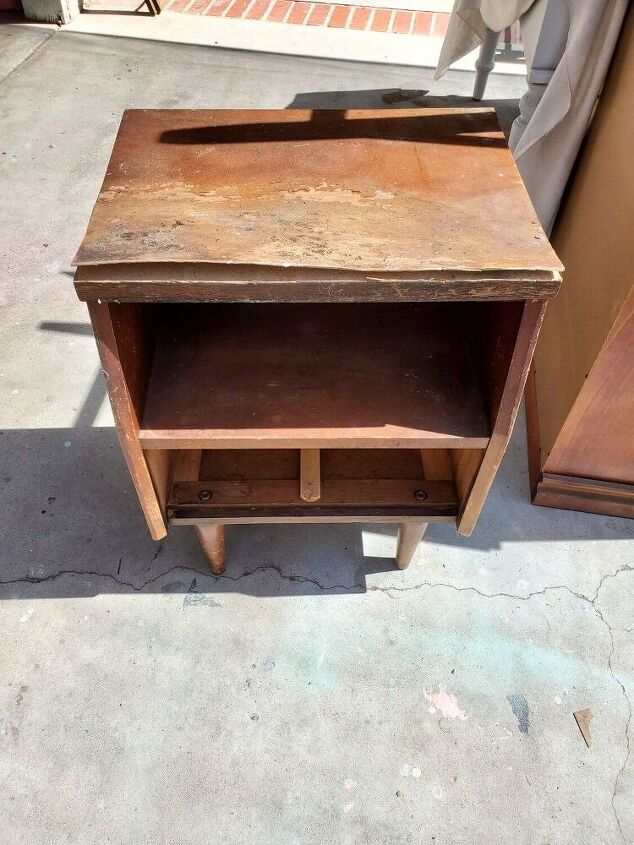
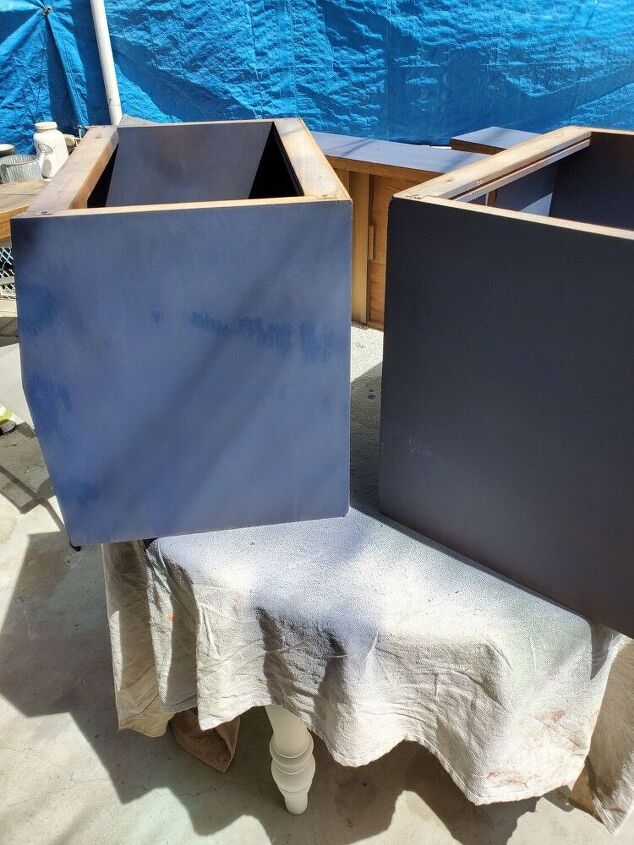
Here is what I started with. The tops were completely ruined and needed to be replaced but the rest of them were salvageable. If you ever have a piece that you think is totally ruined, consider replacing parts of them if you can. In this case, these tops were just screwed on from underneath.
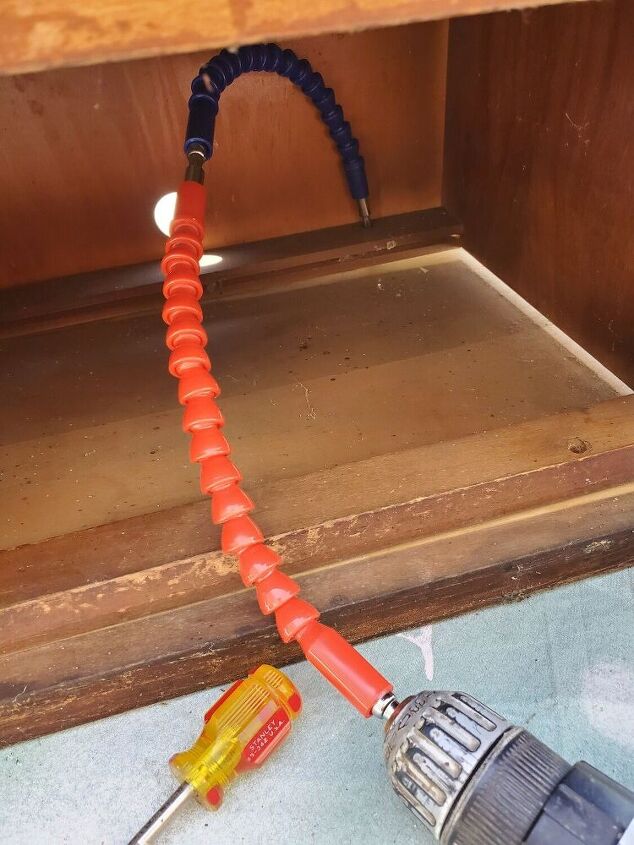
Even though they were just secured with screws, they were a little harder to remove than planned. The screws were angled and I couldn't even reach them with my tiny stubby screw driver. Luckily, my husband recently purchased these super handy drill motor attachments that allow you to get into really tight spaces!
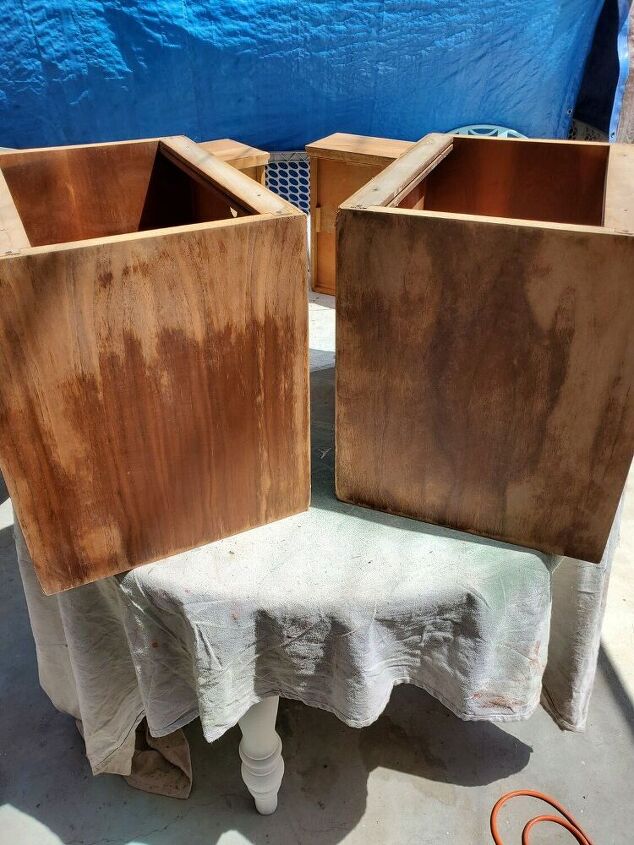
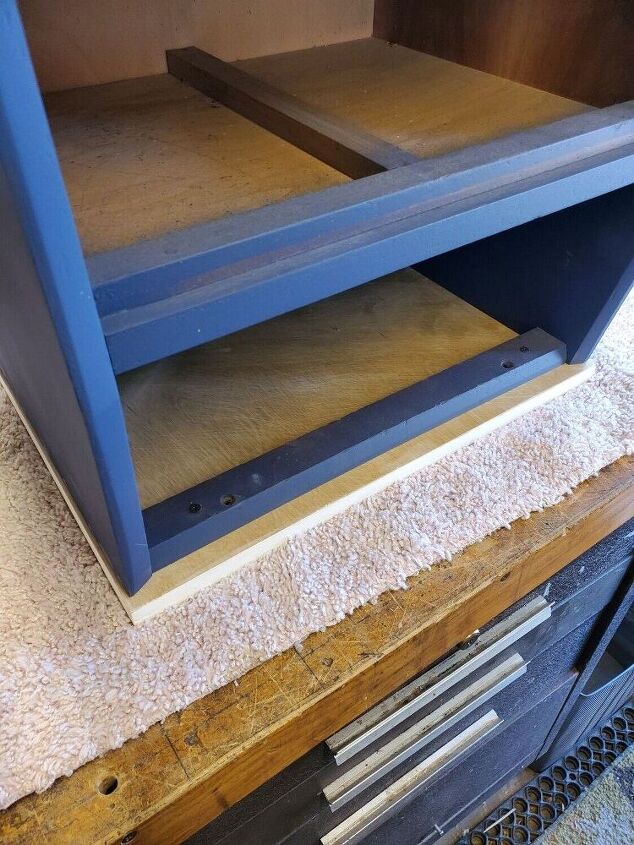
Once the tops were off I thoroughly cleaned and sanded the rest of the nightstands and removed the legs because I had other plans for those. 😉
I decided to give the nightstands a good couple of coats of paint BEFORE I installed their new tops so I could reach the cubby sections a little easier. I mixed 2 shades of Dixie Belle paint and thinned it down a bit with water so it would spray nice and smooth. I used a HVLP sprayer.

Next, I cut the new tops to size. I used some plywood that I had on hand.
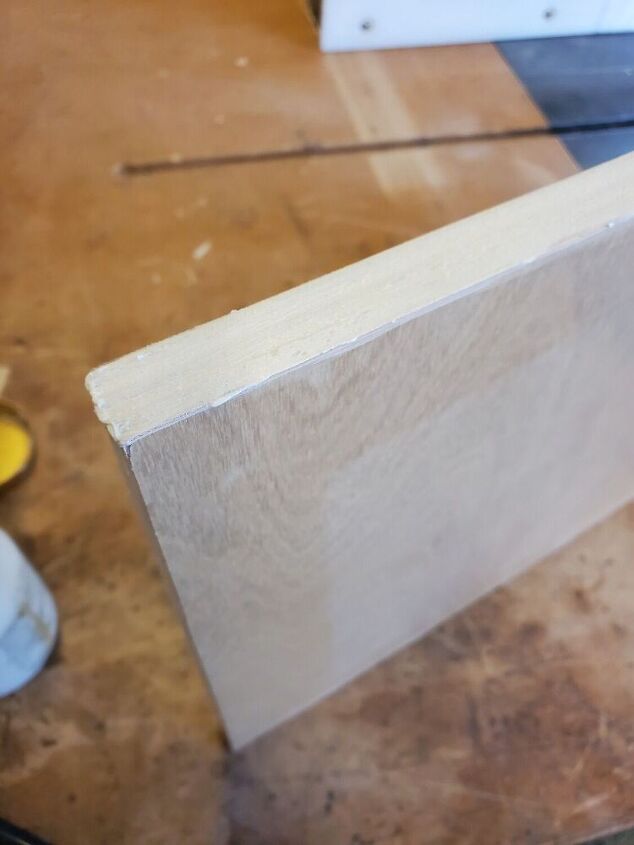
If you've worked with plywood before, you know the edges can be pretty rough. In this case, I decided to fill the edges with joint compound and sand them smooth to give me a nice clean edge to paint. You can also use edge banding.
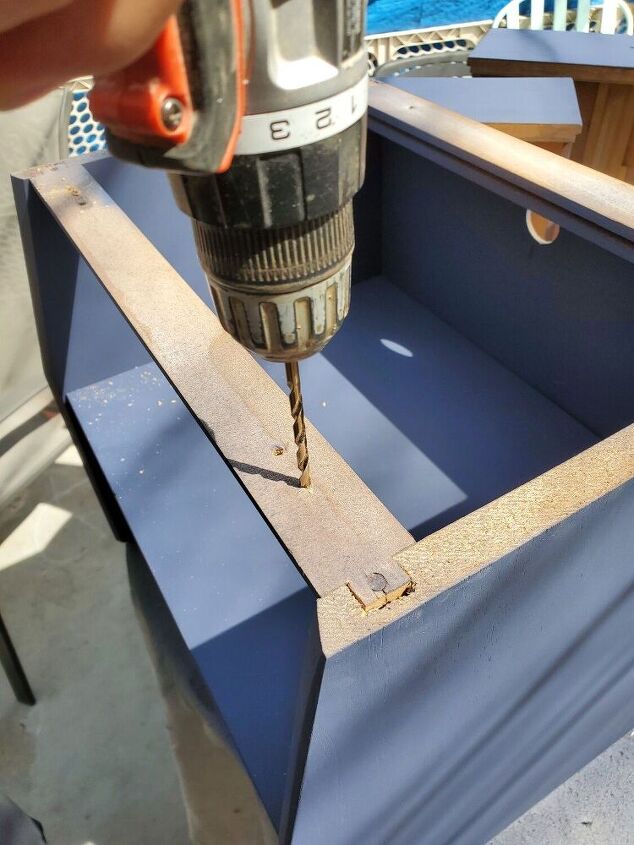
I predrilled new holes into the nightstand bases for my tops. The old holes were drilled at weird angles so this would make installing the tops a little easier.
Once I got them perfectly lined up, I screwed them into place and sprayed them with a few coats of paint.
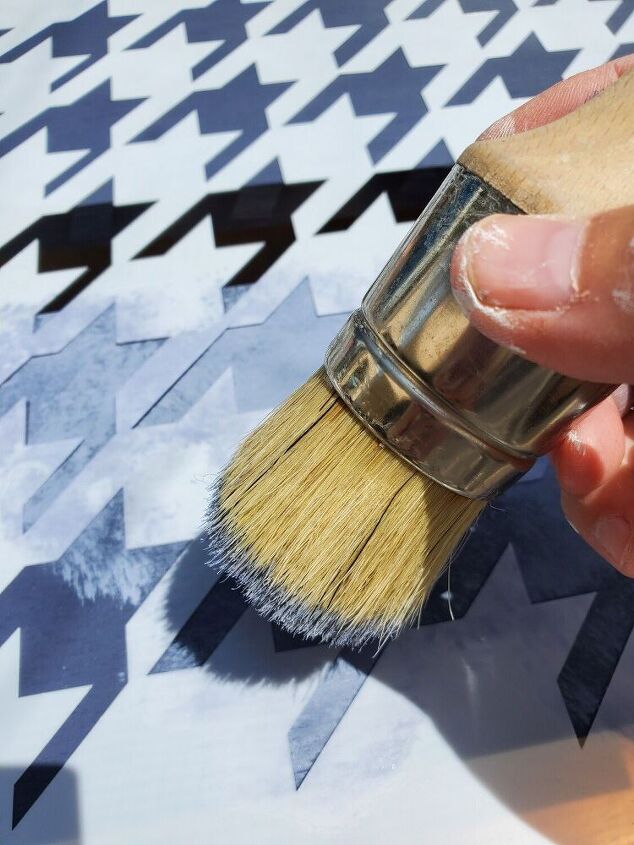
Now for some fun detail on the drawer fronts! I used a houndstooth stencil and lightened my paint with some white. I wanted them to look slightly distressed so I dabbed the paint on a little unevenly. I also used Rustoleum Metalic Gold spray paint on the legs and hardware.

For the finishing step, I sprayed the entire nightstands with 4 thin coats of water based polyurethane, allowing each coat to dry in between.
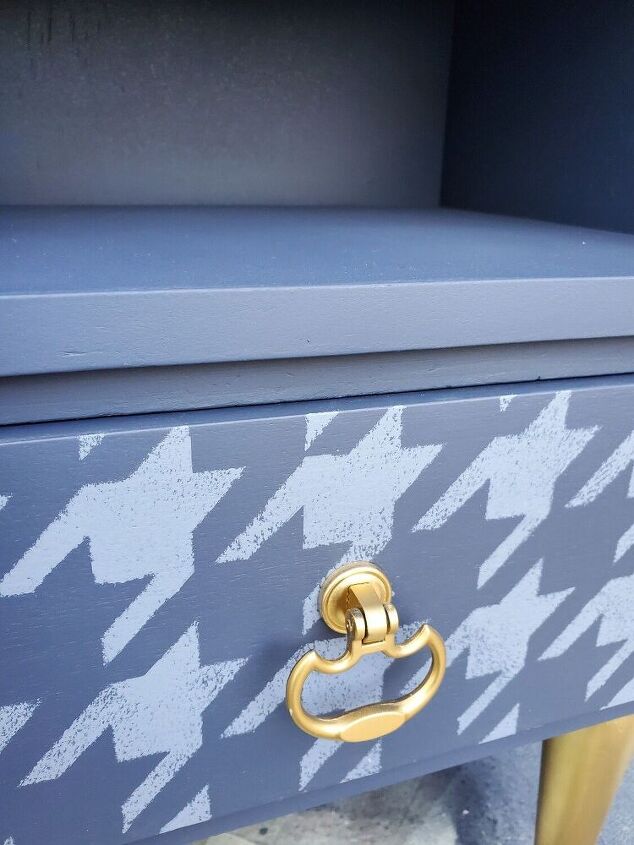
Here's a close up!
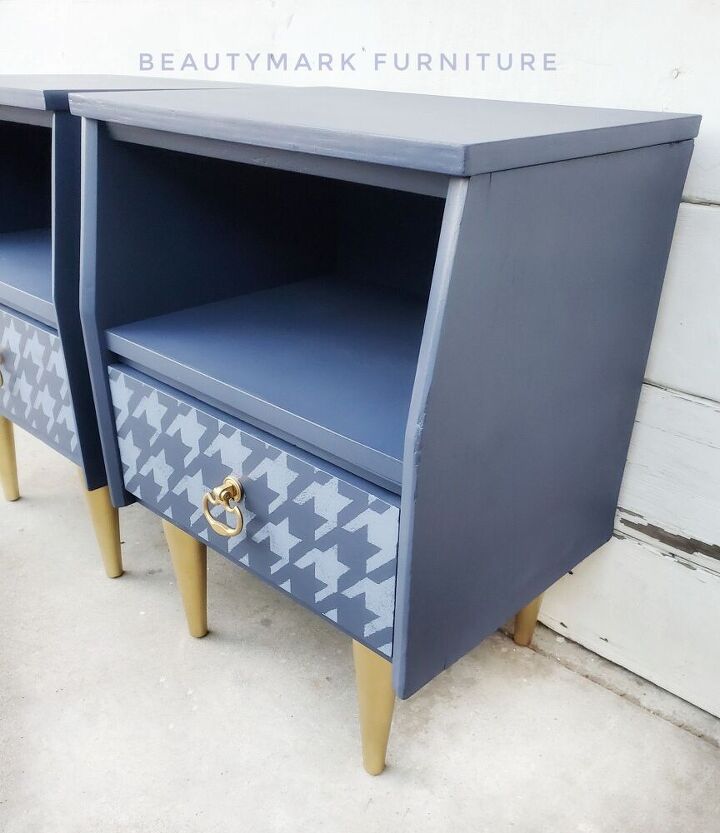
I'm so happy with how these turned out! It just goes to show you that pieces headed for the landfill CAN be given a second chance! Thanks for following along and I hope you enjoyed this makeover. 😊
Resources for this project:
See all materials


Comments
Join the conversation
-
lovely
-
You have more vision than me.


Frequently asked questions
Have a question about this project?